Doing slightly longer 1/2 coc strokes to target that slight raised edge around the central hole seems to be working
hillexed
he/him
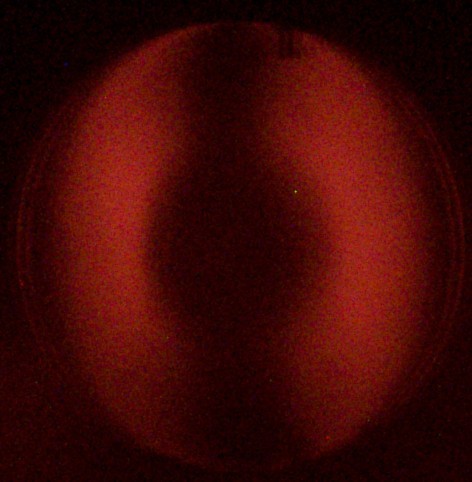

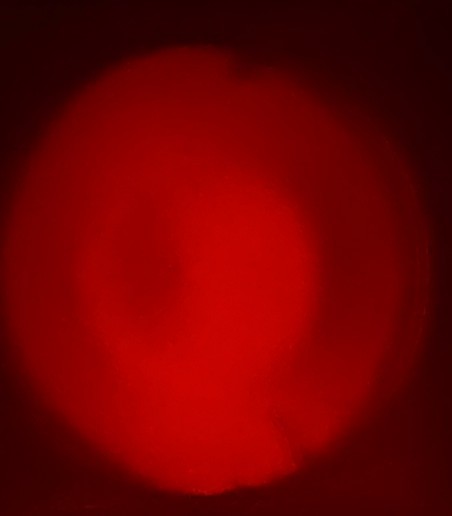
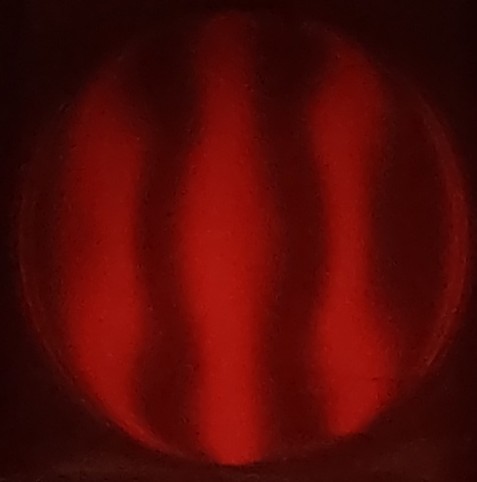
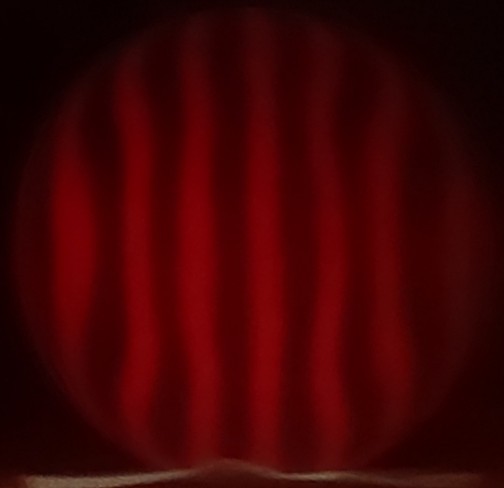
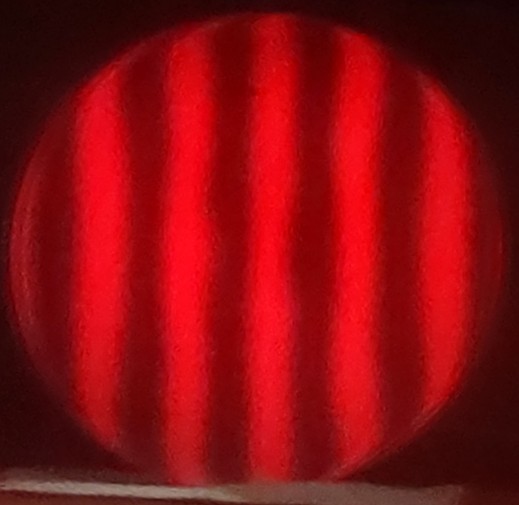
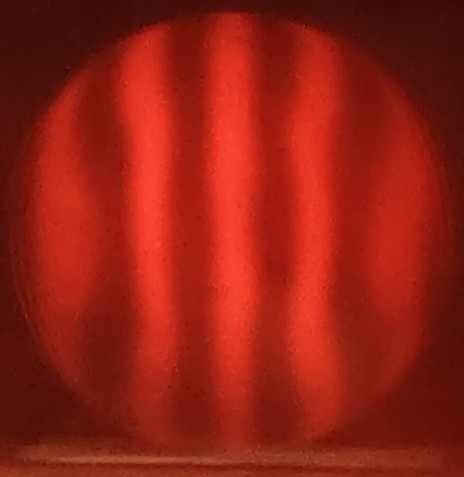
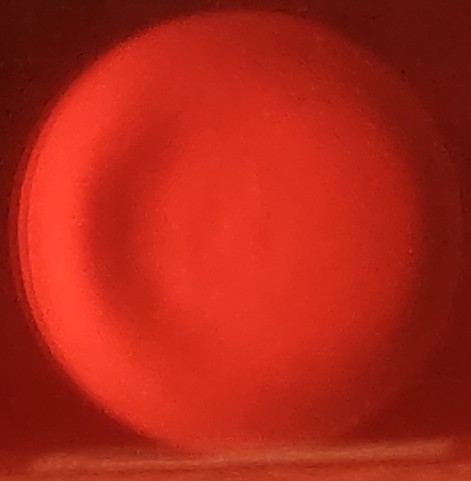
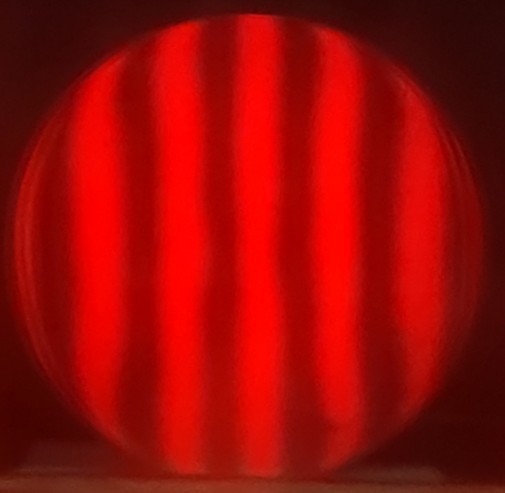
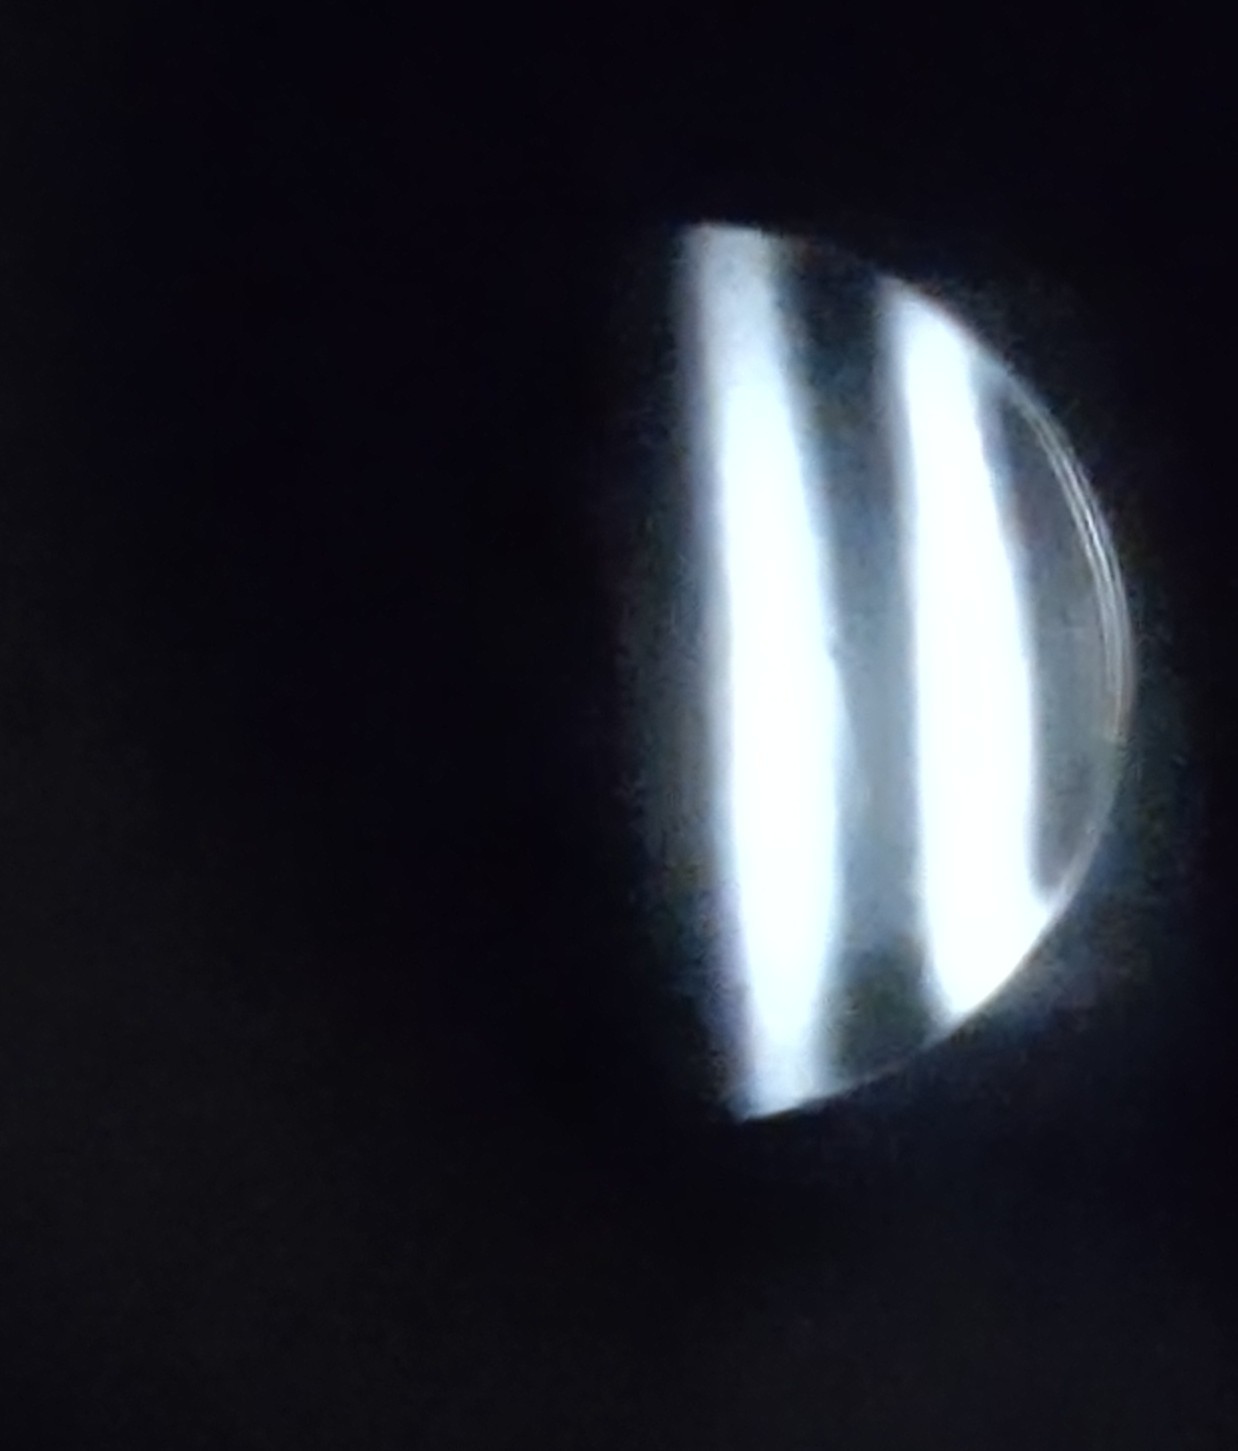
@Kestenan what I haven't mentioned is that the size of the stripes varies based on how close my movable handheld tester is to the mirror's focal point - closer means wider stripes. Get close enough and the strpes get so wide that a single stripe fits the entire mirror, and then that shows the zones that focus light to different places in a different and super sensitive way, like a Foucalt test. That's what you're seeing in the second pic

ONE MILLION SIGNATURES TO BAN CONVERSATION THERAPY IN THE EU!
12" mirror grinding: I'm a genius! Oh no! I'm a genius!
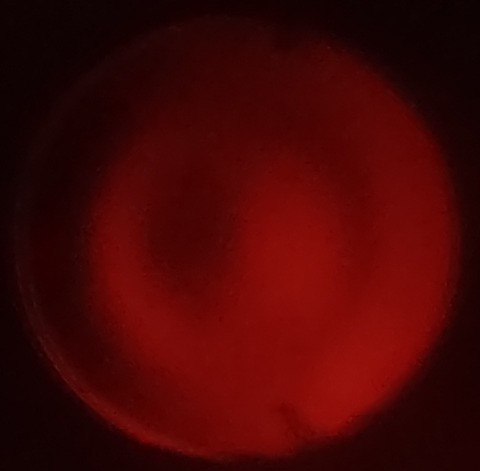
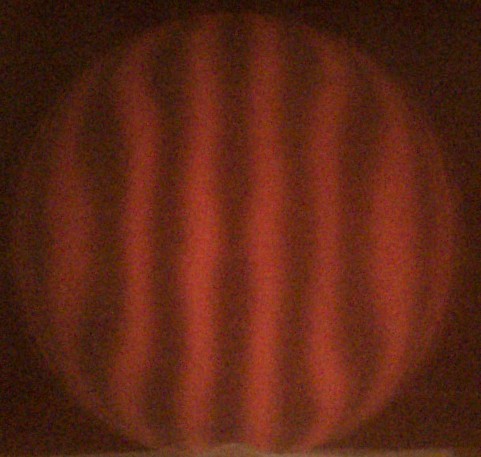
The first picture is where I was two days ago. After weeks of work I finally fixed my mirror's central hill and oblate sphere shape, and the outer zone looked spherical.
I pressed with less weight than usual and did 30 minutes of the standard 1/3 diameter mirror on top center over center strokes, which should smooth the mirror into a sphere shape. I made sure to push down a bit on the 70% diameter zone. But somehow that short time seems to have worn down my edge. Not back to being oblate! Oh no!
Then I pressed for 45 mins under warm water, used a pencil to refresh my 1/3 diameter circle I drew on the back of the mirror for clarity, and did 30 minutes of the exact same 1/3 center over center strokes with extremely light pressure. ...and that fixed the edge. Phew.
Also, you can see the center hill shrinking with time.
Total elapsed grinding time: 76.7 hours

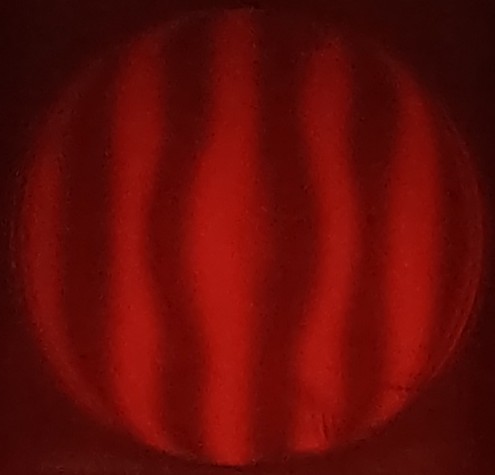
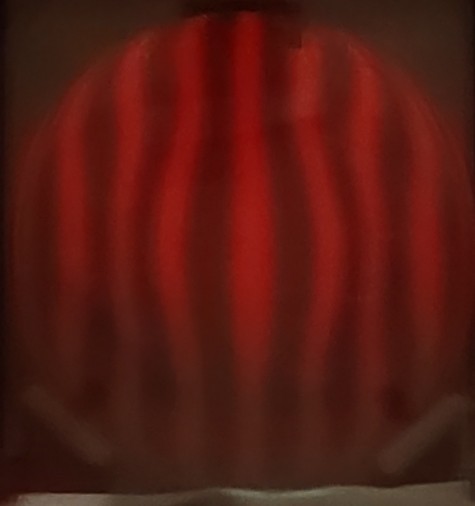
12" polishing update: Oblate no longer? Five or so 30 minute long sessions of long parabolizing W strokes have finally turned my center hill into a center hole. The dip at around 80% to 90% diameter remains, while the 90% to 100% diameter edge zone is turned up.
I made two changes to get better pitch contact: I am filling a plastic container with hot water and pressing the pitch to the glass underwater, and I am only polishing for 30 minutes at a time instead of going for a full hour. I think it's working!
Hopefully now that it's no longer an oblate spheroid, the standard 1/3 strokes will work properly and allow me to fix that bumpy outer zone and its turned up edge.
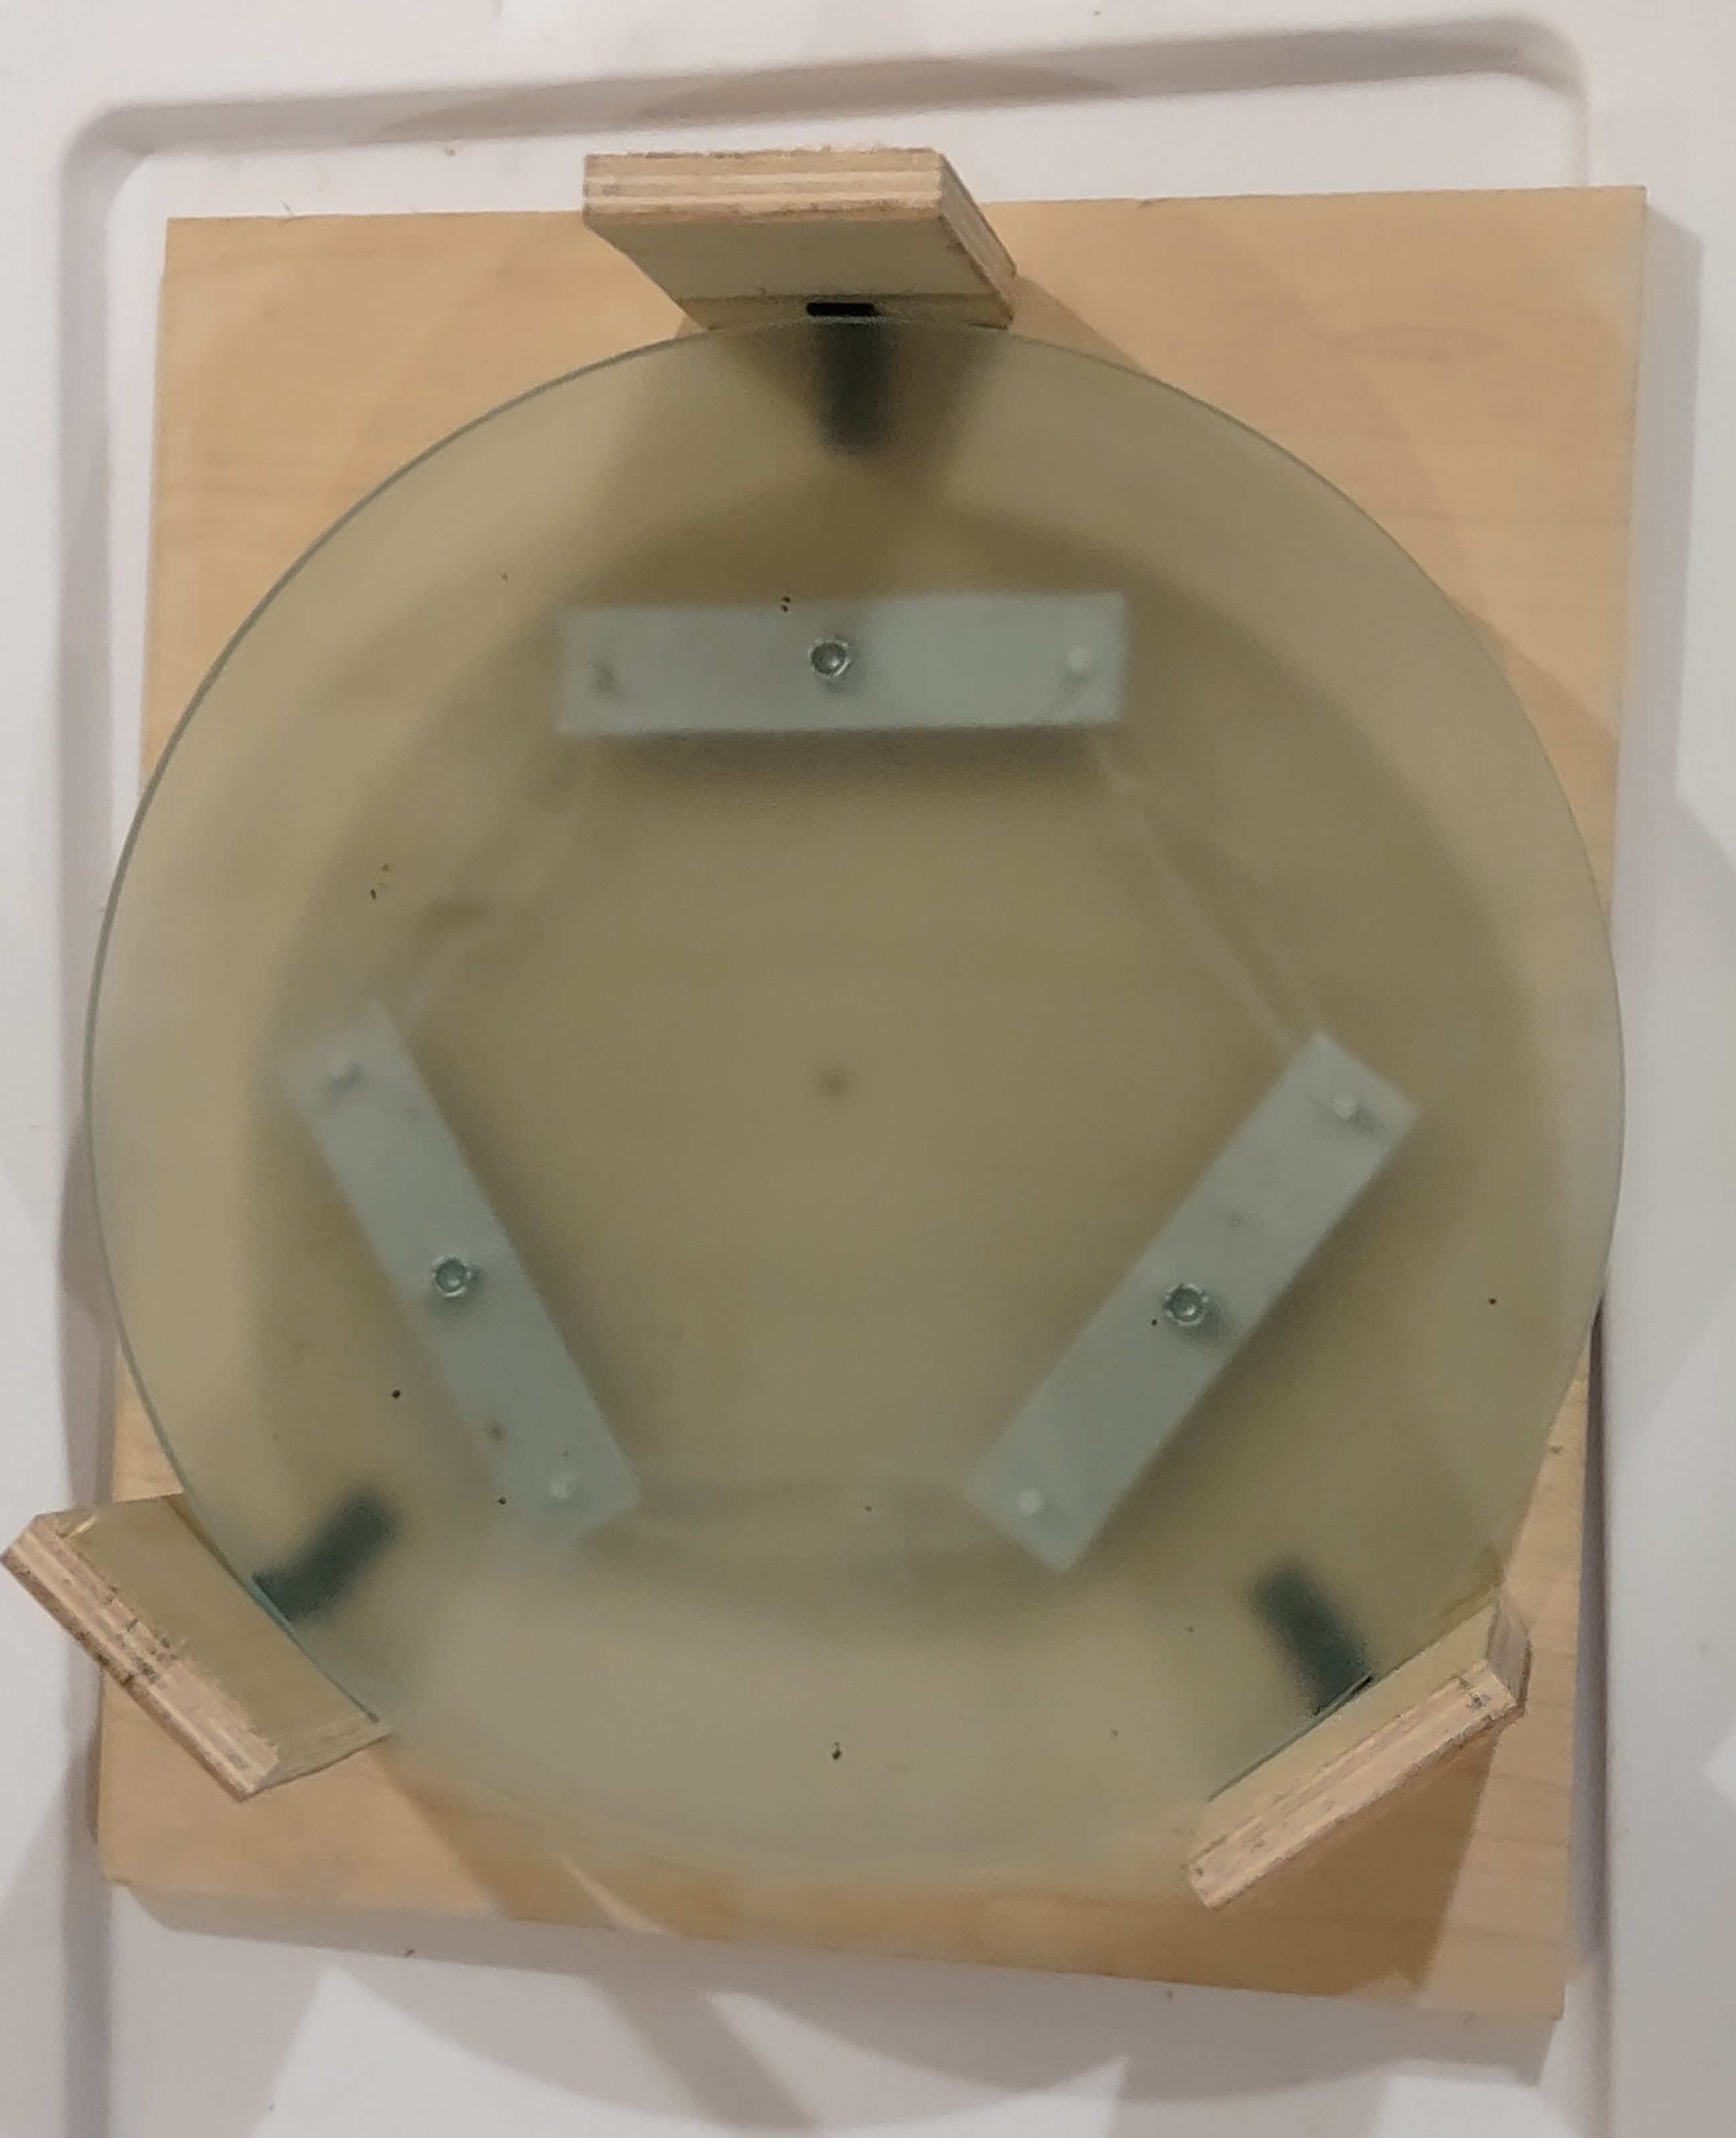
I have made a contraption called a "mirror cell"
it traps naughty glass so I can examine its sins


@nora @alterae @waitworry oh, to throw mercury into space and gaze into the orb's reflection... for rational scientific purposes, of course
@nora @alterae @waitworry making spheres is SO HARD
I thought I was close to a sphere, but some 1/3 center over center strokes look like they just made my oblate mirror shape less spherical. I realized I have an oblate spheroid, with a center slightly higher than it should be.
My theory is: my mirror has a slight central hill. When I press the pitch lap on top of it, the pitch forms a ring shape, with not much contact in the center. Shorter strokes without much side to side motion wear down the edge more and not the center. So I think I just need to wear down that center hill with lots of side to side motion in my strokes, placing the center of my mirror over the tool's ring of good contact, to wear down that outer ring. Hence: lots of side to side motion while grinding.

Trees on a sunny day are such wonderfully shaded things. The difference between light and dark is so crisp
Today, I tried finding some galaxies. I couldn't see M101, couldn't see M105, but did see M81 and M82 by eye. It was tough, but I finally took a phone pic. I decided to give Pingu Camera a try... and the phone plus printed adapter plus phone remote shutter plus waiting a while for vibrations to die down worked! I got a picture of both M81 and M82!!
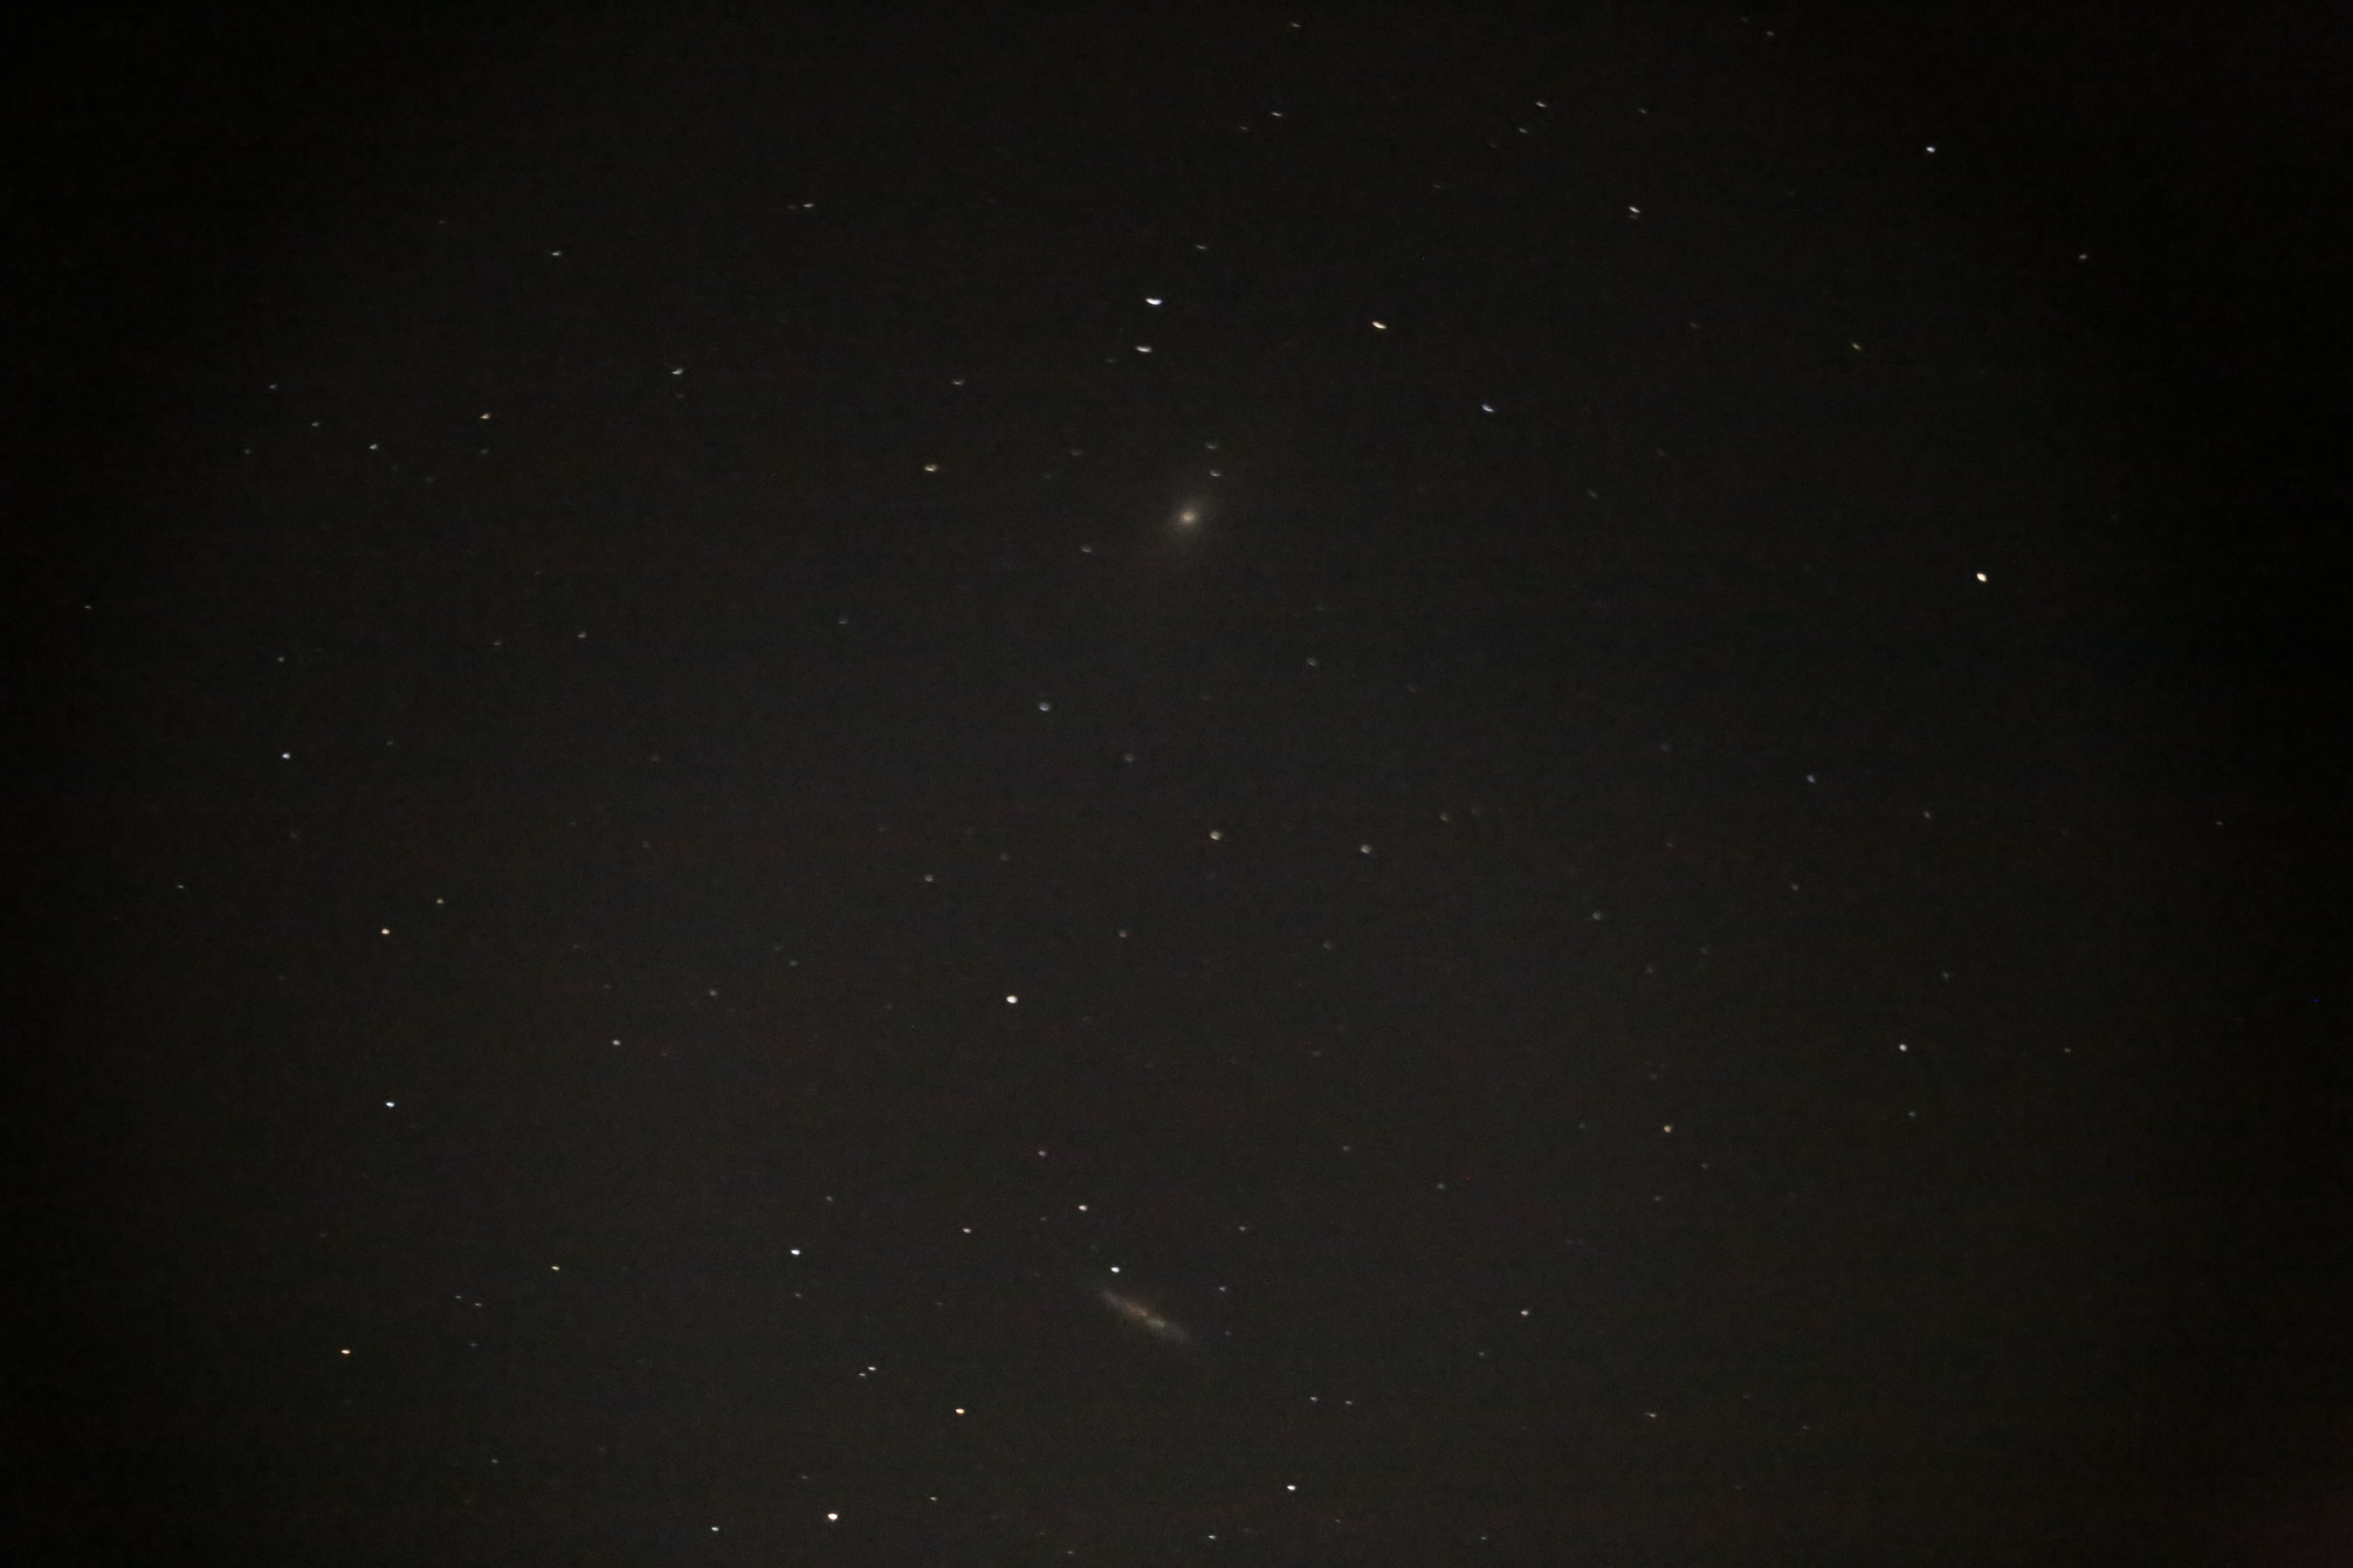
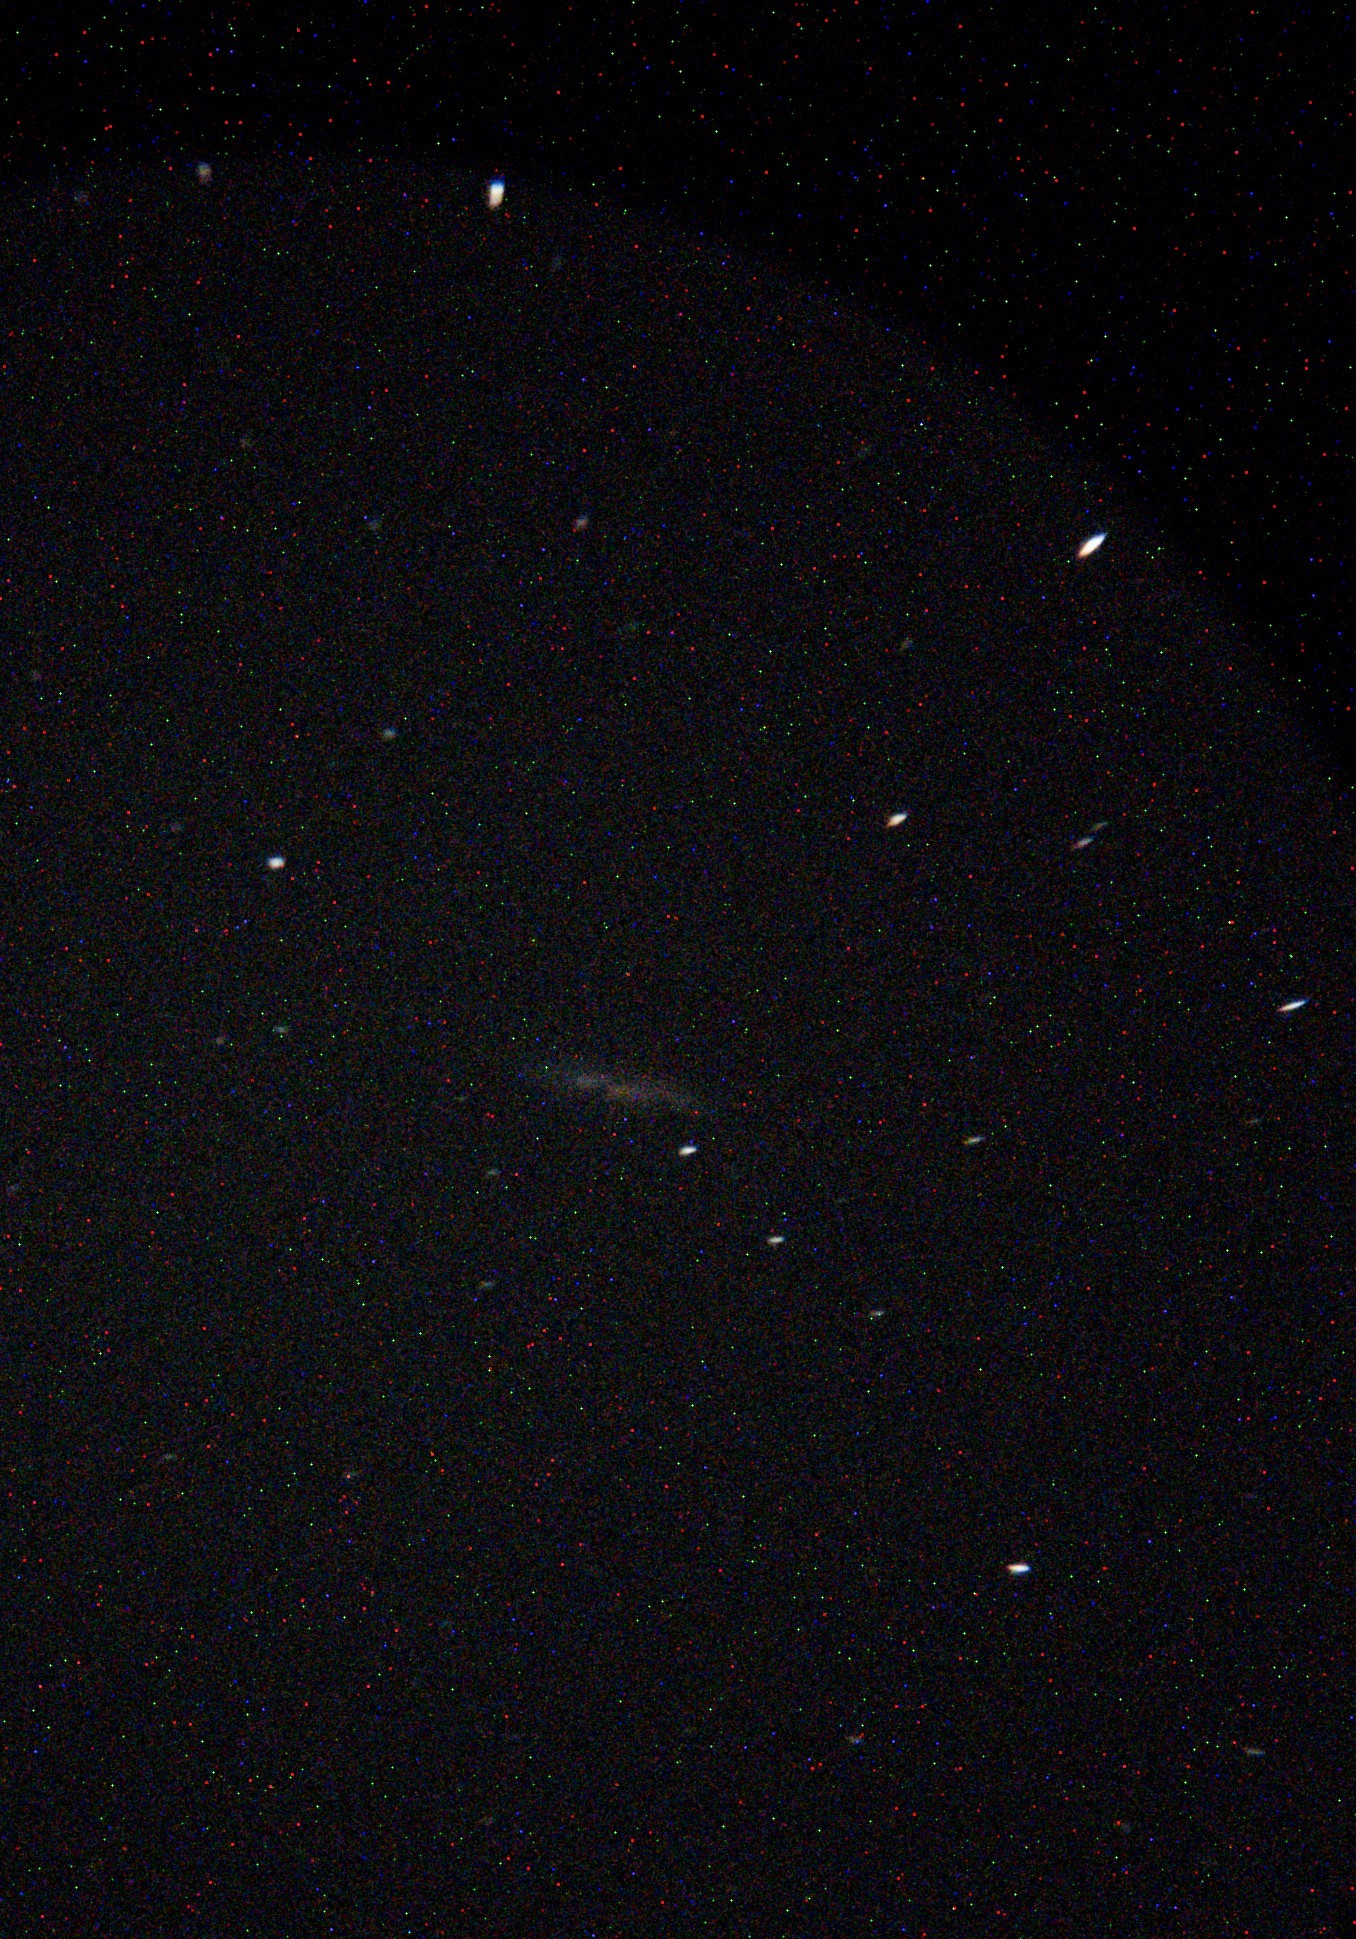
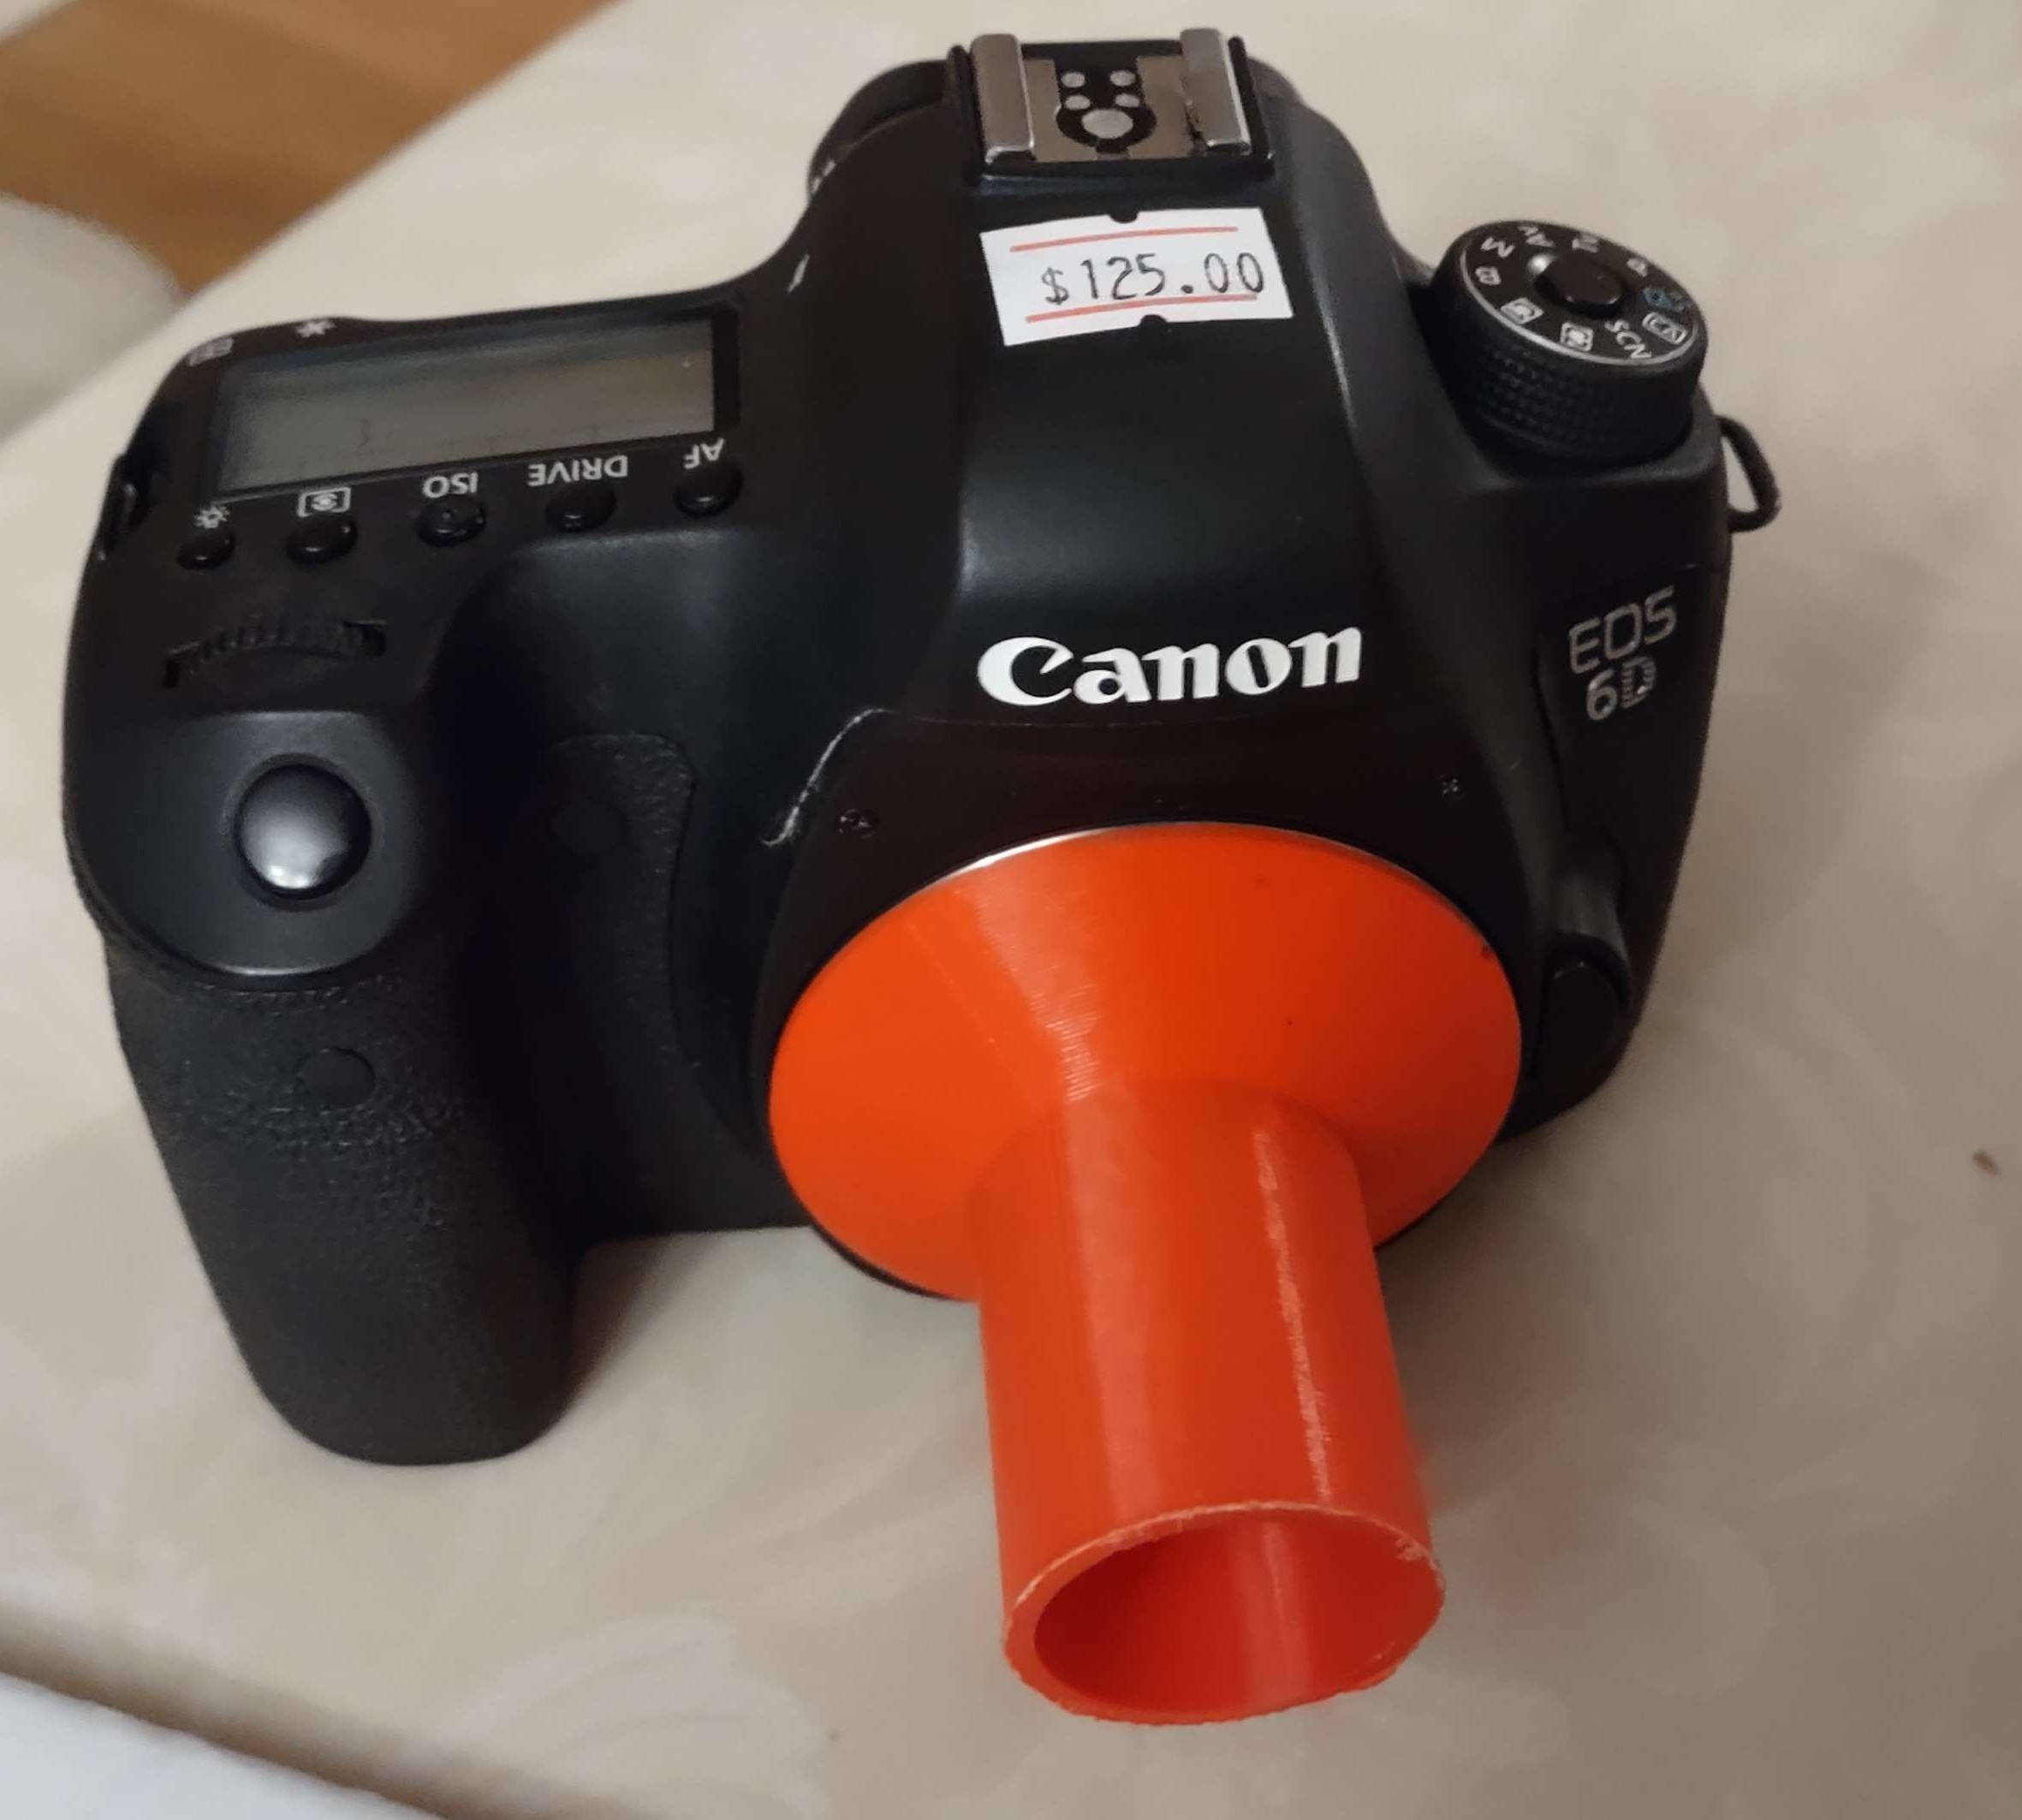
Introducing... Pingu Camera. I bought a used DSLR for astrophotography four months ago hoping it would take better photos than my phone. I 3D printed an adapter for it to fit into a standard eyepiece slot. Unfortunately it was a bit of a failure for two reasons: firstly, this camera isn't mirrorless, so it had a shutter inside it, and when that shutter flips up to take photos it sends vibrations through the entire telescope. I couldn't get any good photos of planets. Secondly, the sensor is so far back into the camera that I have to get out a screwdriver and slide the entire upper tube a few inches closer to the mirror to achieve proper focus.
@knizer I miss Dosa Factory in cambridge, but there's an hmart there now so that's cool
More wide parabolizing strokes are bringing my 12" mirror closer and closer to a sphere...
I have a slight worn down edge, overall a tiny bit oblate, as well as a tiny central hill, but it's all very small.
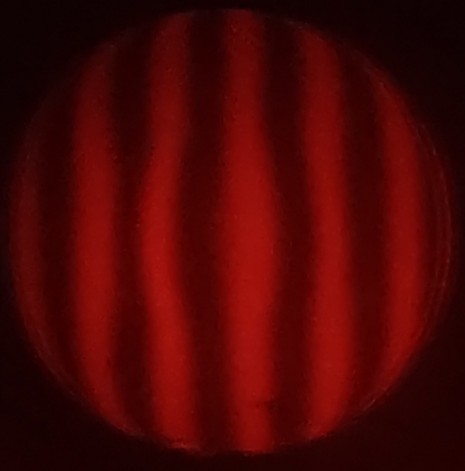
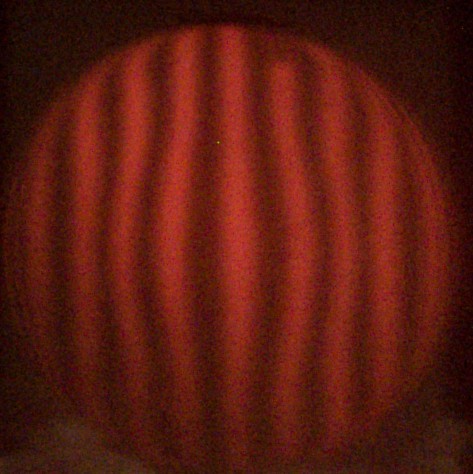
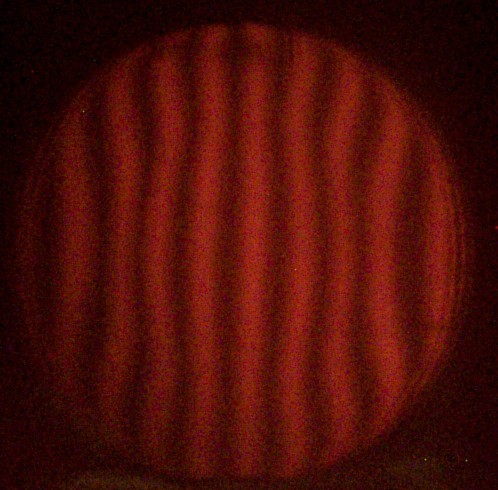
Here's a Ronchi test picture of the mirror today compared to two weeks ago. As a reminder, straight up and down is spherical.

12" mirror making: take testing seriously
I'm around 10 hours into polishing, and it looks like I'm very close to polished out! I can see barely any tiny pits under a microscope. I think I'm done.
Next up, figuring. I can test a mirror's shape easily. I have been doing that already despite not quite being done with polishing.
The problem with a thin mirror is that glass (and anything else) will happily bend a few hundred nanometers under its own weight. Leaning my glass mirror against a wall means all the weight is placed on one point, causing visible distortion. I need to remove that to isolate any real astigmatism. I need to build a structure that holds the mirror while resting its weight across many different points so it doesn't flex, called a "mirror cell".
Telescope mirror cells are usually made of metal and involve triangles on triangles that can move and turn. This is a solved problem for big telescopes, but usually involves metal parts. I haven't worked with metal before; usually just 3D printing. Designing this will take some thought.
People say that Americans like me are bad at geography, but I can't figure out where that idea comes from
Pics of said light blocking baffles. Also added a mount for my pifinder

My 8" telescope has been upgraded with some new printed shields to block unwanted light near the top
Client Info
Server: https://mastodon.social
Version: 2025.04
Repository: https://github.com/cyevgeniy/lmst