#mmu3
@3dprinting I published the box to printables.
As the Marketing Department of the Sirius Cybernetics Corporation say, "Share and enjoy!"
https://www.printables.com/model/1255222-custom-gift-box-for-anatomic-heart-and-stand
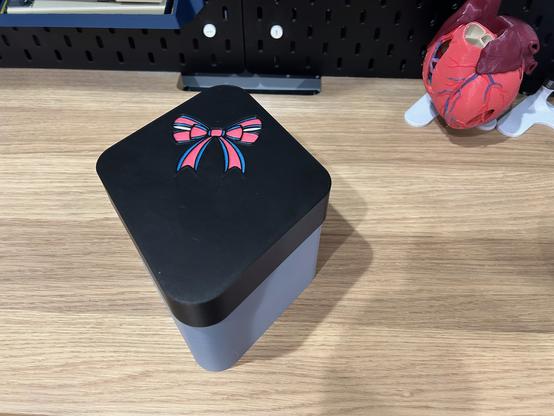
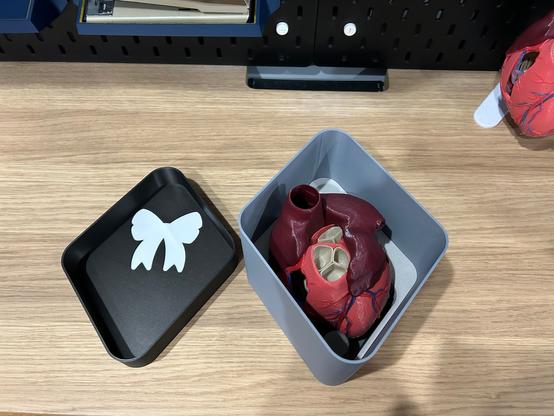
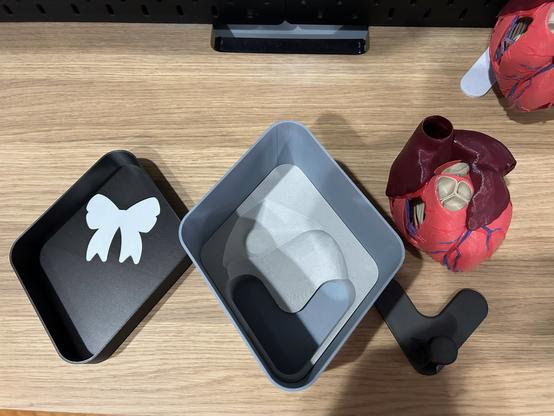
@3dprinting And now I have a parallelogram shaped gift box. This is becoming my standard gift box: fitted insert, lid with bow printed on. This was only challenging in that the heart is too complex to import into Fusion360 as an STL.
The blue and red ribbon is the same filament as the veins and arteries. The lid is the same as the stand.
@3dprinting I printed some stands. (The stand is on Printables among the remakes of the model I posted above).
The left two are Overture Rock White PLA with fuzzy skin with a Bambu Iron Gray Metallic PLA cap (not fuzzy). The right two are all Iron Gray Metallic (not fuzzy).
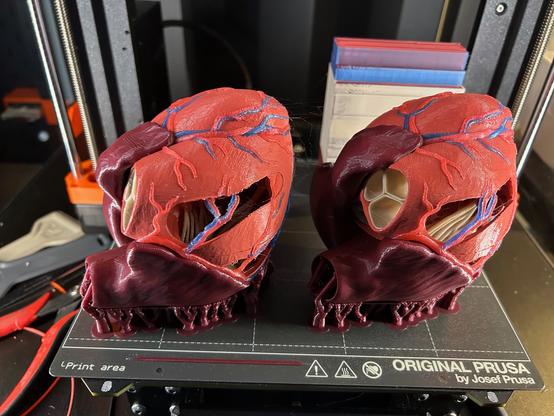
@3dprinting It finished! And one of these hearts will make a very nice gift.
56 hours all told.
No further interventions needed today.
My MMU has done a lifetime total of 10,508 filament changes now. 1,678 of them in this print.
@3dprinting I adjusted the height of the FINDA (MMU filament sensor) at 50% complete, and it hasn't needed intervention since. (Knock on woodfill PLA.)
Love this stupid machine. #3dprinting #prusa #mk4s #mmu3
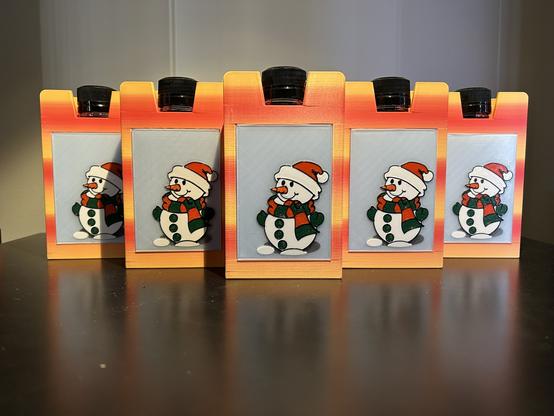
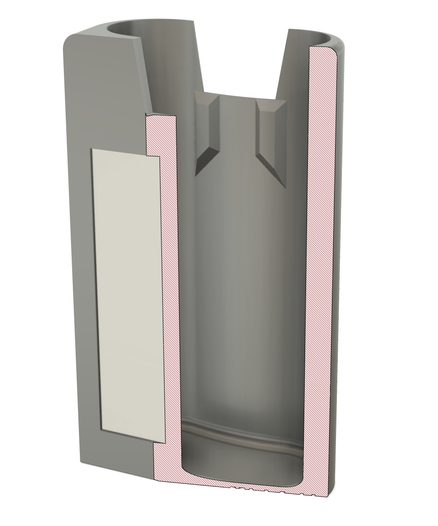
Now I've gone into mass production of gift boxes with little snowmen on them. These contain flask-sized bottles of maple syrup. Modeling around the flask shape was fun. This time I printed the carrot noses separately and glued them in, rather than do manual color changes or settle for five colors.
PolyTerra "Fall" gradient matte PLA for the box.
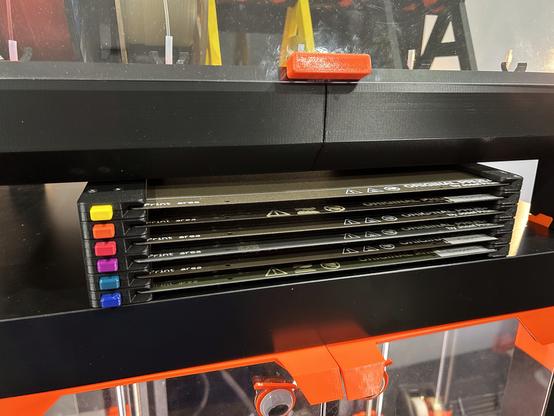
@3dprinting Now I have storage for various print bed sheets.
This is the Expandable Steel Sheet Holder by Whity, upside down because I'm left handed.
https://www.printables.com/model/51462
And the printer plays on.
🧵 88/∞
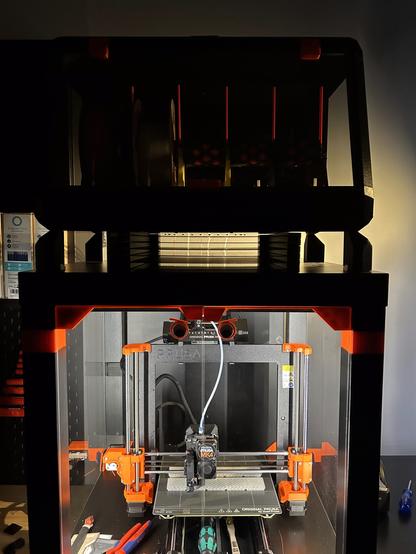
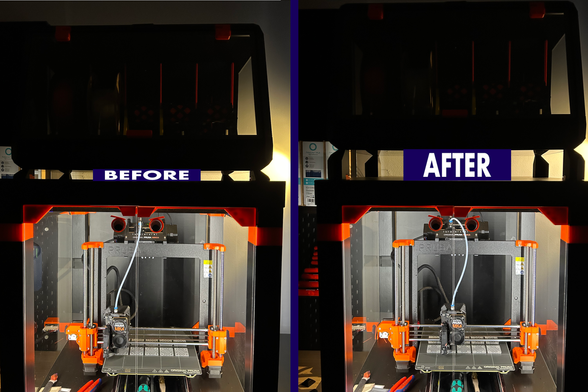
@3dprinting I lifted the drybox up on stilts. While it was feeding filament to the running printer. Now there's 62mm of clearance under the box.
Upthread in 🧵 66 I showed how the drybox is removable. It still is, it's just closer to the stratosphere.
🧵 87/∞
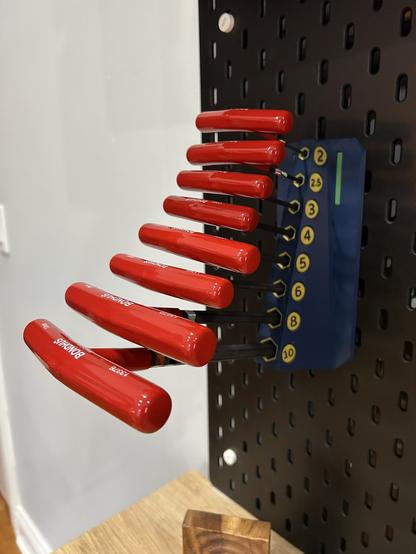
I've made one mount for my SKÅDIS pegboard now. I think this is going to be the color scheme: matte blue mounts, gold labels, and green ASA hooks. Varela Round for the label font. (Red wrenches are not part of the color scheme. The next tools will be yellow and blue-green.)
I used Kim-Janosch's hooks rather than invent my own.
https://www.printables.com/model/635711-skadis-mount-collection
Yes, you can use an MMU for functional prints.
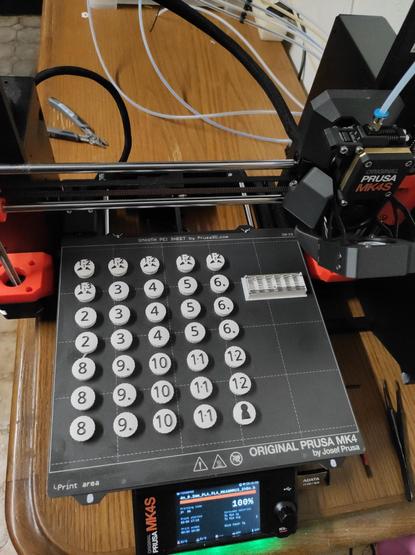
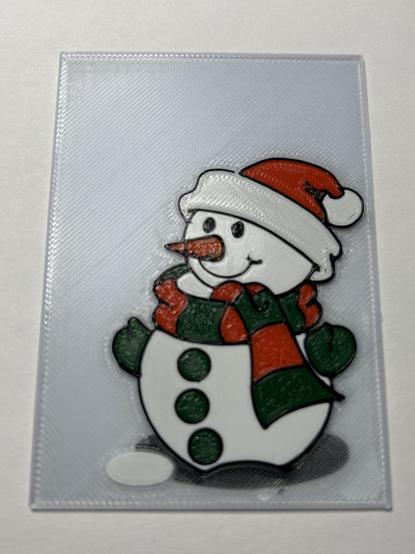
I printed this. I downloaded a line drawing from a coloring pages site, massaged it in Fusion 360 and PrusaSlicer, then edited the .GCODE file to insert filament changes. It has six colors; MMU3 only supports five, so I switched in the sixth color manually.
I used ironing and different infills to add more variation to the colors. See the Alt Text for details.
And I still don't know what that white thing at the lower left is supposed to be.
@3dprinting The wipe tower is horrible, but the print is just fine with just one bit of excess filament stuck to it. Still, I do not recommend this technique.
🧵 13/N
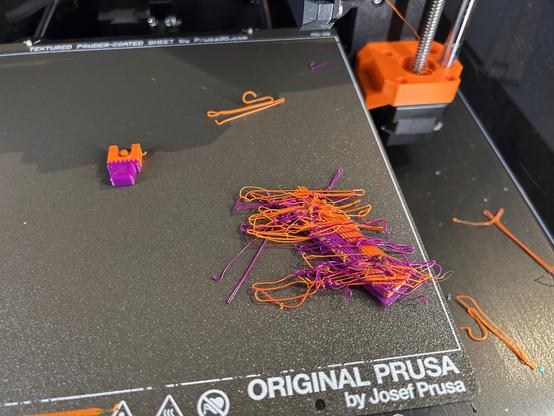
@3dprinting What happens when the wipe tower comes loose from the build plate? I noticed in time and held it in place for the last 8 filament changes. Amazingly, the print survived.
🧵 12/N
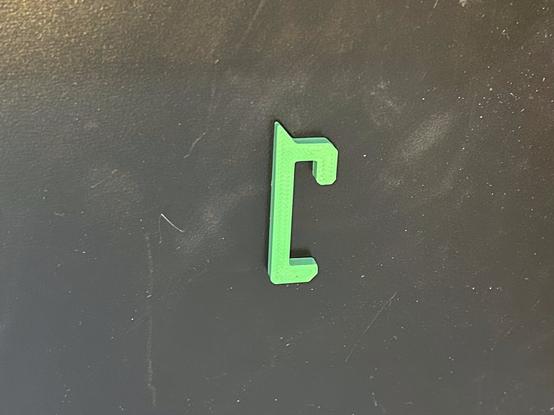
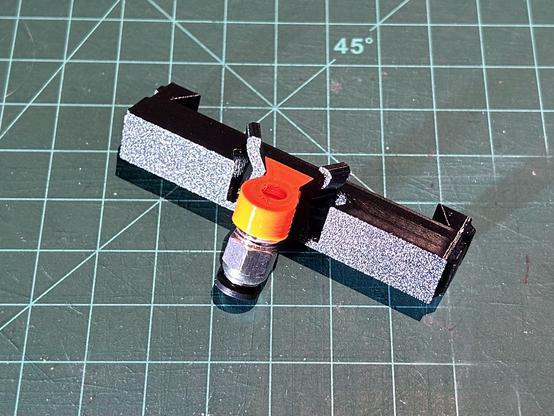
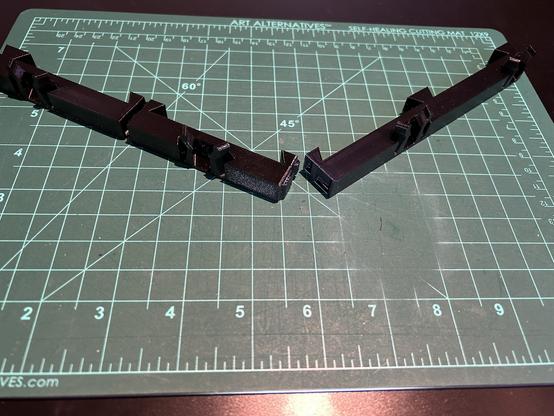
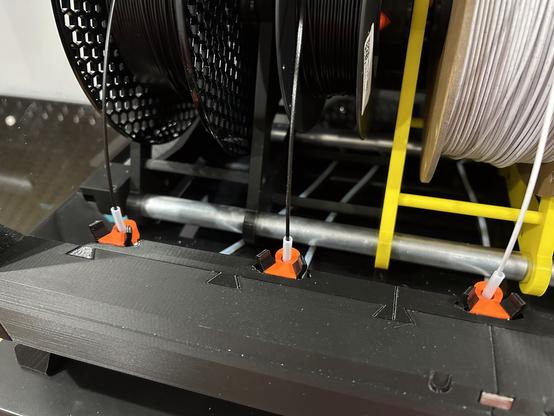
@3dprinting Upthread in 🧵 84 I said that sometimes the filament tube inlets come off. I've addressed that issue by creating bendable clips that hold the inlets in place. Tool-free, of course.
These photos also show the six-to-five adapter. The (Un)original Prusa Drybox is designed for six spools. The MMU3 uses five. So I made an adapter. (It's a refinement of a similar adapter seen here. https://www.printables.com/model/702217-mmu3-mmu2s-5-spools-auto-rewinder-adapter-for-unor/files)
🧵 86/∞
The bad:
- Full spools have enough angular momentum on retractions that sometimes they pull the tube inlets off. Then the filament wraps around the axle.
- The tubes in the back are free and floppy and not parallel. (aesthetic)
- The back panel is flimsy. It's corrugated plastic, and it bends a lot when removed.
🧵 84/∞
The good:
+ Filament is easy to load. The tube inlets are right up front, no need to reach behind the printer or feed through a buffer.
+ It works fine whether the enclosure lid is closed or tilted up at a 45° angle.
+ Everything disassembles pretty easily with no tools required.
🧵 83/∞
@3dprinting Here's how the roller comes apart. (There is voiceover in the audio.)
🧵 82/∞
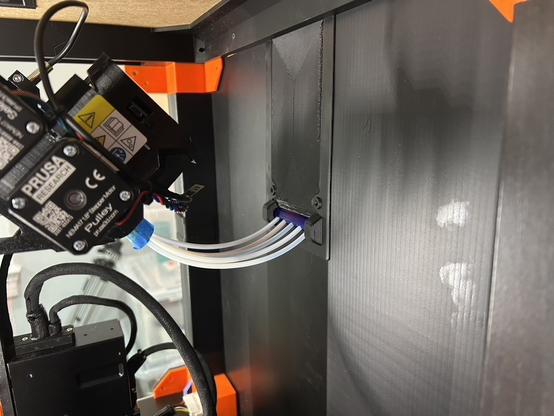
@3dprinting Upthread in 🧵 69 through 72, I discussed options for passing through the back wall. @esden and @Siff advised.
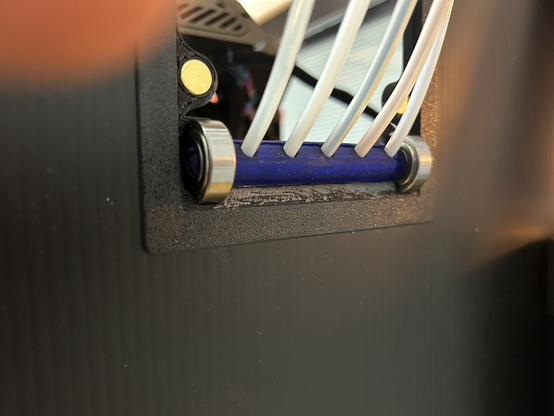
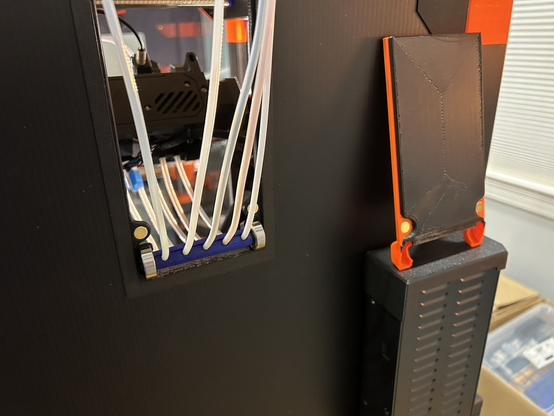
The tubes go through a roller that lets them rotate together. The roller is clamped between the black surround and the black/orange panel.
For disassembly, the panel pops off, the roller lifts out and the whole back panel can be pulled away. The roller splits into two halves after the bearings are pulled off.
🧵 81/∞
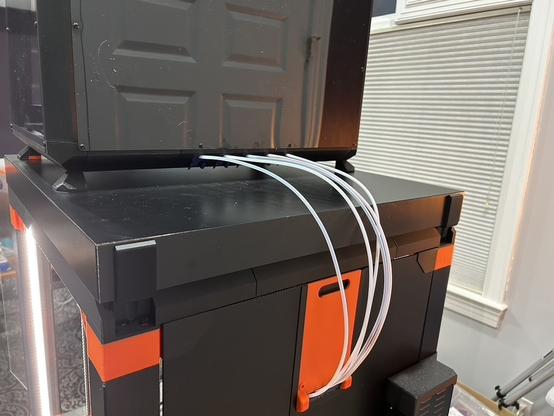
@3dprinting The tubes exit the drybox in the back through the clips I showed upthread in 🧵 74. From there, they're free and floppy until they enter the enclosure through the back wall and immediately into the back of the MMU3.
🧵 80/∞
