#reavertitan

2025-06-23

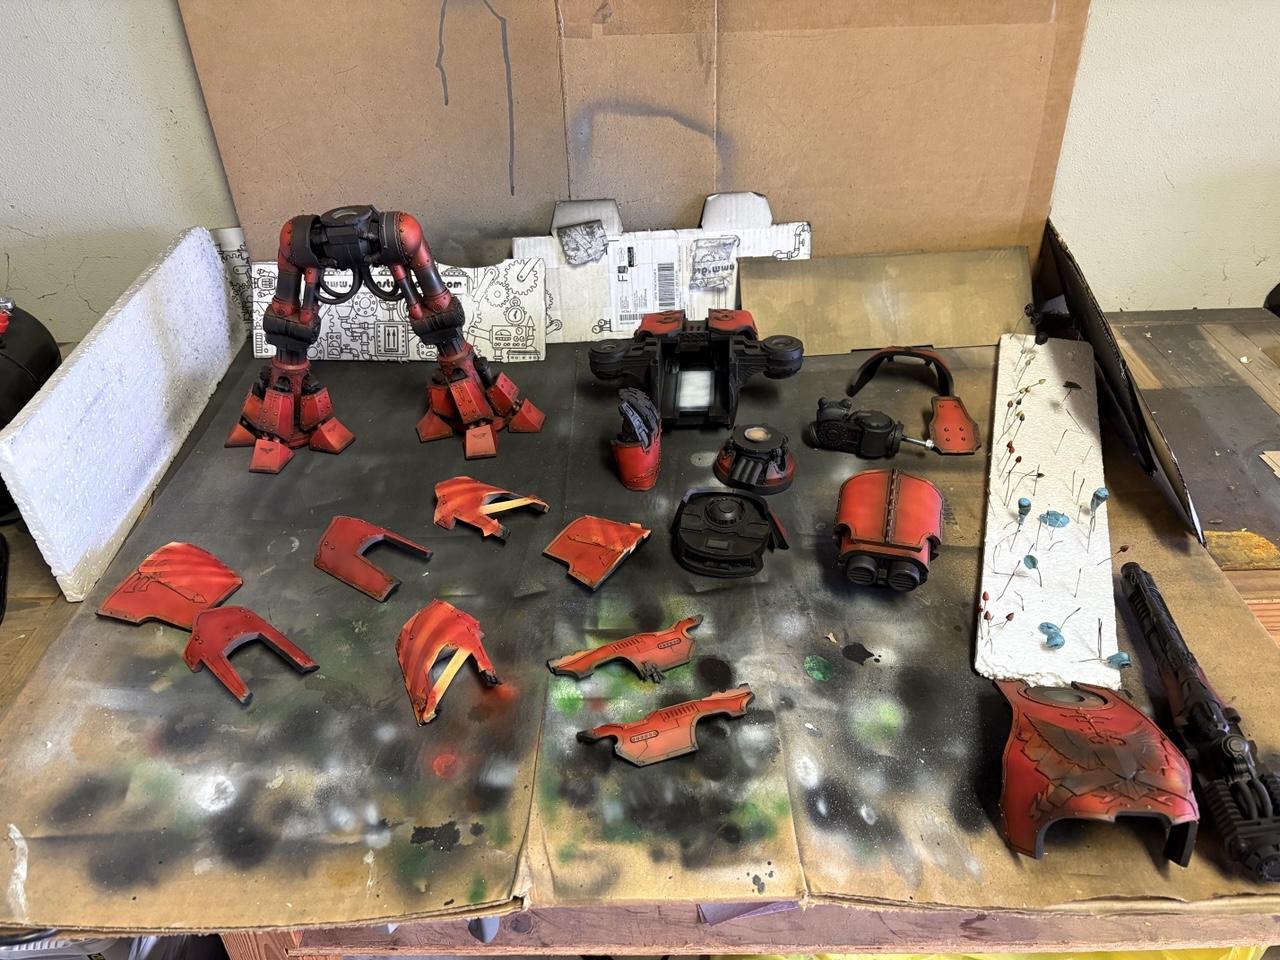
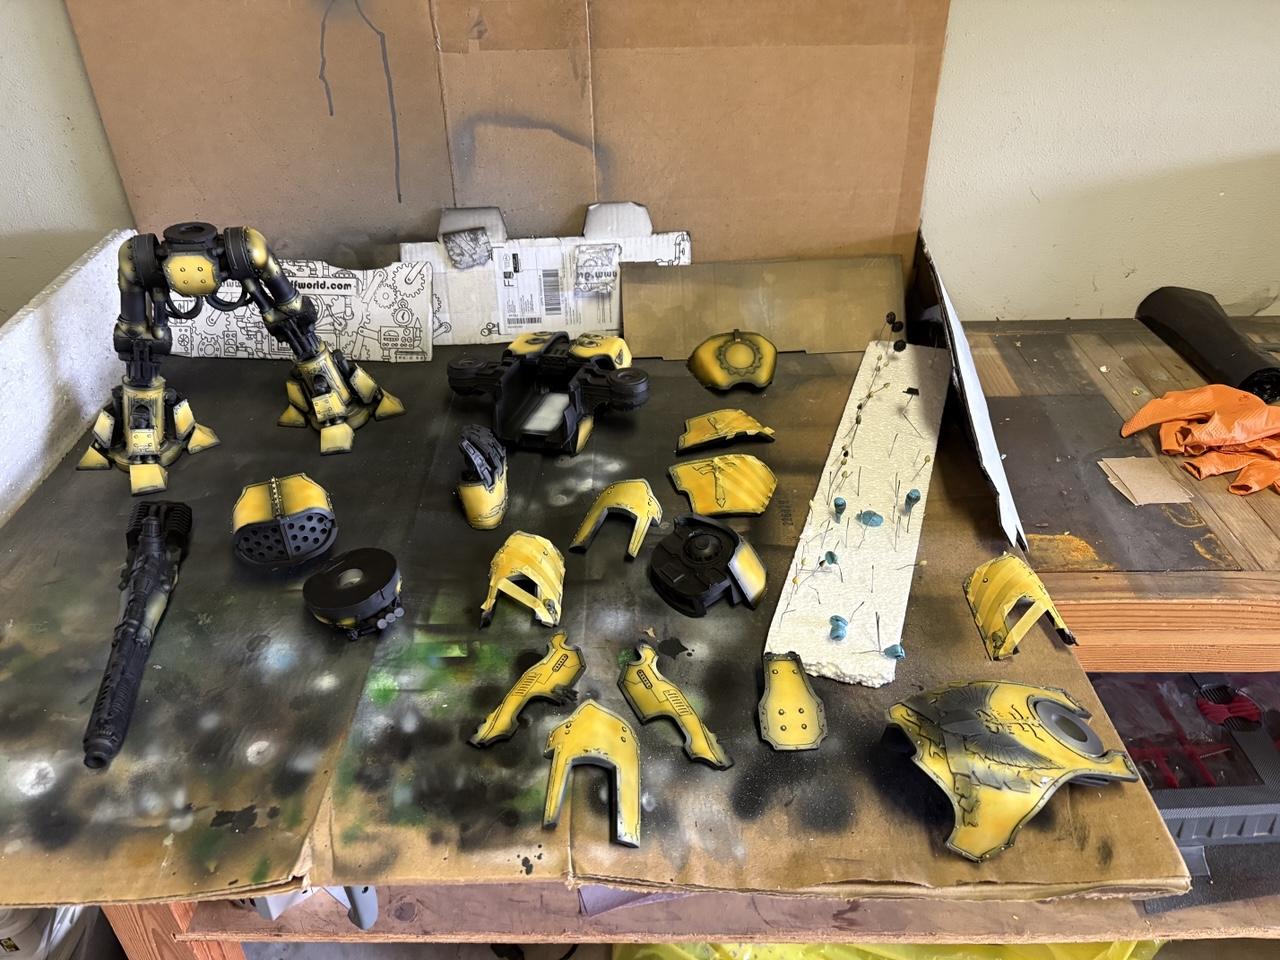
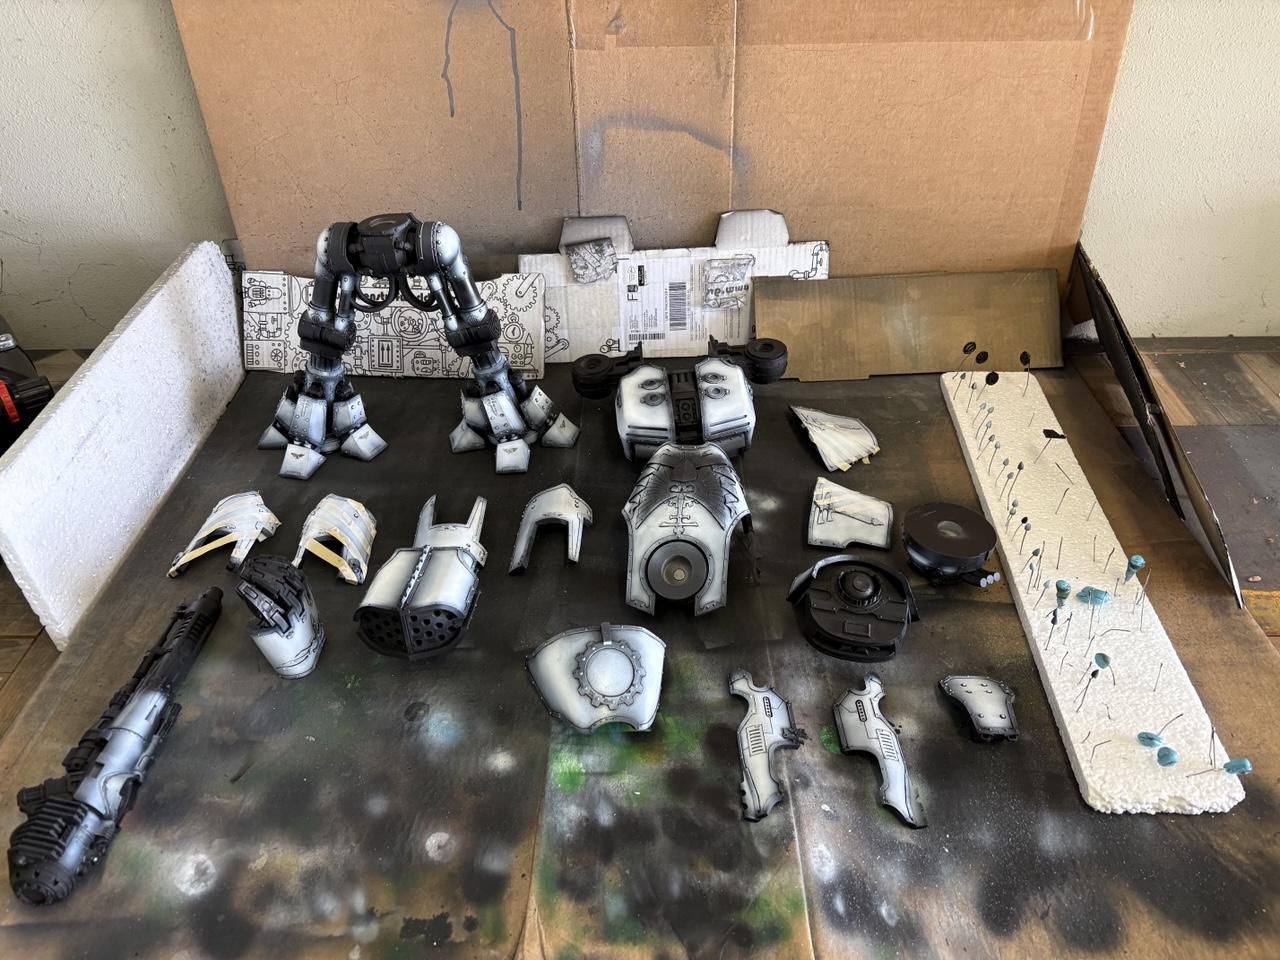
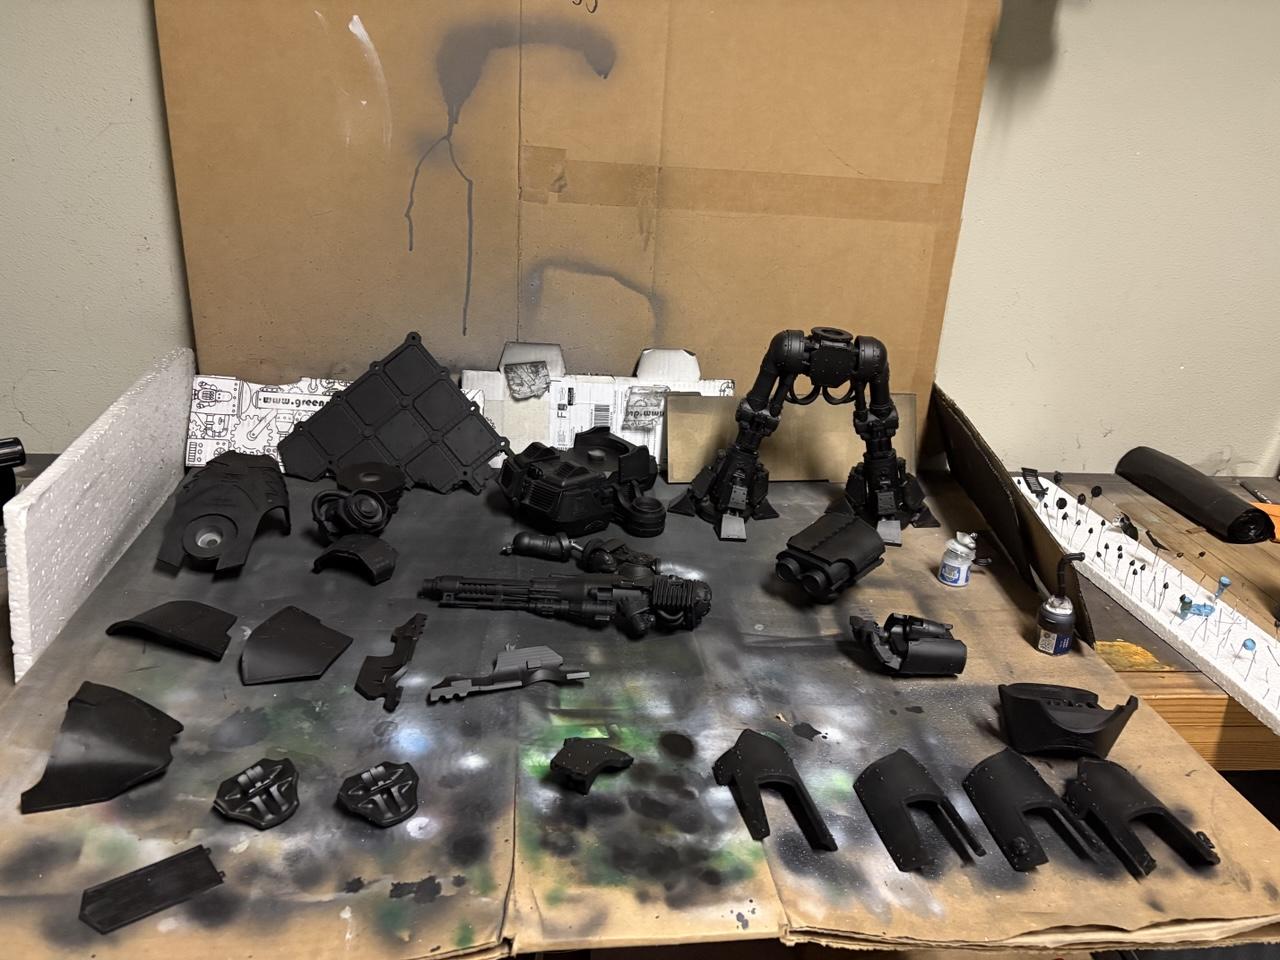
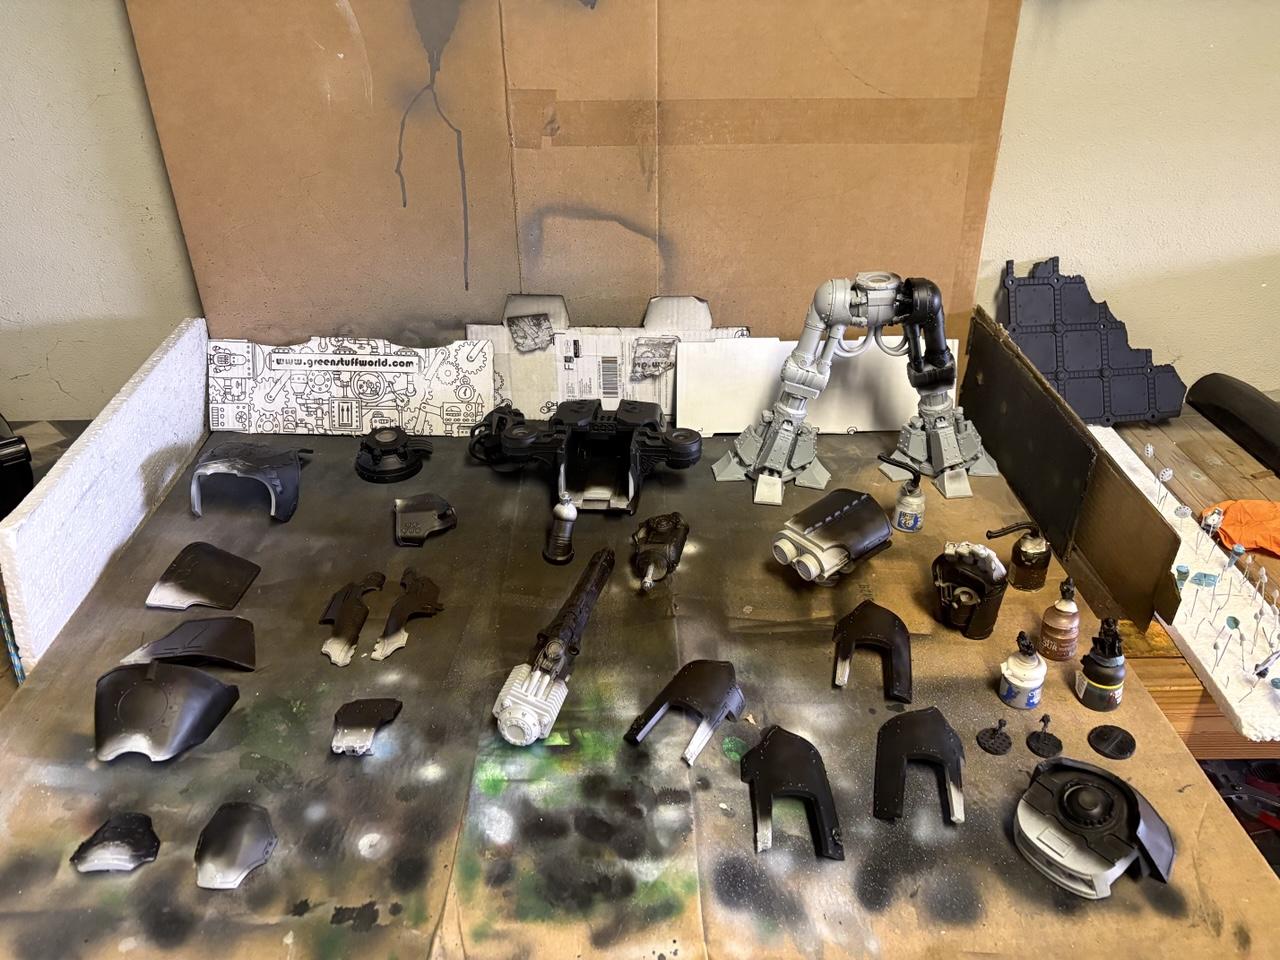
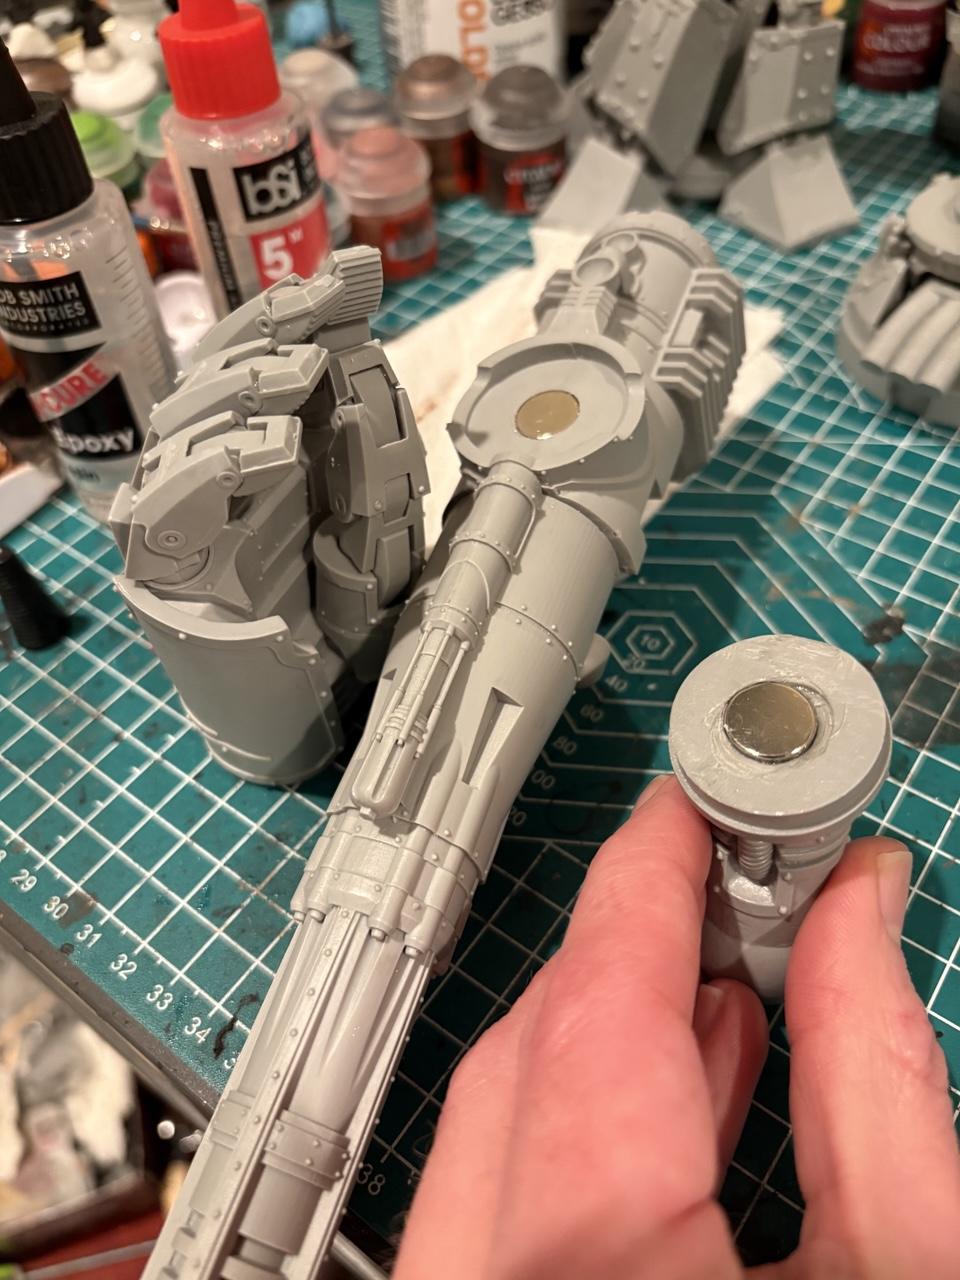
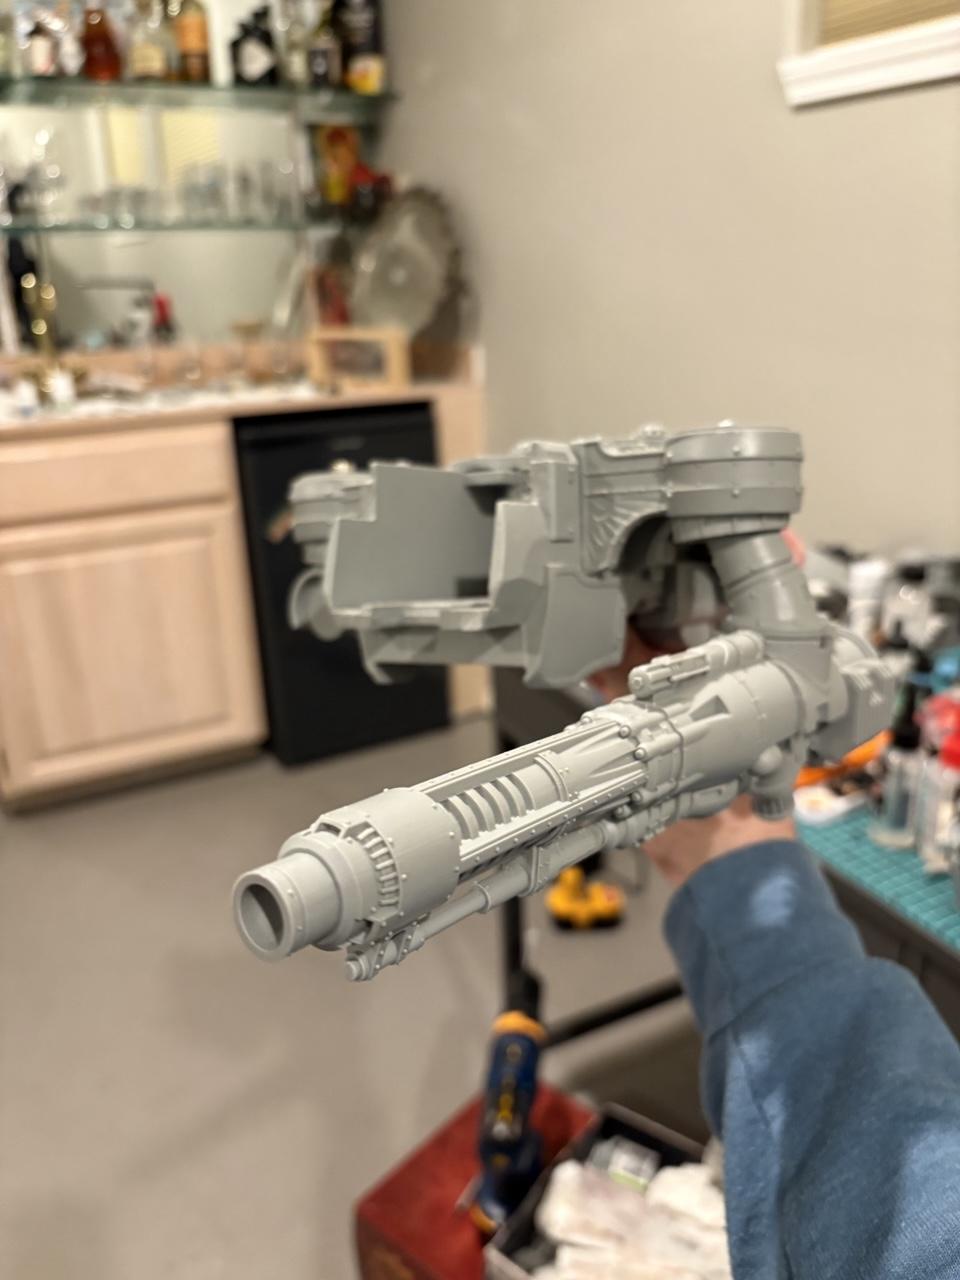
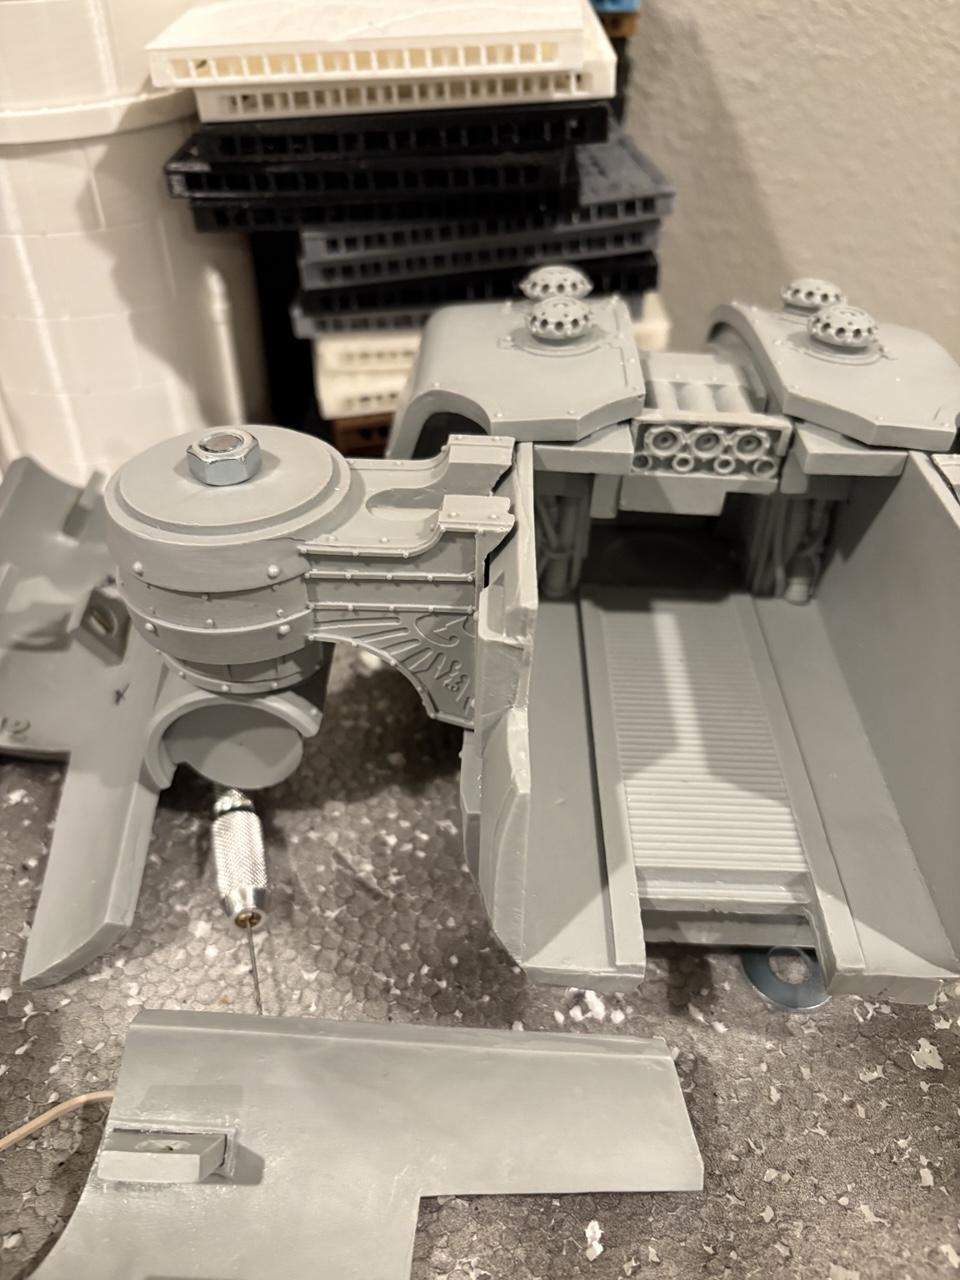
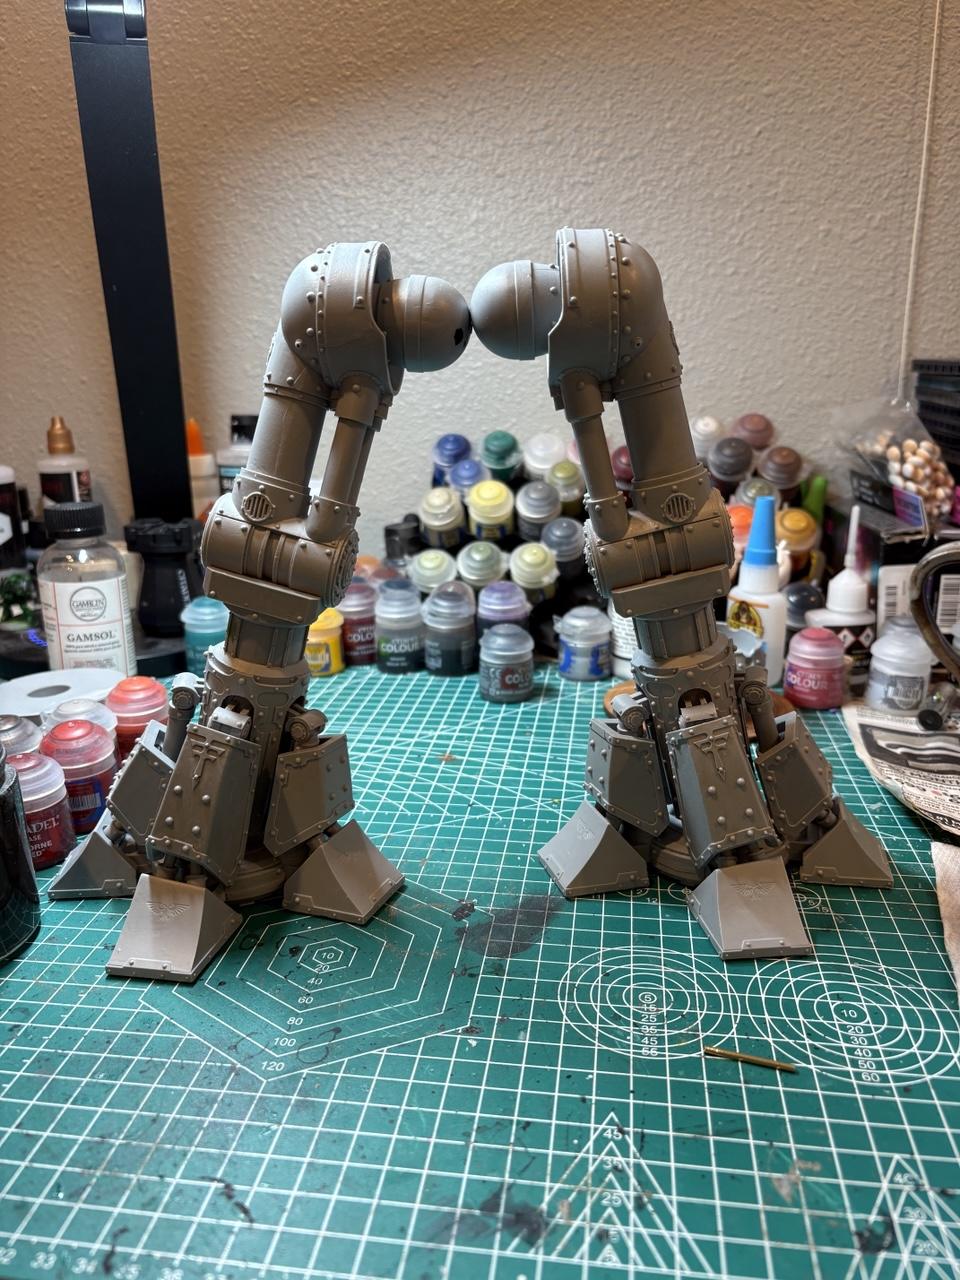
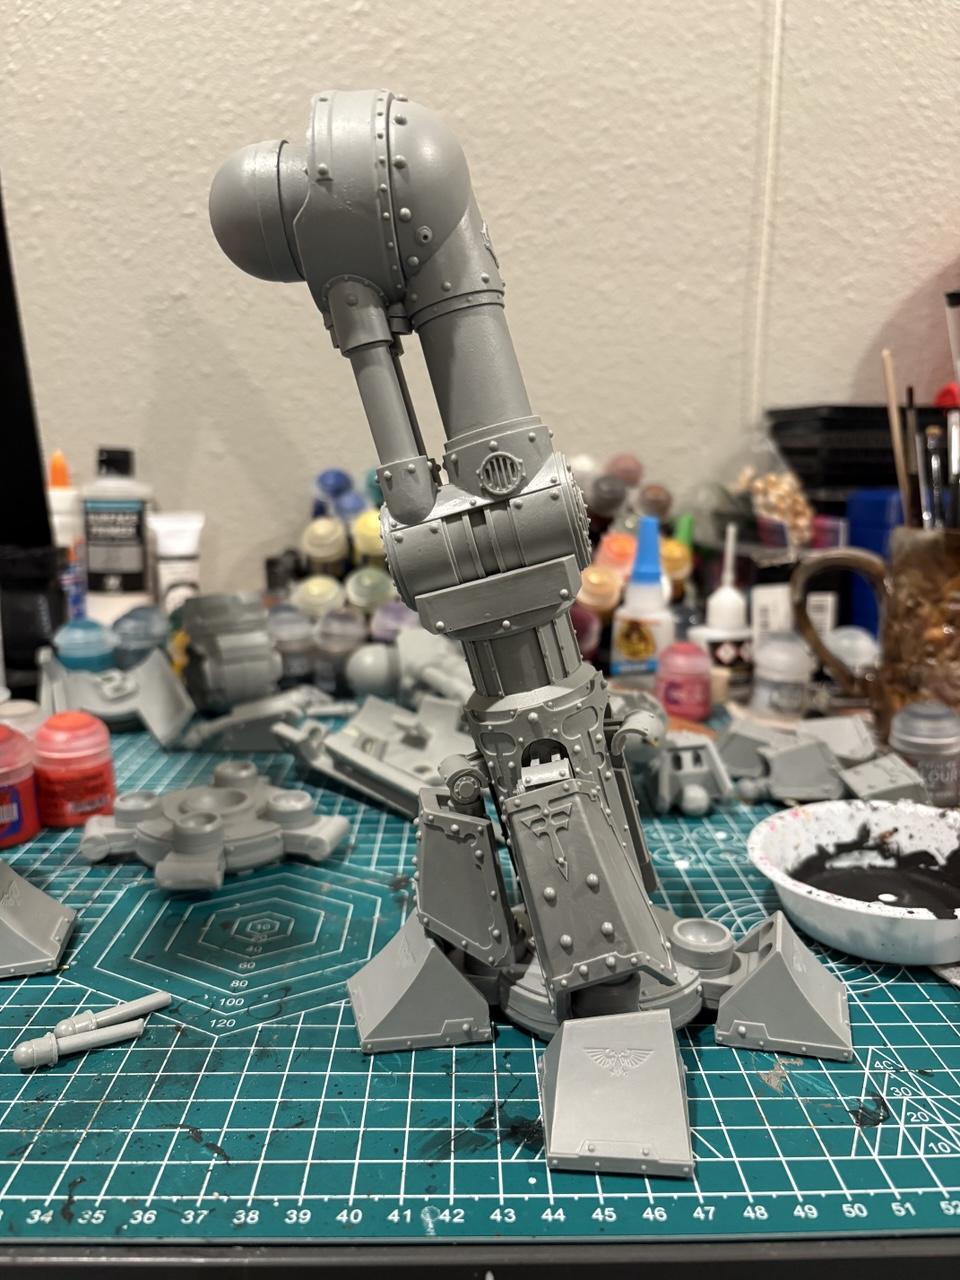
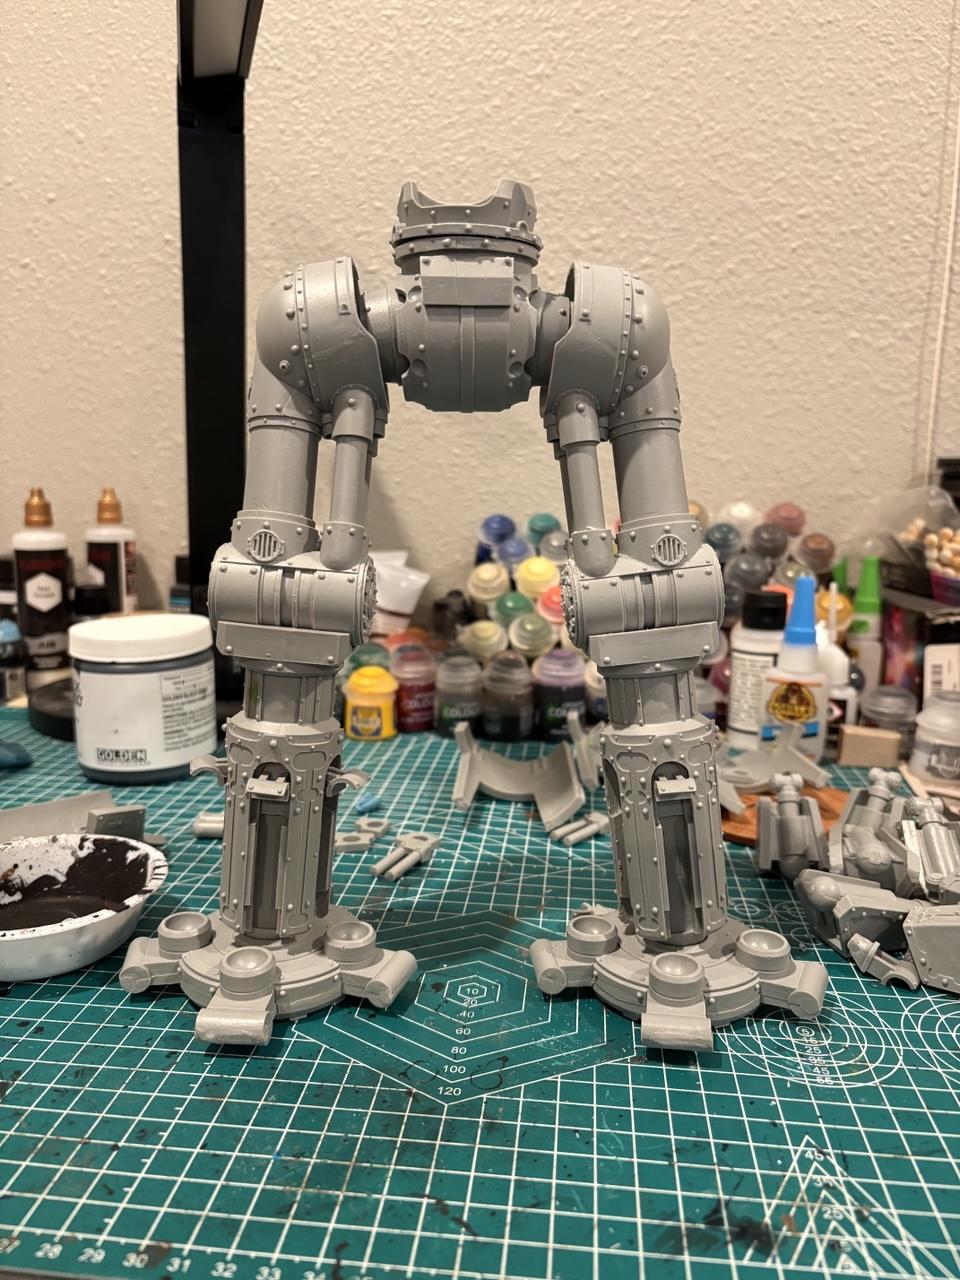
Reaver Titan: Day 30

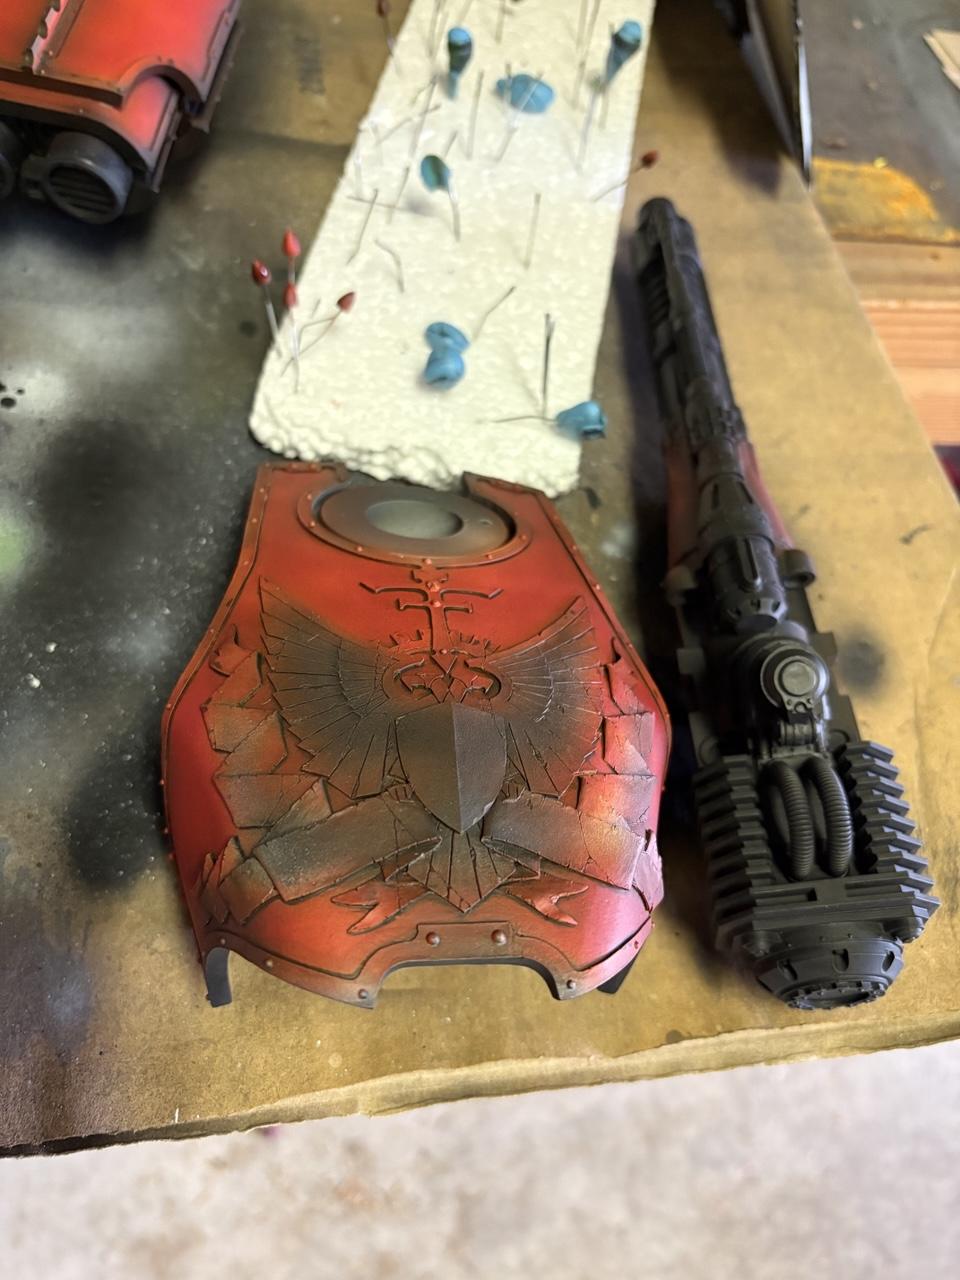
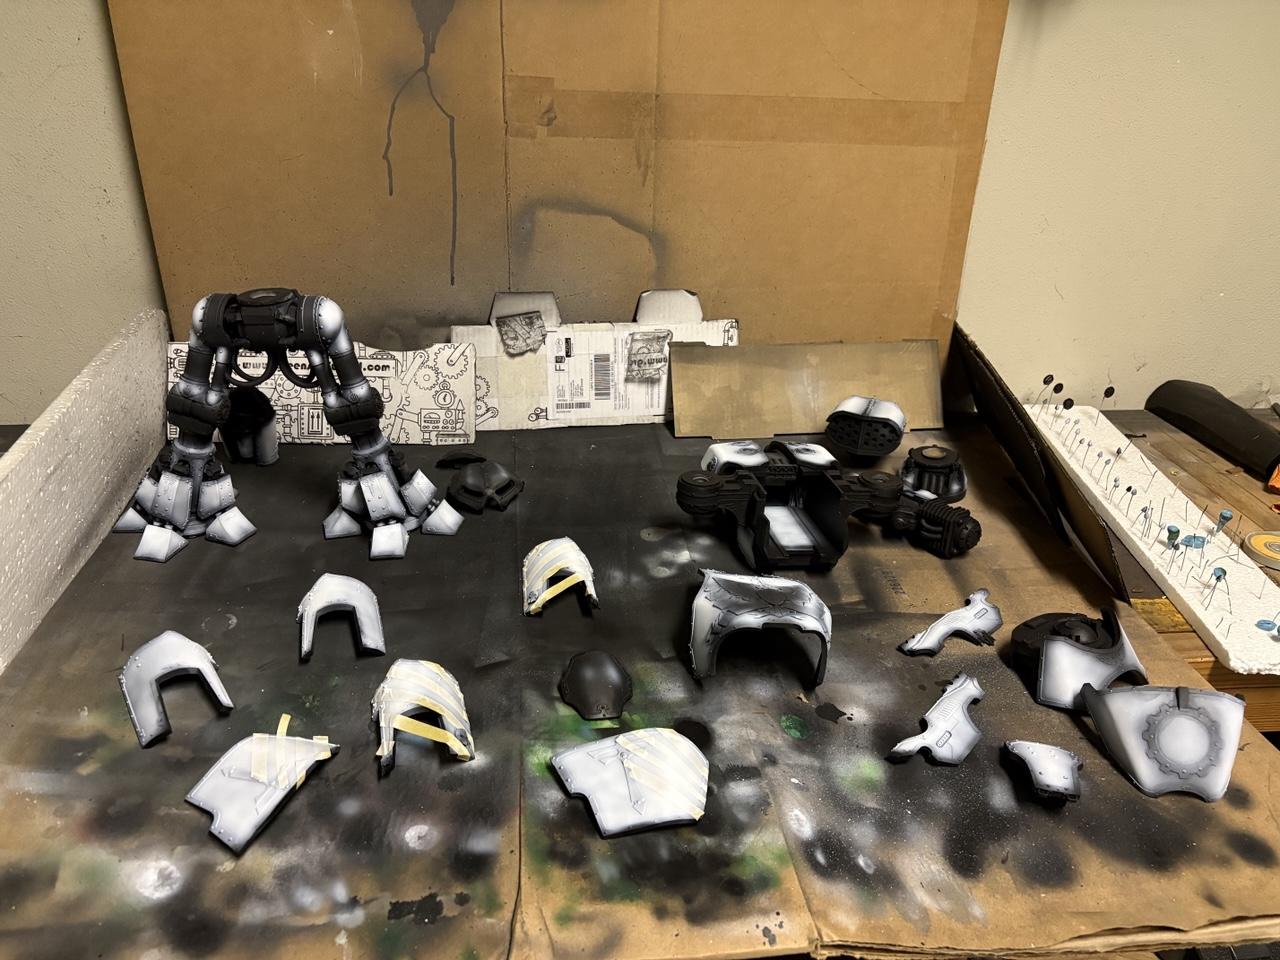
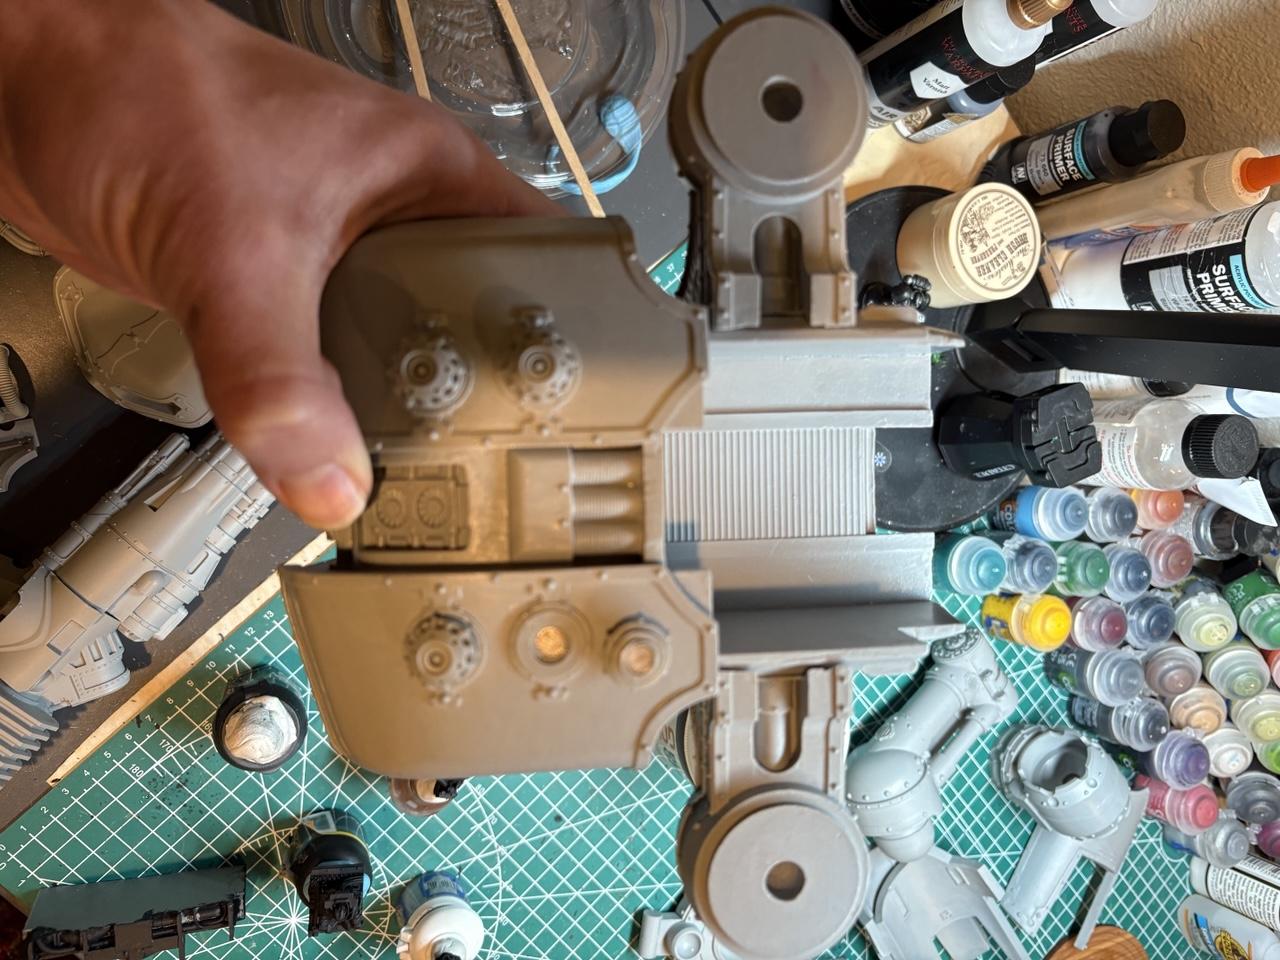
So: today was the day that would tell me if all the gradients, panel lining, and combo of yellow plus Blood Angels red contrast would pan out.

Darcy Bono knows her stuff.

Very thrilled with the end result. Probably the most saturated red I’ve ever gotten.

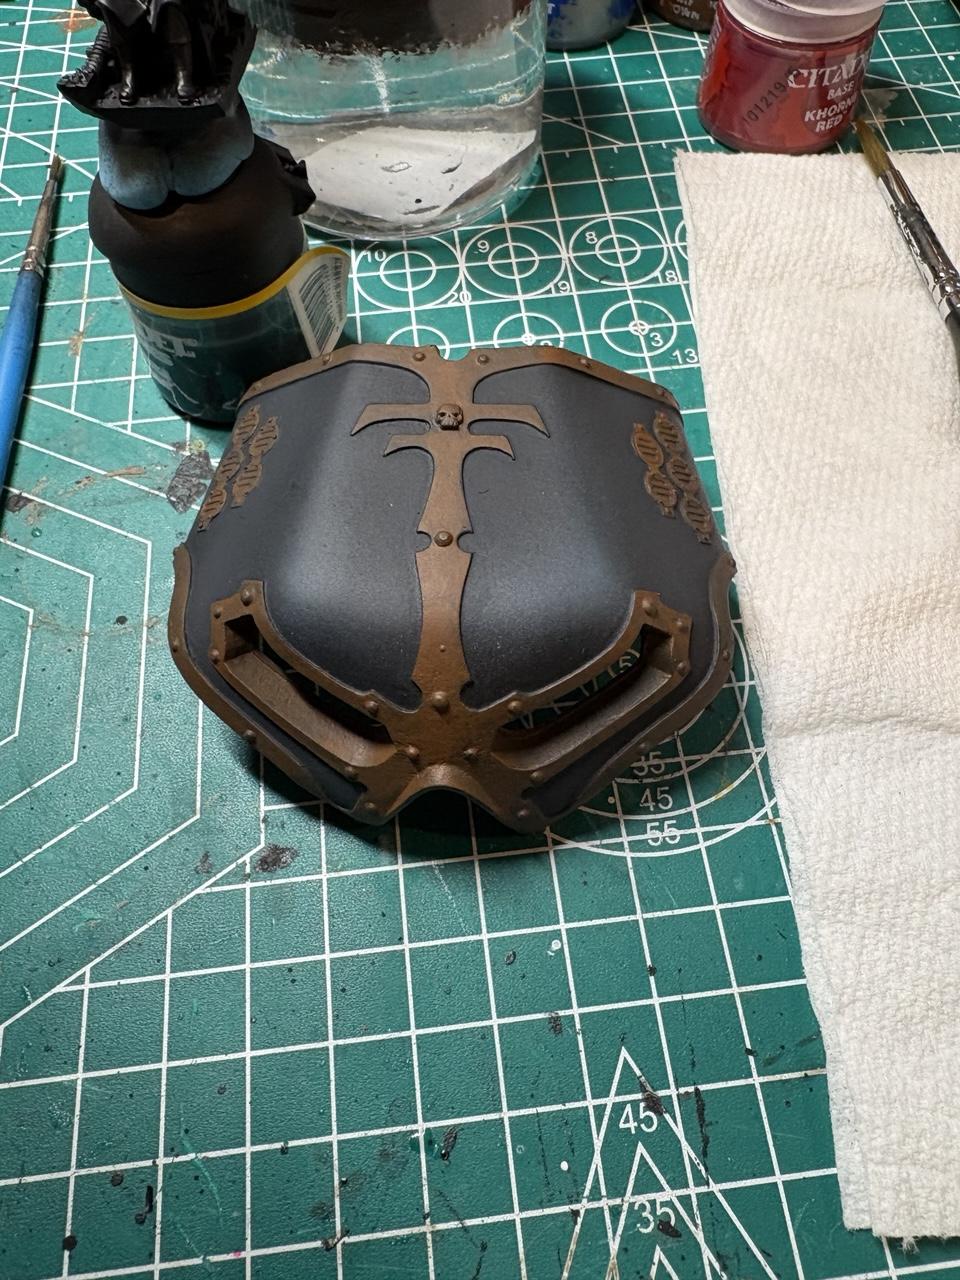
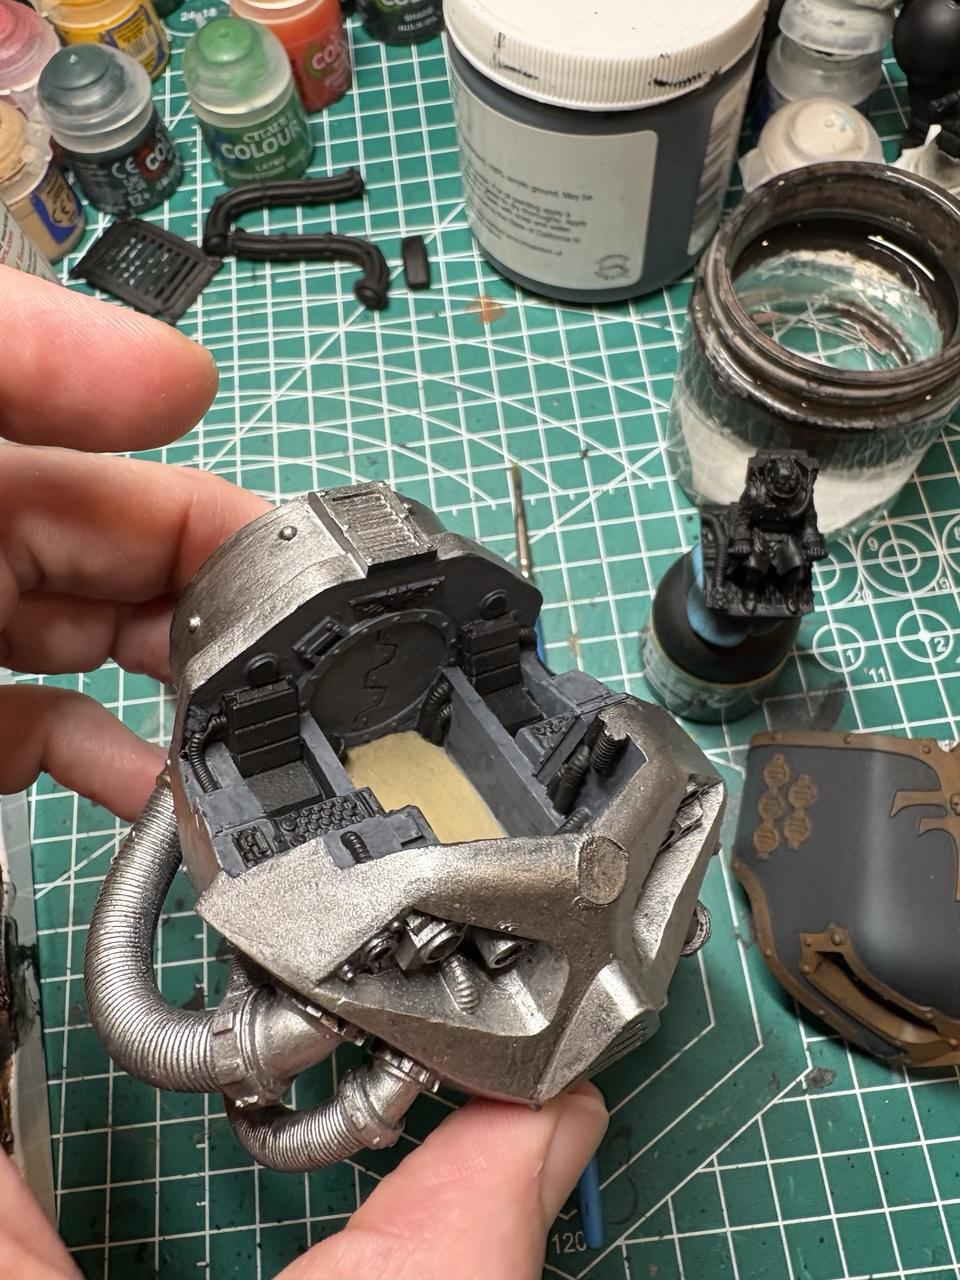
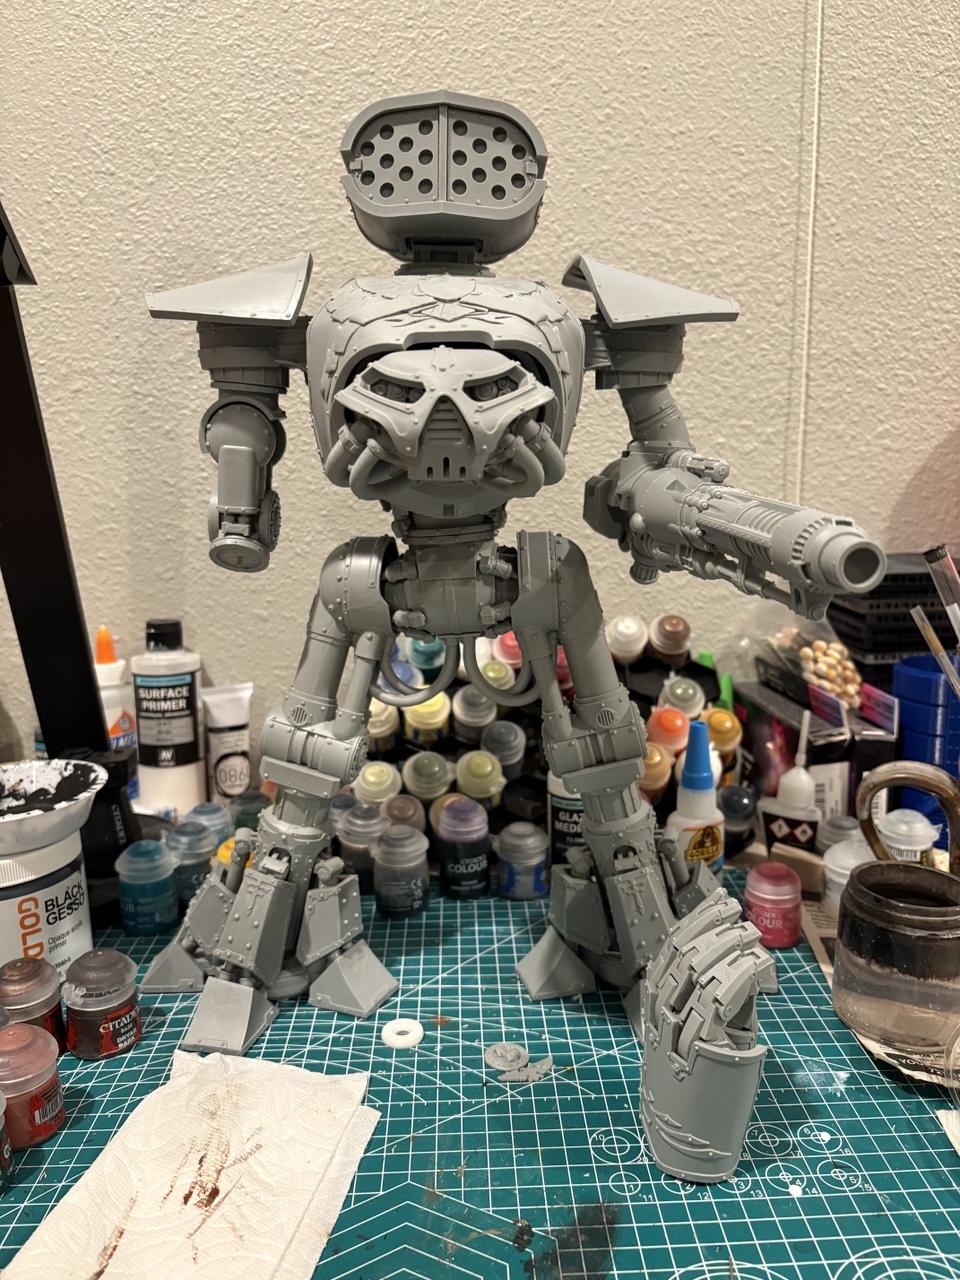
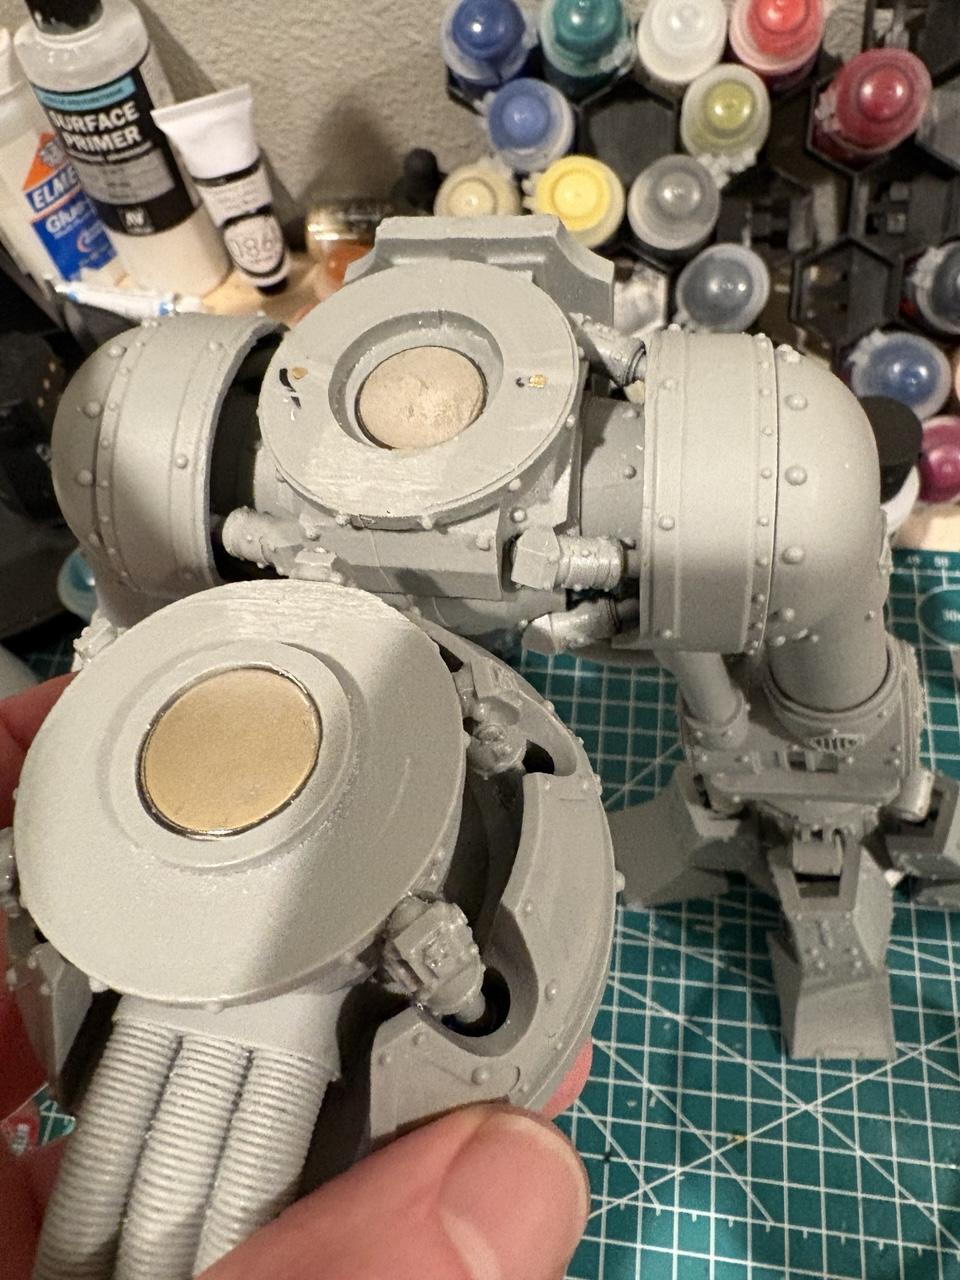
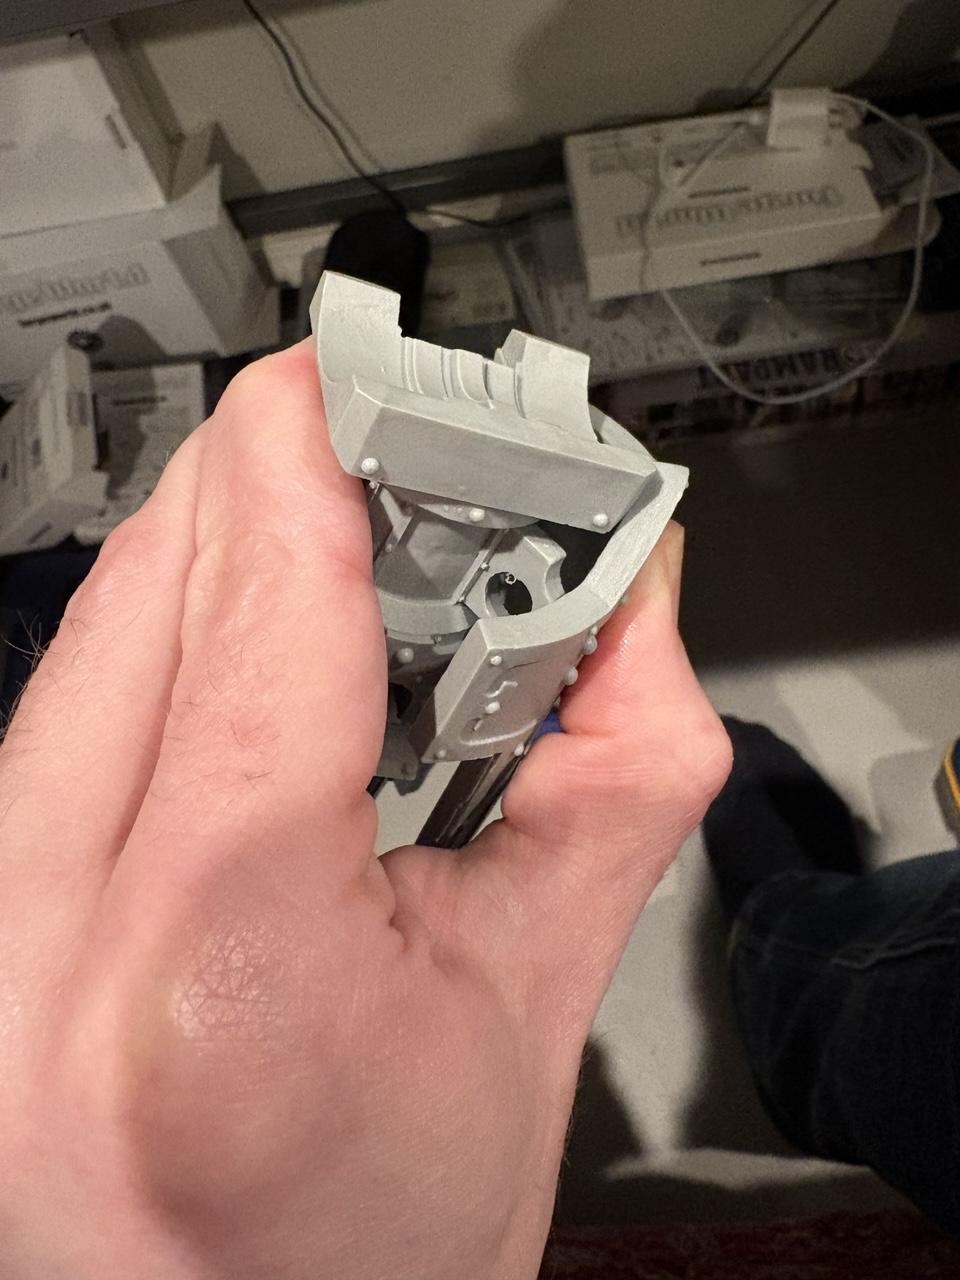
In between spray sessions went ahead and started the head. It’s a little flat right now but the oil shading should give it the right depth.

#reavertitan

The reaver Titan mask. The metallic trim has been blocked in with a warm brown color.A closer up shot of the reaver carapace. The red is saturated with a nice gradient along the edges.The head of the reaver Titan. It is a very shiny metallic color. The interior walls are gray. The floor is beige.A lot of reaver parts, all of which are now bright red. It’s popping.
2025-06-22

Reaver Titan: Day 29

In the home stretch now for airbrushing (he says with reckless optimism). Got all the parts sprayed with Cassandra Yellow. Tomorrow I’ll hit it with red contrast. Never used this particular combo before, but Darcy Bono recommended it for a nice saturated red, which is what I’m going for.

#reavertitan

All the reaver bits are splayed out on a piece of cardboard used to backstop airbrushing. The armor panels are now yellow.
2025-06-21

Reaver Titan: Day 28

Got the black panel lining cleaned up - think I went through a dozen makeup removers cleaning off the excess oil paint - then got about half of the panels sprayed with yellow ink. Had to stop due to condensation build up in the compressor.

#reavertitan

2025-06-20

Reaver Titan: Day 27

Airbrushed blue/gray highlights on the black pieces, varnished the armor plates, then did an oil groove wash.

#reavertitan

Two knee pads and a reaver helmet. They’re black, but with subtle blue/gray volumetric highlights.A mess of reaver parts with messy edge lining.
2025-06-16

Reaver Titan: Day 25/26

Back to air brushing. This time it was getting the gradient white laid down. As expected, the legs were a bit of a bear; trying to get all the fiddly angles took awhile, but I’m happy with the result. Next step: shellacking it with some varnish followed by pin washing it with black oil wash.

#reavertitan

A mess of reaver Titan parts, now with a nice light gradient white highlight.
2025-06-02

Reaver Titan: Day 22

Got the priming (mostly) done! I know I’m going to have to switch to brush on primer to get to the really hard to reach nooks and crannies, but the big spray job of black is there. I imagine that will take a few days. Once I’ve got him fully covered, it will be on to the white ink for radial / gradient shading (~2 days); a spray of varnish followed by black panel lining (~3 days); then yellow under color on armor (1 day) and finally red (1 day).

#reavertitan

A makeshift airbrush area, made of cardboard on a wooden work bench. A collection of reaver Titan pieces litters the cardboard. All are black. A piece of styrofoam is to the right, with little pieces on legs. Also black. A piece of terrain is leaning against the cardboard. Also black.
2025-05-27

Reaver Titan: Day 21

Let the priming begin! I can only run the compressor for about 45 min before condensation build-up starts shooting water out the hose, so this was the result after two passes. It’s a start at least!

#reavertitan

Reaver Titan pieces laid out on top of a large piece of cardboard, used as a paint station.Reaver Titan pieces, laid out on cardboard used as a paint station. They are partially primed black.
2025-05-26

3/ Added purity seals to the leg plates and a skull or two. Also added some seals to the volcano cannon.

4/ washed everything again. Lots of dust from the final drilling.

To the airbrush tomorrow!

#reavertitan

A panel to the interior of the reaver Titan. The panel has three rack positions. The left has a computer with three round green displays. The center has the arm weapon servitor; his skin is beige and pale. The farthest right has vents. The floor is a muddy tan. The walls are gray. The pipes have a faint hint of rust.
2025-04-21

Reaver Titan: Day 19

Really in the home stretch on the build now. Gap filled the worst spots and finished up the power fist. I’m going to leave the hand off for painting, but have it all pinned and ready to go. Magnetized the head and the shoulders. Started affixing some doo-dads to the hull.

I have probably one more day of build left: I need to warp and fit the under carapace, and I decided to add a final magnet for the missile launcher. More doo-dads for sure.

#reavertitan

2025-04-20

Reaver Titan: Day 18

Super productive day:

- Washed and assembled the Power Fist Hand
- Drilled and magnetized the waist and gun arm
- cut and glued in the hip pistons
- Drilled and cut threaded rod for both shoulders; validated that the shoulder pad magnet will work with one shoulder

He’s starting to come together…!

#reavertitan

A giant power fist, a volcano cannon, and a shoulder. The shoulder and volcano cannon are magnetized.The reaver Titan body, with the shoulder attached via a rod and bolt and the cannon suspended via the magents. A small wet bar is in the background.The body of the Titan, with various leg armor plates around it. The shoulder has been attached via a rod and bolt drilled through. (I later came back and sunk this further in on the top to give myself more room to work with on the shoulder pad)The waist magnetized. Hip pins are visible in the upper torso. The magnets are freakin huge.
2025-04-13

Reaver Titan: Day 17

Some nice slow progress today. Used a blow dryer to bend the leg cables and head cables into position and got them glued in. Pinned and glued the upper waist to the pelvis joint. I’ve left the bottom free - I may magnetize it but I’m also pretty happy with how stable it seems to be.

#reavertitan

A human hand holds the Titan in place while bent cables dry. The Titan is upside down on a green cutting mat. The interesting part are the cables, each of which had to be heated and bent into position. There four of them, two on each leg connecting under the pelvis.The Reaver Titan is standing up on a green cutting mat. The upper pelvis is now affixed to the lower pelvis. A level is in front of the Titan, which mostly worked out.
2025-04-12

Reaver Titan: Day 16

Got the hip pistons trimmed down and glued in place, followed by the rear pelvis armor. Normally I wouldn’t glue armor panels in place but the leg cabling glues into them, and since they require heating to bend in place I want to attach them before painting.

#reavertitan

The back top of the pelvis and thighs of a reaver Titan. Two clamps are holding the rear pelvis armor in place while the glue sets. Under the armor you can just barely see the hip pistons that were cut and put in place.
2025-04-06

Reaver Titan: Day 15

Poking on various parts of the beast; the most notable progress was getting the waist attached. I drove a pin horizontally from one leg ball socket, through the waist, out to the other legs ball socket. I then drove two pins vertically down from the waist into the tops of the ball sockets.

This was a lot of careful measurement, but worth it given how load bearing it is. Really happy that this part is level and very stable. #reavertitan

The top of the Reaver Titan’s legs, now attached with a waist piece. A level sits on top of them, demonstrating that at least along that axis, they are level. A small pin can just be seen poking out of the top of the waist.
2025-04-05

Reaver Titan: Day 14

Legs are glued and done! All the dry fitting and pinning made this a reasonable exercise. Toe pistons were “interesting”, but with the leg position pretty stable it wasn’t too terrible to cut and fit them.

#reavertitan

Two very large legs. The ankle guards and toes are all glued in, as are the thigh and knee pistons.
2025-04-04

Reaver Titan: Day 13

I wasn’t thrilled with the leg angle, and so I redrilled the foot pin. That had the nice effect of also making the slight bend in the knee a bit more natural looking - glad I didn’t repin that one!

Also did some more pinning of the shinguards. I think the pins on the struts will work out great to hold the panels while the glue sets.

#reavertitan

The leg of a raver titan. It had a more pronounced bend. Some panels are now in the ankle and foot for testing purposes.
2025-04-03

Reaver Titan: Day 11 and 12

Finished phone of the engine room panels. Pretty happy with how this turned out.

#reavertitan #societyofhiddenpaint #WipWednesday

A wall panel in the engine room of the Reaver Titan. The bulkhead is a dirty gray. In the left rack position are exhaust vents and pipes. The center rack is a servitor in full on body horror mode, looking like a human battery from Matrix in a tank. On the right is a bank of screens and a terminal, a slight green color. The floor is a dirty tan. The whole thing has an oily / dirty vibe.
2025-04-01

Instead of highlights - which won’t be visible at all - I’ll do chipping effects using sponges. The goal is to have a super weathered look, sort of like the interior of a ship from Matrix or an old submarine.

Anyway! Started painting that up while I ponder the legs. Still pretty sure I want a wider / straighter stance, and will likely adjust the pins accordingly.

#reavertitan

2025-03-31

Reaver Titan: Day 9

It stands! (Sort of)

This was done with some dry pinning to test the stance. The feet aren’t quite as wide apart as I wanted and the knees are a bit more bent, but I may go ahead with it. The stance seems wide enough that it should hold the weight, and the very mild bend in the knees isn’t so pronounced that it looks like it is squatting.

Also: finished some interior priming, sunk some magnets into the feet, and did some more pinning on the shin guards. #reavertitan

The legs of the reaver Titan. The stance is fairly straight with the legs close to shoulder width apart.
2025-03-30

So! Today got the shoulders pinned and welded, and magnetized the void shields. I really like that idea - thanks to cruorangelussilicis on YouTube - as you can pop them off when the shields get knocked down.

Also did some more priming. I clearly missed some resin release on the parts my toothbrush missed - I think it will be okay as the primer usually takes and this is mostly stuff that will be hidden. I scrubbed the big panels pretty well… so hopefully it doesn’t happen there.

#reavertitan

The top of the reaver body, now with shoulders. The void shields are now magnetized, with the top right shield demonstrating the magnet by being removed and turned on its head.
2025-03-29

Reaver Titan: Day 8

This is one of those times where I have to remind myself that I paid a lot of good money to have a bunch of pieces come nowhere close to fitting. Highlights of the insanity: 1/ gluing the back together only to discover the body is too wide and have to break it apart and do it again, losing any hope of detailing that part of the interior; 2/ gluing brackets on the shinguards 5 times and still not having them align.

Tomorrow is another day. #reavertitan

A hand holding shinguards in place. This attempt also failed.A fucking mess of reaver parts.

Client Info

Server: https://mastodon.social
Version: 2025.04
Repository: https://github.com/cyevgeniy/lmst