#FilaBillyHumidor

2025-06-22

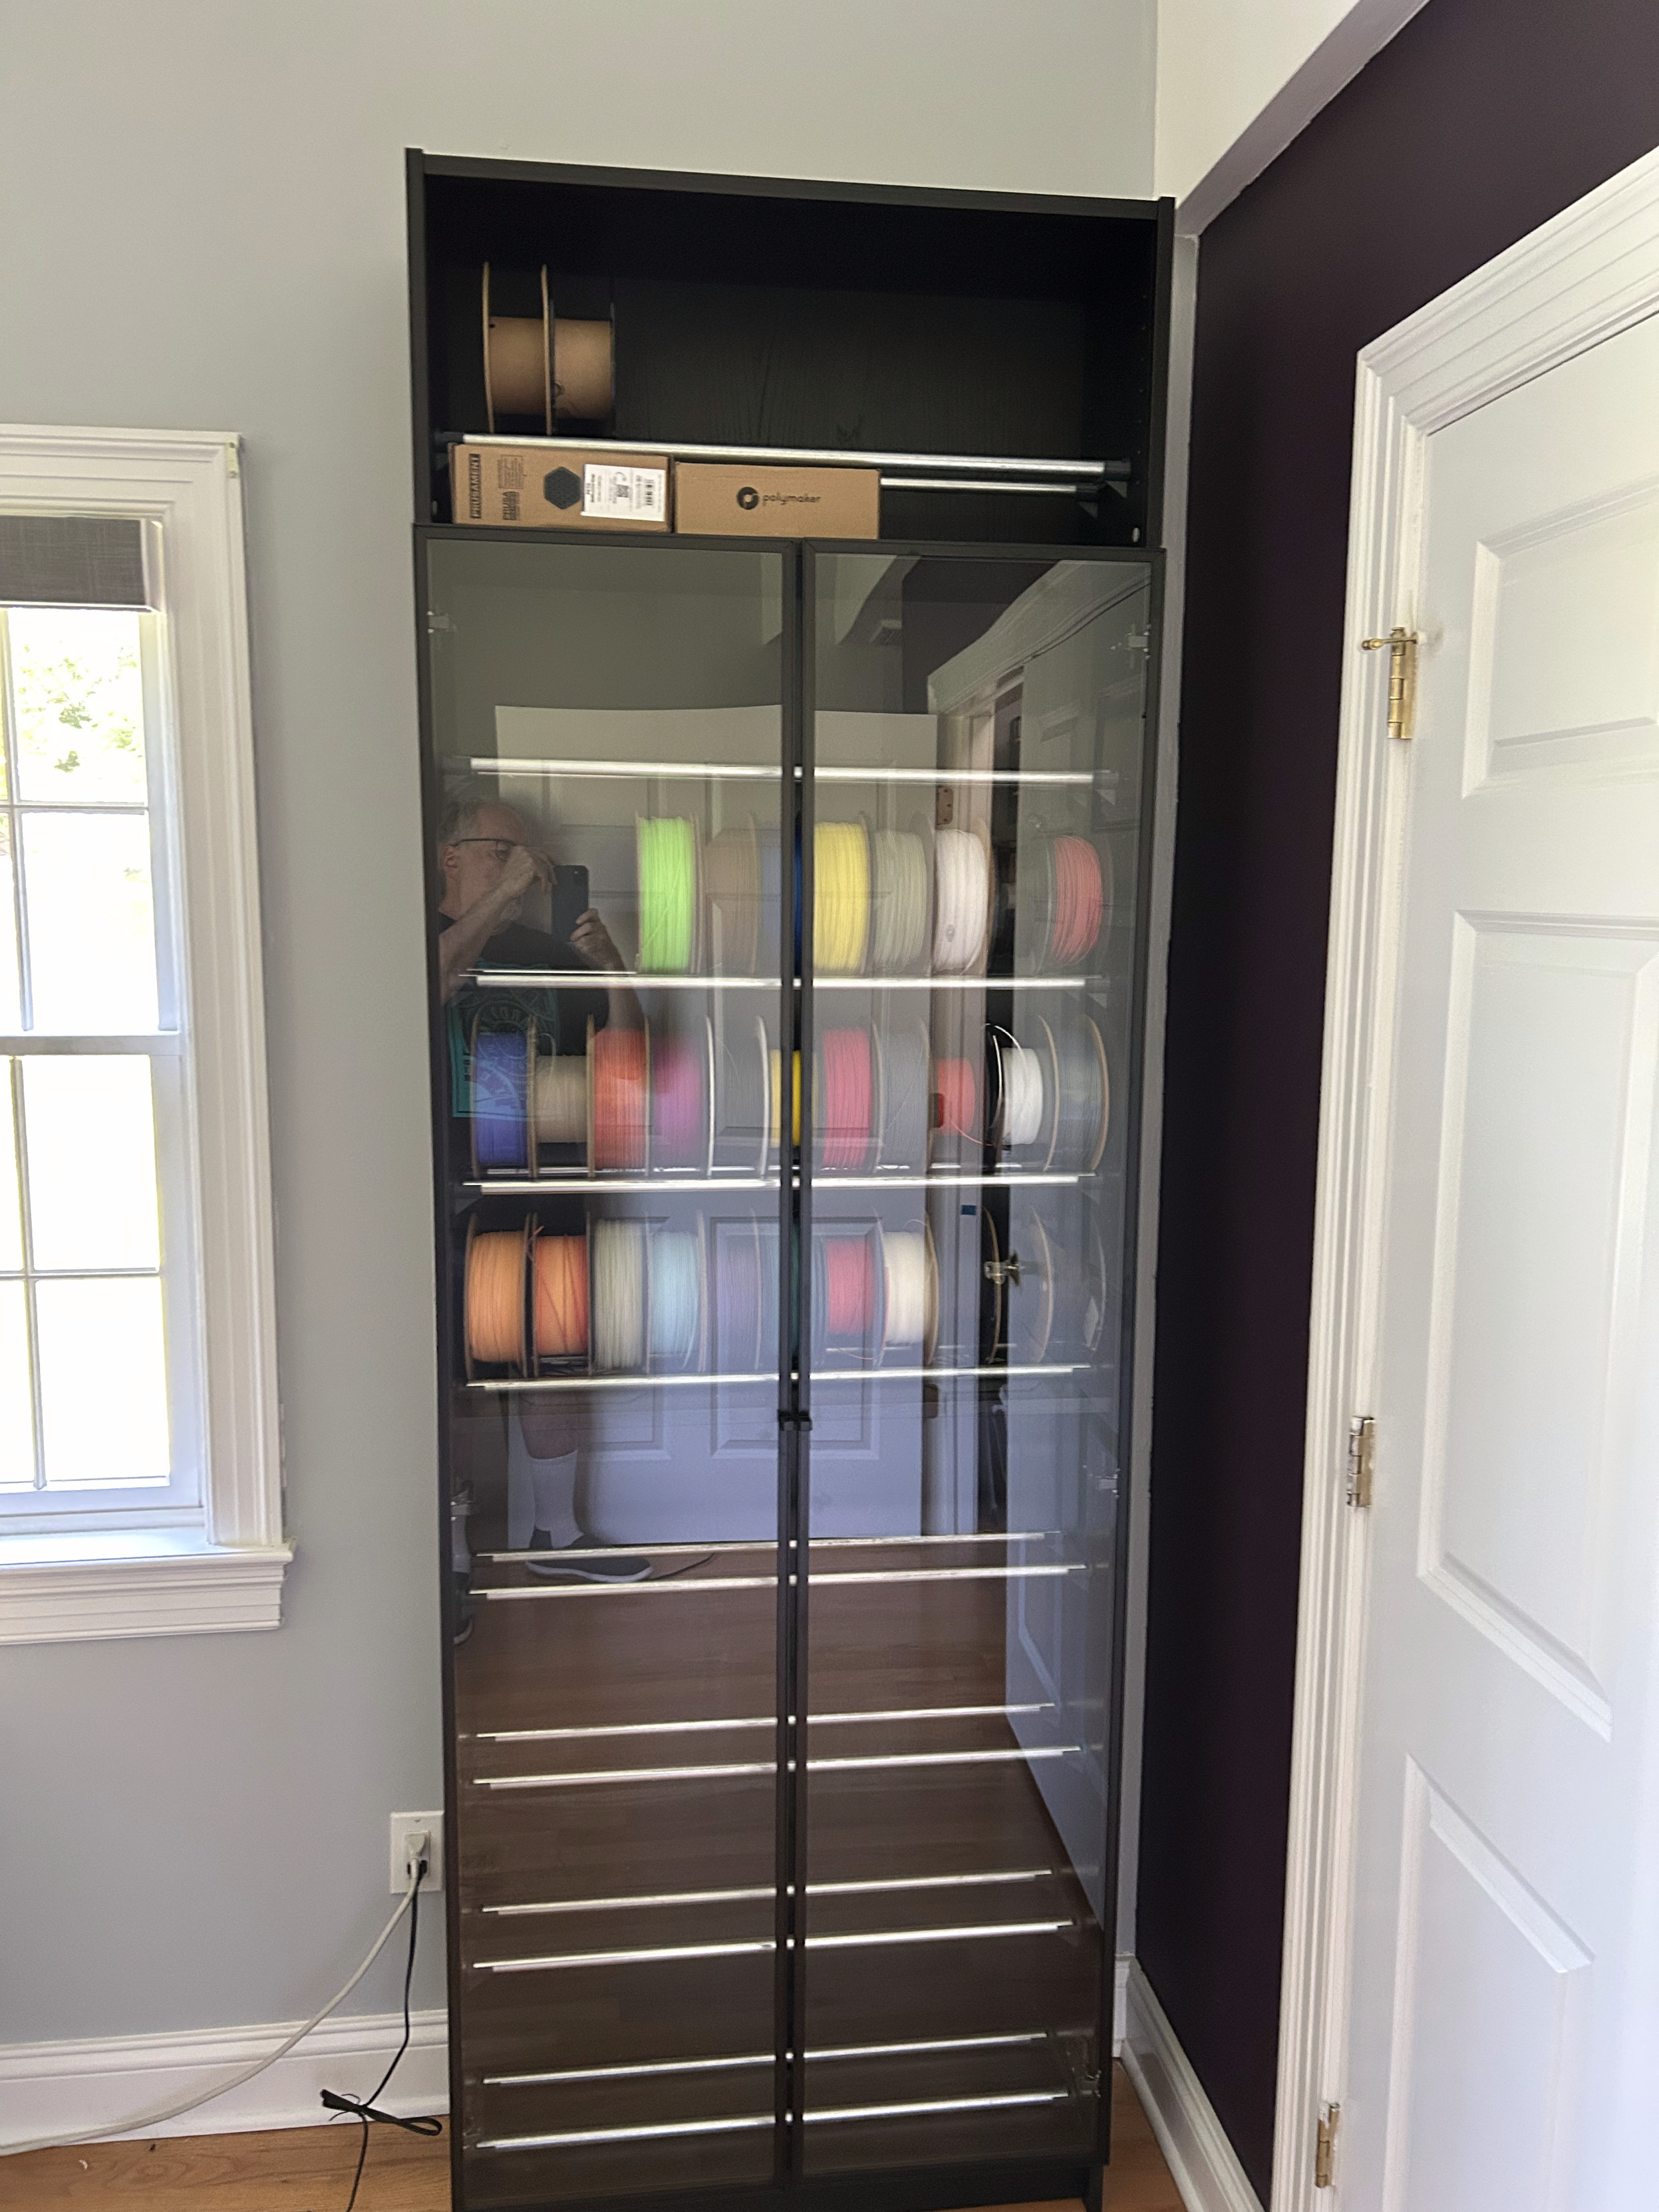
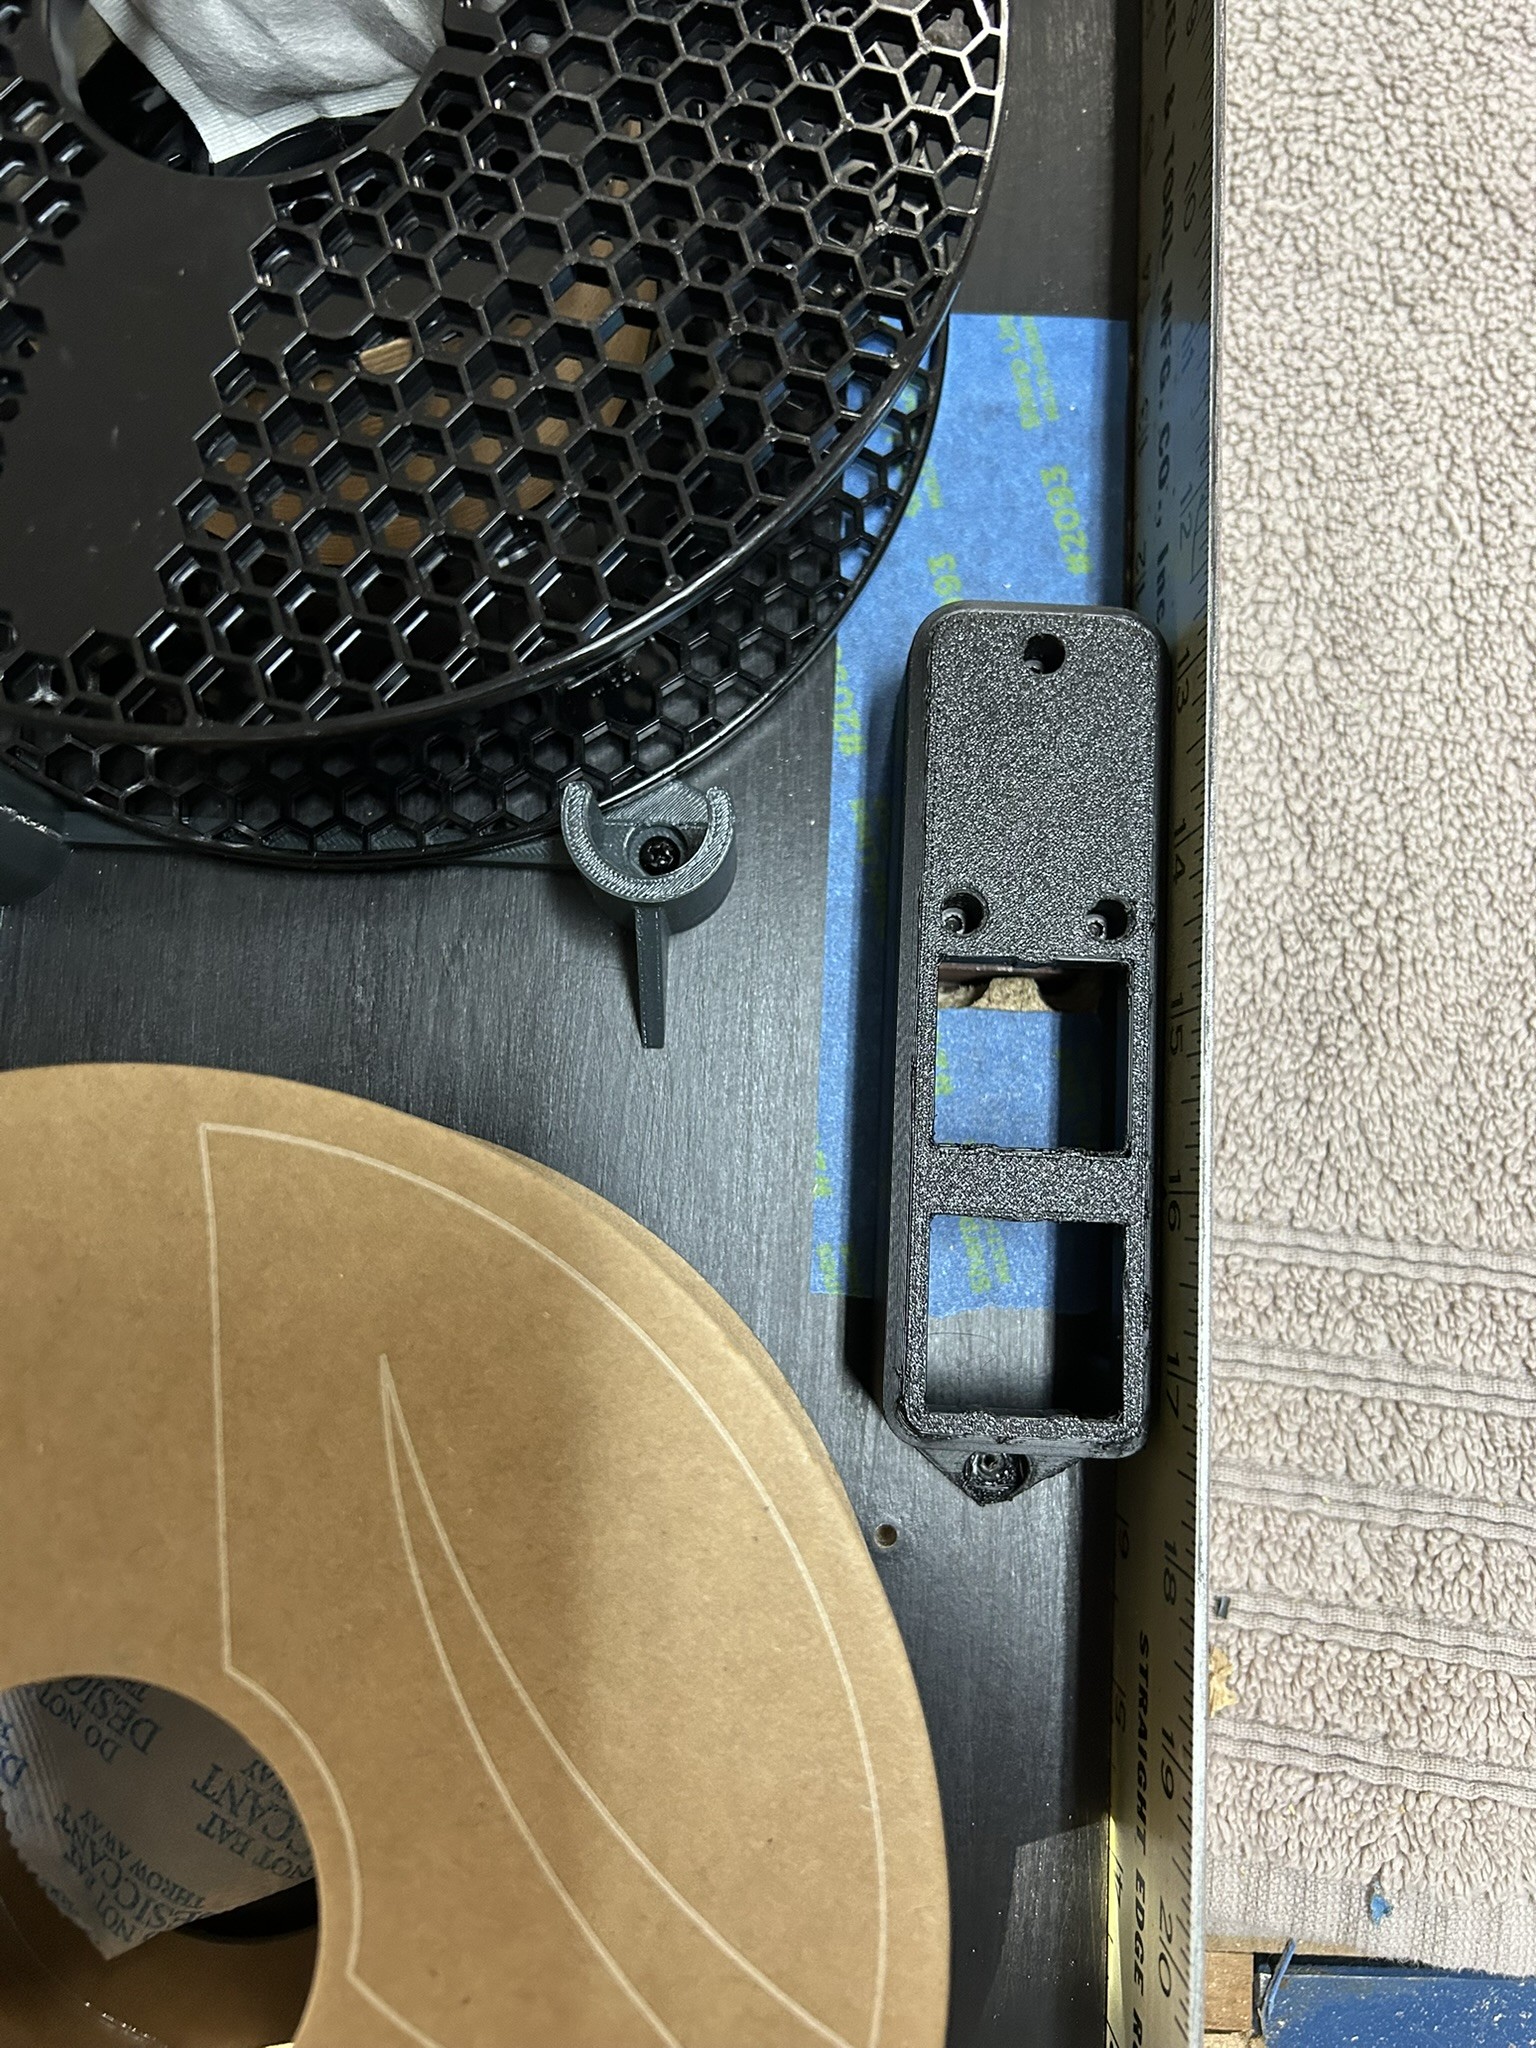
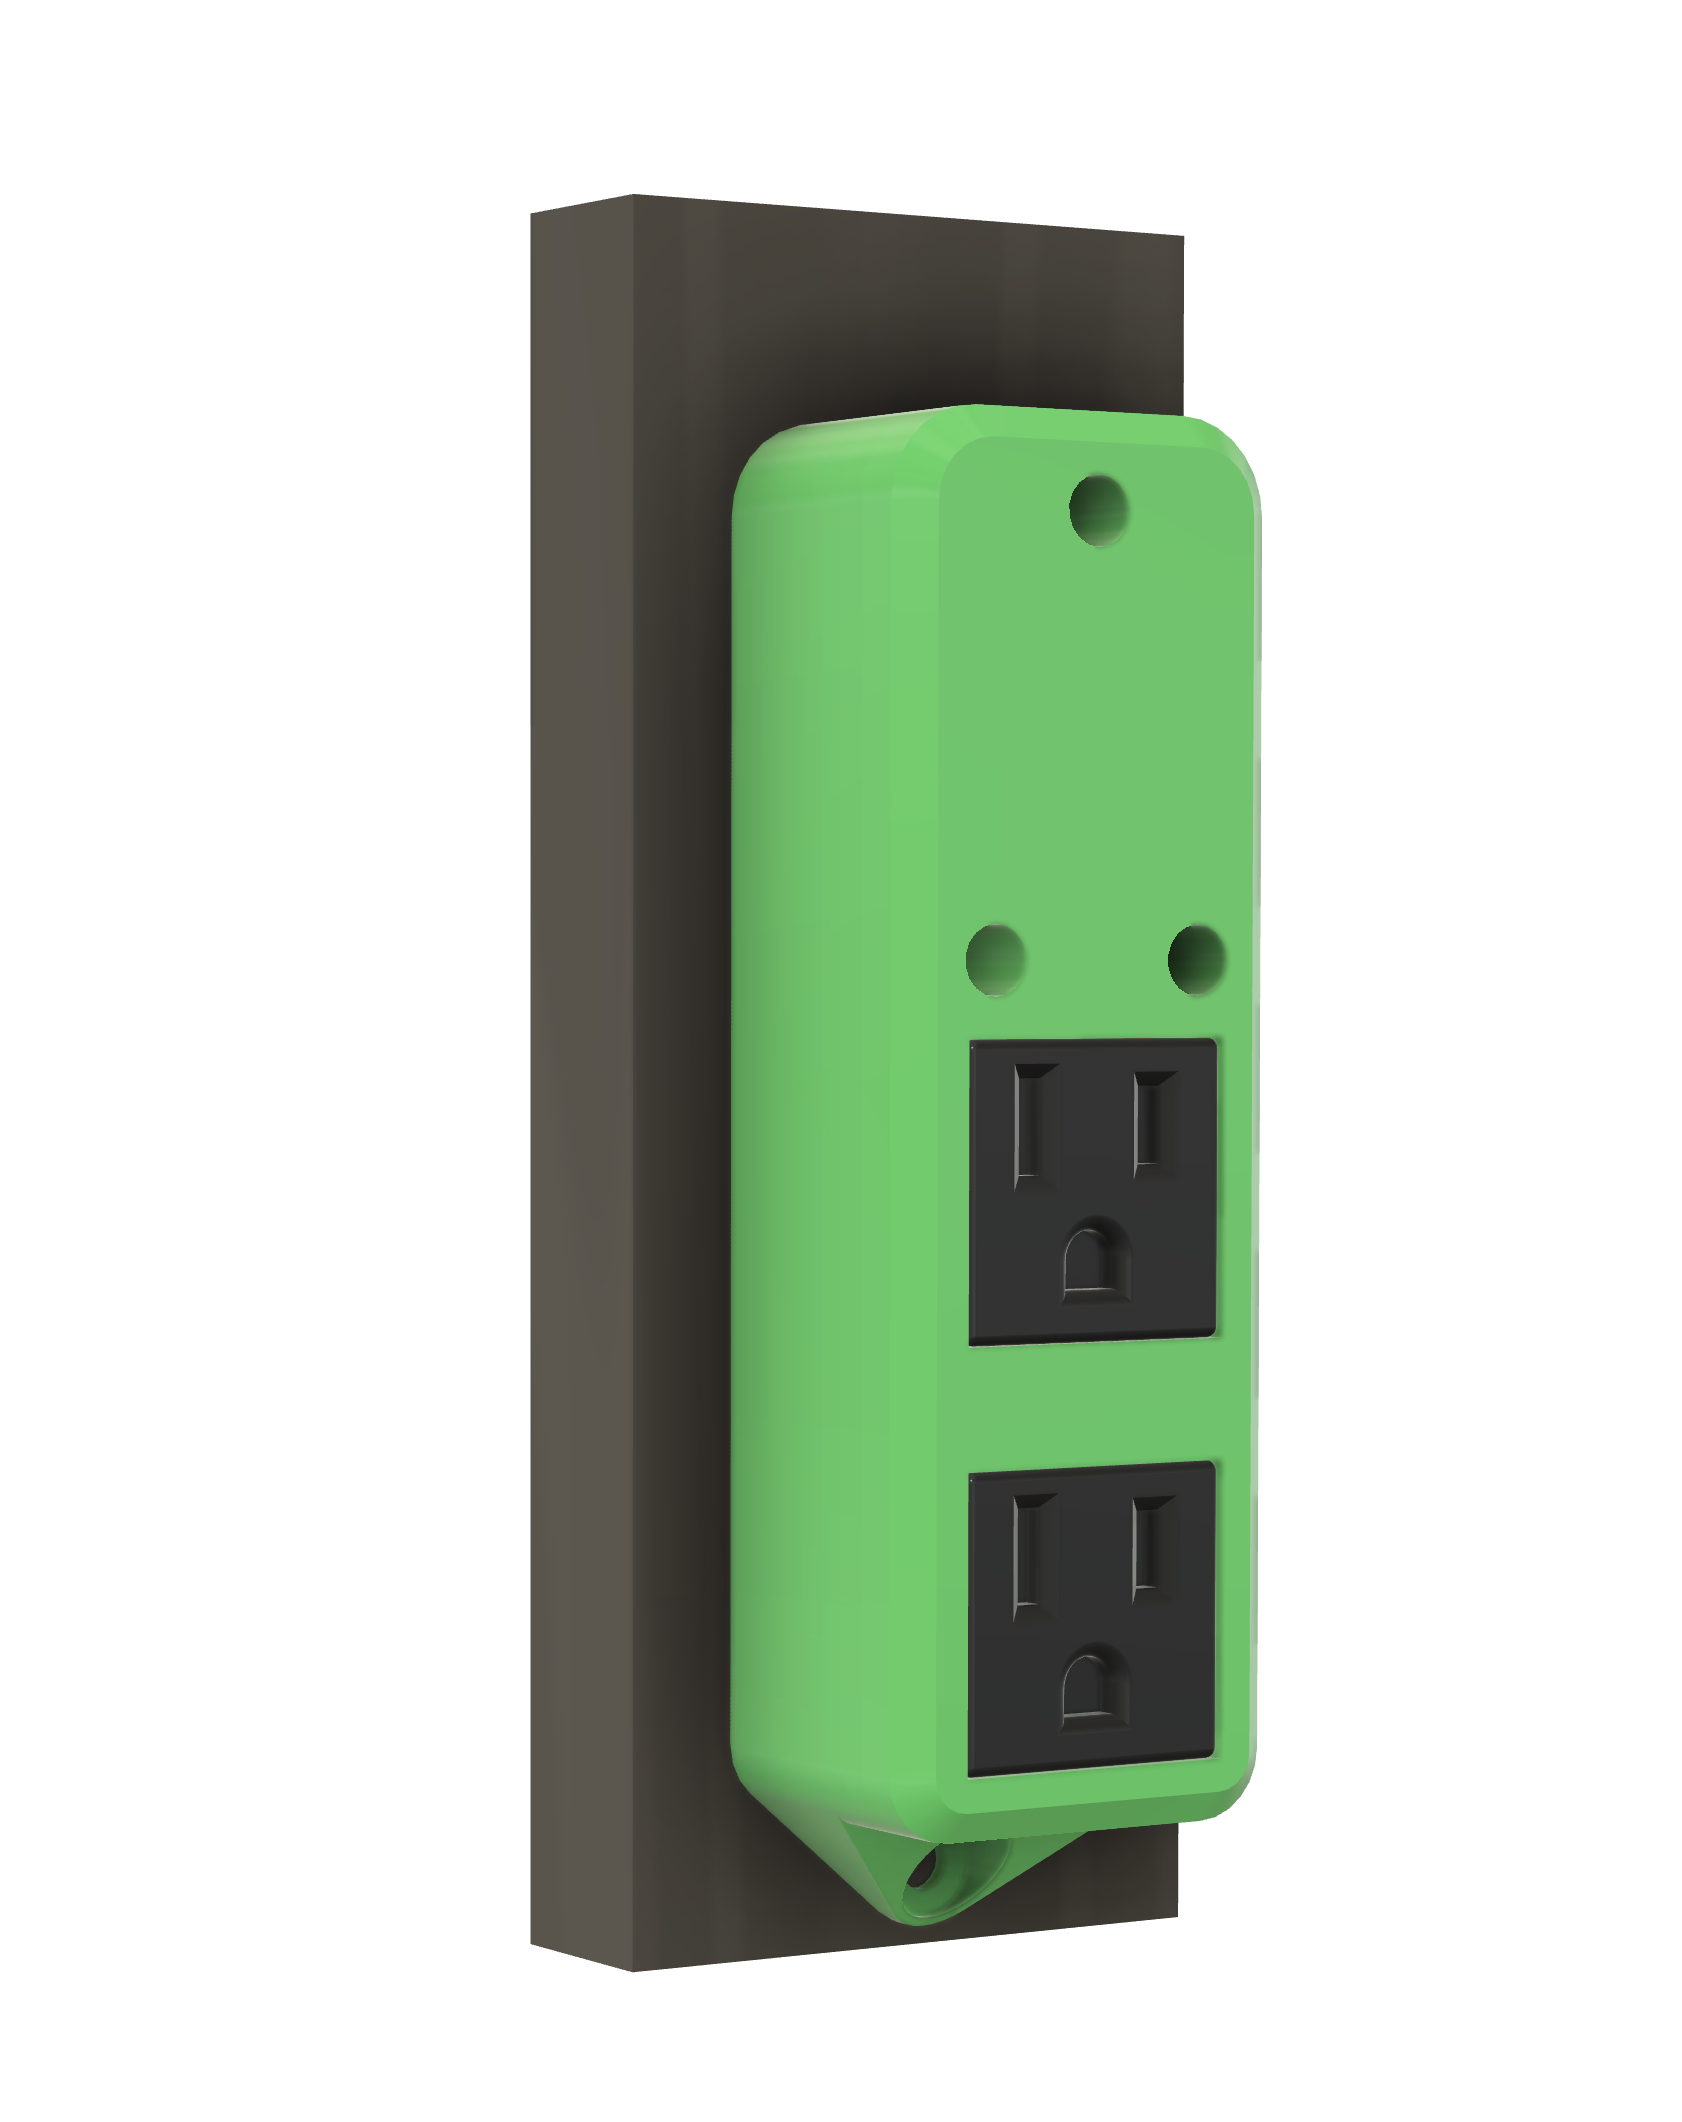
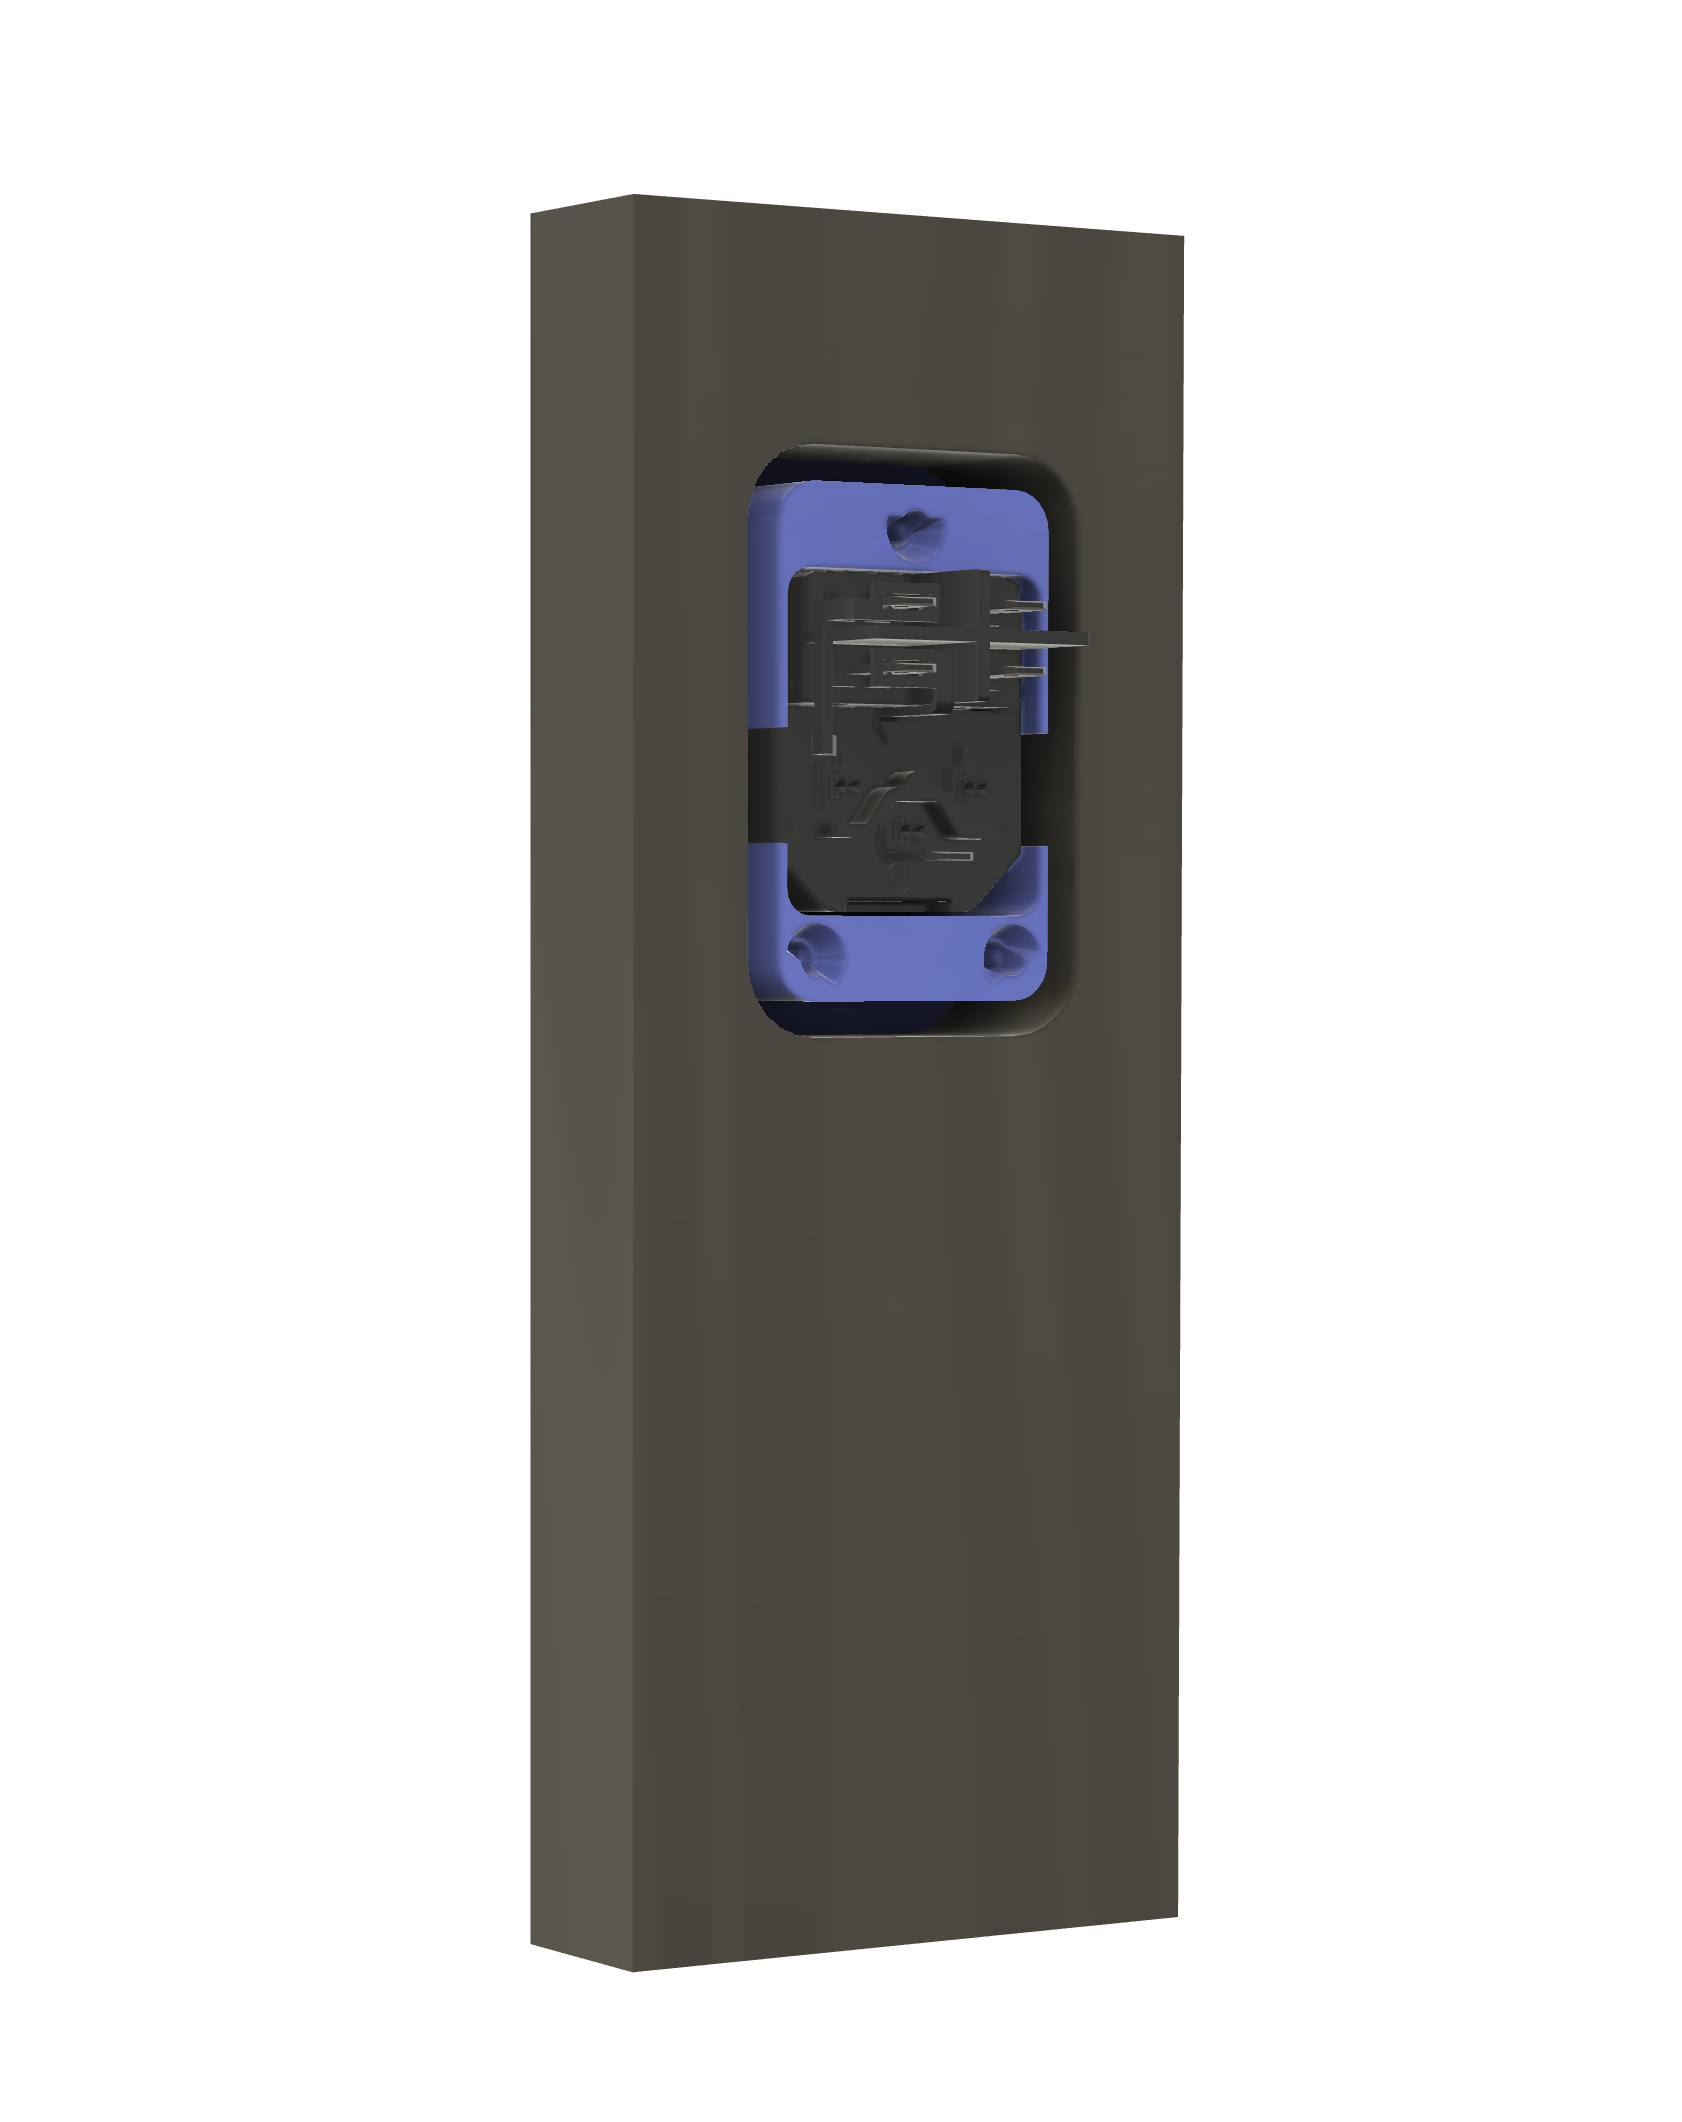
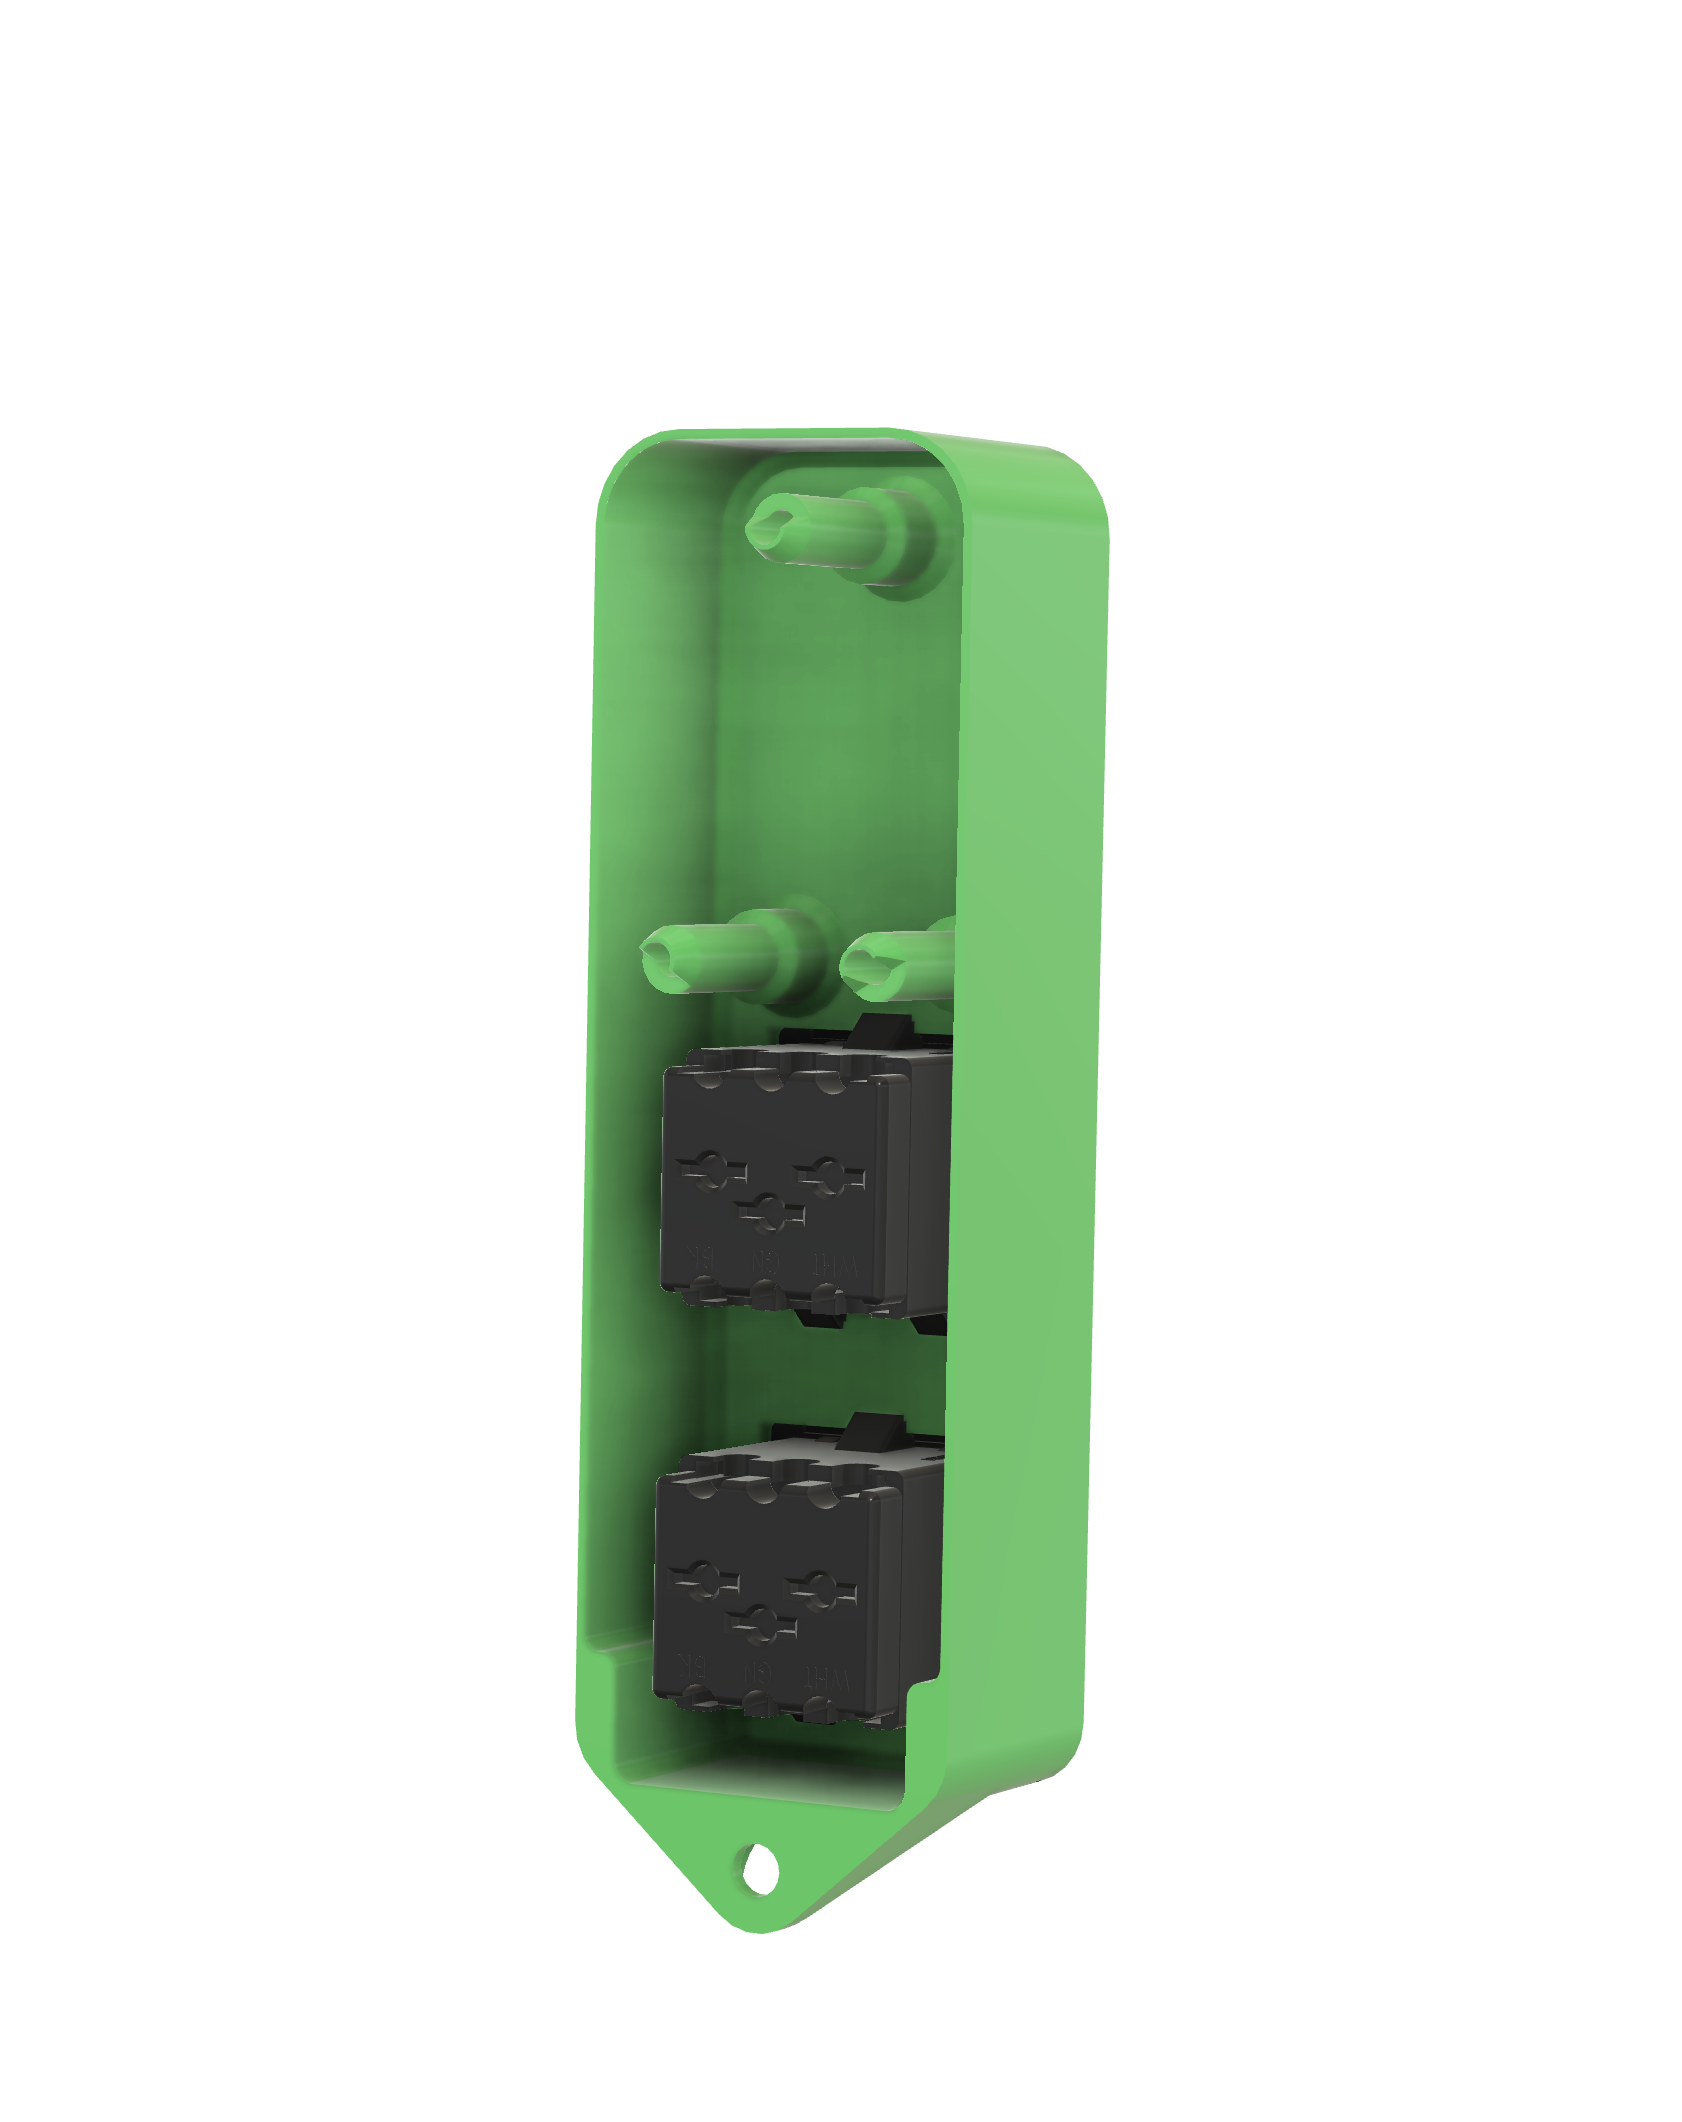
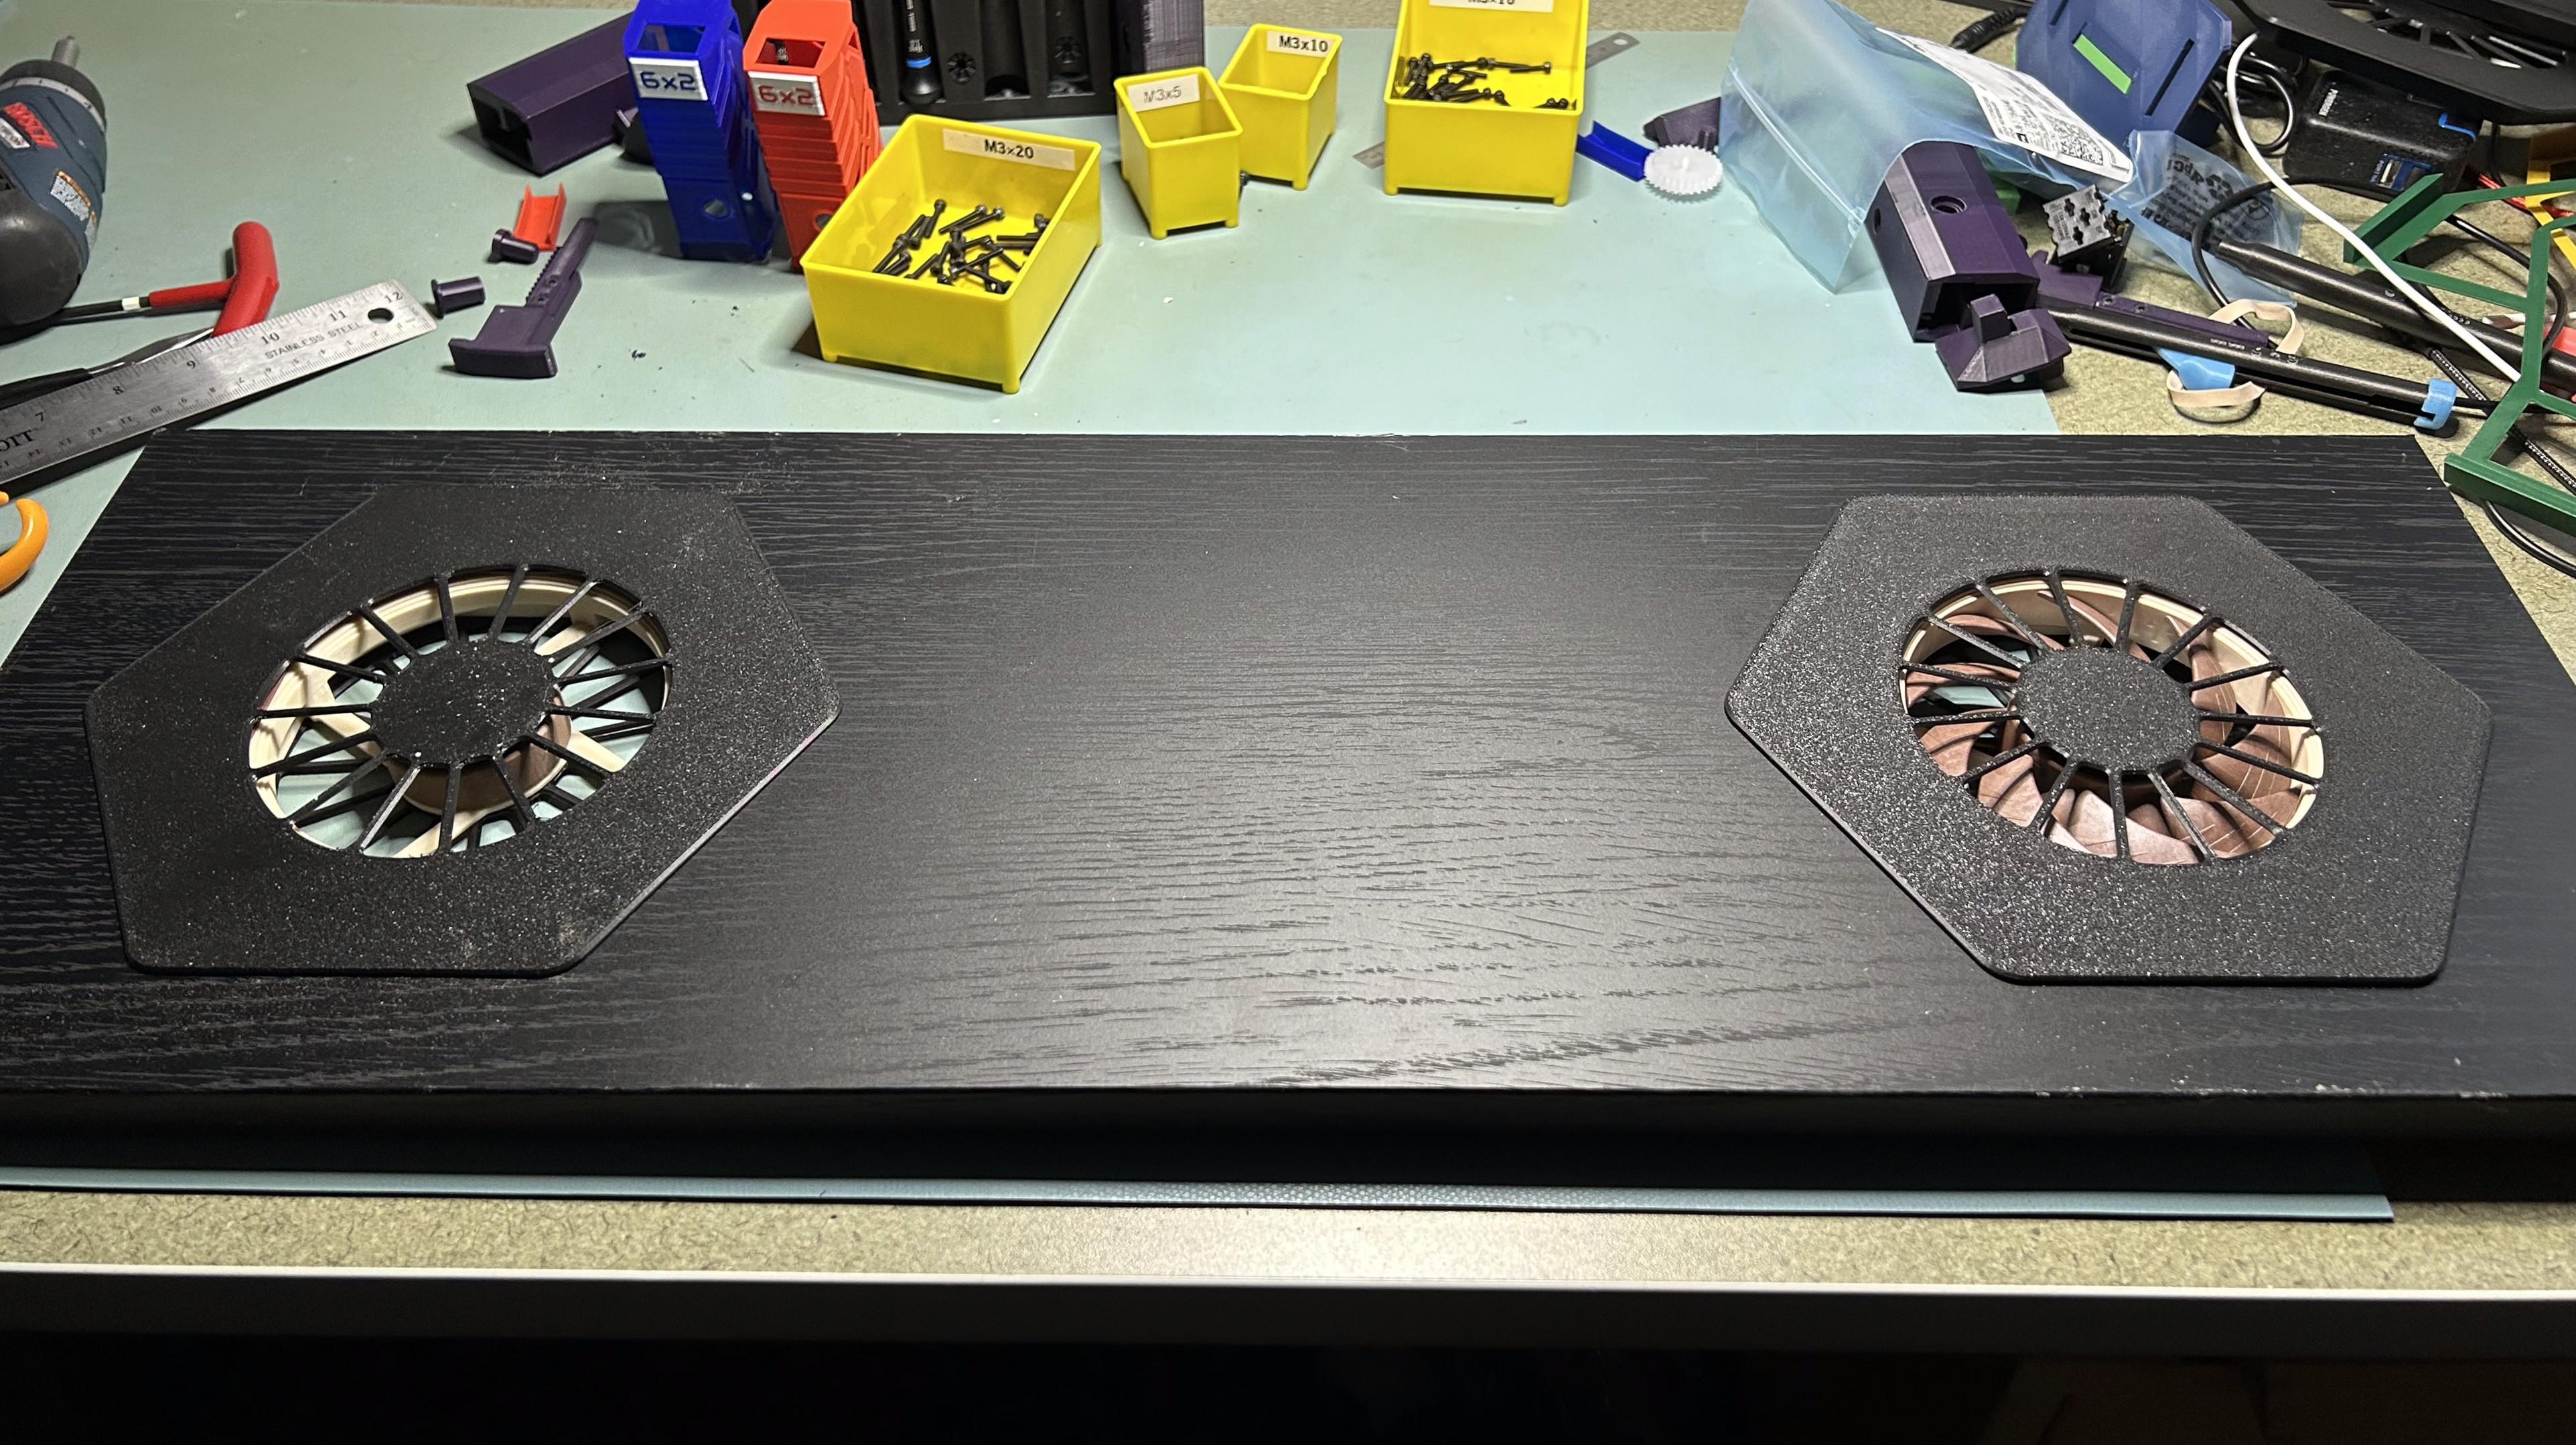
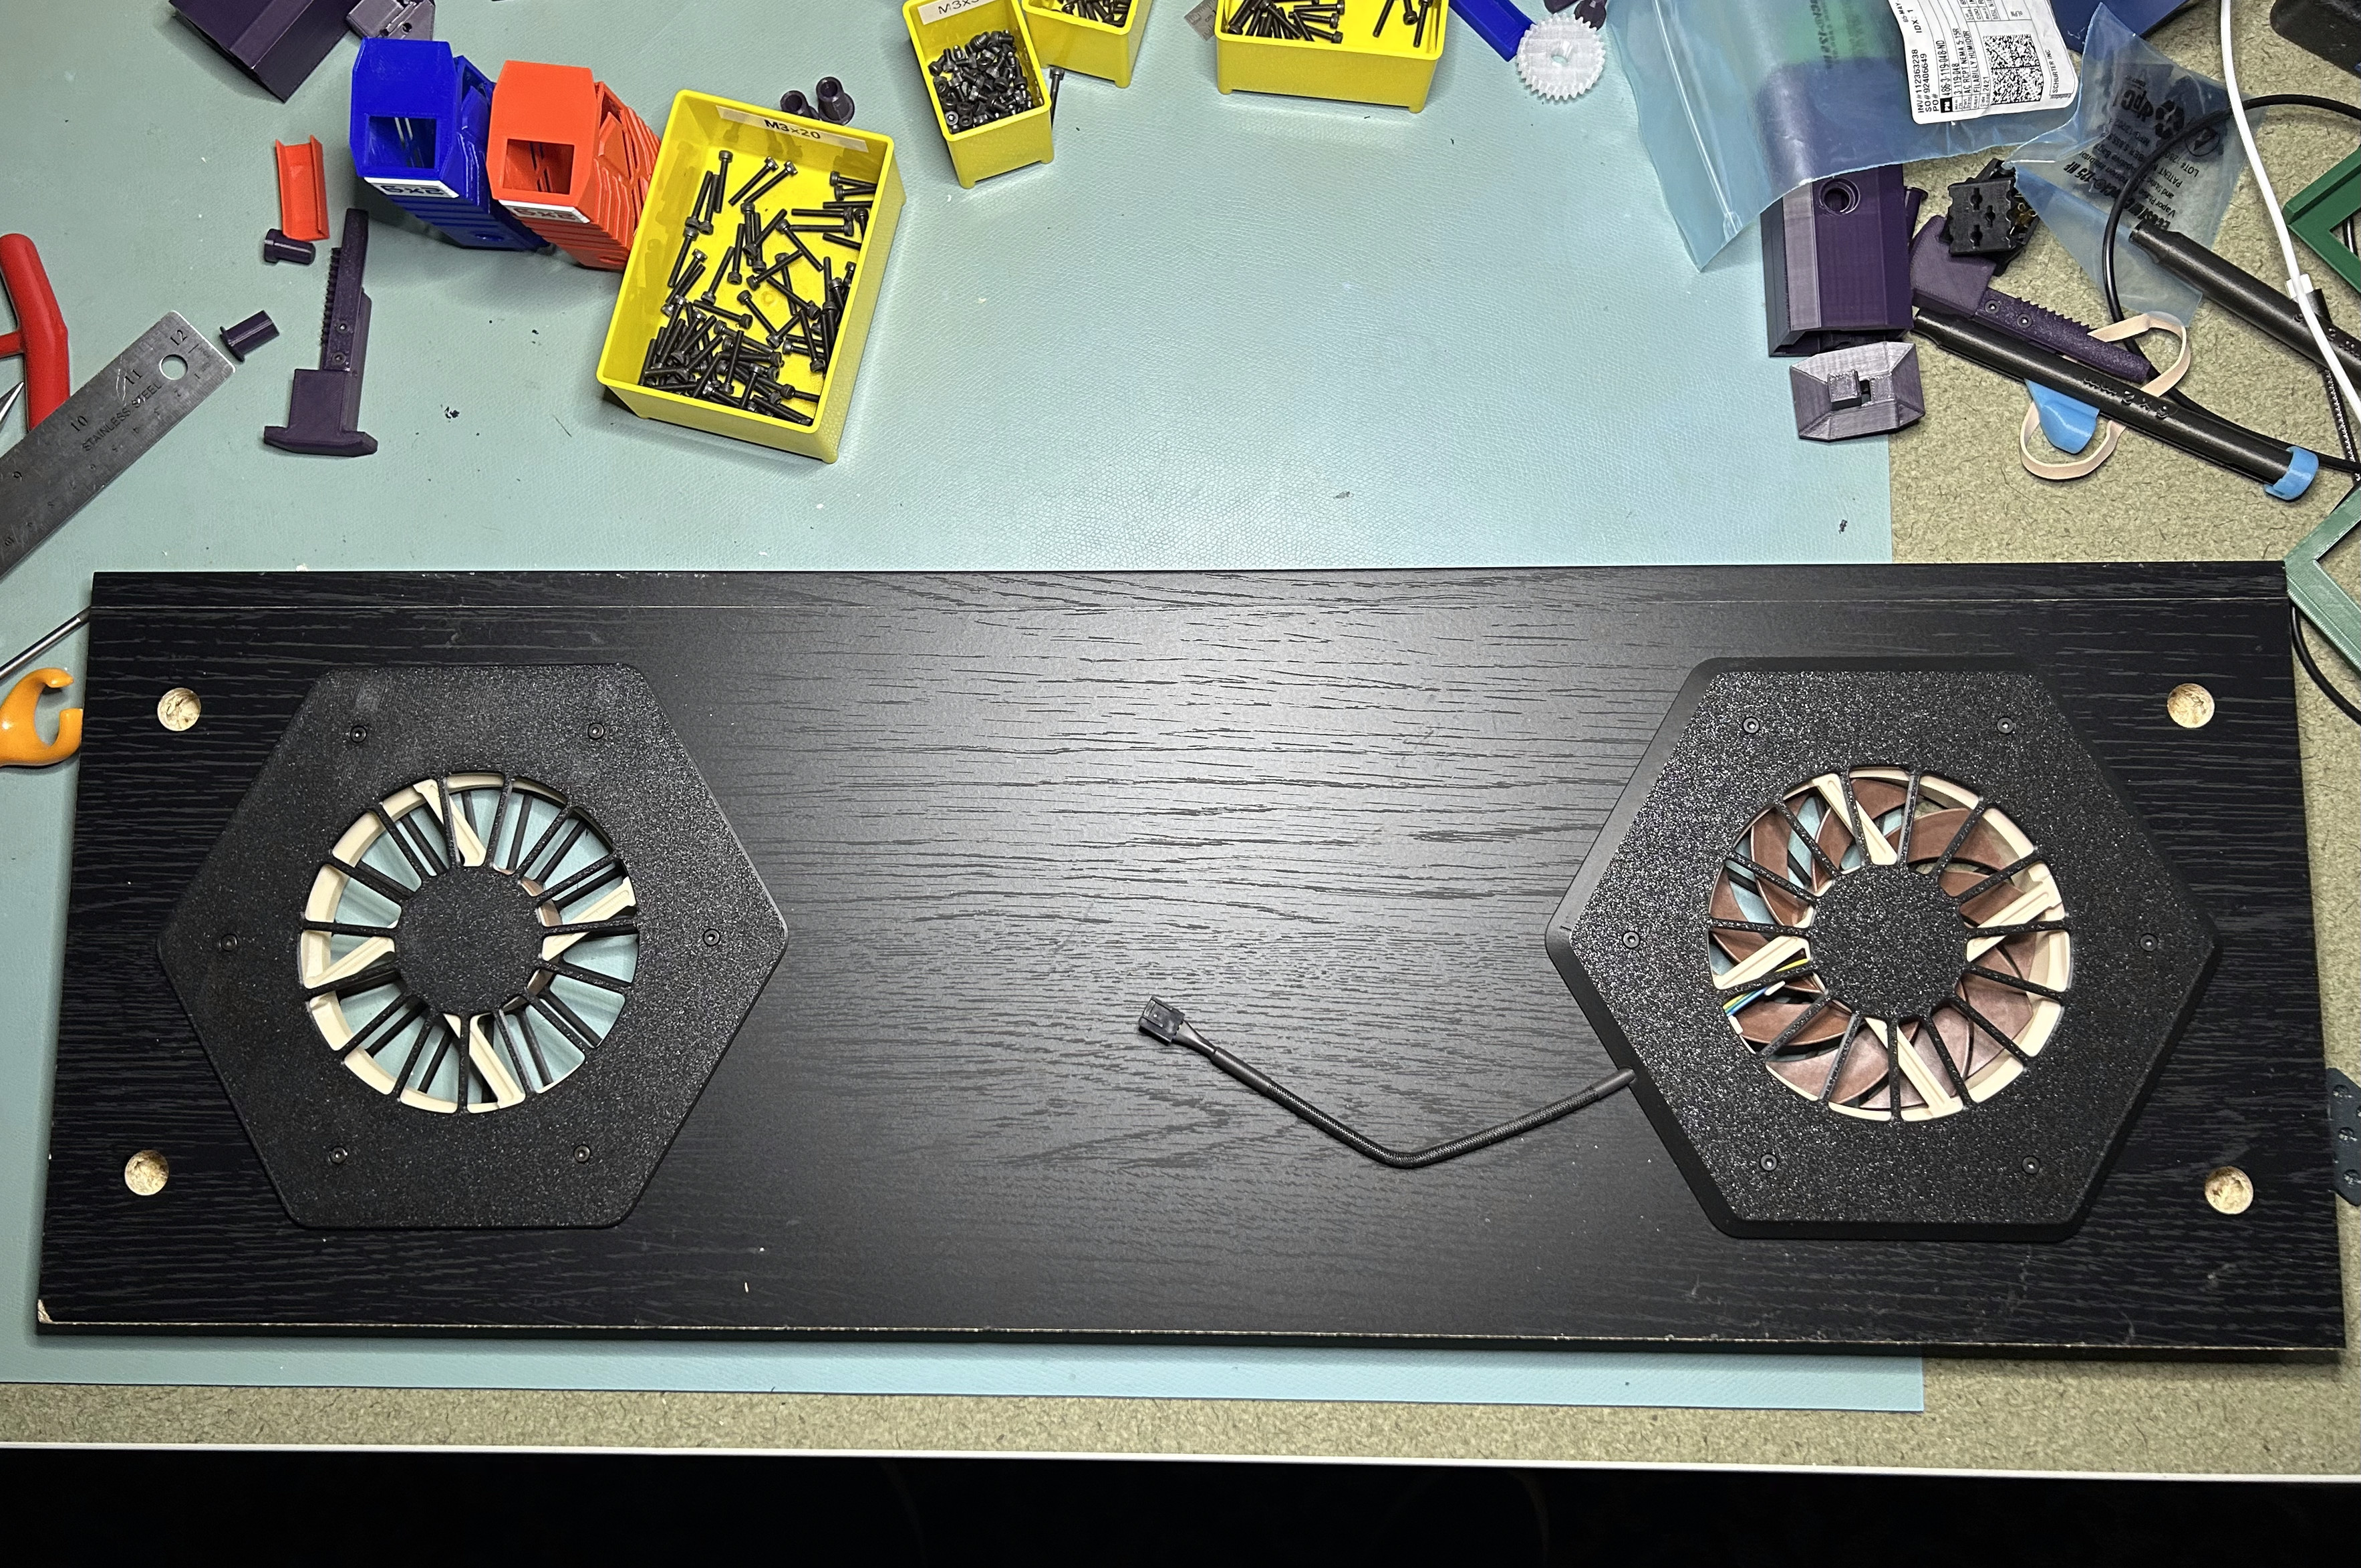
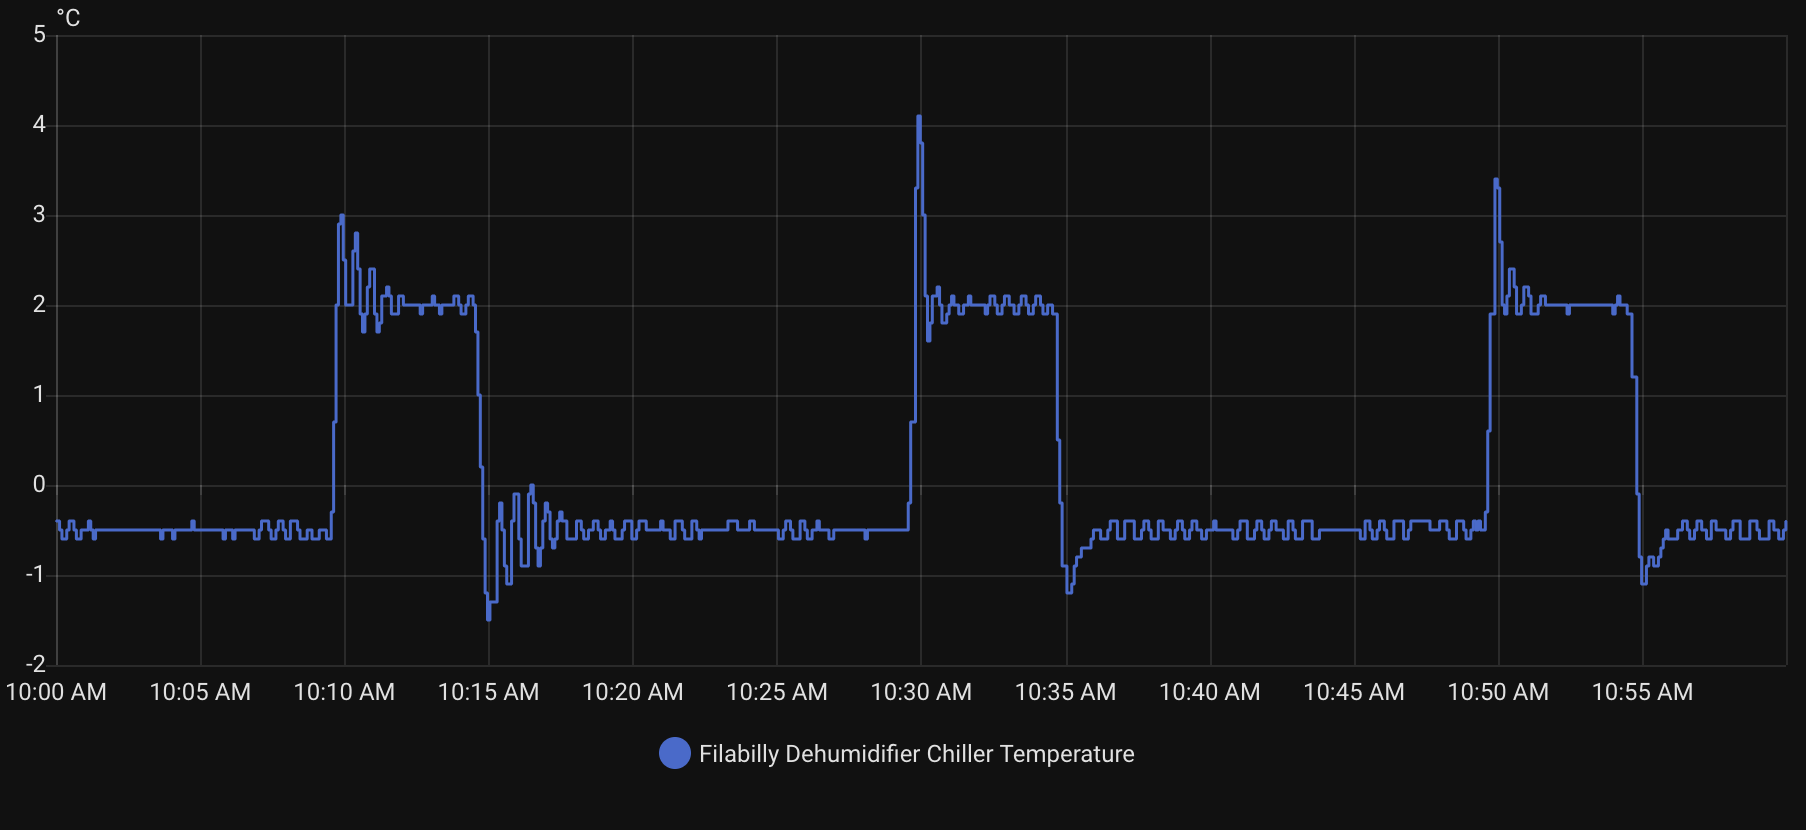
@3dprinting The HÖGBO doors are on, and I threw a few spools of filament in to see what it looks like. That's quite a gap between the doors, about 8mm.

I got busy and installed the doors today because I saw this on Reddit.
i.redd.it/vl68p9ut3e8f1.jpeg

🧵 48/N

#FilaBillyHumidor #IkeaHacks

Black IKEA BILLY bookcase with two glass doors with black aluminum frames.  Inside, there are horizontal steel rails.  Three of the rails are holding up spools of filament.  The doors are hinged on the sides and don't quite meet in the middle.  The doors are reflecting a white door and me holding my phone in front of my face to take the photo.  The wall behind is light green, and the wall beside is dark purple.
2025-06-15

@3dprinting The BILLY has polyurethane on one face of all five sides, and all the seams are caulked. The electrical box is not caulked, nor are the holes for the fasteners. I did caulk over the 176 holes for adjusting the shelves.

None of this will matter unless I get a really good seal around the doors. That's TBD.

🧵 47/N

#FilaBillyHumidor #GumptionTraps

2025-06-15

@3dprinting I didn't even try to make the back side look good. So of course that's where I got the best bead in the caulk.

I applied two coats of polyurethane and didn't sand them down.

🧵 46/N

#FilaBillyHumidor

The back side of an IKEA BILLY bookcase lying on the floor.  The back surface is particle board with thickly brushed on polyurethane sealant.  There are silicone caulk beads running along the left and right edges.
2025-06-15

@3dprinting I'd been procrastinating assembling the FilaBilly Humidor because I feared the caulking would be messy and look bad. And I was right! Looks bad! Still, it's done now. It won't look too bad in the dark. Except — I'm going to light this cabinet up like a stadium.

My temporary superpower is rubberized fingertips. I should play my bass today.

🧵 45/N

#FilaBillyHumidor #SiliconeCaulk

Interior joint of the IKEA BILLY bookcase showing dried silicone caulk smeared over the back wall.Interior shot of IKEA BILLY bookcase showing silicone crumbs stuck to the back wall.  A piece of blue painter's tape is taped to the shelf, labeled "BOTTOM".An interior shot of the IKEA BILLY bookcase showing dried silicone smeared on the back wall above a shelf.  The shelf is caulked to the back.  There are two vent holes on opposite ends of the shelf, and the right one has a fan in it.
2025-05-30

@3dprinting The FilaBilly Humidor's power inlet does in fact clear the spools by more than 5mm. As foretold by the prophecy upthread in 🧵 40.

Gratuitous towel content to make up for the lack of towels in 🧵 42.

🧵 44/N

#FilaBillyHumidor

The inside wall of the FilaBilly Humidor has the power outlet housing installed and two empty filament reels in the places where filament reels will go.  Instead of standing up, it is lying on a towel.
2025-05-29

@3dprinting The FilaBilly rail alignment jig is pretty clever. It worked great.

(I may be the first person in history to use a carpenter's square and clamps to assemble a BILLY.)

🧵 43/N

#FilaBillyHumidor #3DPrinting

One side of an IKEA BILLY bookcase is clamped to a workbench.  The BILLY bottom is attached and clamped onto a carpenter's square.  Three FilaBilly mounting brackets are in place, and the FilaBilly alignment jig is between two of them.   One side is clamped to the BILLY's front edge.  The other two are nestled between two of the brackets.
2025-05-29

@3dprinting I cut the hole in the FilaBilly Humidor's side today. I used it as an excuse to get a new toy-- er, tool for the workshop. Jigsaws have come a long way since my 1985 model.

dewalt.com/product/dcs334b/20v

🧵 42/N -- No towels were harmed in the making of this post.

#FilaBillyHumidor #DeWalt #NTD

2025-05-29

@3dprinting I've always wanted to make a drill bit stop to make holes with controlled depth. Since I need to drill 37 15mm deep holes for the FilaBilly Humidor's rack ends, and the screws are supposed to arrive today, today is the day to actually make one.

The bit is centered between four flexible arms (PETG). The drill depth is set by how far I insert the bit into the chuck. This is another @rahix inspired design-for-printing thing.

🧵 41/N

#FilaBillyHumidor #3DPrinting

Photograph of a drill with a small-diameter bit.  The bit has a thick 10mm long plastic sleeve over it, and it extends exactly 15mm past the sleeve.  The sleeve has internal arms that grab the bit and center it.A CAD rendering shows a hollow cylindrical object.  It has four arms reaching from the rim to the center.  They are off-center so they can be deflected outward.  There is a chamfer at the center to help guide the bit in.  Each arm is twice as wide at the base as at the tip.
2025-05-25

Today I went to the #HomeAssistant Community Day in Brooklyn. It was great! I found out people are pushing Home Assistant to do things I'd never considered using it for. And I got to spend some quality time talking with fellow geeks about geeky things. (I seem to live in a geek desert.)

I gave a micro talk on the #FilaBillyHumidor, and it was well received.

Thanks @madelena for hosting!

2025-05-18

@3dprinting I've been struggling to visualize the FilaBilly Humidor's power inlet. I think this design will work. It looks like it can be printed, wired and assembled.

It needs to be thin to fit the side of the BILLY behind the spools. This is just 39.6mm wide, and it clears the spools by 5mm. It will be right up against the BILLY's back wall.

One outlet is for the dehumidifier, and the other is for the lights and sensors.

🧵 40/N

#FilaBillyHumidor #3DPrinting #Fusion360

CAD rendering of the power inlet as seen from outside the IKEA BILLY cabinet.  It is on a wooden board.  A rectangular bezel is in the board, and an IEC C13 power inlet with a rocker switch is in the bezel.CAD rendering of the power inlet as seen from inside the IKEA BILLY.  It is a printed box on a wooden board.  There are two US style power outlets in the bottom section of the box, and three counterbored M3 size holes in the top section.  There's a large bracket for a wood screw at the very bottom.CAD rendering of the power inlet, from inside, with the two US outlets and the inner box removed.  There is a wooden board.  The back side of the outside bezel and the inlet module are protruding through a rectangular hole in the board.  There are 3 M3 screw holes in the bezel.CAD rendering of parts of the power inlet.  The inner box is seen from the inside, with the two US power outlets in the lower section facing away.  There are three screw posts in the upper section, and the bottom screw hole is also shown.
2025-05-13

@3dprinting The passive air return is in. The fan on the right will pull air from the upper to the lower compartment, and the return on the left will -- uh, let it return. I decided to make the return look like another Noctua fan.

🧵 39/N

#FilaBillyHumidor

A black IKEA BILLY shelf has two large holes with hexagonal printed surrounds in them.  The right one holds a 120mm Noctua fan.  The left one holds a 3D printed thing that looks like a Noctua fan but with no blades.The underside of the same  black IKEA BILLY shelf.  It has two large holes with hexagonal printed surrounds in them.  The right one holds a 120mm Noctua fan.  A short power cord is coming out from under the surround.  The left surround holds a 3D printed thing that looks like a Noctua fan but with no blades.
2025-05-12

@3dprinting

Kid: Can we have Noctua NF-A12x25? Please?

Mom: We have Noctua NF-A12x25 at home.

Noctua NF-A12x25 at home:

🧵 38/N

(Not my model, but I modified it for printability and removed the blades.)

#FilaBillyHumidor

A 3D printed repllca of a Noctua fan.  It has the same colors and shape, but there are no blades.  There is a flexible rubber surround (original Noctua part) around the fan's top perimter.The same Noctua fan.  The center hub has been lifted out to show its alignment pins.  The rubber surround has been peeled back from two corners to show the structure underneath.The same 3D printed Noctua fan replica.  The frame has been turned upside down to show the webbing that matches the original.
2025-05-12

@3dprinting This is the FilaBilly Humidor's center shelf. I am putting a 120mm fan in to circulate air between the top and bottom halves. I printed this surround in two pieces. I'm pleased with how it came out.

Yes, it's crooked in the photos. I straightened it as soon as I saw the photos, but I didn't re-photograph it.

🧵 37/N

#FilaBillyHumidor

A black board from an IKEA BILLY.  It has a Noctua fan in a hexagonal surround near one end.Two printed objects.  Each has a fan-sized circular grill, a fan-sized square cutout, and a larger hexagonal body.  Each has a 15mm edge surrounding the body.  One has large polygonal alignment bumps, and the other has matching divots.  The alignment pegs are placed so that the parts can only be assembled one way.  One piece also has a slot near the back for the fan's cord.The bottom hexagonal surround is on the workbench.  The fan is installed into it, and the fan's cord runs through a slot near the back.The bottom side of the shelf shows the bottom side of the hexagonal surround installed with the fan inside.  Six socket head screws hold it together, and the cord is routed toward the center of the shelf.
2025-05-12

@3dprinting The guy at the hardware store looked at me like I was crazy when I asked for a 170mm hexagonal drill bit. 🤪 Then I remembered which country I live in and asked for a 6½ inch.

The hole came out cleaner than I had hoped.

🧵 36/N

#FilaBillyHumidor #SpecialtyTools

A black-wrapped particle IKEA BILLY shelf with a large hexagonal hole cut through it.  The area around the hole is covered in painter's tape.  A metal ruler is nearby for scale.
2025-04-28

@3dprinting And I posted TWO new 'blog posts about it. I've been in a writing frenzy!

kbob.github.io/2025/04/28/plan

🧵 35/N

#FilaBillyHumidor #blog

2025-04-28

@3dprinting I have published the dehumidifier to Printables. Go get it while it's hot!

printables.com/model/1279373-f

@Saguer this is what you've been waiting for...

🧵 34/N

#FilaBillyHumidor #3DPrinting

2025-04-24

@3dprinting I've pushed the dehumidifier's ESPHome config to Github.

github.com/kbob/filabilly-humi

Next up, I need to finish up the assembly guide. Add photos, redo photo annotations, touch a couple of sentences of the text. Then I can do final prep on the CAD files and publish the dehumidifier! I could be done in a day or two.

Meanwhile, the IKEA BILLY really wants me to assemble it.

🧵 33/N

#FilaBillyHumidor #ESPHome

2025-04-24

@3dprinting I'm declaring victory. The overshoot is harmless here, and the oscillation is gone. The cold temperature stays safely below 0℃

You can see that the temperature fluctuations are at the resolution of the thermometer, ±0.1℃.

🧵 32/N

#FilaBillyHumidor #ESPHome #ControlSystem

A graph showing temperature vs. time.  It forms a square wave with ringing edges.  The graph covers one hour.  The square wave's period is 20 minutes, so it repeats three times.
2025-04-24

@3dprinting The FilaBilly Dehumidifier's PID controller looks a little under-damped. I tuned it using ESPHome's built-in Ziegler-Nichols tuning. Now I'm going to try to hand tune it a little bit. (I have never tuned a PID controller before. They are black boxes to me.)

It is trying to cycle between 15 minutes at -0.5℃ and 5 minutes at +2℃. That lets it defrost.

🧵 31/N

#FilaBillyHumidor #ESPHome #ControlSystem

A line graph shows a waveform.  It alternates between the two levels -0.5 and +2 degrees, but at each point it shows continued oscillation: plus/minus 2 degrees around +2 and plus/minus 1.4 degrees around -0.5.  The oscillation period is about 45-50 seconds.
2025-04-20

@3dprinting I pushed it to Github. If you're not a speed reader, you can see the slow version here.

github.com/kbob/filabilly-humi

(Easter egg on the last page...)

🧵 30/N

#FilaBillyHumidor #Documentation #Pages

Client Info

Server: https://mastodon.social
Version: 2025.04
Repository: https://github.com/cyevgeniy/lmst