Weird associations…
#paperpulp
@Deus @yogthos@mas.to The biggest importers of Indonesian palm oil is actually China and India. #Paperpulp exports, which are linked to even more #humanrights abuses, are almost all destined for #China.
btw I block #genocide deniers - doesn't matter if they're denying what's happening in #Gaza or #Tibet and #EastTurkistan / #Xinjiang, or elsewhere.
unwrapping a disaster
https://videos.coletivos.org/videos/watch/cf26e823-f04c-4cb1-b733-abf5ac2ea919
I was curious to look into how NGOs in #SoutheastAsia, #China, and the West, were dealing with this challenge. Quite fittingly, a report came out as I was working on this piece, connected an infamous Indonesia conglomerate, #RoyalGoldenEagle, with a new #Kalimantan factory that would send nearly all its of #paperpulp to one country: #China.
I initially went to #Indonesia, back in 2011, because of the country’s troubling history with deforestation, driven primarily, historically, by demand for tropical commodities including #palmoil #paperpulp & #rubber.
In the past decade, as I’ve covered these issues for numerous outlet, much has changed. In some ways there has been real progress in increasing traceability and stemming deforestation, but at the same time, much of the supply chain remains opaque.
Yay #PaperPulp (used in #papermaking) is being used as a medium by someone in last week's Landscape Artist of the Year #LAoTY
Charging Phones with the Power of Paper Pulp
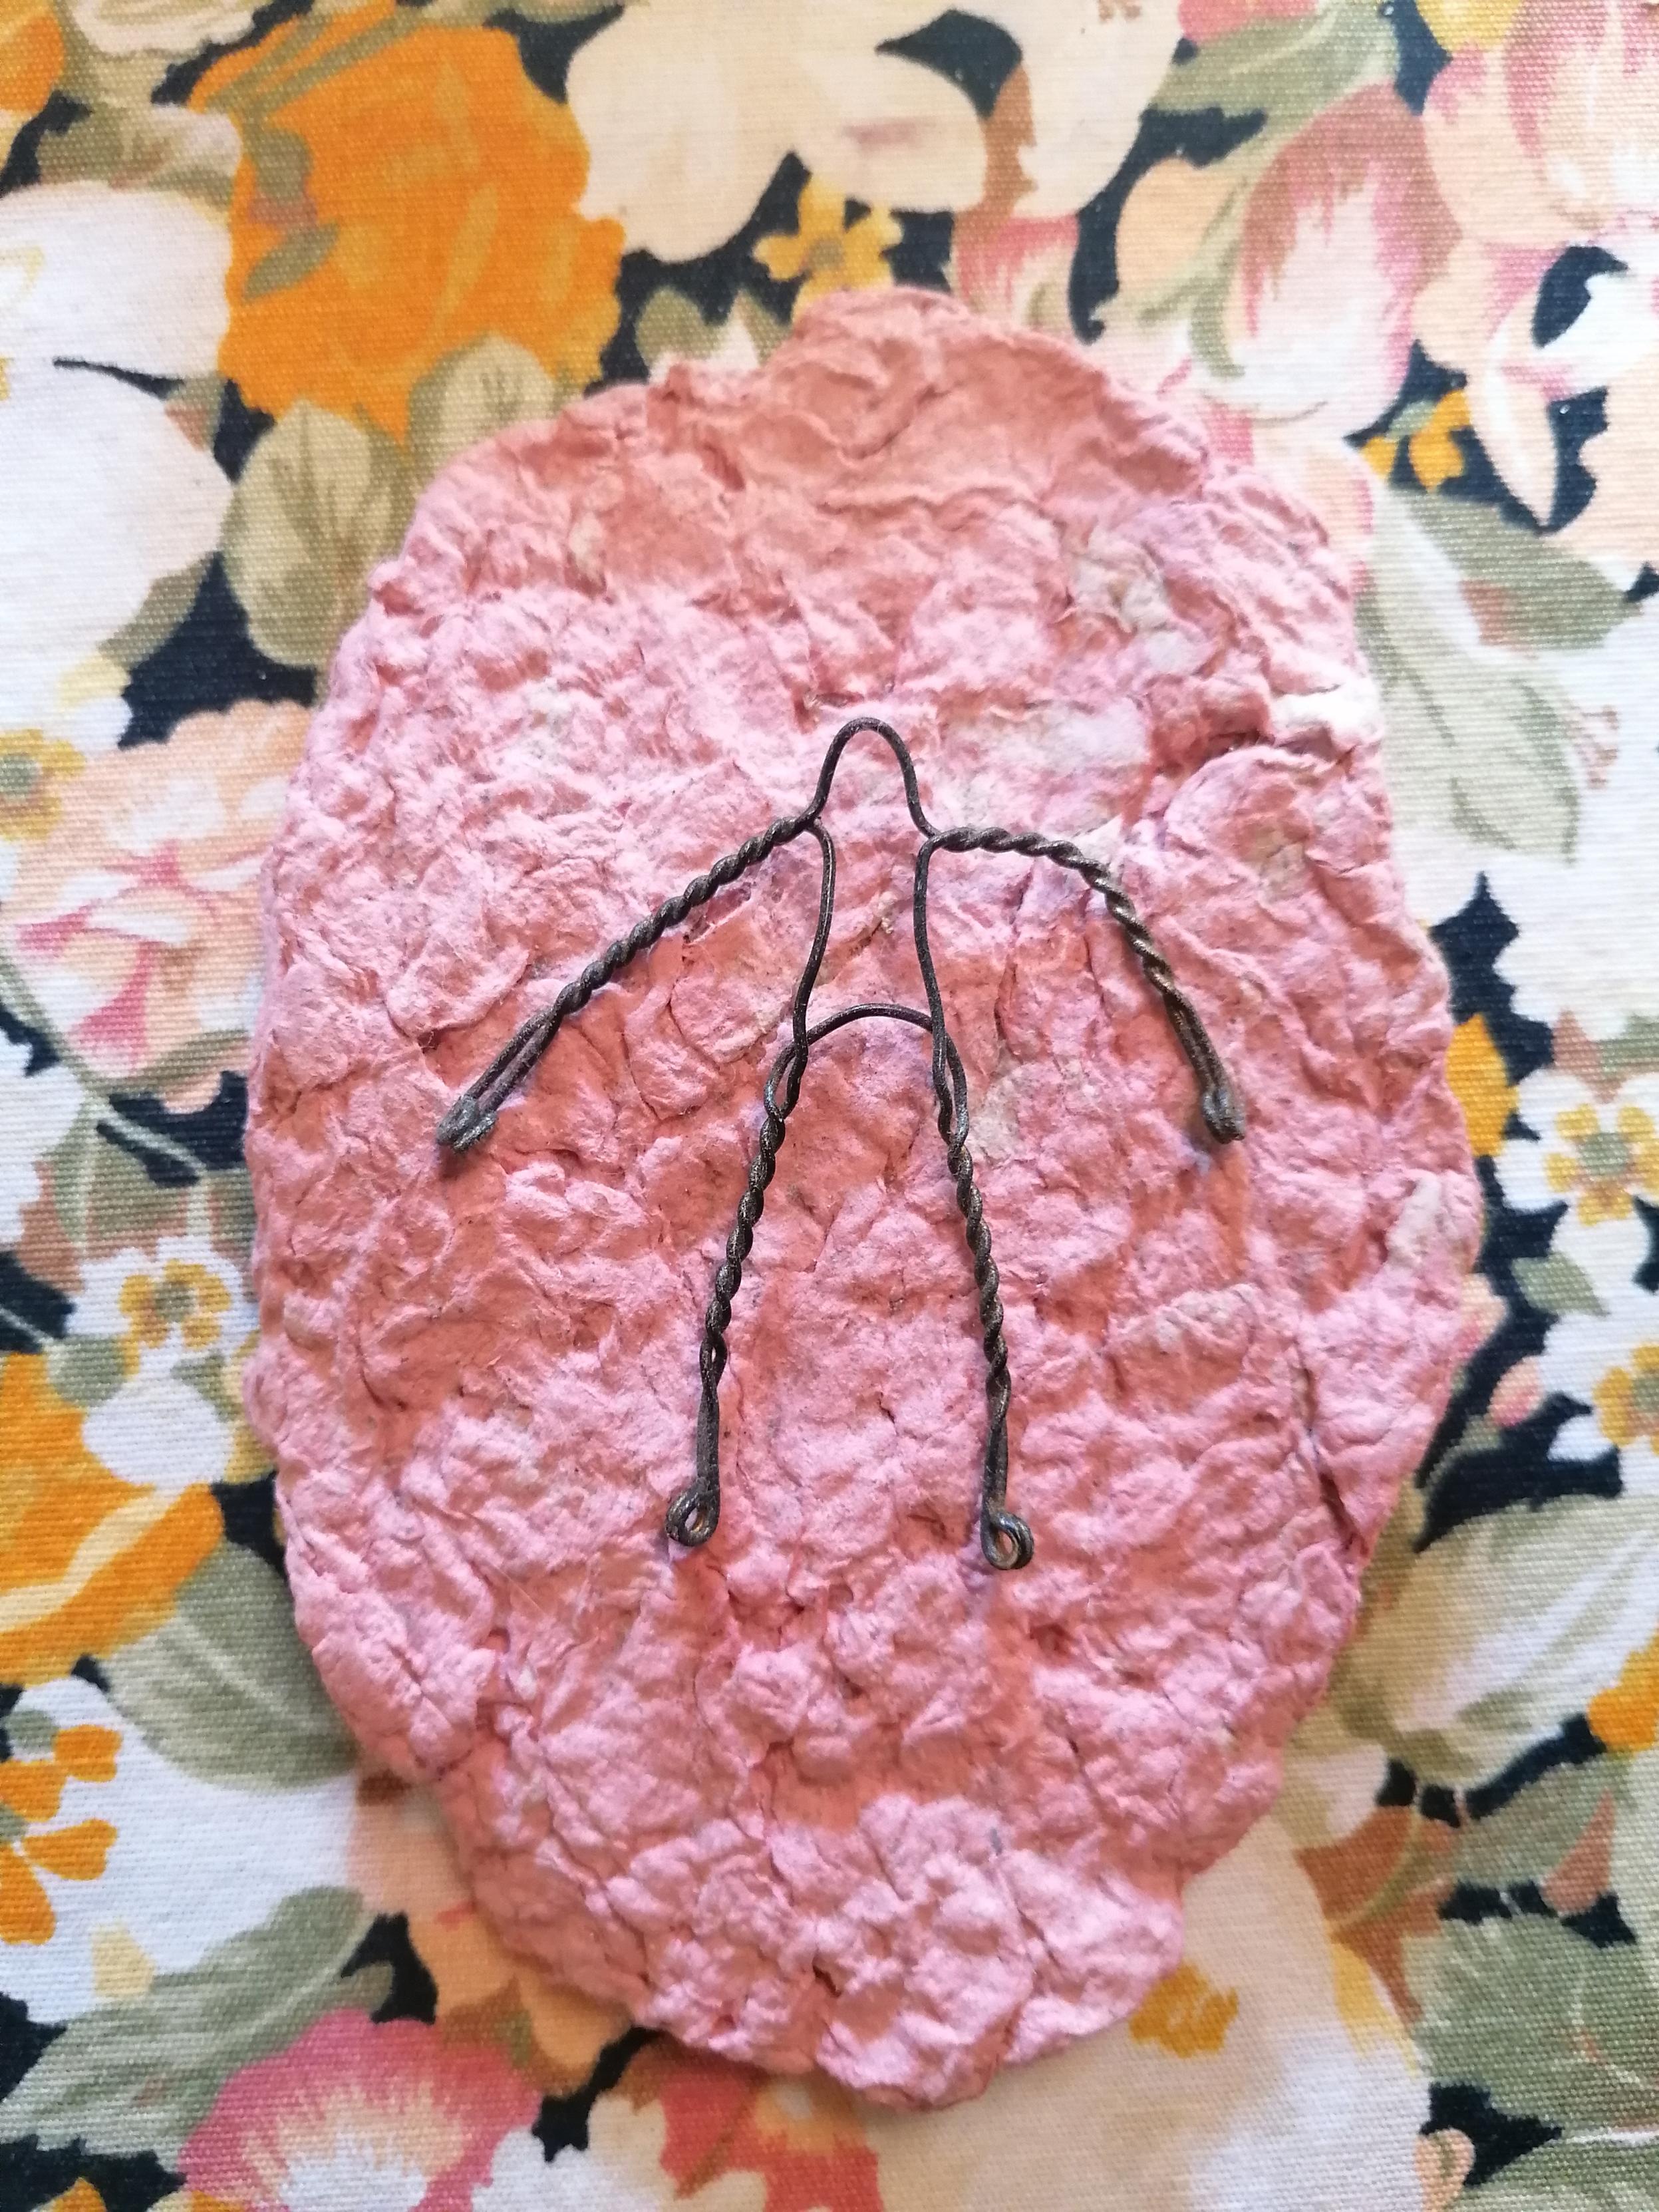
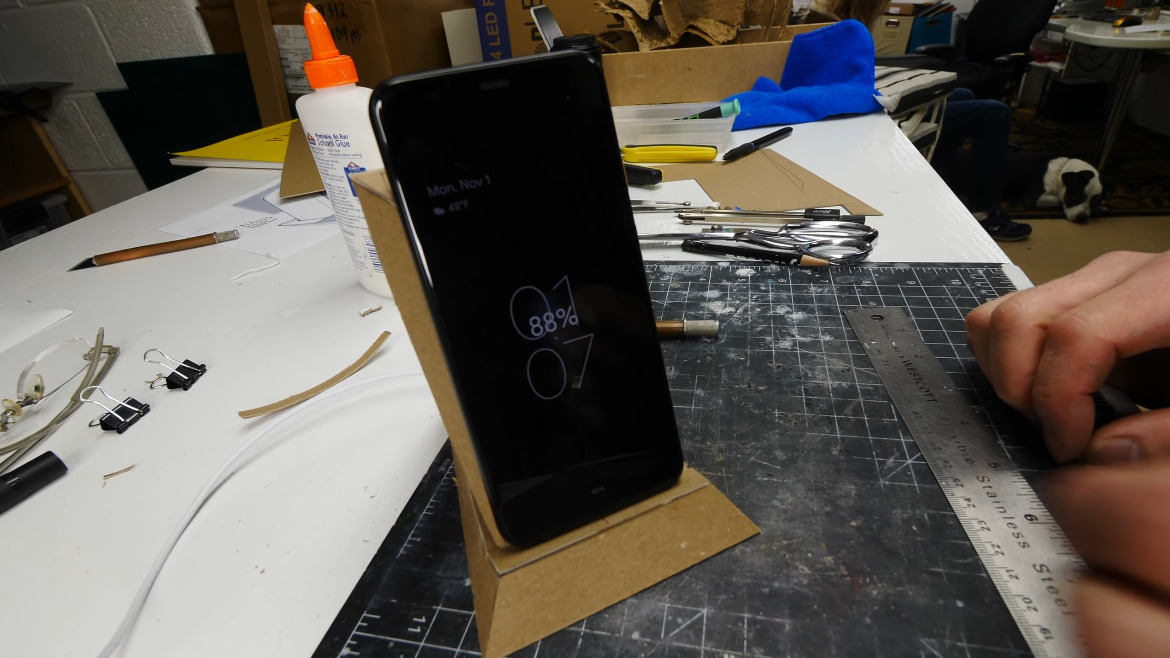
Here it is, the most exciting reveal since the Hackaday Prize ceremony -- [Eric Strebel] uses the pulp mold he designed and built over the three previous videos. In case you missed our coverage so far, [Eric] set out to design an eco-friendly wireless charger that's meant to be disposable after six months to a year of use, and looks good doing it.
[Eric] started by cutting up a lot of cardboard and pulping it in a brand-new Oster blender that honestly looks to be pretty heavy duty. Pulping consists of blending the cardboard bits with water until a soupy chili-like consistency is reached. That blender lasted all of 20 minutes before breaking, so [Eric] promptly replaced it with a Ninja, which was way more up to the challenge of cardboard.
To do the actual molding, [Eric] mixed his pulpy chili with ~30 L of water in a tub big enough to accommodate the long brass mold. He dipped the mold to gather a layer of pulp and pulled it, and then pressed the wireless charger in place to create a pocket for it in the final, dried piece which he later replaced with an acrylic disk of the same diameter. [Eric] points out that a part like this would probably dry within ten minutes in an industrial setting. Even though he set it on top of a food dehydrator, it still took 4-5 hours to dry. Soup's on after the break.
This isn't [Eric]'s first wireless charger. A few years ago, he prototyped a swiveling version in urethane foam that does portrait or landscape.
#greenhacks #cardboard #cardboardpulp #paperpulp #pulpmold #wirelesscharger
Prototyping Your Way to Better Prototypes
If you've ever made a prototype of something before making the "real" one or even the final prototype, you probably already know that hands-on design time can't be beat. There's really no substitute for the insight you will glean from having a three-dimensional thing to hold and turn over in your hands for a full assessment. Sometimes you need to prototype an object more than once before investing time, money, and materials into making the final prototype for presentation.
This is [Eric Strebel]'s second video in series about making an eco-friendly wireless phone charger. He made a paper prototype in the first video, and in this follow-up, he refines the idea further and makes a chipboard version of the charger before the final molded paper pulp prototype. The main advantage of the chipboard version is to design the parts so that each one will be easier to pull from its mold in a single piece without any undercuts.
By building the chipboard version first, [Eric] is able to better understand the manufacturing and assembly needs of this particular widget. This way, he can work out the kinks before spending a bunch of time in CAD to create a 3D-printed mold and making the paper pulp prototype itself. He emphasizes that this process is quite different from the 2.5D method of laser-cutting a single piece of chipboard and folding it up into a 3D object like it was a cereal box, which is likely to hide design issues. Be sure to check out the video after the break.
We think this prototype is quite nice-looking, and believe that everything deserves good design. Why should a wireless charger be any different? [Eric] has prototyped in a lot of media, but he seems especially skilled in the art of foam core board. Start with the masterclass and you'll have a better appreciation for his foam armored vehicle and one of the many ways he smooths out foam parts.
#classichacks #howto #cardboard #chipboard #paperpulp #prototype
Pulp-Molding: A Use For Cardboard Confetti
We're pretty sure that we don't have to tell you how great cardboard is. You probably sing the praises yourself and use it for everything from a work surface protective layer to a prototype of your next amazing build. But if you still find yourself flush with cardboard even after all that, here's one thing you can do with all those pieces that are too small to use for anything else- chuck them in an old blender, whip up some cardboard pulp, and press that gunk into some 3D-printed molds.
In addition to a step-by-step of the process, [flowalistik] offers a mold set of STL files for various useful items like a pencil holder, a box with a lid, a tray, and a coaster, as well as the Fusion 360 files in case you want to change them around. You might want to seal the coaster with something protective so that it doesn't mold/disintegrate/bloom from condensation.
Each part consists of the walls, the wall clip that keeps them closed, but allows for de-molding and reuse, the bottom lid, and the top lid. All these prints need to be pretty high-res so that they can withstand the pressure of the clamp holding it all together. [flowalistik] recommends a layer height no larger than .03mm and a 20% infill.
The process of making the pulp itself is fairly simple, and the recipe only calls for water and some kind of binder. To start, remove all tape, coatings, staples, and anything else non-soluble from the cardboard. Cut it into bite-sized pieces your blender will enjoy, and add water and PVA glue or rice paste. Mix it up, remove the excess water by squeezing your pulp inside of a piece of cloth, and then use it to fill up your mold. You'll want to press out the water as you go and fill it further, then finally apply the clamp. You can start de-molding parts on a schedule, starting with the clamp after about six hours. Once it's fully dried in about two days, you can treat it like MDF and sand, cut, or even drill it. We think some of these would look pretty good with a coat of paint.
Need your objects to be more sturdy? Keep that printer warmed up -- you can use prints to cast concrete, too.
#greenhacks #howto #cardboard #paperpulp #pvaglue #ricepaste
Client Info
Server: https://mastodon.social
Version: 2025.04
Repository: https://github.com/cyevgeniy/lmst