Das größte Hindernis war ein Fehler in limits, auf den ich und andere gestoßen sind, der aber inzwischen behoben wurde. Die Installation läuft in einer Debian 12 VM mit dem Skript octoprint_deploy von paukstelis ohne Fehler, und die Webcam wird ebenfalls sofort erkannt und integriert.
#prusaprinters
Endlich habe ich den 3D-Drucker mit der Octoprint Proxmox VM verbunden.
Finally got the 3D printer connected to the Octoprint Proxmox VM. The main obstacle was a bug in limits that I and others stumbled across, but it has now been fixed.
The installation is running in a Debian 12 VM with the octoprint_deploy script from paukstelis without any errors, and the webcam is also recognized and integrated immediately.
I got a quick look at the new Prusa Core One released yesterday. It looks amazing. Can’t wait to receive mine.
WOW! #Prusa3d just announced their new Printer: https://www.youtube.com/watch?v=O04RM-KCP68
Prusa CORE One - Fully Enclosed, High-Speed CoreXY #3dprinting
AND there is an upgrade path from the MK4 to the new CoreXY printer.
That is what I love about #Prusaprinters
Good work, and congratulations to a great looking machine @josefprusa
Od #PrusaPrinters dorazil upgrade na MK4S. Chtěl jsem se podívat, co mě vlastně čeká, ale online návody pro MK4 mi vrací Internal server error 😞
https://help.prusa3d.com/category/original-prusa-mk4-mk3-9-to-mk4s-mk3-9s-upgrade_2186
Unboxing and assembling our new Prusa Mk4 3D printer 🖨️ !
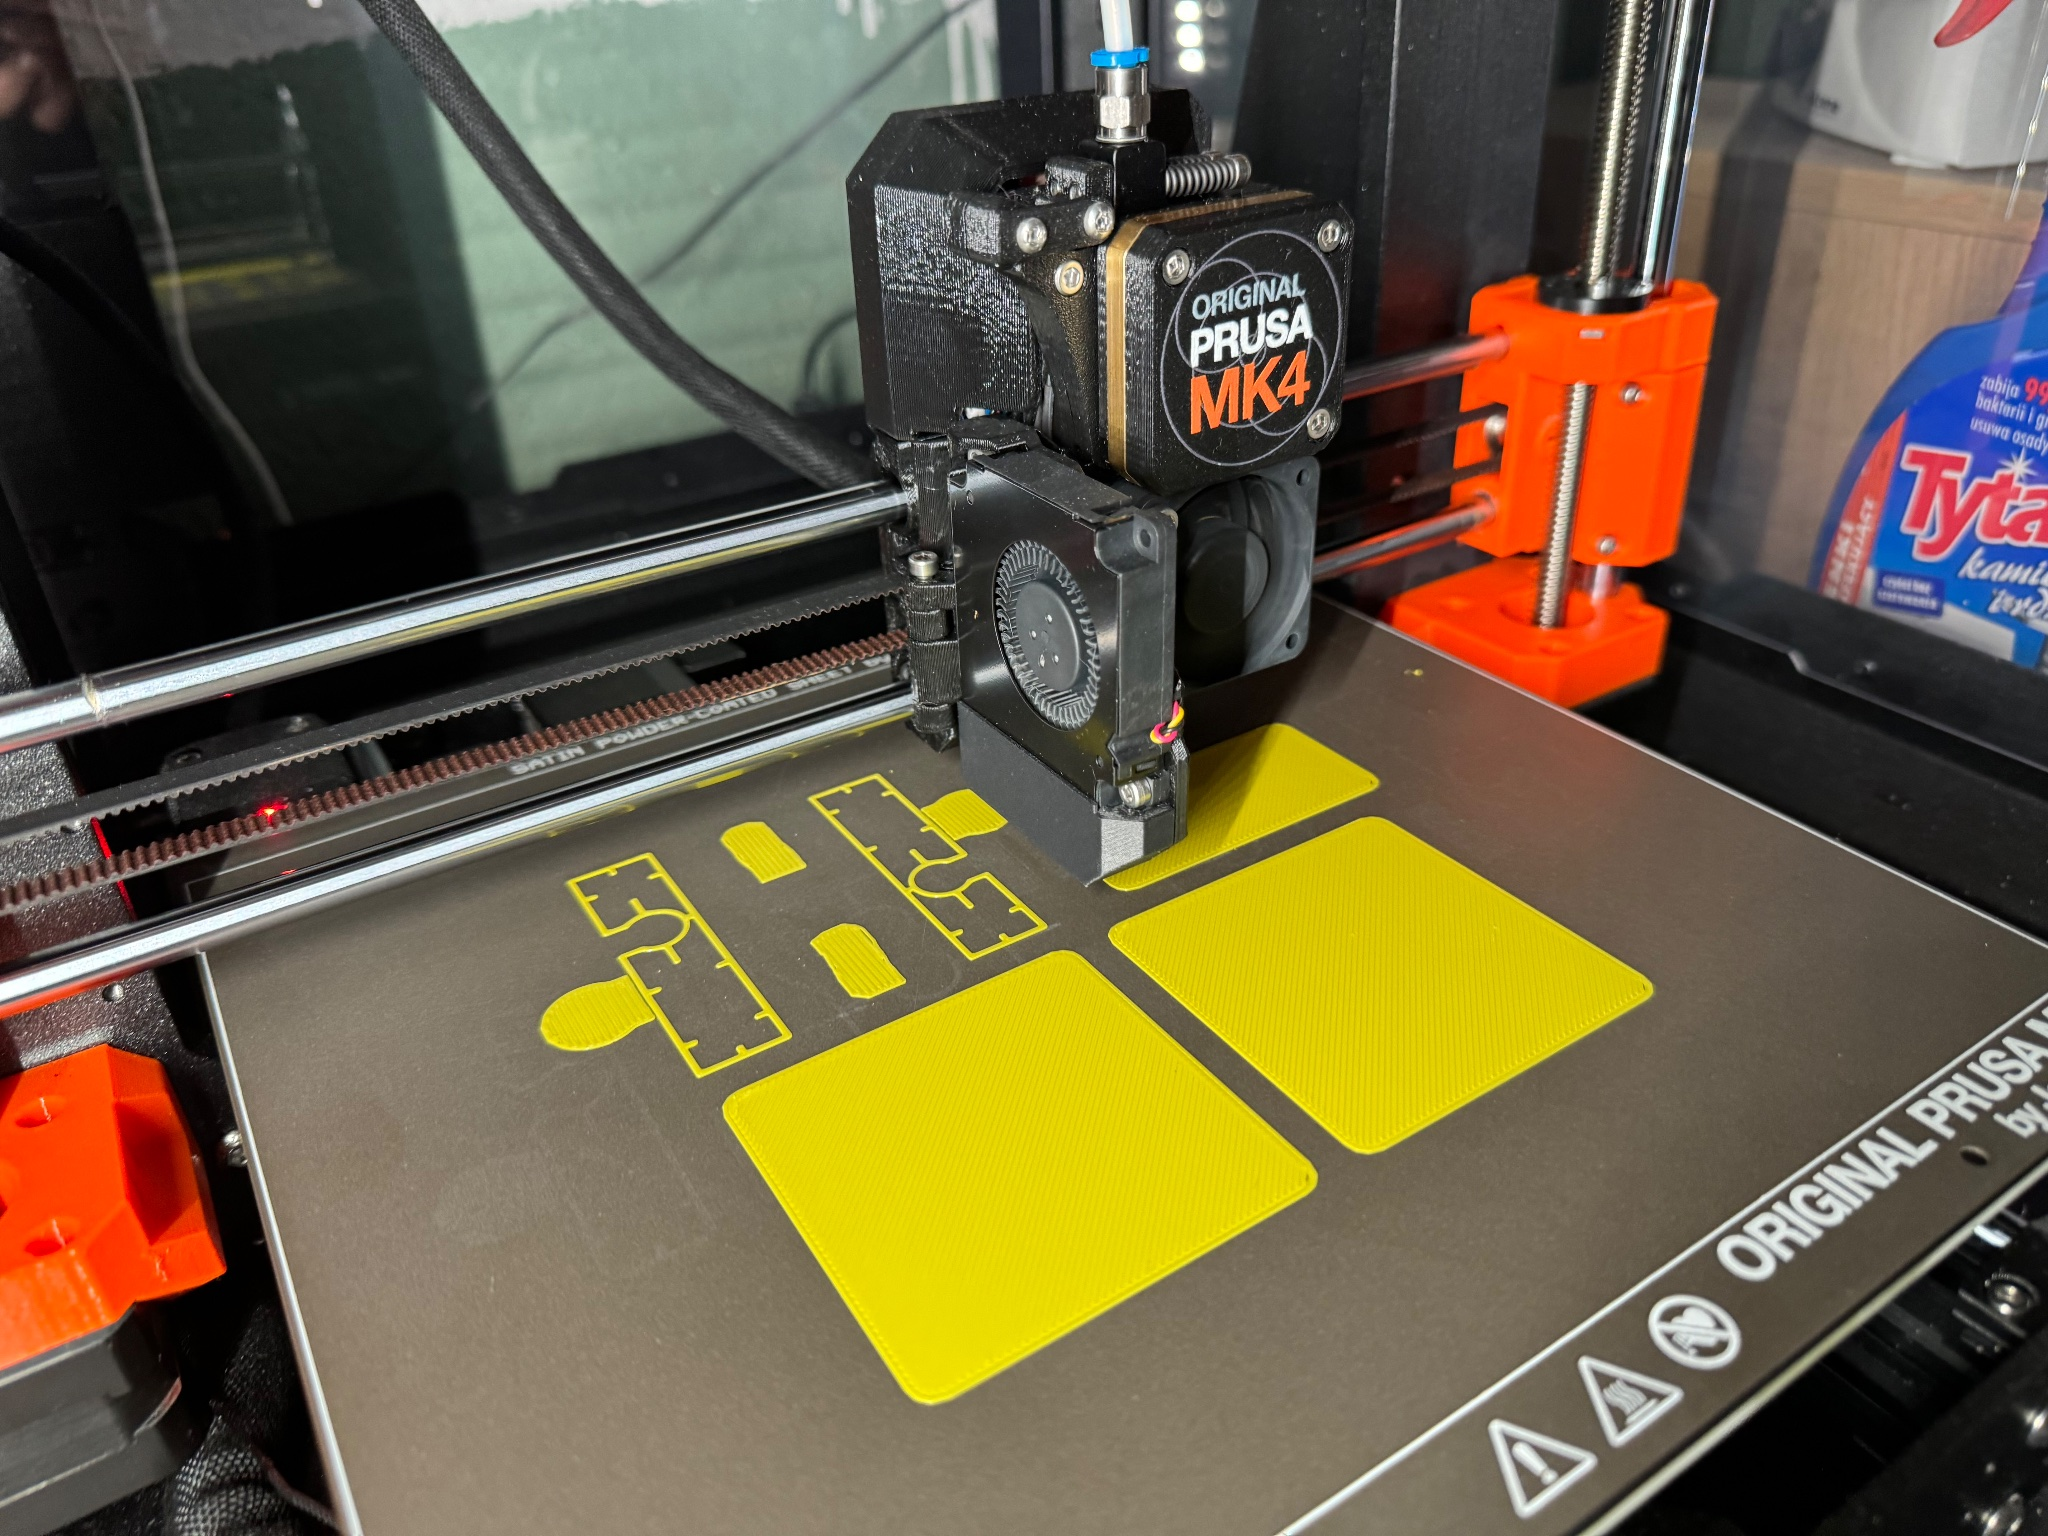
Na zdjęciu numer 1 leci testowy wydruk jednego krótkiego toru wg poprawionego designu oraz 4 płytek łączących tory lub pozwalających budować coś obok nich ;-)
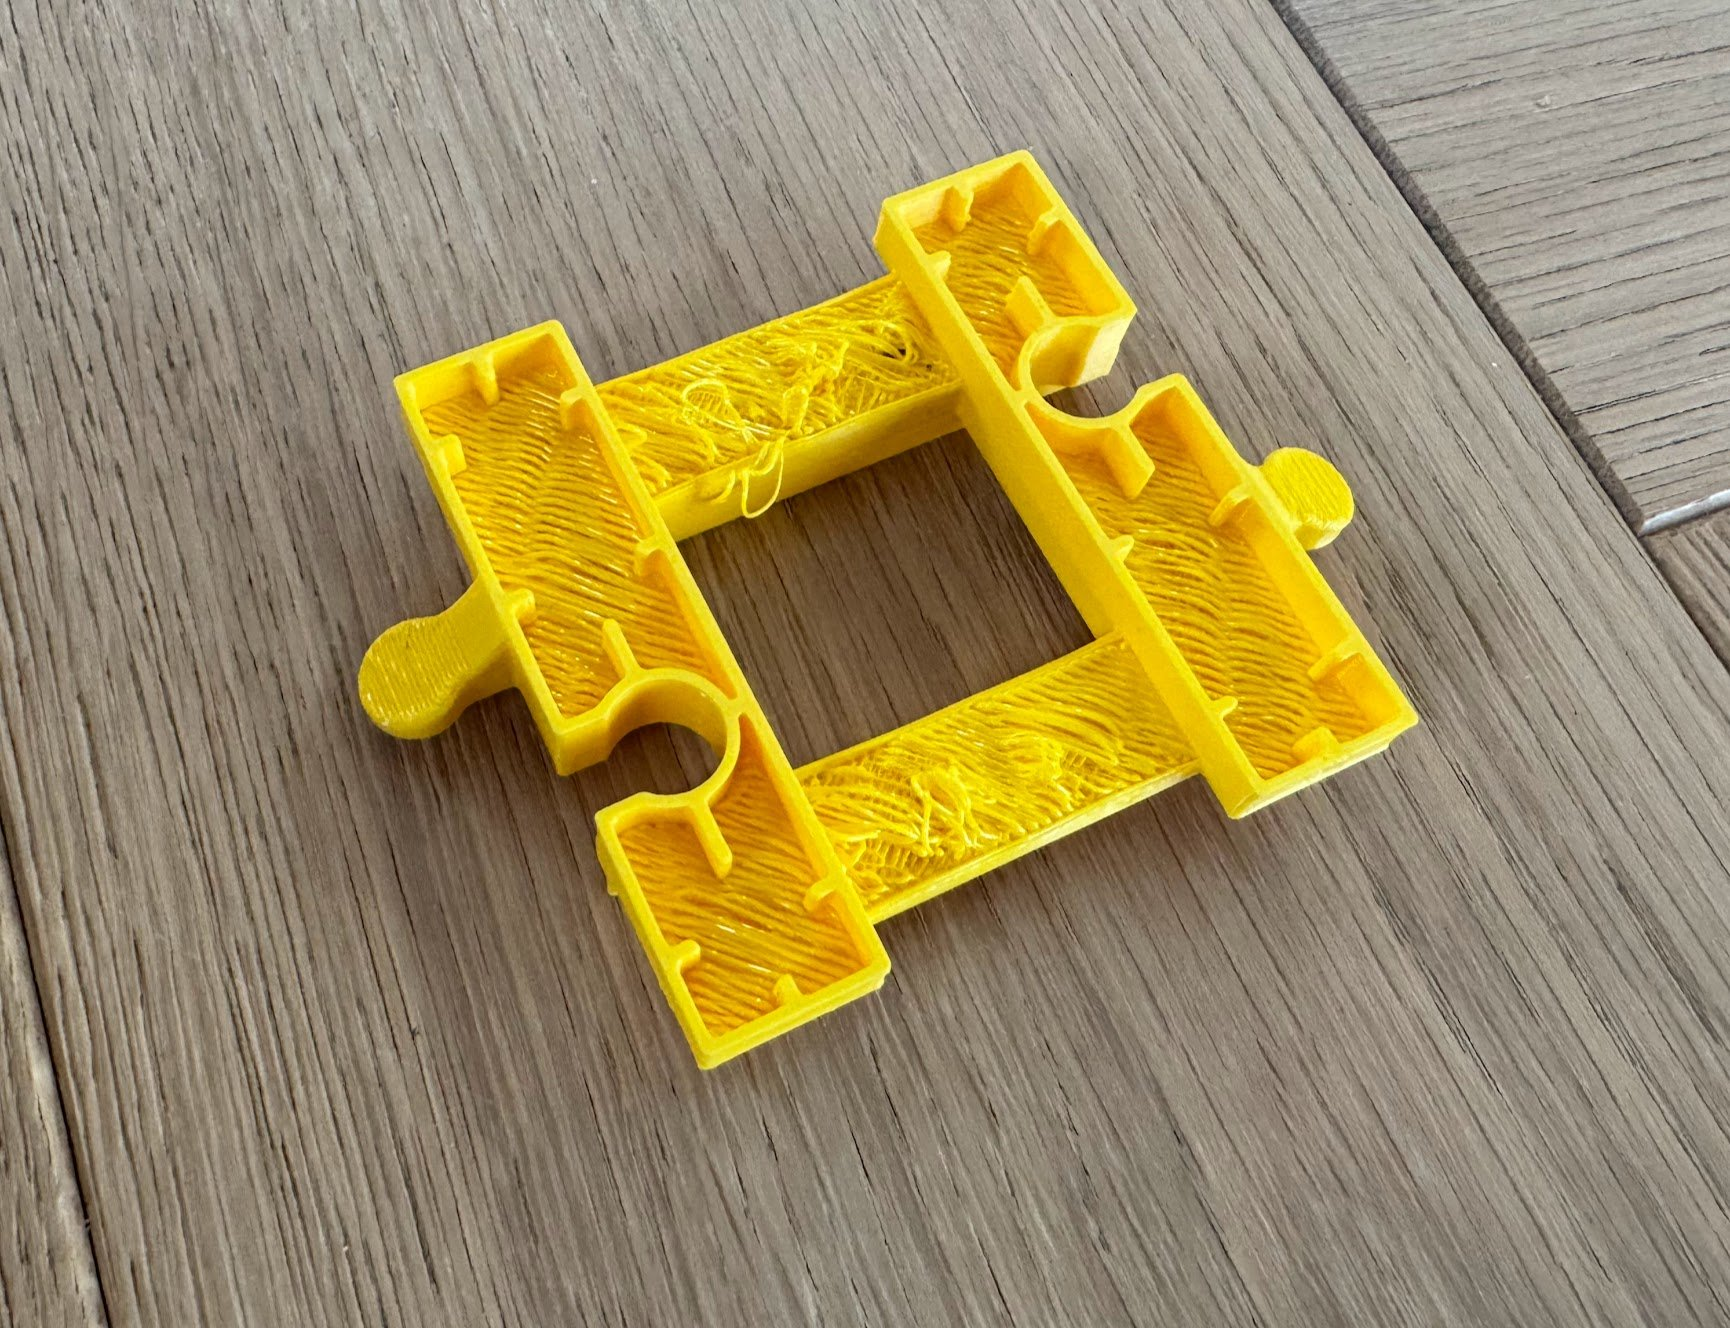
Zdjęcie numer 2, to tor, który drukowałem od spodu.
Warto podkreślić, że robiłem wydruk bez podpór na całej długości oraz z niestandardowym ustawieniem "bridge angle".
Czasami brakuje mi precyzyjnych ustawień bridgowania.
#OpenSCAD #PrusaPrinters #PrusaSlicer #PrusaMK4 #3dprint #3dprinting #Duplo #DuploTracks #LegoDuplo #Olsztyn #Warmia #Poland
Tor prosty, długość to 16LU (lego unit, 16mm) podwójny zwykły prosty, czyli 256mm (a z wypustkami dodatkowe cm), dzięki ułożeniu po przekątnej da się ;)
#OpenSCAD #PrusaPrinters #PrusaSlicer #PrusaMK4 #3dprint #3dprinting #Duplo #DuploTracks #LegoDuplo #Olsztyn #Warmia #Poland
The print came out very good. It fits Duplo tracks well, there are few minor caveats: the track is about 0.4-0.6 mm higher than original tracks (train can handle it, not sure about perfectionist me) and it’s a bit tight on connector.
#OpenSCAD #PrusaPrinters #PrusaSlicer #PrusaMK4 #3dprint #3dprinting #Duplo #DuploTracks #LegoDuplo #Olsztyn #Warmia #Poland
I haven't posted my prints for some time. ;-)
Straight Duplo track of 12 duplo studs, equal to about 120 LU (Lego Units, one is 1.6mm).
We (me & son) need them to build looooong bridges ;-)
This one is a test run. If it works more or less ok, i'm gonna print few more.
It was generated and fine tuned from a OpenSCAD model available on Thingiverse.
I have my own brick OpenSCAD script, which generates better print models, but my script is inferior in parametriztion and it's not that easy to integreate it.
#OpenSCAD #PrusaPrinters #PrusaSlicer #PrusaMK4 #3dprint #3dprinting #Duplo #DuploTracks #LegoDuplo #Olsztyn #Warmia #Poland
J'ai commandé une #PrusaPrinters Mini+ 😍
Na zdjęciu można jest kilka iteracji alfabetowego Duplo ;-)
Zgadujecie, które są najnowsze. W sumie nieźle widać różnicę. Wstawię później lepsze foty.
#druk3D #3dprint #3dprinting #prusamk4 #freecad #openscad #PrusaPrinters #PrusaSlicer #functional3dprinting #Poland #Polska #Warmia #Olsztyn #lego #duplo #MMU
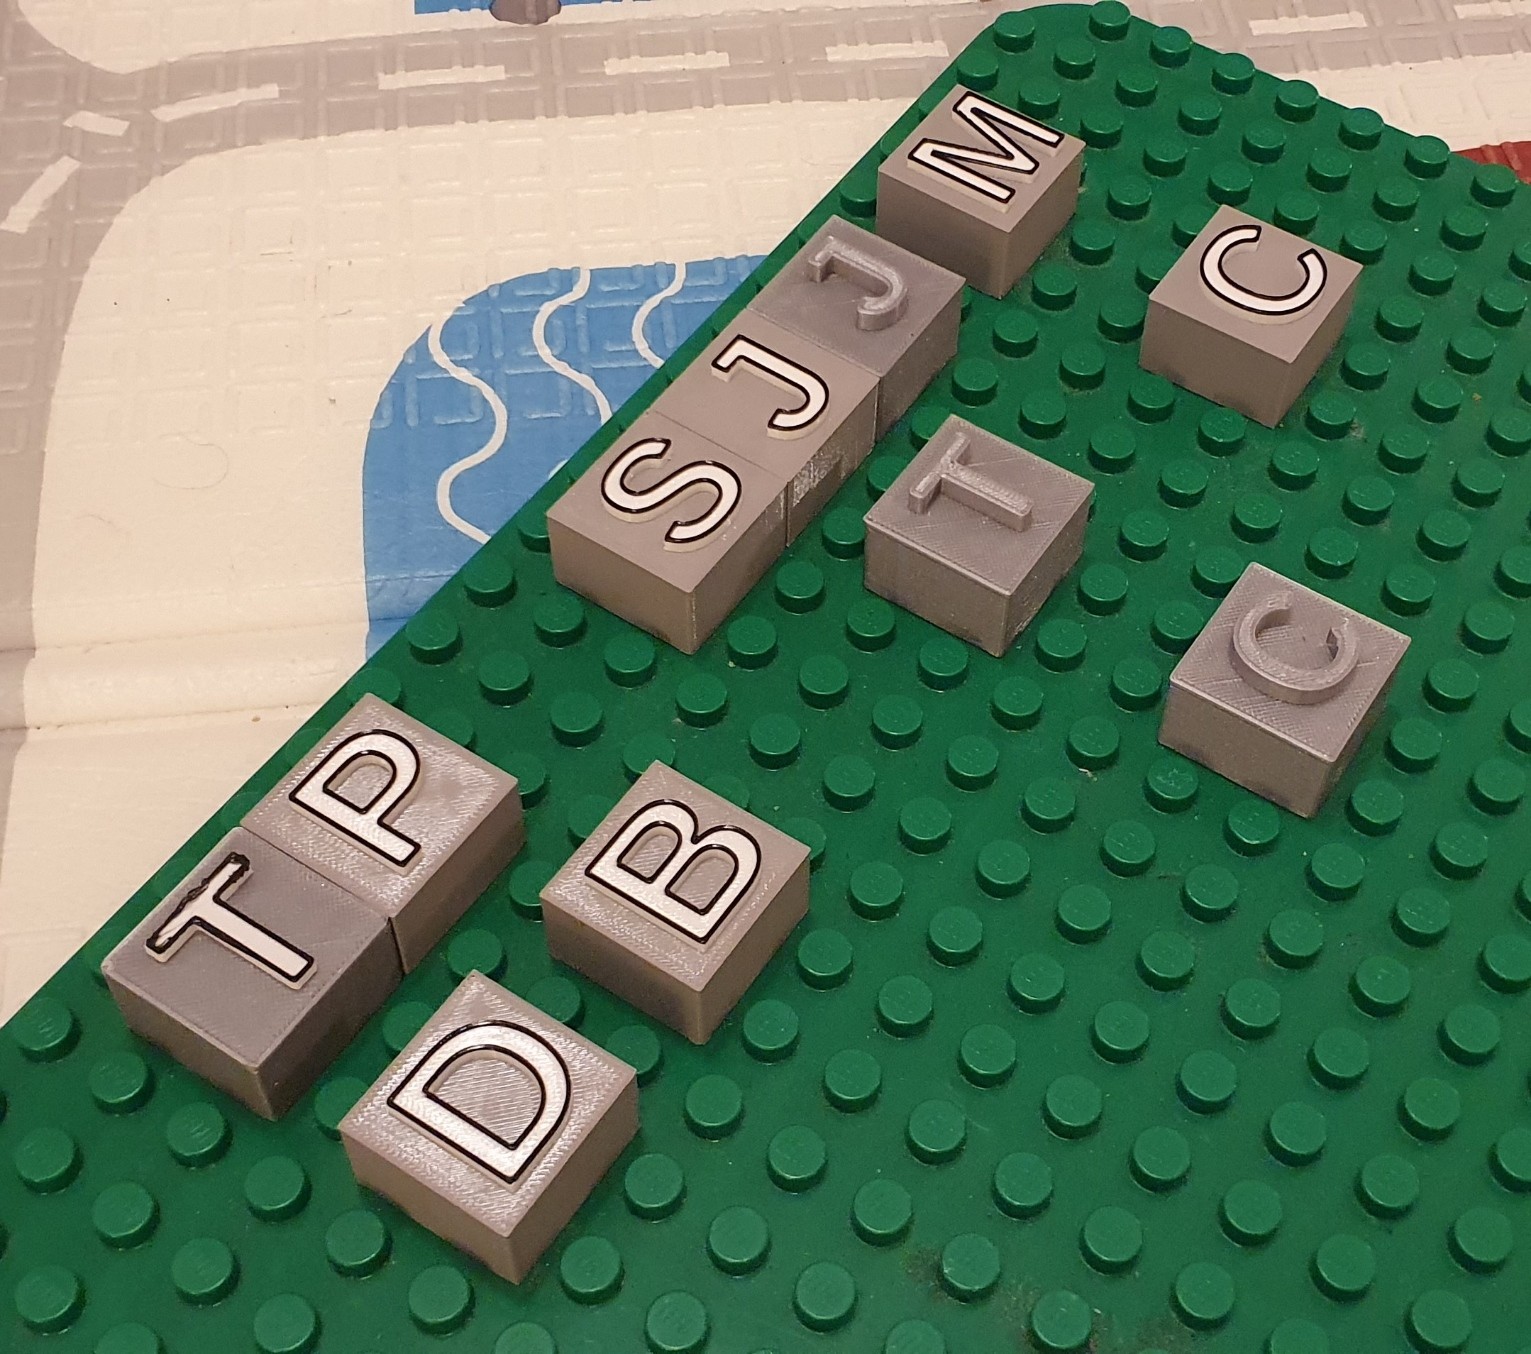
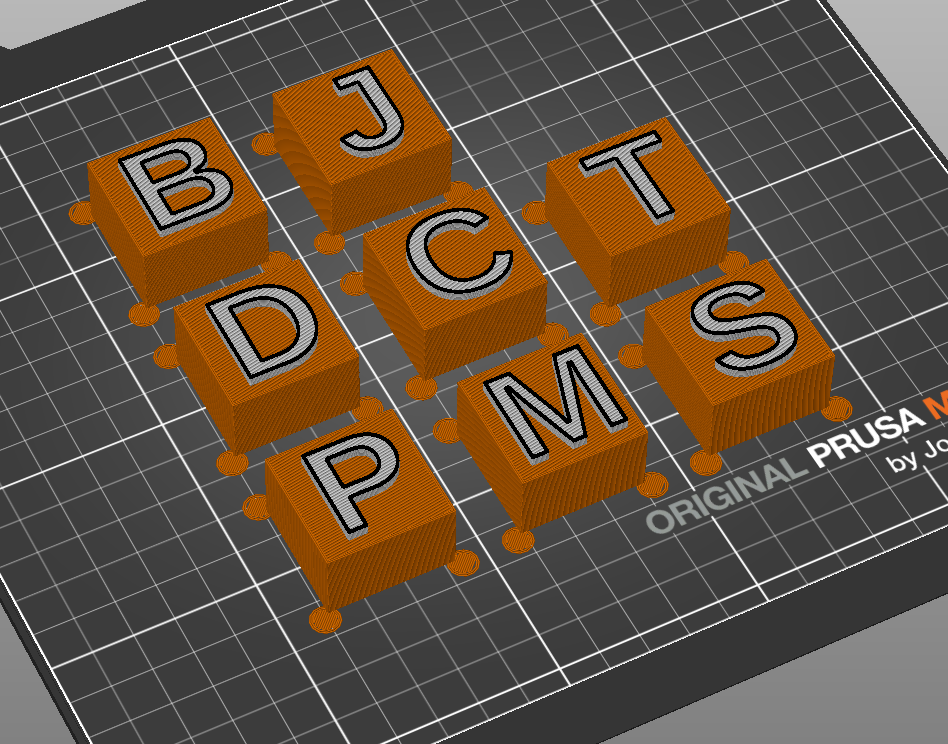
Pisałem jakiś czas temu o tym, że planuje zaprojektować polski alfabet na klockach Duplo. Wrzucałem projekty klocków, oraz eksperymenty i mam efekt końcowy. Teraz zostało mi wydrukować cały alfabet z 2x. Jeszcze jeden mikro eksperyment będzie, bo mam pomysł jak pozbyć się ostatniego defektu z najwyższej czarnej warstwy.
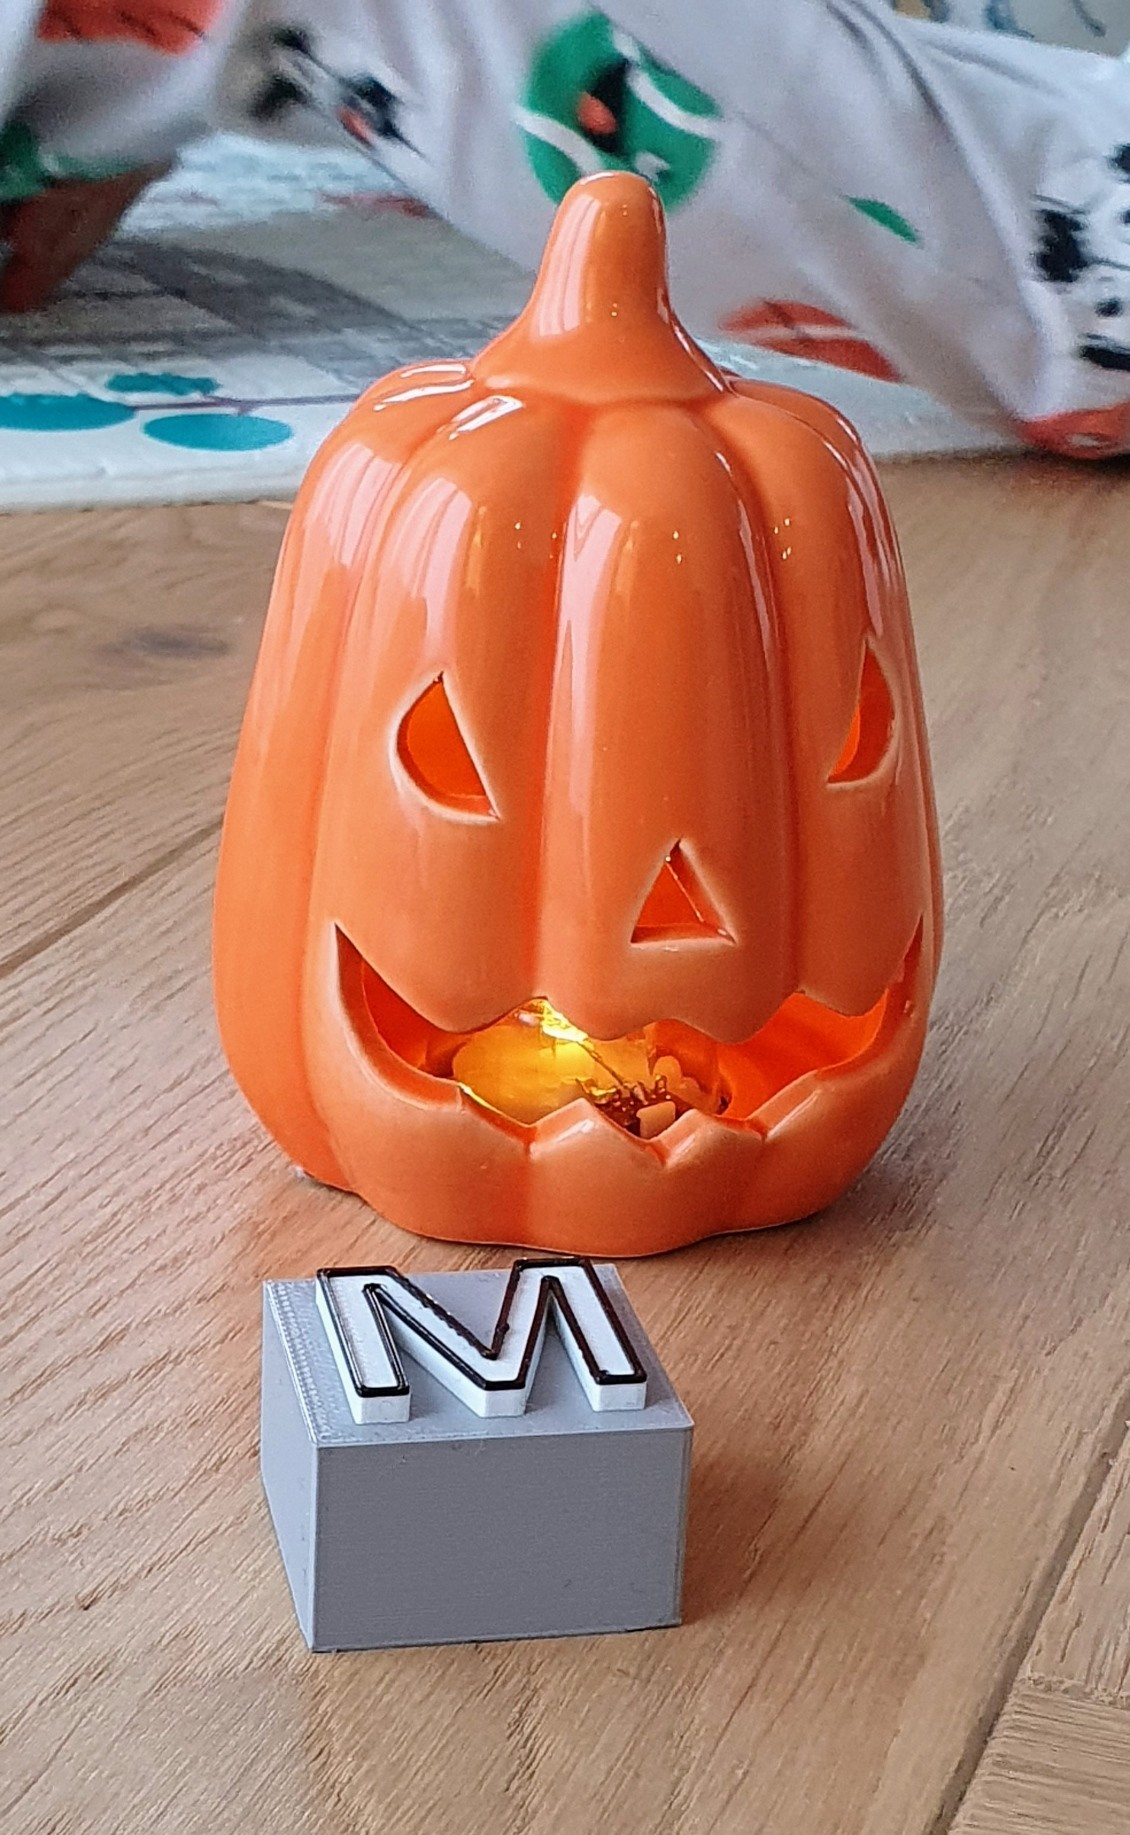
Jak wyglądają litery z poprzedniego wpisu po wydrukowaniu? A proszę. Literka M to pierwsza próba wydruku finalnego projektu.
https://pol.social/@pawelszczur/111314620170548126
#druk3D #3dprint #3dprinting #prusamk4 #freecad #openscad #PrusaPrinters #PrusaSlicer #functional3dprinting #Poland #Polska #Warmia #Olsztyn
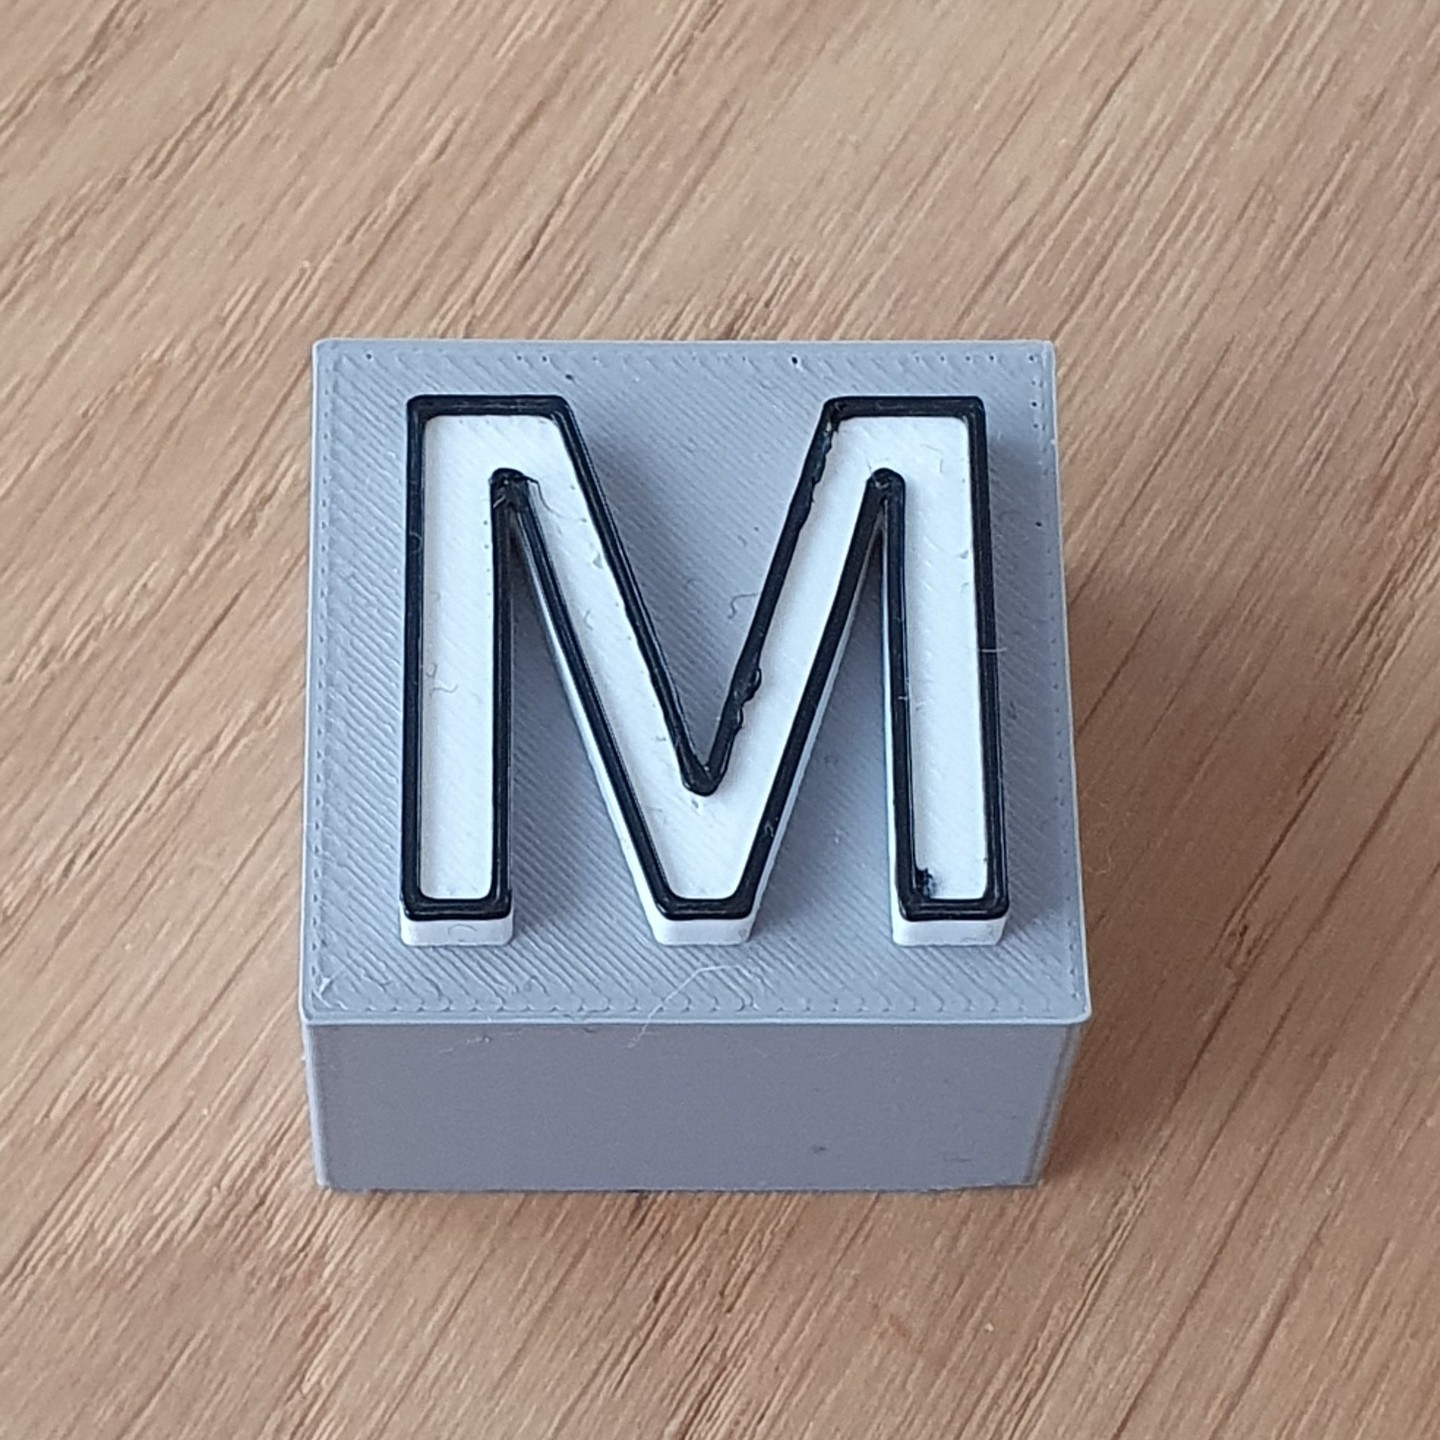
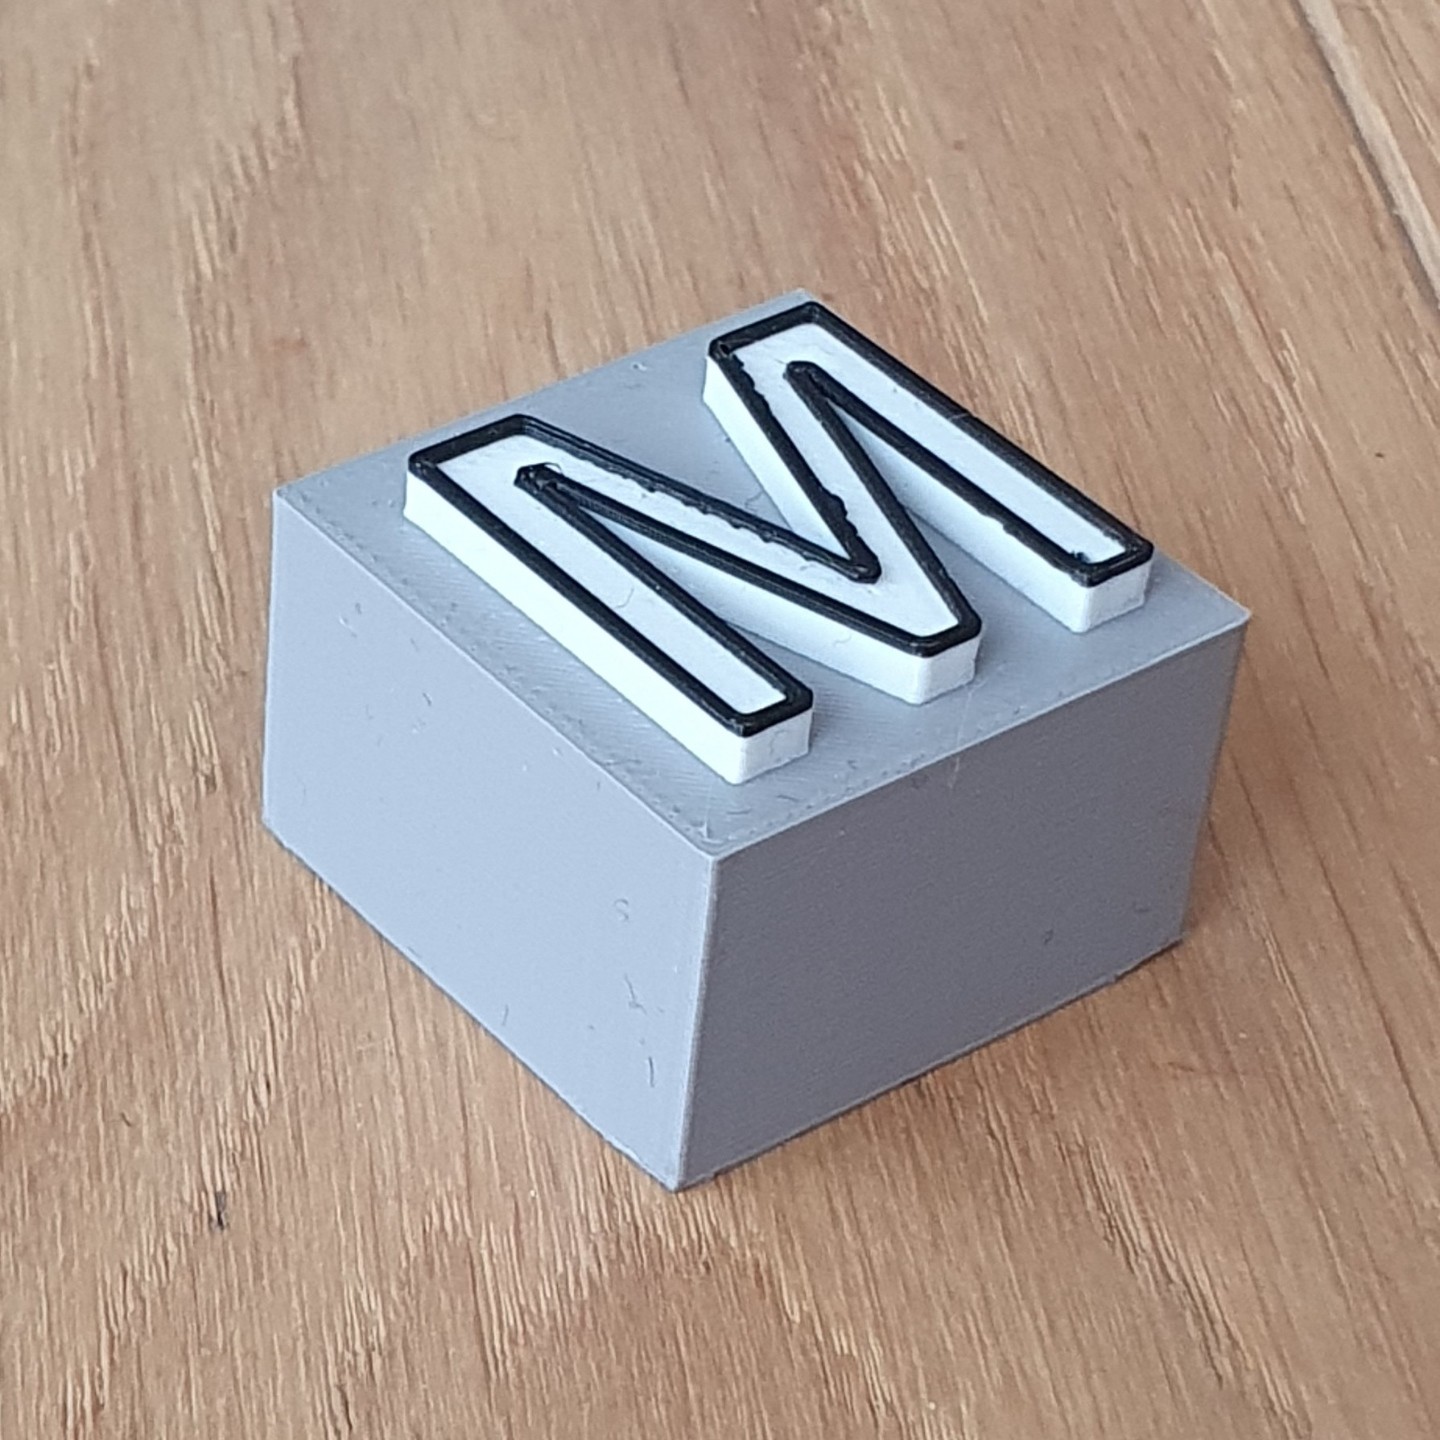
Mam to ;) Po kilku(nastu) wydrukach próbnych samego klocka, oraz 2 wydrukach próbnych liter udało mi się osiągnąć na prawdę miły wizualnie efekt liter na klockach #Duplo
Podstawowy klocek był projektowany w OpenSCAD, następnie obróbka była wykonana w FreeCAD, a litery oraz "mickey ears" ponownie dodane w OpenSCADzie.
Slicing robiony w Prusa Slicer, którego coraz lepiej poznaję.
Te 8 liter ze zdjęcia będzie się drukowało około 2h39m. W trakcie druku będę 2 razy ręcznie zmieniał kolor PETG. Tutaj będę potrzebował odrobinę szczęścia, bo już parę razy miałem z tym problem.
Jeżeli będzie problem ze zmianą koloru filamentu, to już oskryptowałem podzielenie tego druku na 3 części i osobny wydruk każdego koloru ;-)
#druk3D #3dprint #3dprinting #prusamk4 #freecad #openscad #PrusaPrinters #PrusaSlicer #functional3dprinting #Poland #Polska #Warmia #Olsztyn
Notka do siebie. Pracując nad alfabetem na klockach duplo, uczyniłem taki kod ;-)
Tutorial: https://dev.to/erikaheidi/how-to-create-letter-molds-and-stamps-for-3d-printing-on-openscad-18am
```
font = "DejaVu Sans:style=Bold";
letter_size = 40;
height = 2.4;
outline_height = 0.6;
string = "DEV";
textlen = len(string);
module letter(string, height=2.4, outline_height=0.6, size=10, font, color_main=[1,1,1], color_outline=[0,0,0]) {
color(color_main)
linear_extrude(height)
text(string, size = letter_size, font = font, halign = "center", valign = "center", $fn = 64);
color(color_outline)
translate([0, 0, height])
linear_extrude(outline_height) {
difference() {
offset(delta=-0.2) {
text(string, size = letter_size, font = font, halign = "center", valign = "center", $fn = 64);
}
offset(delta=-0.8, chamfer=true) {
text(string, size = letter_size, font = font, halign = "center", valign = "center", $fn = 64);
}
}
}
}
letter("pol.social", height=2, outline_height=0.6);
```
#druk3D #3dprint #3dprinting #3ddesign #prusamk4 #openscad #openscad #PrusaPrinters #functional3dprinting #Poland #Polska #Warmia #Olsztyn
Takie tam drobne przyjemności. Było kilka prób druku, w końcu się udało;-)
#halloween #druk3D #3dprint #3dprinting #prusamk4 #PrusaPrinters #learning3dprint #Olsztyn #Poland #Polska #Warmia
Tak wygląda pocięta dynia z włączoną opcją zmiennej wysokości warstw. Kolory oznaczają wysokość warstw.
#druk3D #3dprint #3dprinting #prusamk4 #PrusaPrinters #learning3dprint #Poland #Polska #Warmia #Olsztyn
Muszę obadać zmienne wysokości warstw w druku 3d. Chodzi głównie o miejsca gdzie są duże nawisy, z mniejszymi warstwami wydruk powinien być ładniejszy.
https://help.prusa3d.com/article/variable-layer-height-function_1750
#druk3D #3dprint #3dprinting #prusamk4 #printinplace #PrusaPrinters #functional3dprinting #Poland #Polska #Warmia #Olsztyn
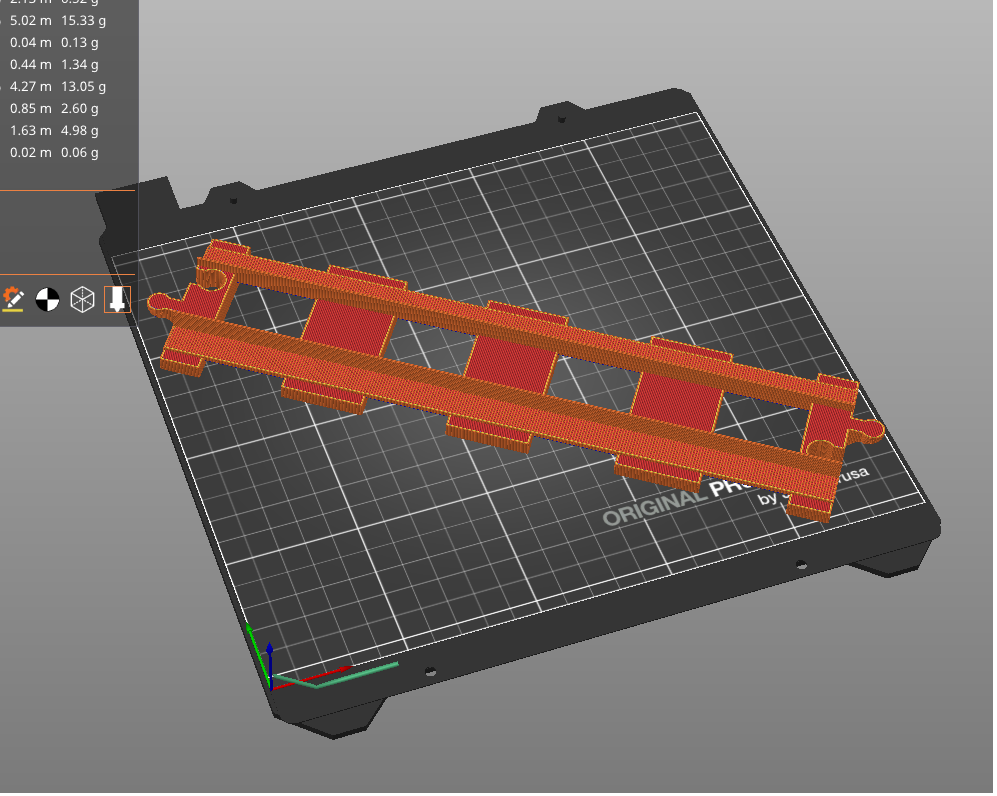
Recently I've been mentioning it would be cool to automagically generate bridges to support higher layers.
You can see what I've meant on screenshots from my slicer.
On the first screenshot you can see i've connected the cylinder to walls. On the second screenshot you can see i create similar connection just to other walls and additionally a thin connection of previously created bridge to walls.
On the third you can see full surface being printed. From now on, normal layers are printed. This allows me to print from PETG without supports.
After a lot of experiments i have an impression that doing overhangs and bridges is very poorly supported in slicers.
#druk3D #3dprint #3dprinting #prusamk4 #freecad #openscad #PrusaPrinters #functional3dprinting #Poland #Polska #Warmia #Olsztyn
Eksperymentów z precyzją druku ciąg dalszy. Wydrukowałem około 8 różnych modeli klocka Duplo 2x2 i dotarłem chyba do maksimum tego co da się osiągnąć przy użyciu Prusament PETG na ich drukarce.
Początkowe pomiary byly wzorowane na patencie Lego oraz wpisach w Internecie. Kolejne iteracje to moje własne próby.
Po raz pierwszy doświadczyłem "elephant foot" oraz "warpingu" wydruków. Fajnie, exp++ :D
Rezultat to wynikowa wprowadzonych wymiarów, materiału i drukarki. Każde z tych bywa minimalnie inne, co ma niebagatelny wpływ na wynik.
Klocek pasuje bardzo dobrze, wymiary się zgadzają, nieźle się trzyma. Dodatkowo, nie wymaga wykorzystania żadnych wsporników w procesie druku. Musiałem jednak dodać "mickey ears" na rogach, bo wydruk się podwijał. To może być wynik tego, że drukuję w chłodnym pomieszczeniu, jestem więc teraz na etapie przygotowania podgrzewania obudowy.
Sam model bazowego klockach z wszystkimi udoskonaleniami mam w OpenSCAD jako model parametryczny. Obecnie robię refaktoring skryptu, bo trochę mi się spaghetti zrobiło. Mam nadzieję za kilka dni powstawiać modele na Printables.
Co do modelowania, to mogę teraz brać się za wykorzystanie modelu do bardziej złożonych elementów (domyślnie, mają składać się z wielu nałożonych na siebie klocków, mam też możliwość generowania różnych rozmiarów klocków wg uznania. W planie jest brama do remizy strażackiej ;-)
#druk3D #3dprint #3dprinting #prusamk4 #freecad #openscad #PrusaPrinters #functional3dprinting #Poland #Polska #Warmia #Olsztyn
Client Info
Server: https://mastodon.social
Version: 2025.04
Repository: https://github.com/cyevgeniy/lmst