Transform Your 3D Printer with These Must-Have DIY Upgrades!
821 words, 4 minutes read time.
Upgrading your 3D printer is a rewarding project that can enhance the quality and speed of your prints, whether you’re just starting out or looking to take your hobby to the next level. From adding auto-bed leveling to upgrading the hotend and extruder, DIY improvements can make your machine more efficient and versatile. In this post, we’ll walk through several essential upgrades for a 3D printer that can boost performance and take your printing to new heights.
1. Add Automatic Bed Leveling with BLTouch
One of the most common issues when starting 3D printing is achieving the perfect first layer. An uneven bed can lead to issues like poor adhesion, warping, or print failure. By adding an automatic bed leveling sensor like the BLTouch, you can ensure that the print head is always at the correct height. This sensor probes the bed at multiple points, adjusting the Z-axis as needed to ensure a consistent distance between the nozzle and the bed throughout the print. The result? Better first layers and less time spent on manual calibration.
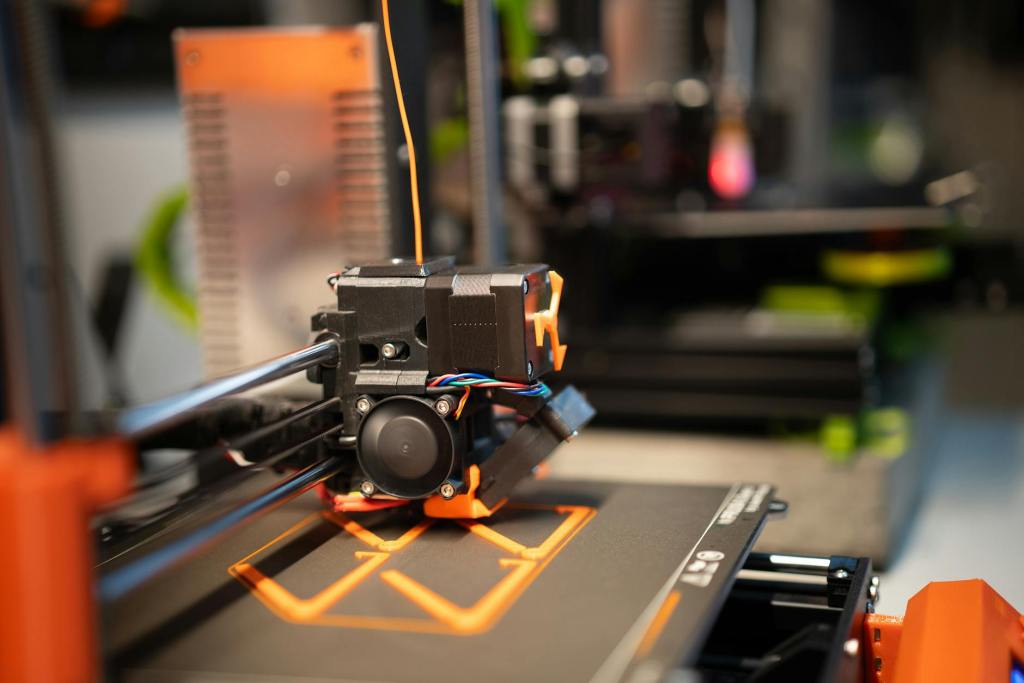
2. Upgrade Your Hotend for Higher-Quality Prints
If you plan to print with higher-temperature materials, or if you’re just looking for more consistent results, upgrading your hotend is one of the most significant improvements you can make. Switching from a stock PTFE-lined hotend to an all-metal version will allow you to print at higher temperatures, increasing the range of materials you can use. A high-quality hotend provides better thermal control, reduces clogging, and ensures more stable printing even with tough filaments.
3. Switch Out Your Extruder
The extruder plays a crucial role in feeding filament to the hotend. Many budget 3D printers come with basic extruders that can struggle with certain filament types or cause issues like under-extrusion. Upgrading to a high-quality extruder such as the Bondtech or E3D Titan can improve filament control and reduce these issues. These extruders feature dual-drive gears, offering better grip on the filament, which results in more precise and reliable extrusion, especially for flexible or specialty filaments.
4. Install a Better Nozzle for Precision
A nozzle upgrade can go a long way in improving print quality. Stock nozzles often wear out quickly, especially when printing with abrasive filaments like carbon fiber-infused materials. By upgrading to a hardened steel or tool steel nozzle, you’ll benefit from increased durability and more consistent extrusion. These nozzles last longer, maintain better performance over time, and can withstand more demanding print materials without degrading as quickly as their brass counterparts.
5. Create an Enclosure for Improved Print Quality
While not always an obvious upgrade, building or purchasing an enclosure for your 3D printer can make a big difference in print quality. Enclosures help maintain a stable temperature, especially when printing with materials that are sensitive to drafts or temperature fluctuations like ABS. An enclosed printer also reduces the risk of warping and improves overall print adhesion. Additionally, enclosures help keep dust and debris away from your prints, ensuring that your projects come out clean and smooth.
6. Improve Your Print Surface
The print bed surface can have a significant impact on print adhesion and quality. Many 3D printers come with basic, non-stick beds, but upgrading to options like tempered glass, magnetic flexible beds, or PEI (Polyetherimide) sheets can provide better adhesion and easier print removal. For example, PEI sheets are especially popular because they offer a sticky surface that doesn’t require additional adhesives, making prints stick well during printing but come off easily once done.
7. Add LED Lighting and Tidy Up Cables
A simple yet effective upgrade is to add LED lights to your 3D printer. Not only will this enhance the aesthetic of your machine, but it will also make it easier to monitor prints, especially in low-light environments. Alongside lighting, organizing your cables is essential for preventing tangling and keeping your workspace clean. 3D-printable cable clips or wire management systems can be easily designed and implemented, making your workspace look more organized and reducing the risk of obstruction during printing.
8. Upgrade Your Power Supply for Reliability
A reliable power supply is essential for the smooth operation of your 3D printer. If you’re experiencing random shutdowns or power issues, upgrading the power supply can help. A high-quality PSU can stabilize voltage fluctuations, preventing electrical issues that might damage the printer or cause failed prints. Additionally, a more powerful PSU allows for longer, more stable printing sessions, especially for larger and more complex models.
Upgrading your 3D printer doesn’t have to be complicated or expensive, and even small changes can lead to significant improvements in performance. Whether you’re just getting started with 3D printing or are looking to push your machine to its limits, DIY upgrades are a great way to take control of your prints and achieve better results. Have you tried any of these upgrades? Share your thoughts and experiences in the comments below, and happy printing!
D. Bryan King
Related Posts
Rate this:
#3DPrinterImprovements #3DPrinterMods #3DPrinterPerformance #3DPrinterPerformanceHacks #3DPrinterTuning #3DPrintingAccessories #3DPrintingNozzles #3DPrintingTips #3DPrintingTools #advanced3DPrintingMods #BLTouchLeveling #DIY3DPrintMods #DIY3DPrinterUpgrades #Ender3Upgrades #extruderUpgrades #filamentUpgrades #home3DPrinterMods #hotendUpgrades