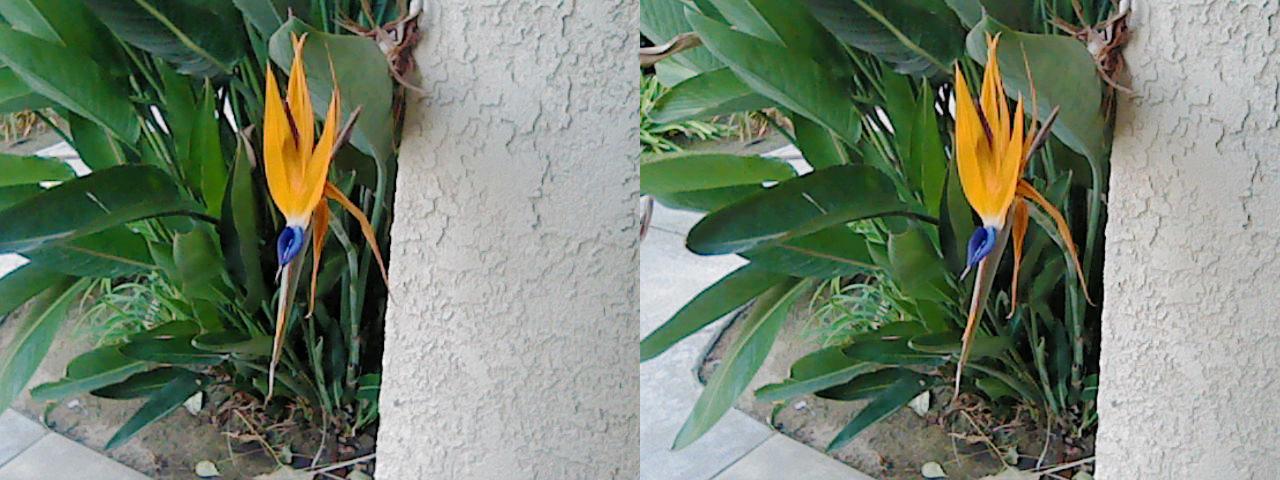
#ai #aiArt #aiArtWork #ProductPhotography #FlatLay #ShampooBottle #ADOLPH #BeautyProduct #CanonEOSR5 #HighResolution #MacroShot #MinimalistDesign #GrassBackground #MossyWood #MatteTexture #GoldenHour #SunFlare #CleanAesthetic #HyperRealistic #StudioPhotography #CinematicStyle #3DPhoto #SoftLighting #ai #aiArt #aiArtWork #productphotography #beautyshot #haircare #ADOLPH #shampoobottle #flatlay #overheadshot #highresolution #macroshot #minimalistdesign #mattebottle #cleanbackground #grassland #pin
#3DPhoto

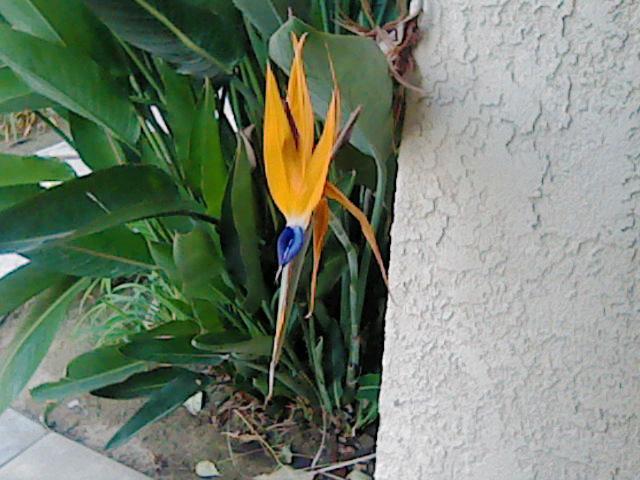
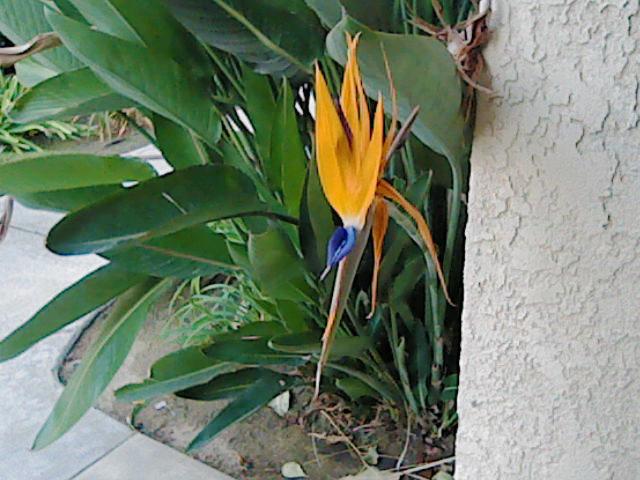
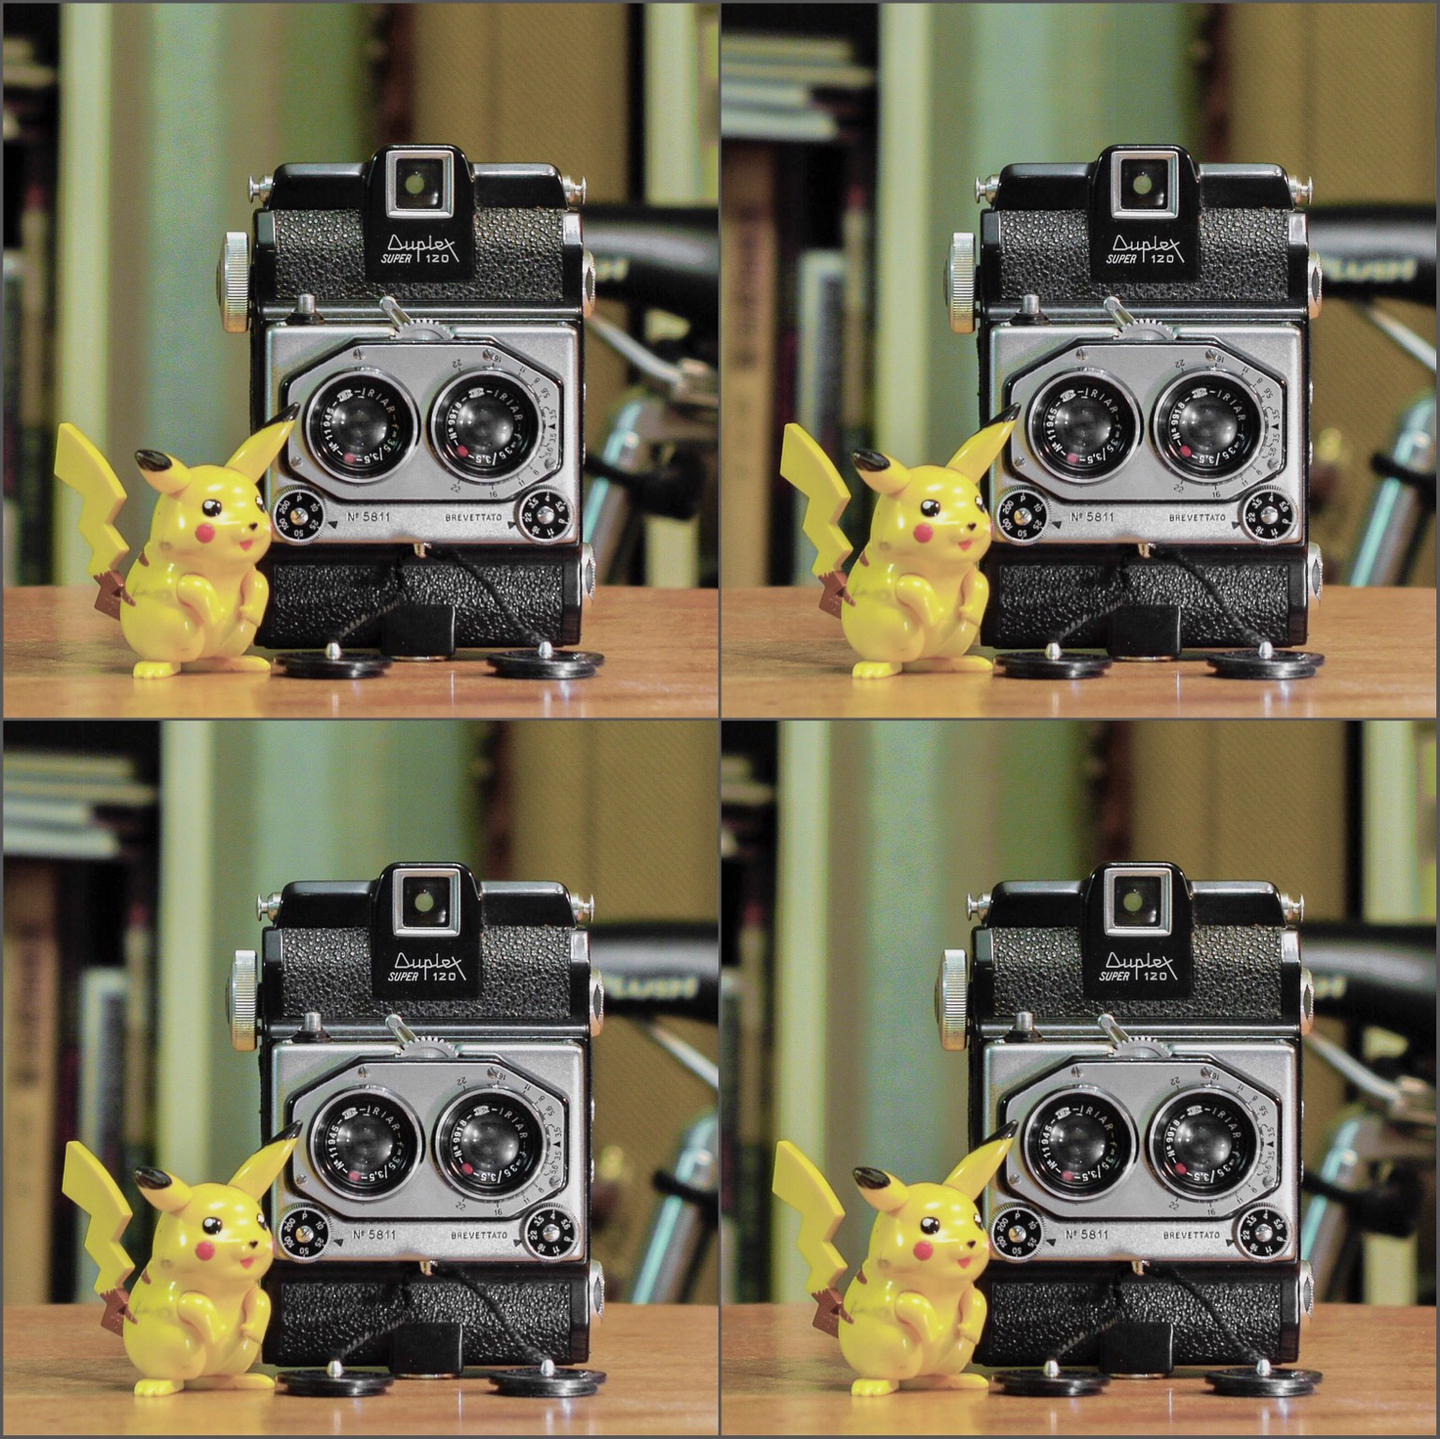
I decided to try some photos taken with a Nintendo 3DS XL for the challenge( #ShittyCameraChallenge ). I exported the jpg with both frames next to each other and two separate photos so you can swipe between them.
Edit: If anyone wants to view this on a 3D device, the original photo is linked here: https://www.shannonkay.com/3dsphotos/
You can even use the Nintendo 3DS web browser, follow the link to the file, and view in 3D. (SSL doesn't work, but you can press "accept" recklessly)
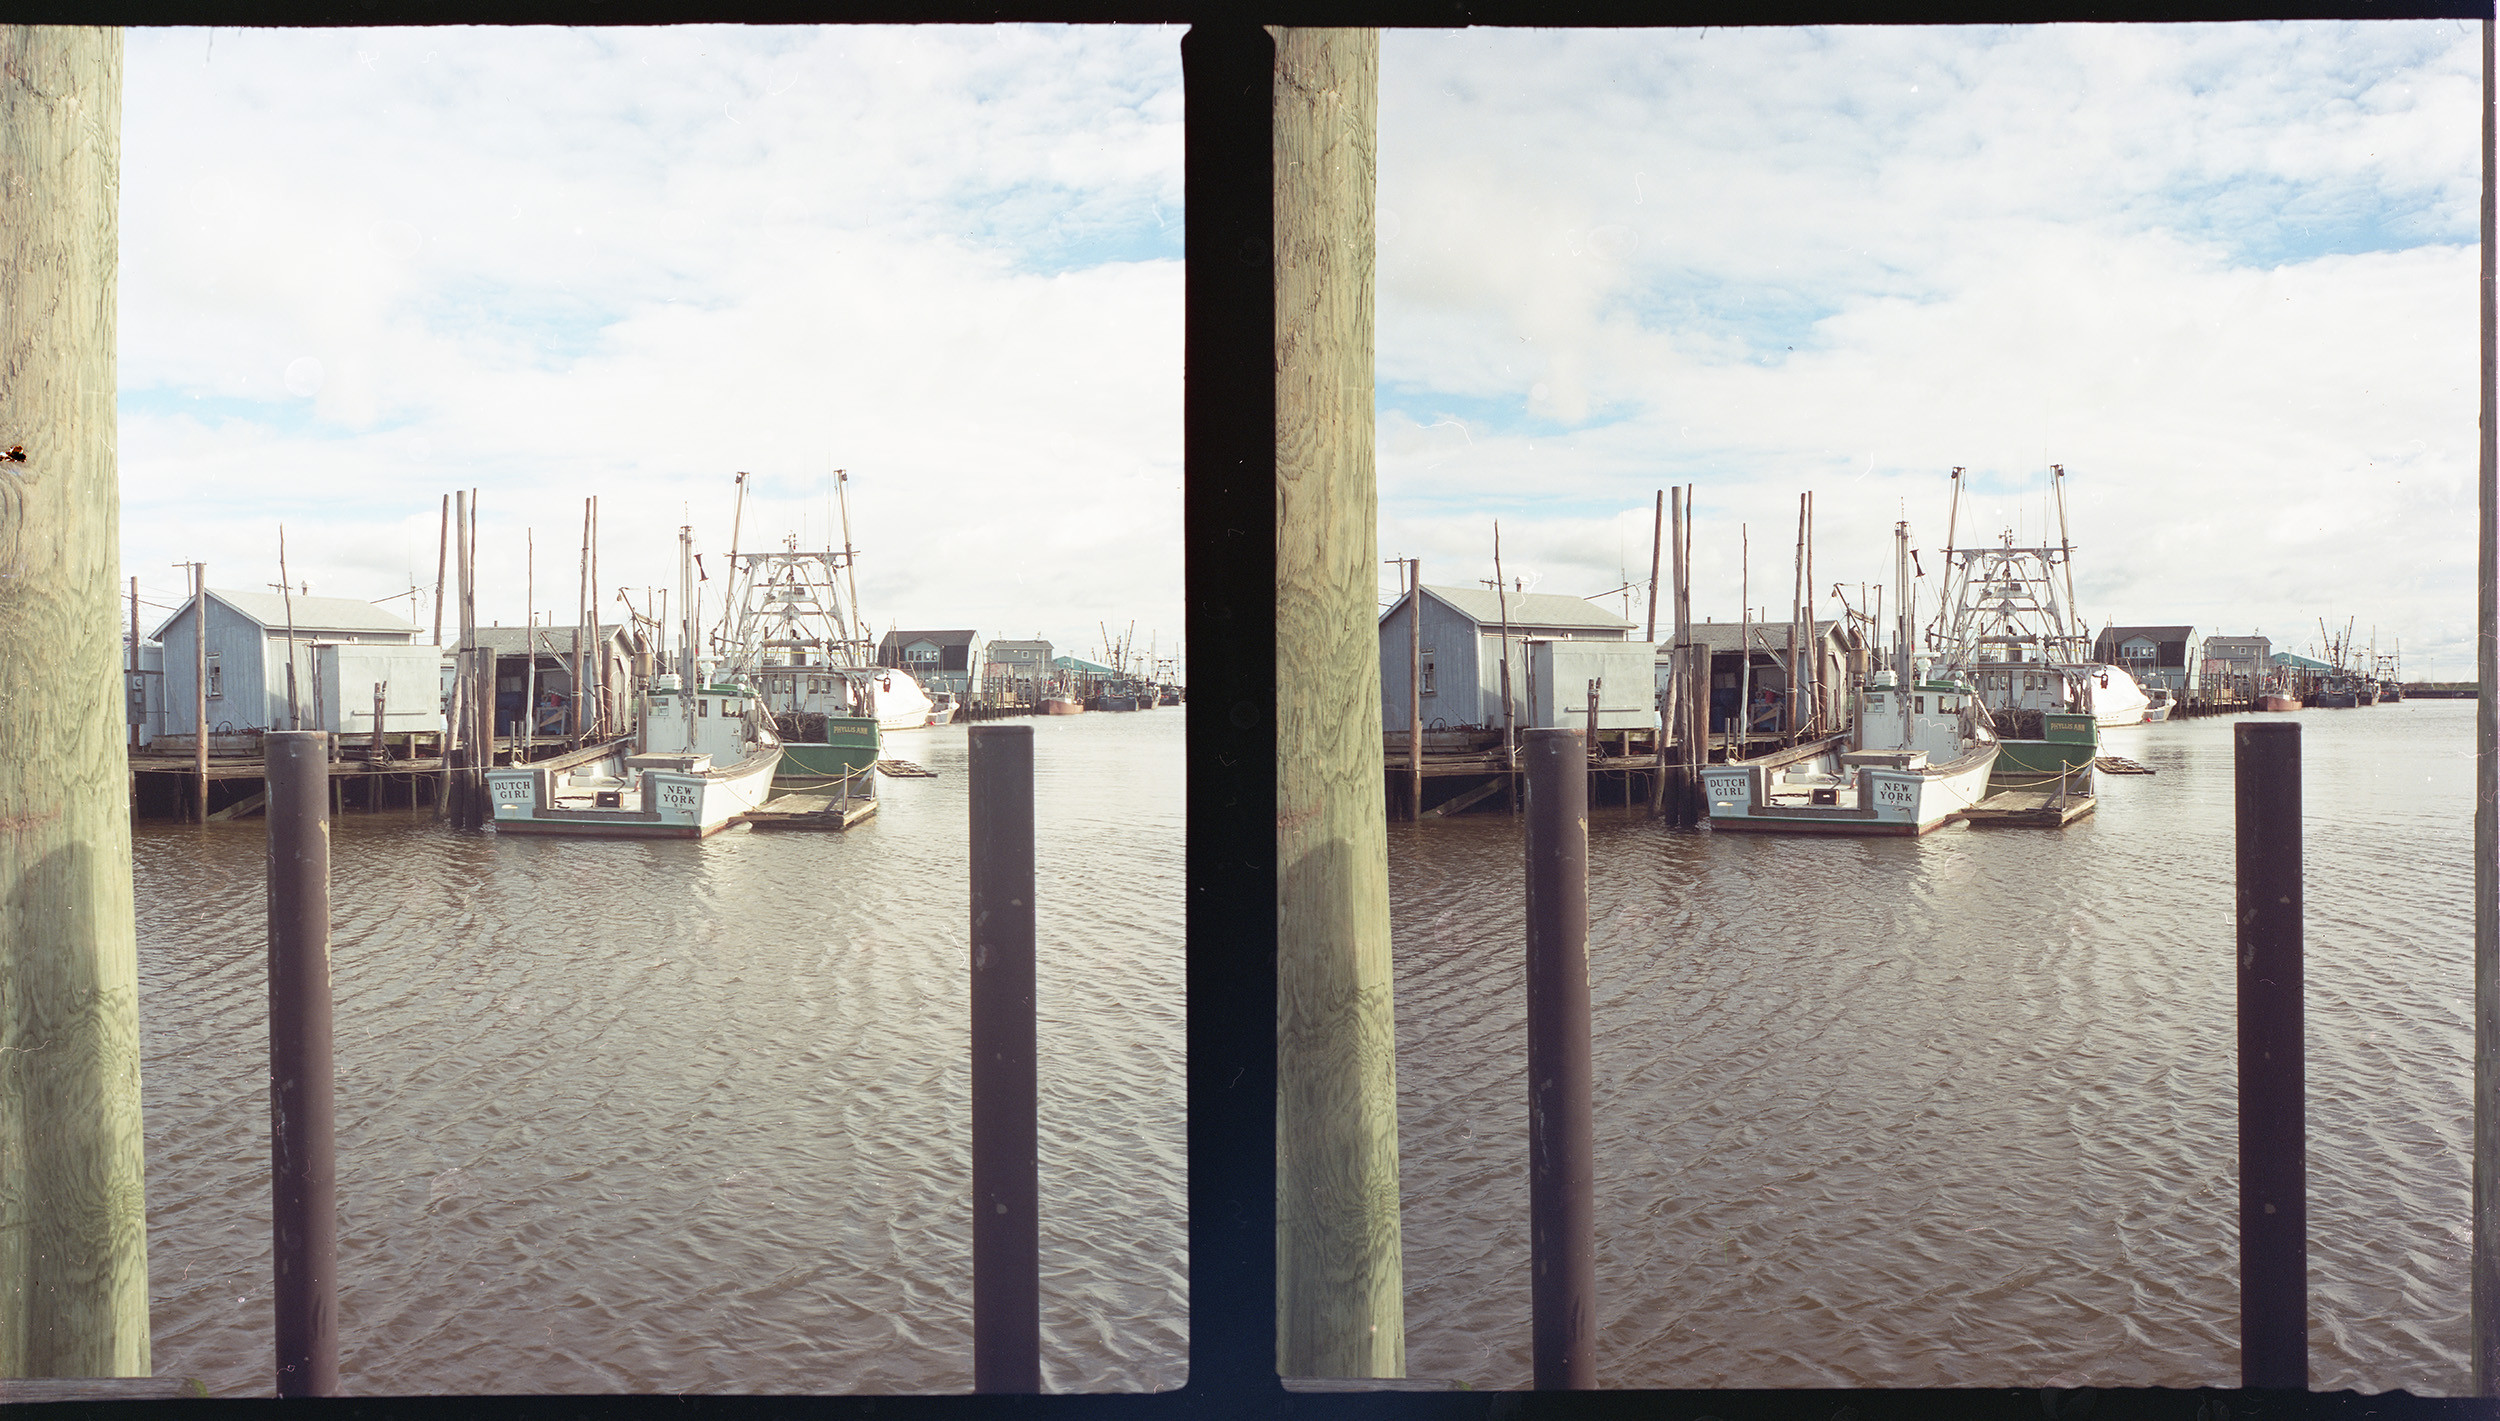
Dutch Girl
Something must have happened to the old Dutch Girl, because this one looks very different. Mercury Stereo 12 on Cinestill 400D 4x5, developed in ECN-2.
A three-dimensional action sports shot from last night's Albany Patroons / Lehigh Valley Legends basketball game. Shot with Nikon Df cameras (2), Nikkor 50mm f/1.8 lens (2). Photo (c) 2023 Chuck Miller, all rights reserved. #photography #threedimensional #basketball #3dphoto #alttext
Duplex Super 120
#stereophoto #3dphoto #ステレオ写真 #立体写真 #stereo3d #stereocamera
Iloca Stereo Rapid #stereophoto #3dphoto #ステレオ写真 #立体写真 #stereo3d #stereocamera

What Are Lithophanes? This is How to Turn Your Photos into 3D Art
Do you want to add a new dimension to your photos? Then lithophanes might be the thing for you. This is how you can bring an 18th-century art technique back to life with a 3D printer.
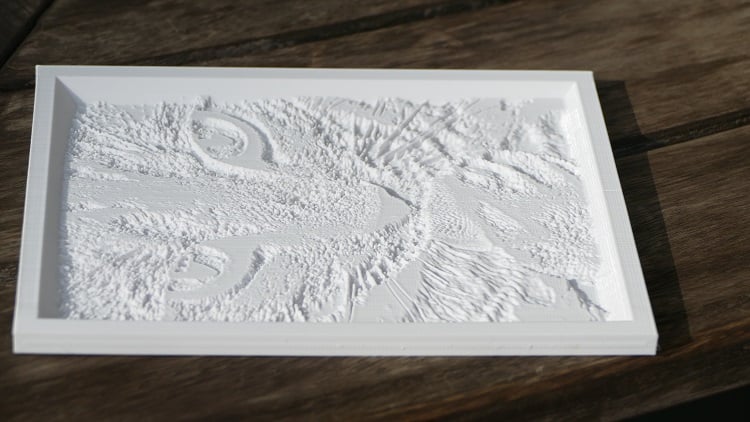
Lithophanes are a special piece of art where you can present your photos in a very unique way. You literally turn your photos into a physically 3D-printed object.
What Are Lithophanes and How Do They Work?
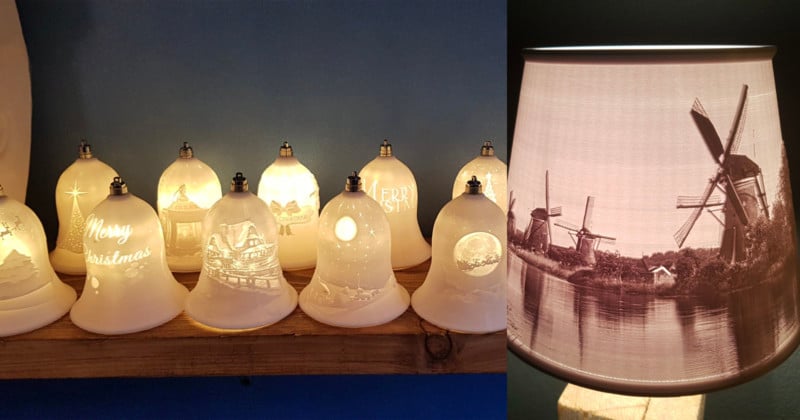
A lithophane is usually a translucent object where an image is projected by varying the thickness of the material and has been in use for a couple of hundred years, but only recently became easier to produce thanks to 3D printing. When you shine a light on the back of the lithophane, the image reveals itself through the contrast of different light intensities. Thicker parts of the object have lower light intensities which make the object darker and vice versa for thinner parts.
Left: Original photo. Right: Lithophane with light behind it.
With the power of 3D printing, a lithophane can be made with extreme precision & consistency. And with some help from a lithophane maker, you can easily create your own 3D model lithophane of all your digital pictures! Lithophanes do not limit themselves to only flat objects anymore and the use cases of lithophanes are rapidly developing in all kinds of designs and purposes.
We will highlight some of the amazing designs people came up with, and give you an idea on how to make them yourself with your digital photos.
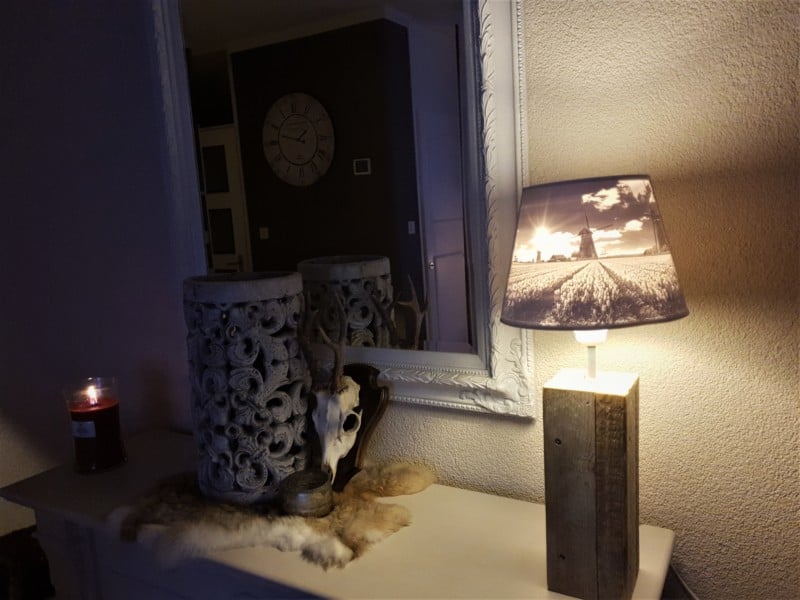
The Lithophane Lampshade
A very functional way to display a lithophane is to make a lampshade. This could be easily done by replacing your current lampshade and printing a new fancy one! Well, it's almost as simple as that. To give you an idea how this could be made, I will lead you through the process of making this lampshade.
How to Make a Lithophane Lampshade
First of all, we need a lamp holder, which can be bought in your local housewares stores or somewhere like Ikea. Measure the height and diameter of the original lampshade to make sure the ratio compared to the lamp holder will be the same, or choose different dimensions: it's up to you.
For the design of the lampshade lithophane I used ItsLitho. After uploading the photos, I selected the cylinder shape from the shapes dropdown menu. Something to keep in mind is to make sure the top diameter is lower than the bottom diameter to provide a classic lampshade look.
For a lamp shape lithophane, we want to enable the lamp attribute. You should measure the lamp holder and insert the number in the bulb fitter diameter. Make sure to add a bit of tolerance so it will fit easily.
I entered the important numbers and tweaked the connectors of the light bulb fitter to my preferences. At this point, I thought the model looked great, so I then downloaded the model. Click on the download button on the lithophane + attribute button to get the 3D model file.
Now we have the 3D model of the lithophane lampshade, so at this point we can almost start with printing it. Before that though, we need to slice the model, which is required for the 3D printer to understand how to print it. For this, I used Cura.
Patience is key, especially with printing lithophanes. That’s why I print all lithophanes with a speed of 30mm/s. For the infill, I used 99% in combination with 99 walls to make sure the lithophane is completely solid. Finally, the layer height was set to 0.12 mm to get the highest quality print. This was a very long print (4 days) because of the size but it was definitely worth it!
After printing it, attach the print to the lamp holder base and you’re set! Besides the classical lampshade look, there are also new variations popping up with curved shapes like a night light holder.
Make a Christmas Ornament from Lithophanes
Now that you know how a lithophane can be created and printed, it's time to show you a couple of awesome other prints to use as inspiration! There are numerous different designs people come up with during this season. One of my favorites would be a Christmas bell lithophane. These are easy to place, easy to light, and I find they enhance the Christmas spirit.
Add Color to Lithophanes
It’s also possible to add color to your lithophanes. It’s a bit of a "cheating" method, but the results are amazing! This could be done by painting the back of the lithophane or using a tailor-made semi-transparent version of the image that can be placed on the back of the lithophane to shine the color through along with the light.
Turning a piece of white plastic into a colorful image, with a bit of light, impresses many people when they see them for the first time. I encourage you to try it!
_About the author: Jordin Andriessen is the co-founder of ItsLitho. Together with a good friend, they are building ItsLitho as a hobby project. They trying to help people discover the amazing possibilities of 3D printed lithophanes and make them accessible to everyone. _
The opinions expressed in this article are solely those of the author.
#doityourself #tips #tutorials #3dphoto #3dprinted #howto #lithophane #tutorial
#Facebook #3DPhoto of Manukan Island at sunset
View at http://bit.ly/2X2GSE3 #HDR @GIMP@mastodon.at

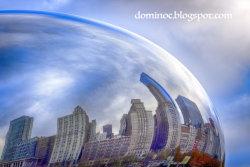
#3DPhoto of the Cloud Gate (Chicago Bean) sculpture in #Chicago. View at http://bit.ly/2VTvTiD Done using @GIMP@mastodon.at
#Facebook #3DPhoto of Sunset at MacRitchie Reservoir, Singapore. View at http://bit.ly/2YdIZoz Disparity image created using @GIMP@mastodon.at #Singapore #HDR
Client Info
Server: https://mastodon.social
Version: 2025.04
Repository: https://github.com/cyevgeniy/lmst