
Displays We Love Hacking: SPI and I2C https://hackaday.com/2023/12/21/displays-we-love-hacking-spi-and-i2c/ #HackadayColumns #oleddisplay #OLEDSSD1306 #oledscreen #SPIdisplay #TFTdisplay #SPIscreen #tftscreen #I2Coled #TFTLCD #Parts #oled #tft
#oledscreen

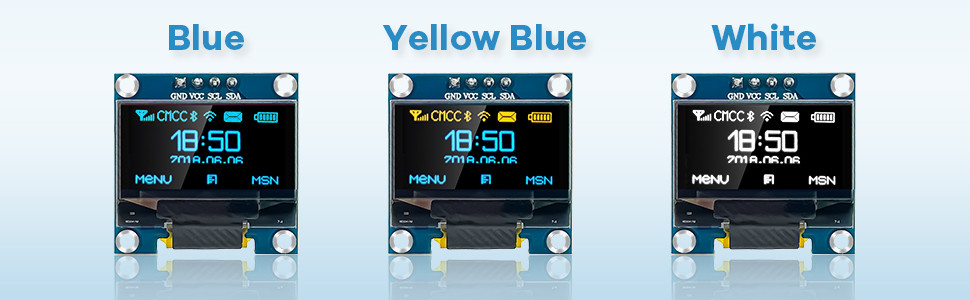
5 Pcs 0.96 Inch OLED I2C IIC Display Module 12864 128x64 Pixel SSD1306 Mini Self-Luminous OLED Screen Board Compatible with Arduino Raspberry Pi
https://amzn.to/464GI1B

Check out the Asus Zenbook S 13 OLED review on PCWorld! 🤩 The screen is simply banging! What features matter most to you in a laptop? #AsusZenbook #LaptopGoals #OLEDScreen
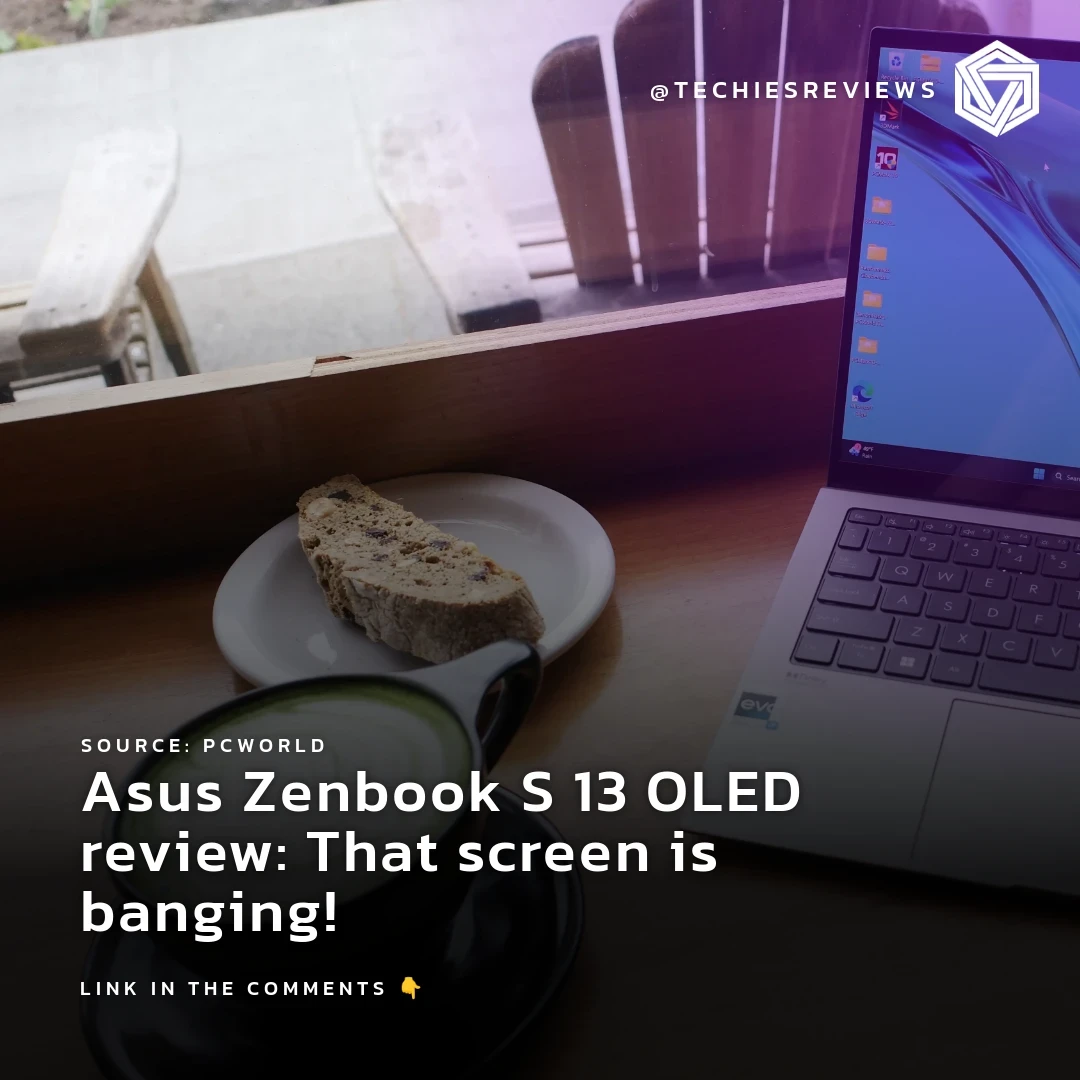
Check out the Asus Zenbook S 13 OLED review on PCWorld! 🤩 The screen is simply banging! What features matter most to you in a laptop? #AsusZenbook #LaptopGoals #OLEDScreen


Mindblowing Graphics from an ATtiny85
[Görg Pflug] wrote in with his really nice graphics library. It's got multiple layers, two text consoles, greyscale, internal halftoning, and sprites. It can pull off a number of classic graphics tricks and demos. Oh yeah, and did we mention it runs on a freaking ATtiny85 and an I2C OLED screen?!
This is an amazing piece of work -- if you'd asked us if this was possible, we would have probably said "no". And now it's yours to use in your own projects. The GitHub repo is full of demos showing off everything from switching between multiple layers, extremely rapid text scrolls, animations, boing balls, and even a Wolfenstein-style raycaster. On an ATtiny85.
There's a demo video, embedded below, that shows it all off, but honestly you have to think about what's going to to be suitably wowed. The first demo just seems to have a graphic wave over static text, for instance. No big deal? It's blending the greyscale layers together and dithering them out to black and white for the OLED in real time! On an ATtiny85.
While the library is written in straight C++, there are even a couple examples of how you'd integrate this with Arduino's Wire library if you so wished. We don't know about you, but this makes us want to whip together an ATtiny85 and SSD1306 OLED demo board just to start playing around. This isn't just an amazing hack, but it would also be a useful way to add graphics and a nice console to any project you're working on.
Did we mention it's all done on an ATtiny85? Over I2C? Kudos!
#attinyhacks #microcontrollers #softwarehacks #attiny85 #graphics #library #oledscreen #sprites
Cherry Pomodoro Timer Forces You to Follow
If you have trouble staying focused and getting work done, the Pomodoro Technique of working in 25-minute intervals with 5-minute breaks is pretty hard to beat. The only problem is that it requires a lot of input from the user, and all that timer-setting can get in the way of actually getting down to business. The absolute worst is when you find yourself working hard, but see that forgot to set the damn timer (ask us how we know). In essence, the tomato itself can only do so much -- you have to actually use it and honor the timer, put in the work, and believe in the system.
But what if you didn't have to do as much? With [Erfan Sn]'s design, all you have to do is plug it in to a USB port and the countdown starts automatically. Not only does this Pomodoro timer force you to get with the program, it also makes you take breaks from the screen by putting the computer into sleep mode when the 25 minutes (or whatever time you set in the software) are up. This thing even keeps track of your Pomodoro count.
At the heart of this build is the Digispark ATtiny85 dev board, which has a handy onboard USB plug. It can be built with or without the OLED screen, which is good if you are easily distracted by the timer itself. This cherry tomato only costs about $10 to make, it's tiny, and you can take it anywhere.
As you will see in the gifs on GitHub, [Erfan Sn] has it plugged into a female USB-A to male USB-C, which is probably better for the computer long-term, what with all the plugging and unplugging. When we make ours, we'll probably plug it into a hub that has power switches for each port.
If all of this sounds like too much work, check out this build that senses whether or not you're in the chair.
#attinyhacks #microcontrollers #attiny85 #digispark #oledscreen #pomodoro #thepomodorotechnique #timemanagement
Client Info
Server: https://mastodon.social
Version: 2025.07
Repository: https://github.com/cyevgeniy/lmst