How to Build a Home Space Observatory: A Complete Guide to Backyard Astronomy and Citizen Science for Every Budget
Touching the Infinite: A Comprehensive Guide to Building Your Home Space Observatory | The Boreal Times
The universe is no longer the exclusive playground of government agencies and billionaire-backed aerospace firms. We are living in a golden age of “democratized space,” where the line between a hobbyist and a researcher is increasingly blurred. Building a home observatory is more than just a weekend project; it is the act of establishing a personal laboratory for the study of our cosmic origins. Whether you are peering through a cardboard tube or operating a remote-access robotic dome, you are participating in a tradition of inquiry that stretches back to Galileo.
This article serves as a blueprint for transforming your curiosity into a structured scientific pursuit. By following these empirical guidelines, you can contribute to actual scientific datasets while fostering a lifelong passion for the stars.
The Philosophy of the Backyard Observer
Before buying hardware, one must understand that an observatory is a system, not just a tool. It consists of three pillars: the site, the optics, and the data.
Empirical observation requires stability and consistency. In professional astronomy, “seeing” refers to the atmospheric stability above your site. While you cannot control the weather, your home observatory’s success depends on your ability to minimize light pollution and thermal turbulence (heat rising from buildings). The goal of a home setup is to provide a “ready-to-observe” environment that reduces the friction between thinking about the stars and actually seeing them.
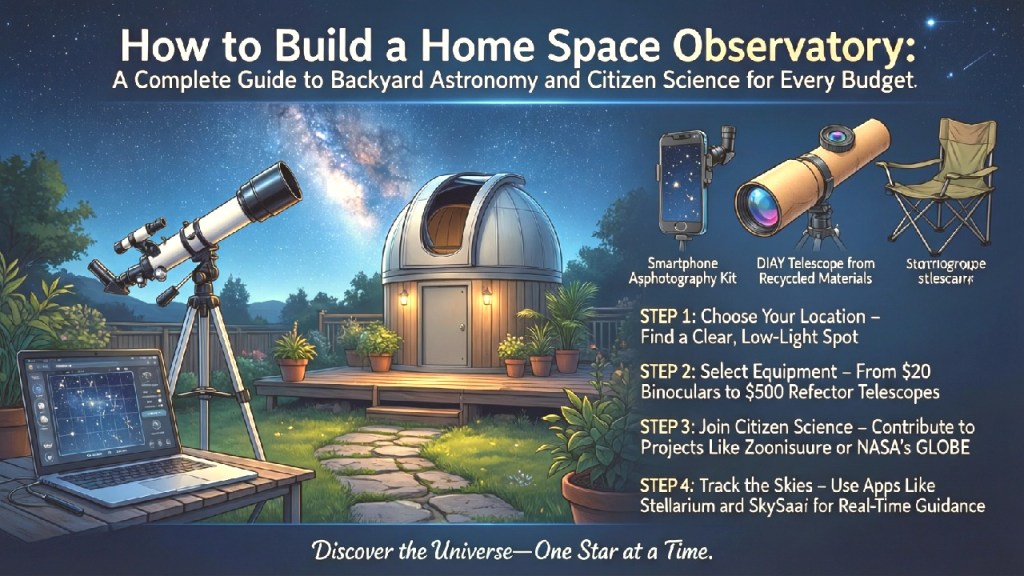
A Guide for Every Budget: The Three Tiers
How to Build a Home Space Observatory: Infographic Guide
Astronomy is often perceived as expensive, but scientific value is found in the methodology, not the price tag.
Tier 1: The Explorer (Budget: $0 – $200)
Focus: Visual Literacy and Wide-field Observation. At this level, your goal is to learn the “geography” of the sky. Equipment: A pair of 7×50 or 10×50 binoculars. Binoculars offer a wider field of view than telescopes, making them superior for spotting star clusters and the Andromeda Galaxy. The Observatory: A reclining lawn chair and a steady tripod adapter. Scientific Contribution: Recording meteor counts during major showers and contributing data to the International Meteor Organization (IMO).
Tier 2: The Researcher (Budget: $500 – $2,000)
Focus: High-Resolution Imaging and Solar System Studies. Equipment: An 8-inch Dobsonian telescope (for visual depth) or a Small Aperture Refractor on a German Equatorial Mount (GEM). The mount is the most critical piece here; it must track the Earth’s rotation to allow for long-exposure photography. The Observatory: A dedicated pier or a specialized equipment cover that allows the setup to stay outside safely. Scientific Contribution: Lunar impact monitoring and planetary transit timing.
Tier 3: The Astrophysicist (Budget: $5,000+)
Focus: Deep Space Research and Automated Data Collection. Equipment: A cooled CMOS astronomy camera, a Schmidt-Cassegrain telescope (SCT) with a focal reducer, and an automated dome or “Roll-Off Roof” shed. The Observatory: A permanent structure with climate control and remote operation capabilities. Scientific Contribution: Photometry of variable stars for the AAVSO (American Association of Variable Star Observers) and hunting for exoplanets using transit methods.
Step-by-Step: Setting Up Your Station
Step 1: Light Pollution Assessment Use a tool like the Bortle Scale to identify your sky quality. If you live in a “Bortle 8” (city), focus on the Moon, planets, and double stars. If you are in a “Bortle 2” (rural), deep-sky nebulae are your targets.
Step 2: The Foundation Vibration is the enemy of clarity. If you are building a permanent station, sink a steel or concrete pier directly into the ground, isolated from the floor of your deck or shed. This ensures that walking near the telescope doesn’t cause the image to shake.
Step 3: Software Integration Modern observatories run on software. Use Stellarium (Open Source) for planning and specialized sequencing software like N.I.N.A. (Nighttime Imaging ‘N’ Astronomy) for hardware control.
Activities for Students and Enthusiasts
Astronomy is a multi-generational bridge. Here are activities categorized by age and skill level:
For Young Learners (Ages 5-12): The Moon Journal Activity: Observe the Moon every night for one full cycle (29.5 days). Goal: Sketch the “terminator” line (the line between light and shadow). This teaches the physics of light and the orbital mechanics of the Earth-Moon system.
For Teens and Students (Ages 13-18): Citizen Science Activity: Join the Zooniverse “Galaxy Zoo” project. Goal: Classify the shapes of distant galaxies using real data from the Hubble and James Webb telescopes. This introduces data categorization and the scale of the universe.
For Enthusiasts and Adults: Variable Star Monitoring Activity: Use a DSLR or dedicated astro-camera to measure the brightness of a star over several weeks. Goal: Upload your data to the AAVSO. Amateur data is frequently used by professional astronomers to schedule time on large observatories like the Keck or VLT.
The Empirical Importance of Amateur Observation
You might wonder what a small telescope can do that a multi-billion dollar instrument cannot. The answer is time. Professional telescopes are oversubscribed; they can only look at a specific point for minutes. Amateurs have the luxury of time. We are the “sentinels” of the sky. Amateurs are often the first to discover supernovae, new comets, and unexpected changes in stellar brightness.
By building a home observatory, you are not just buying a hobby; you are commissioning a node in a global network of scientific sentries.
Resources and Valid References
👉 Share your thoughts in the comments, and explore more insights on our Journal and Magazine. Please consider becoming a subscriber, thank you: https://borealtimes.org/subscriptions – Follow The Boreal Times on social media. Join the Oslo Meet by connecting experiences and uniting solutions: https://oslomeet.org
#astronomy #BackyardAstronomy #CitizenScience #DIYSpace #HomeObservatory #SpaceResearch #STEMEducation #TelescopeGuide