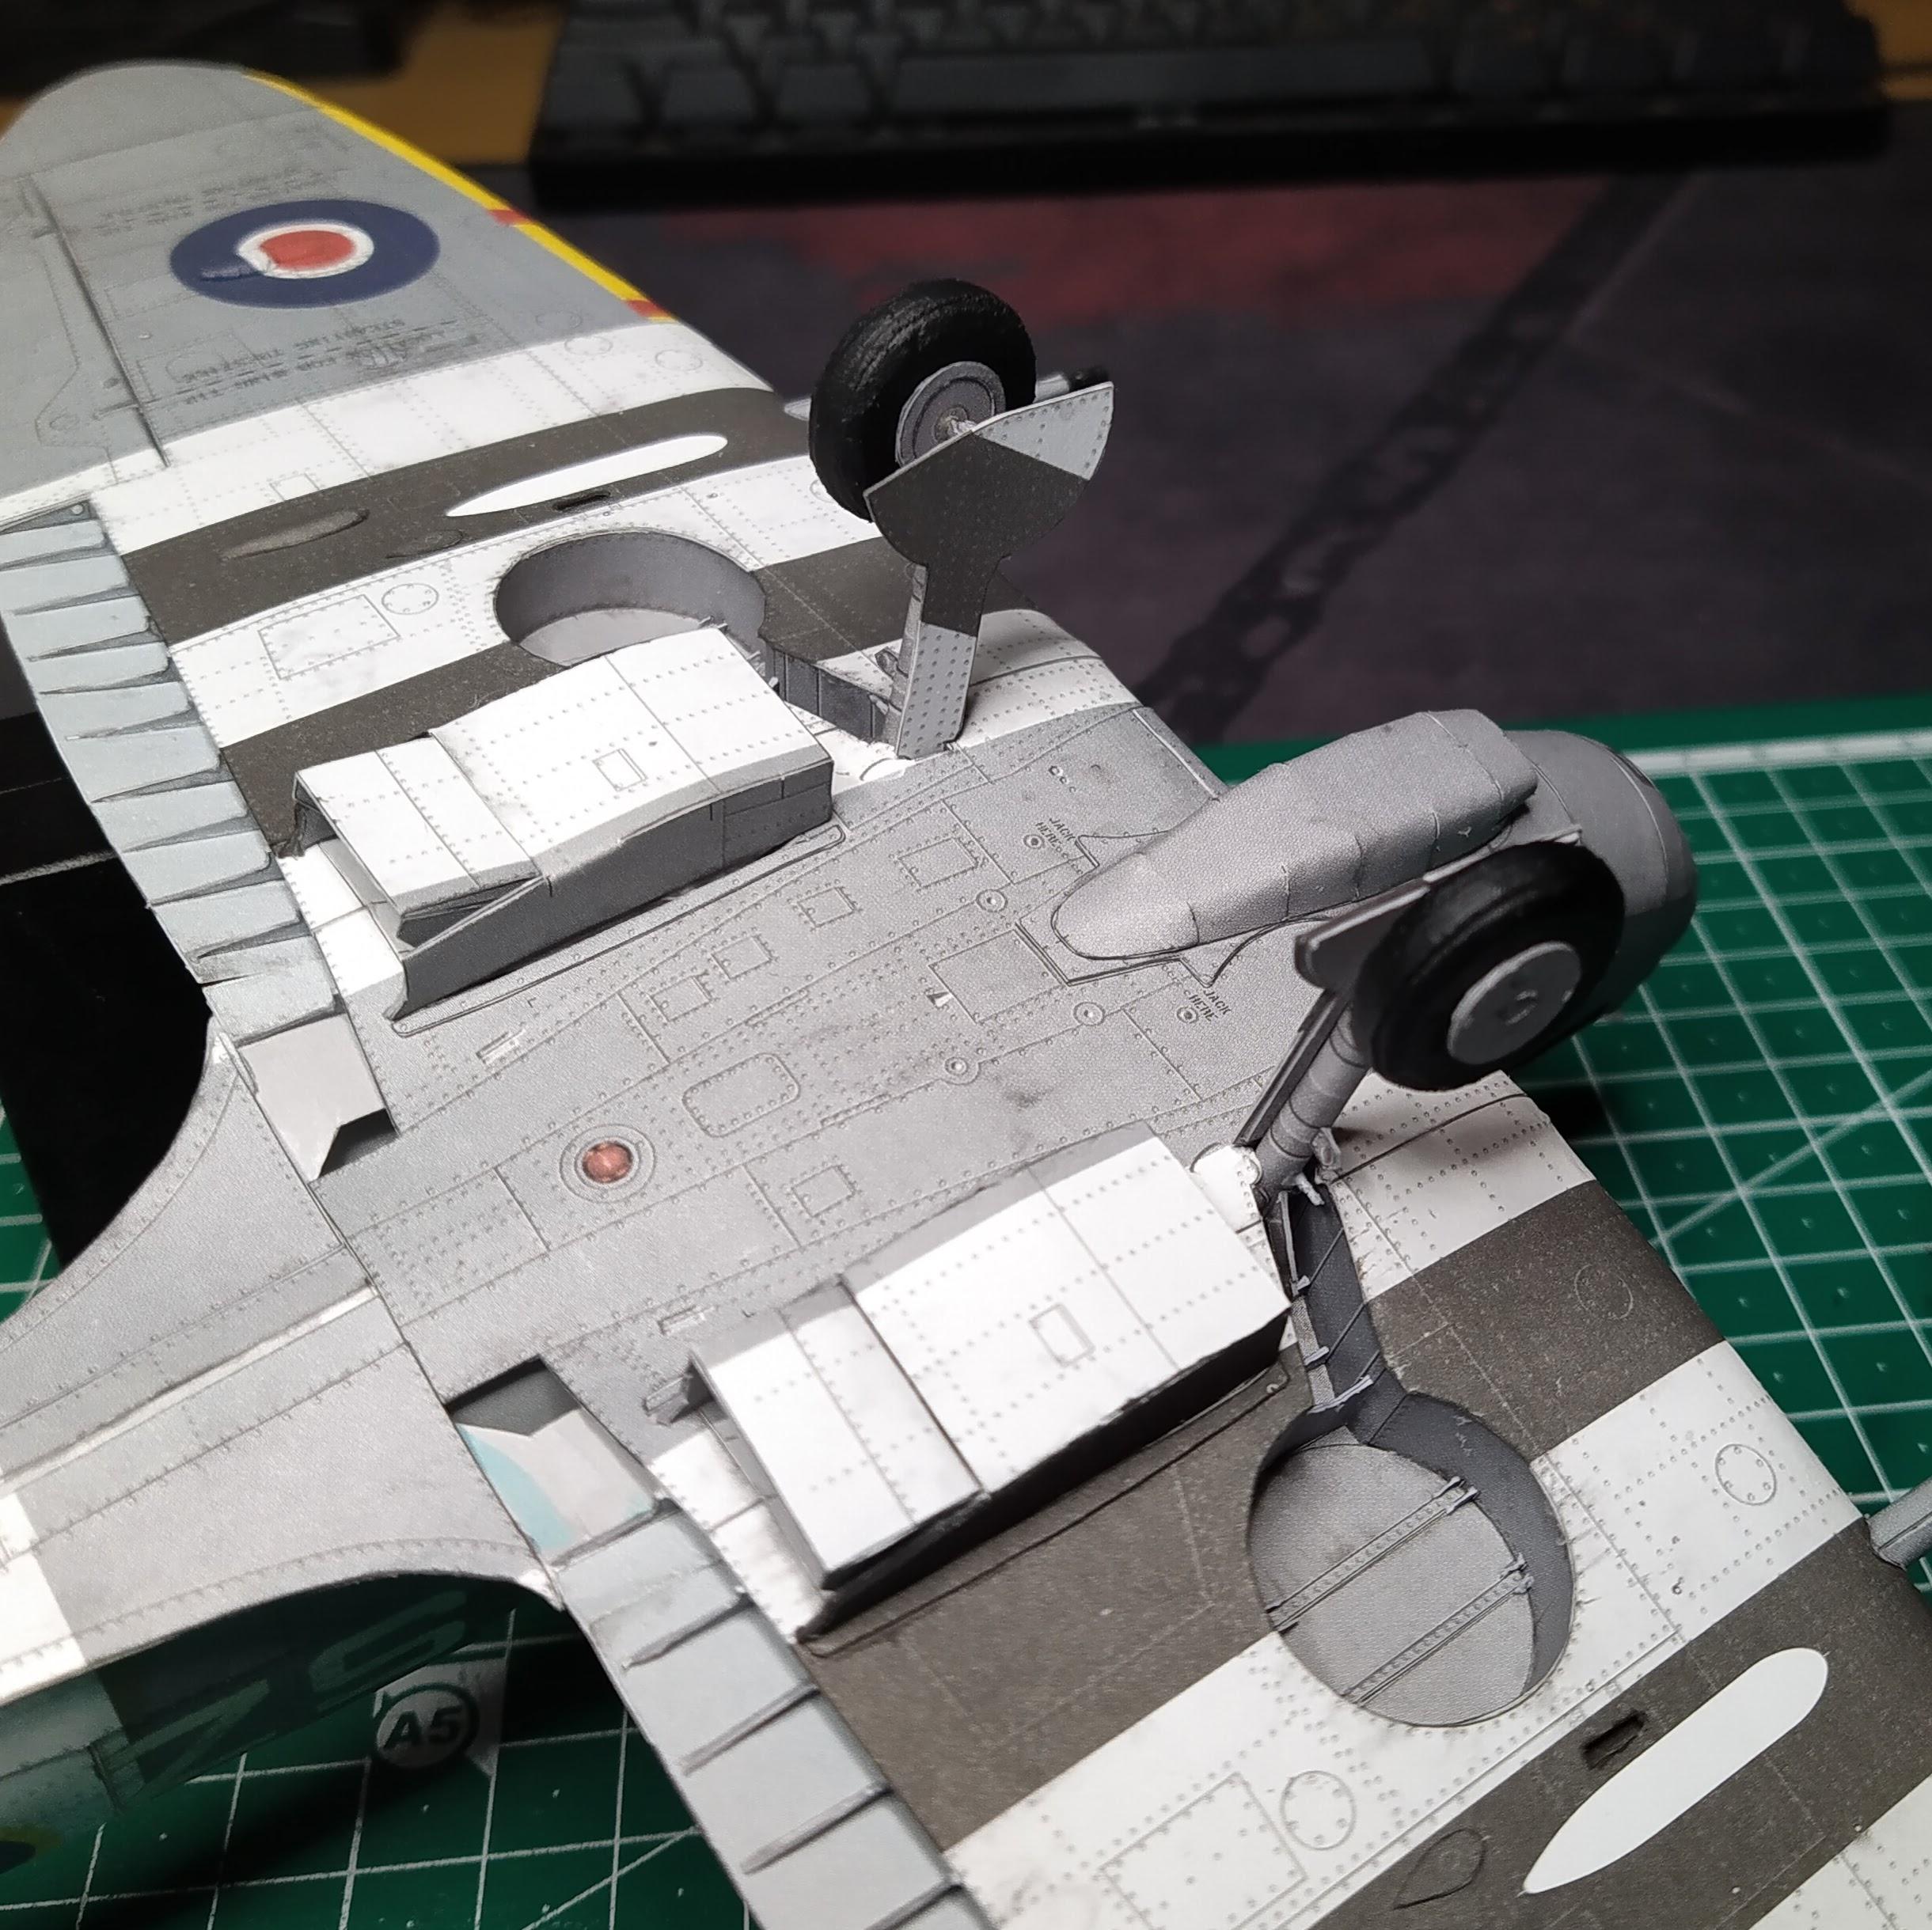
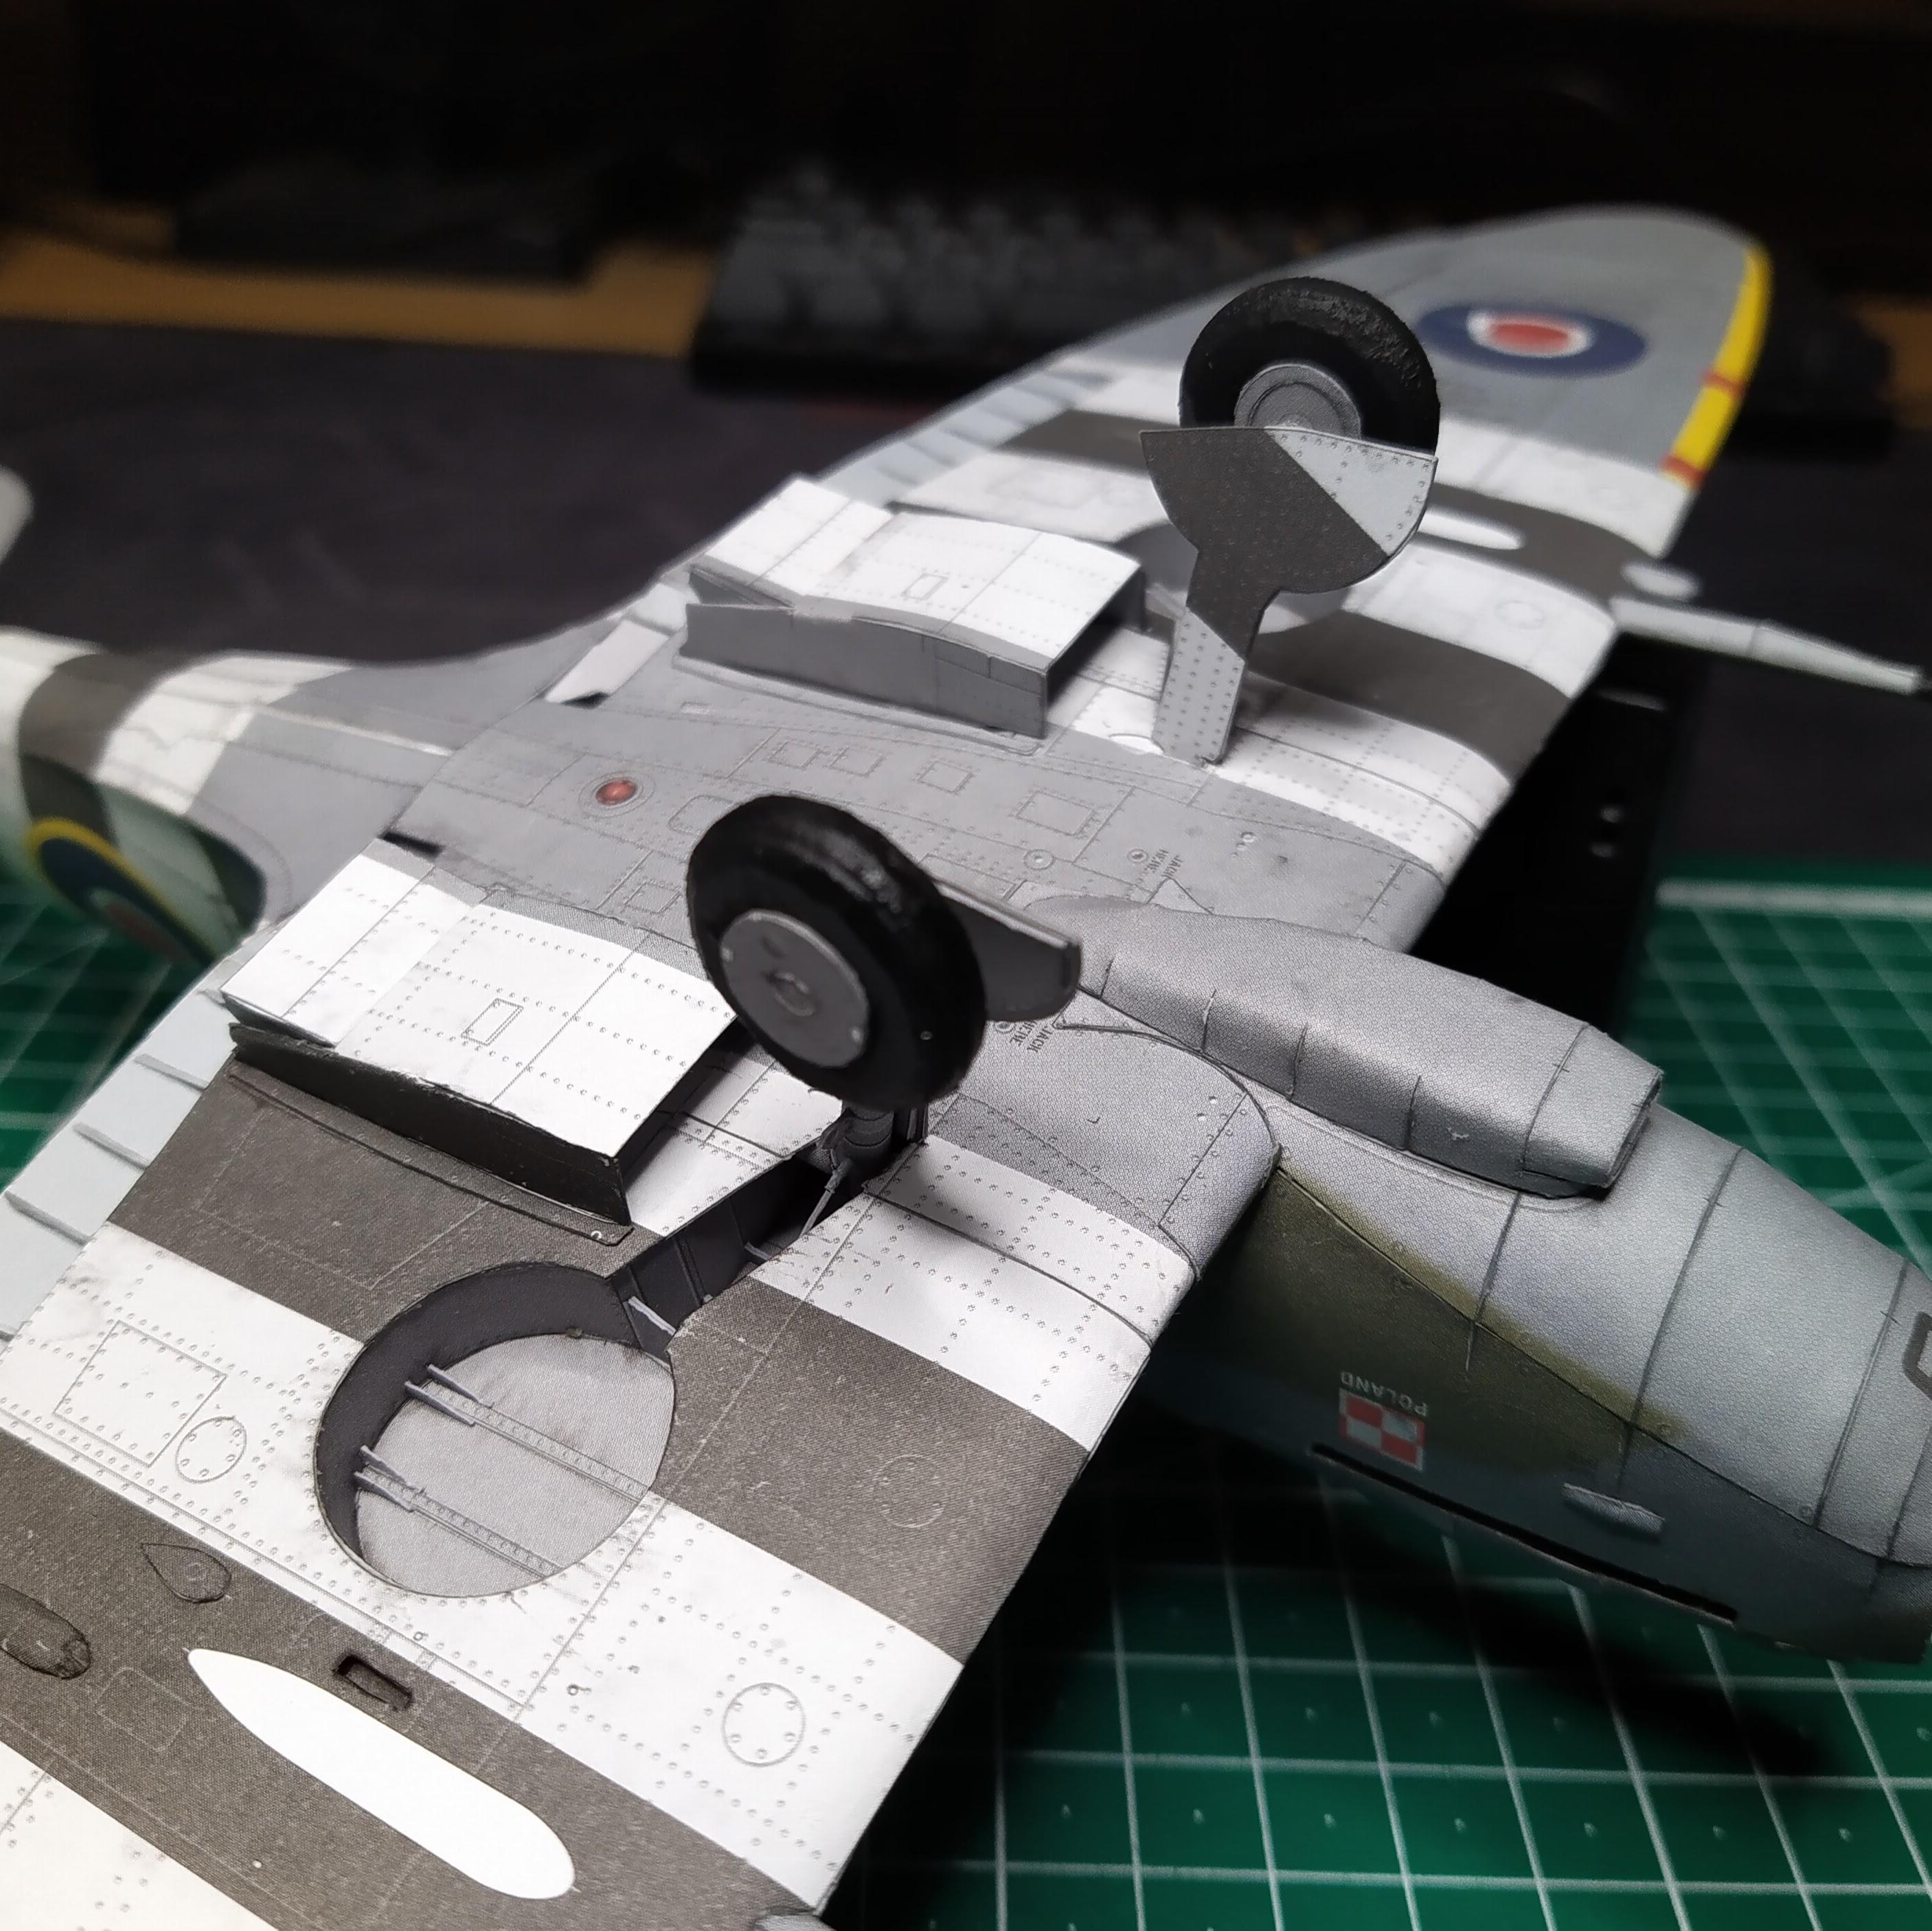
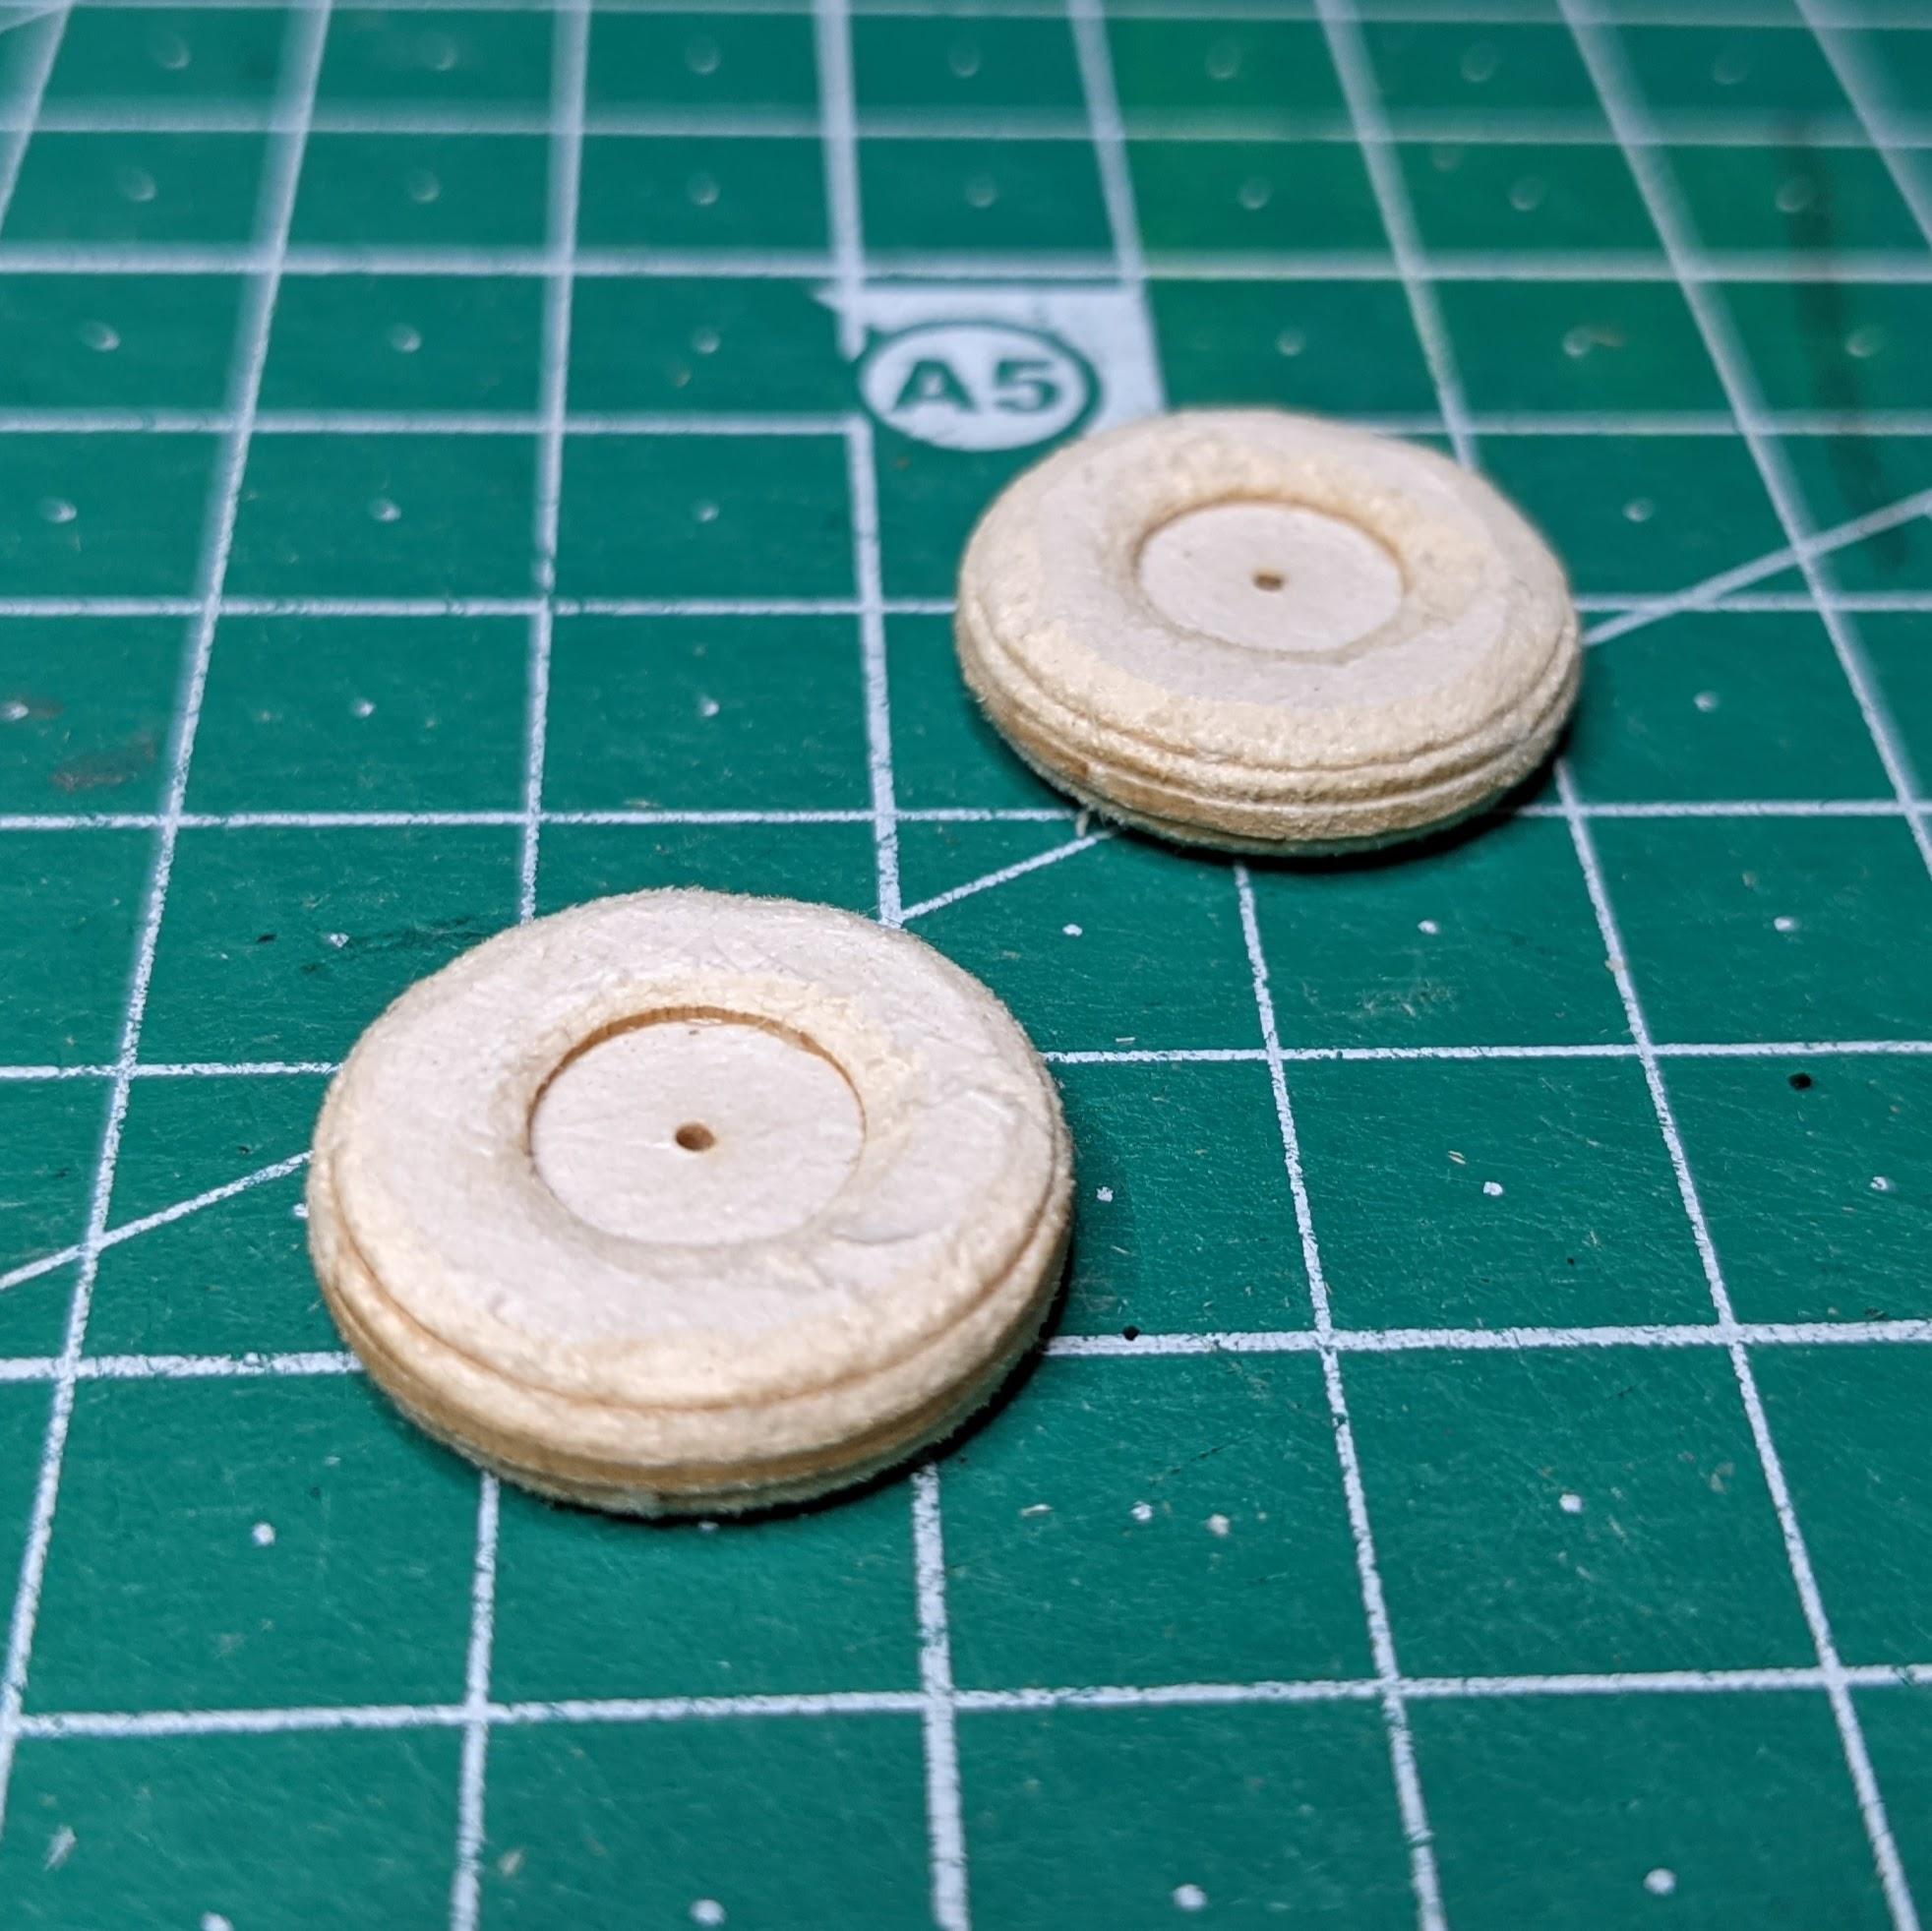
Completed the front wheels and attached them to the model. #archive #papercraft #Spitfire #scalemodel #histscalemodels
#ScaleModel

Built the rear wheel. #archive #papercraft #Spitfire #scalemodel #histscalemodels
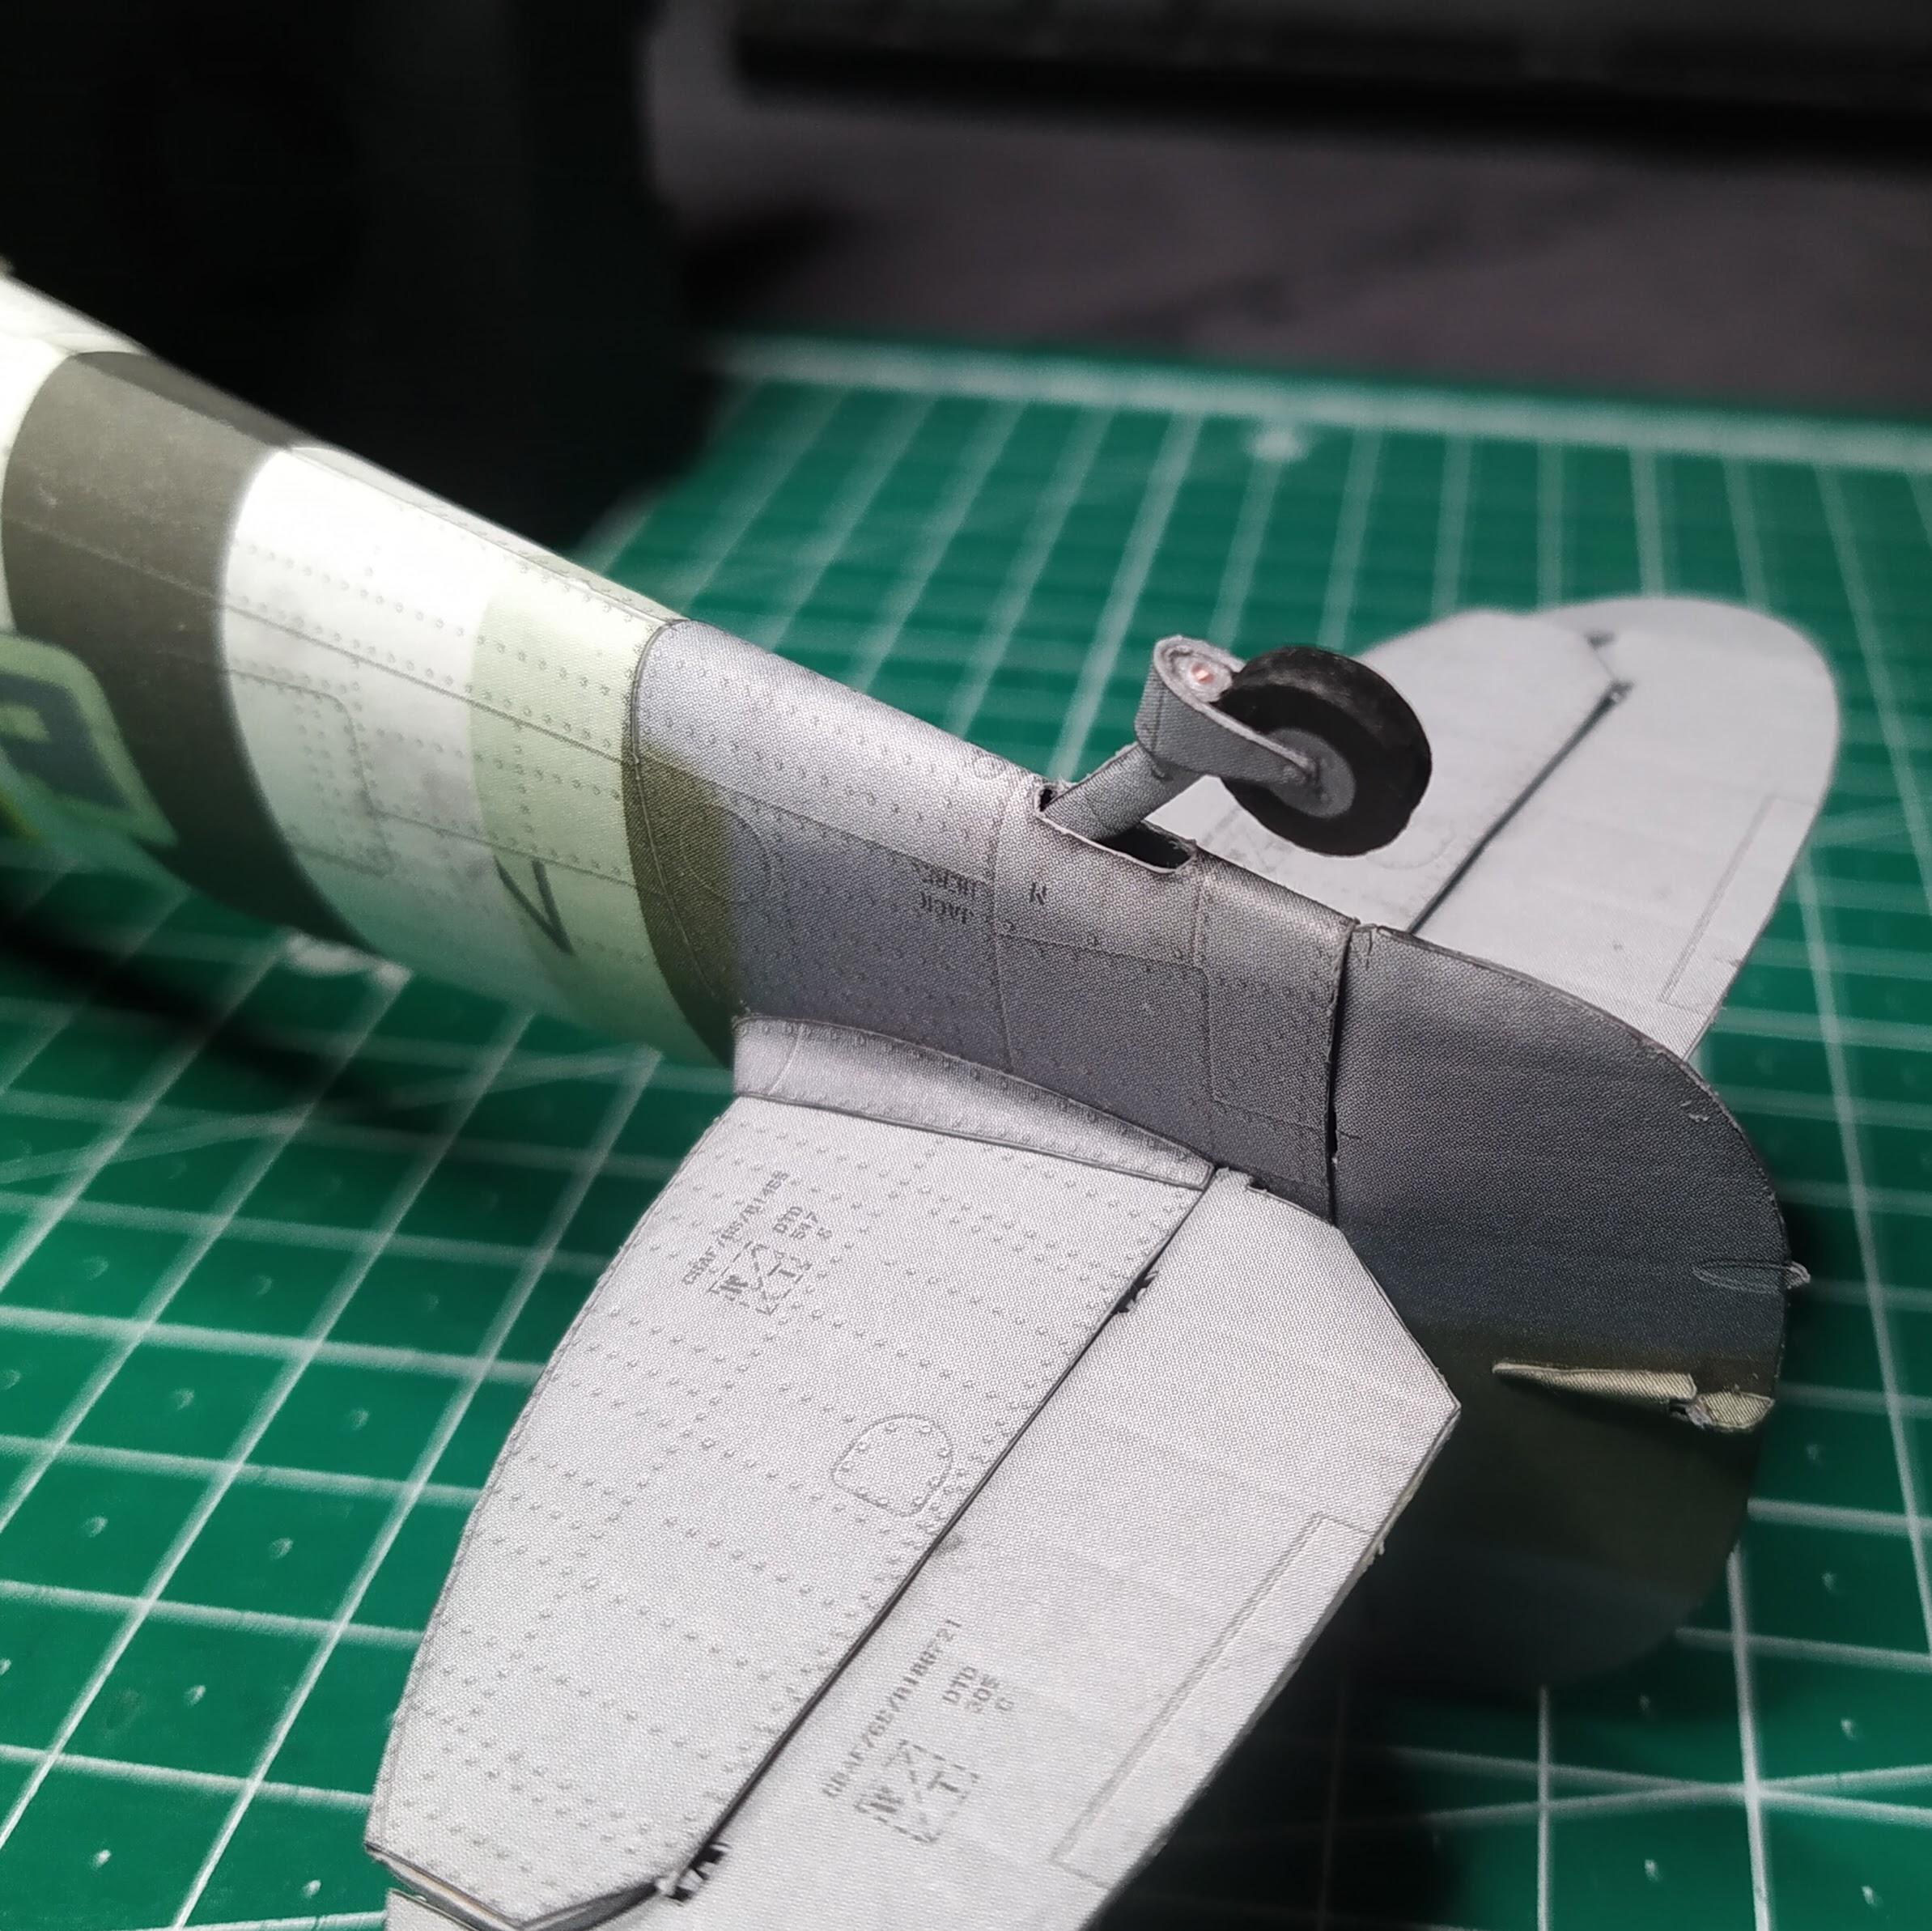
Shaping the wheels from multiple layers of 1mm cardboard. #archive #papercraft #Spitfire #scalemodel #histscalemodels
Next up: the undercarriage. #archive #papercraft #Spitfire #scalemodel #histscalemodels


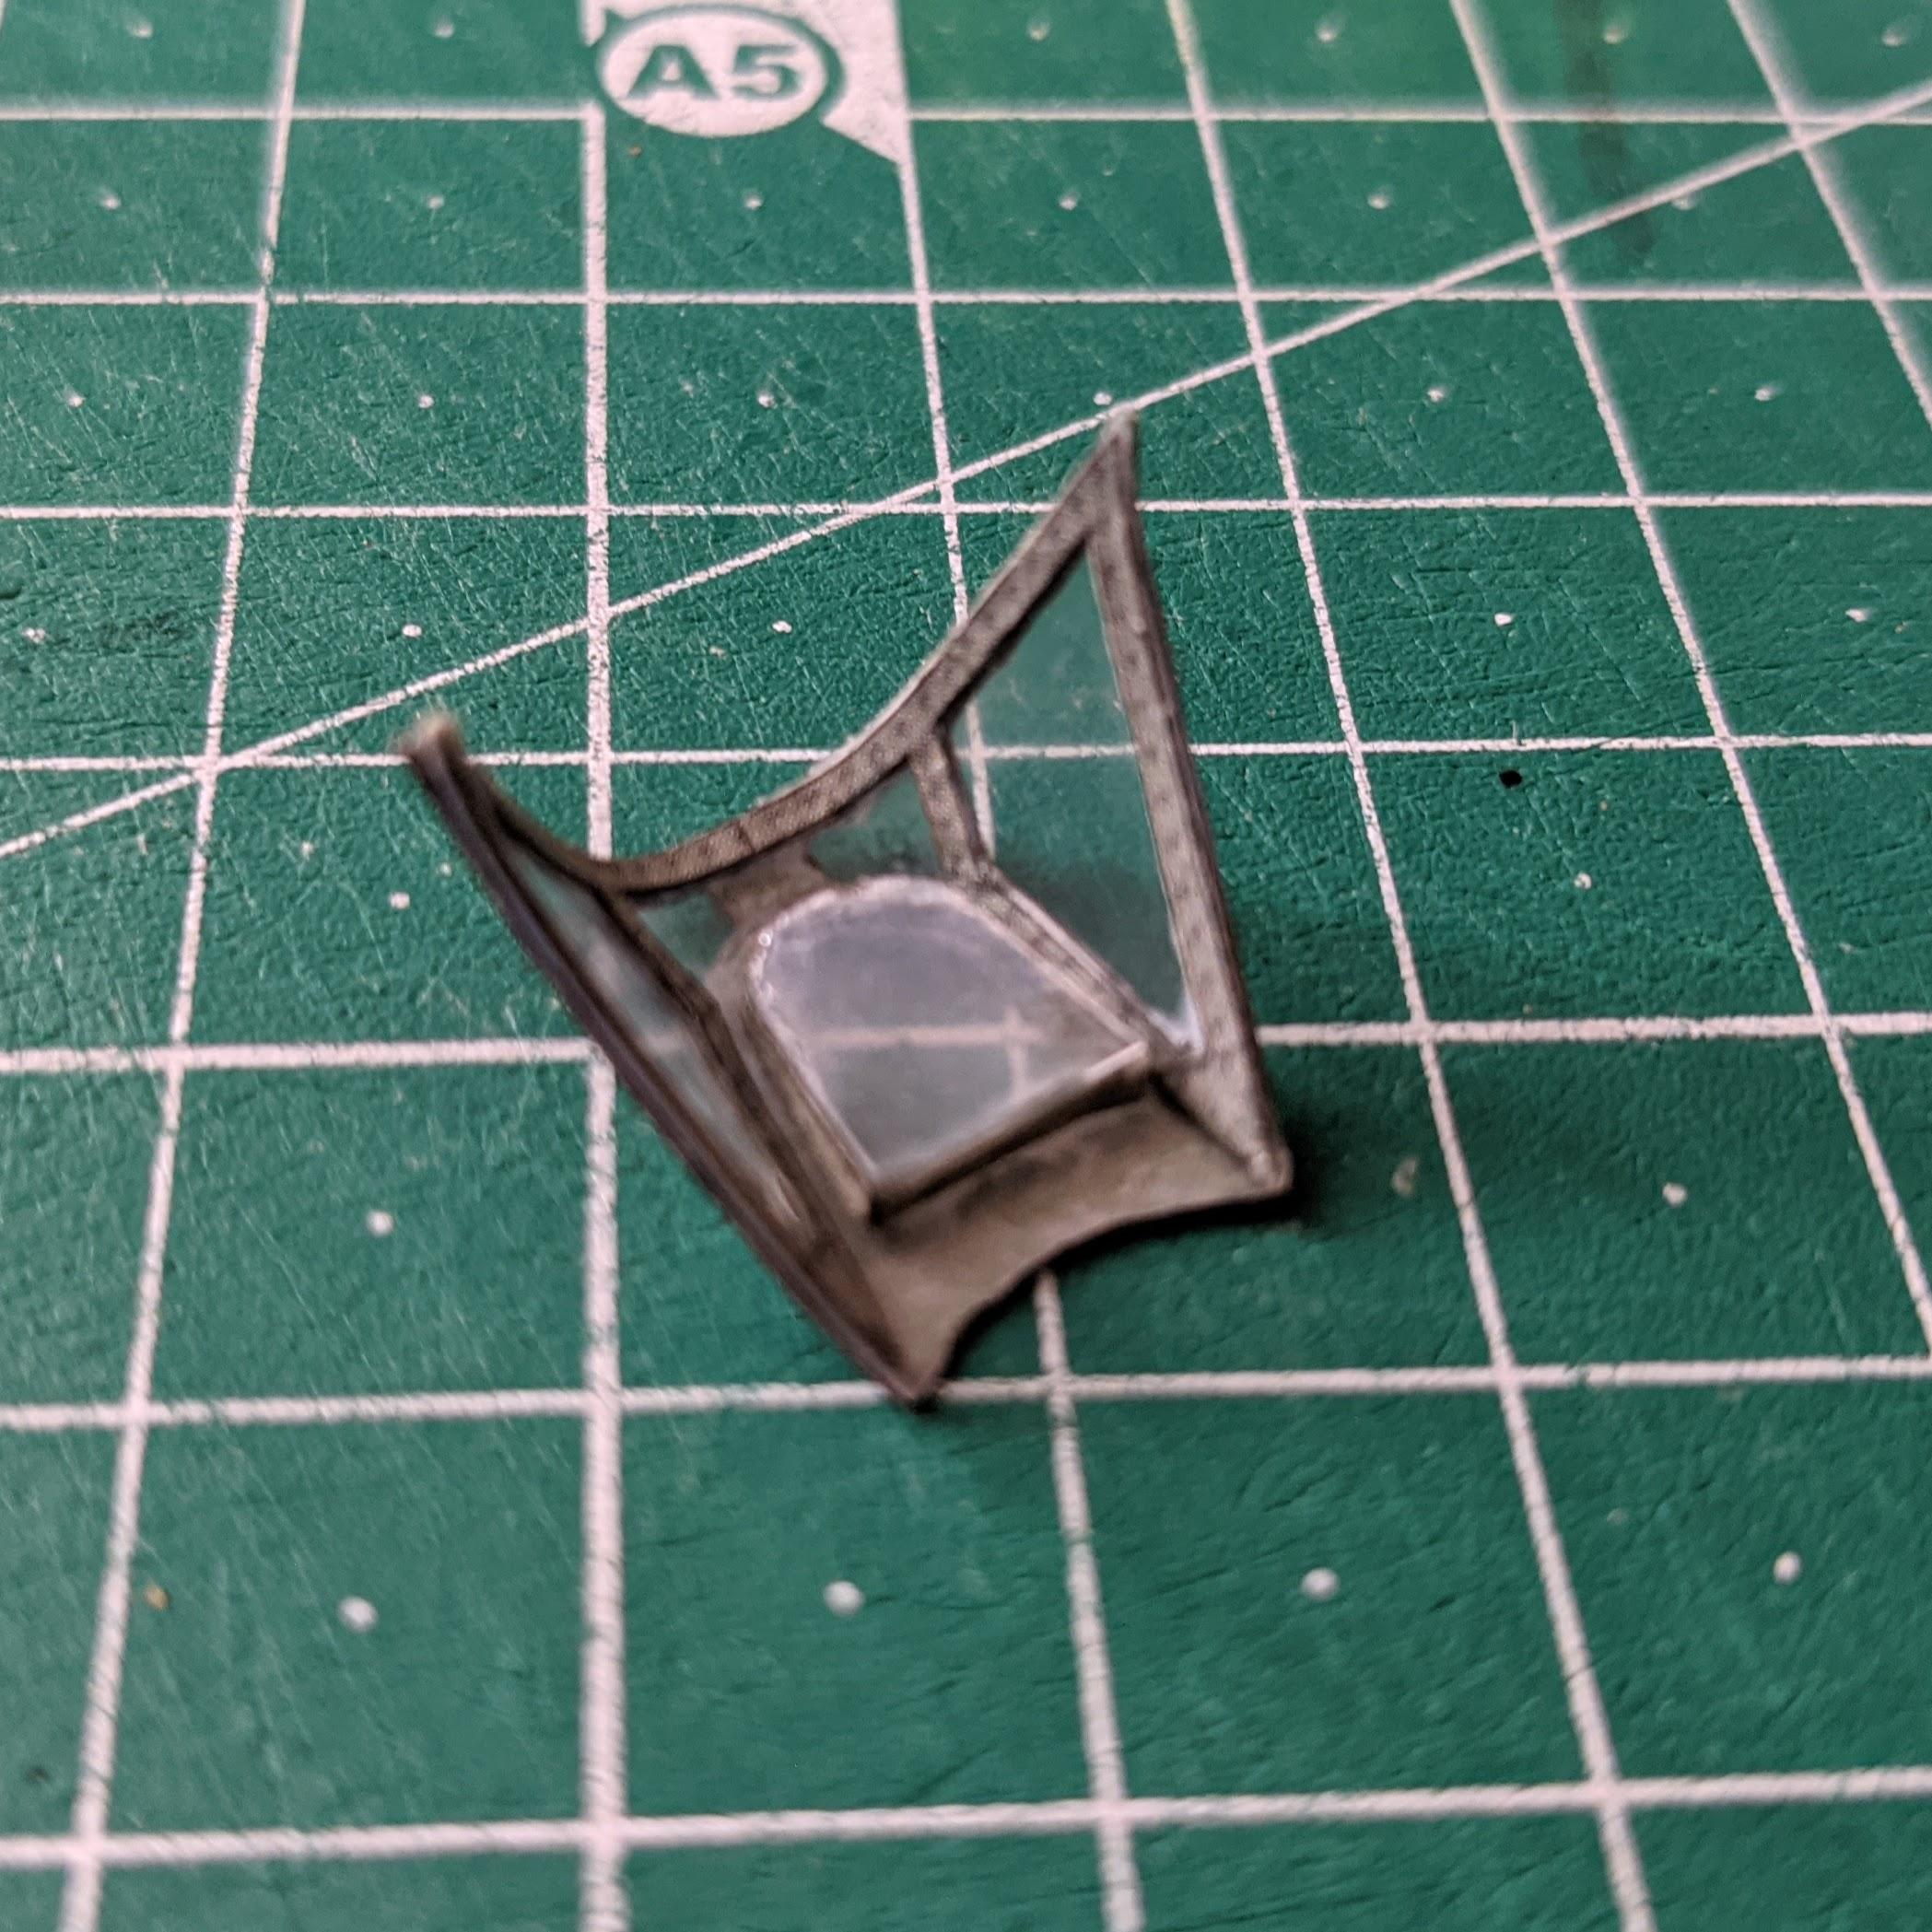
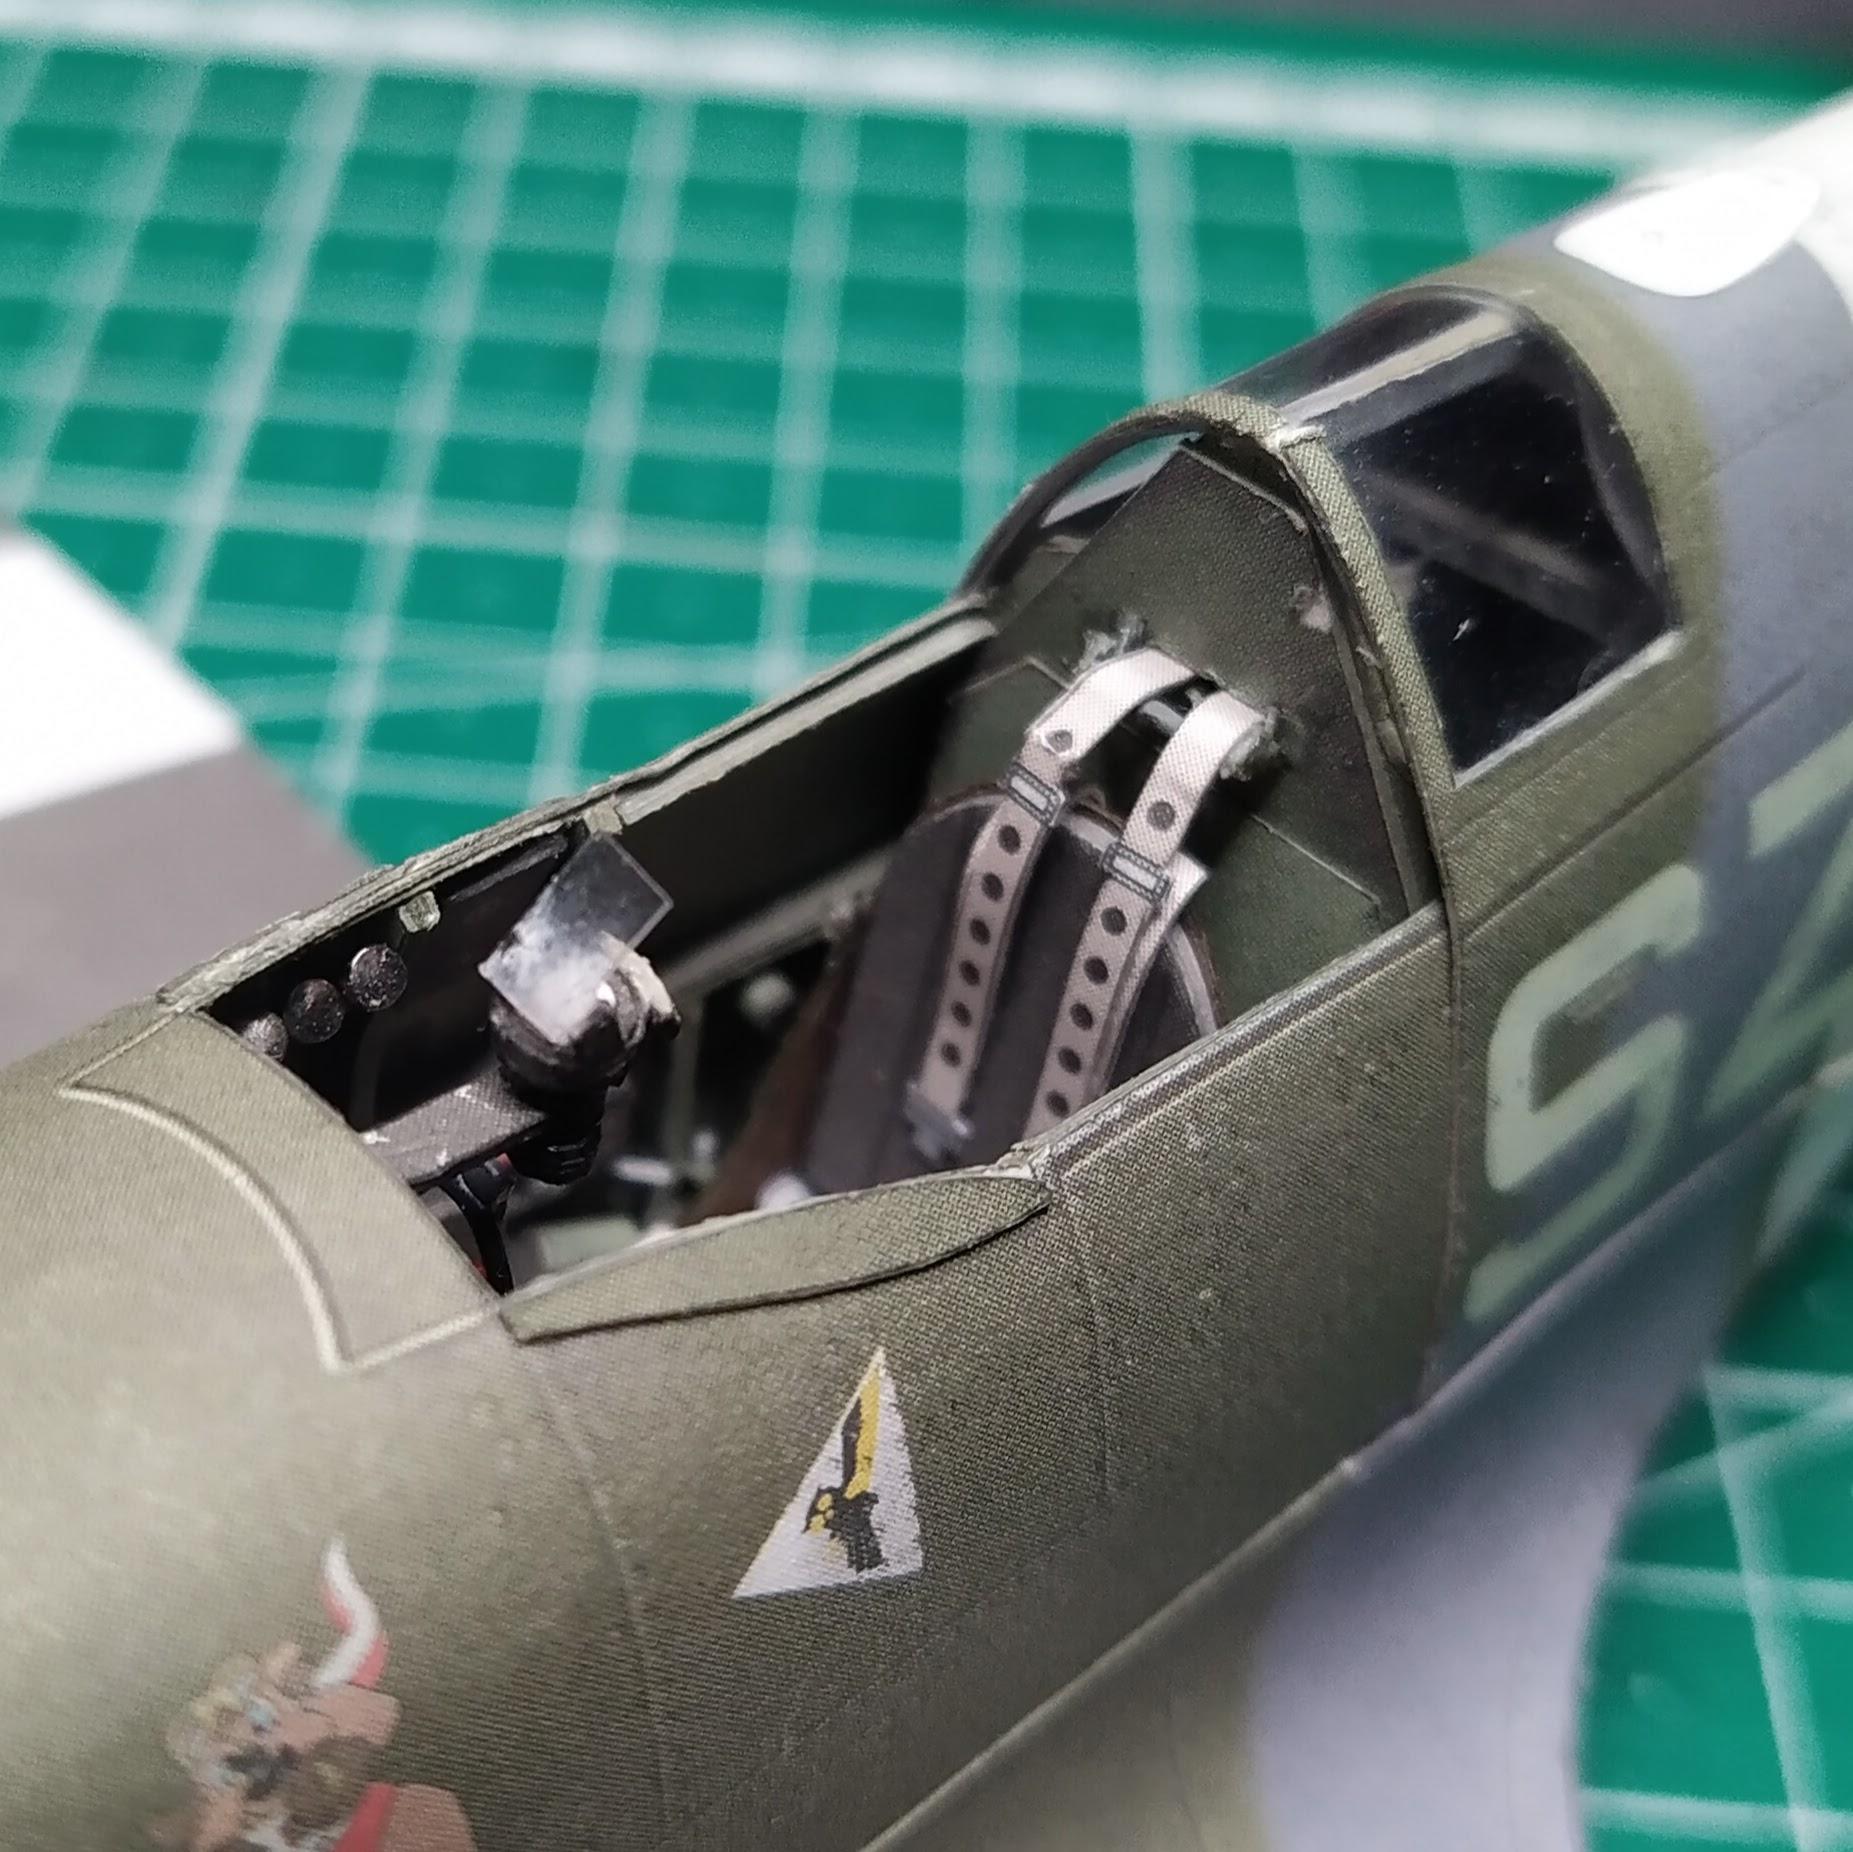
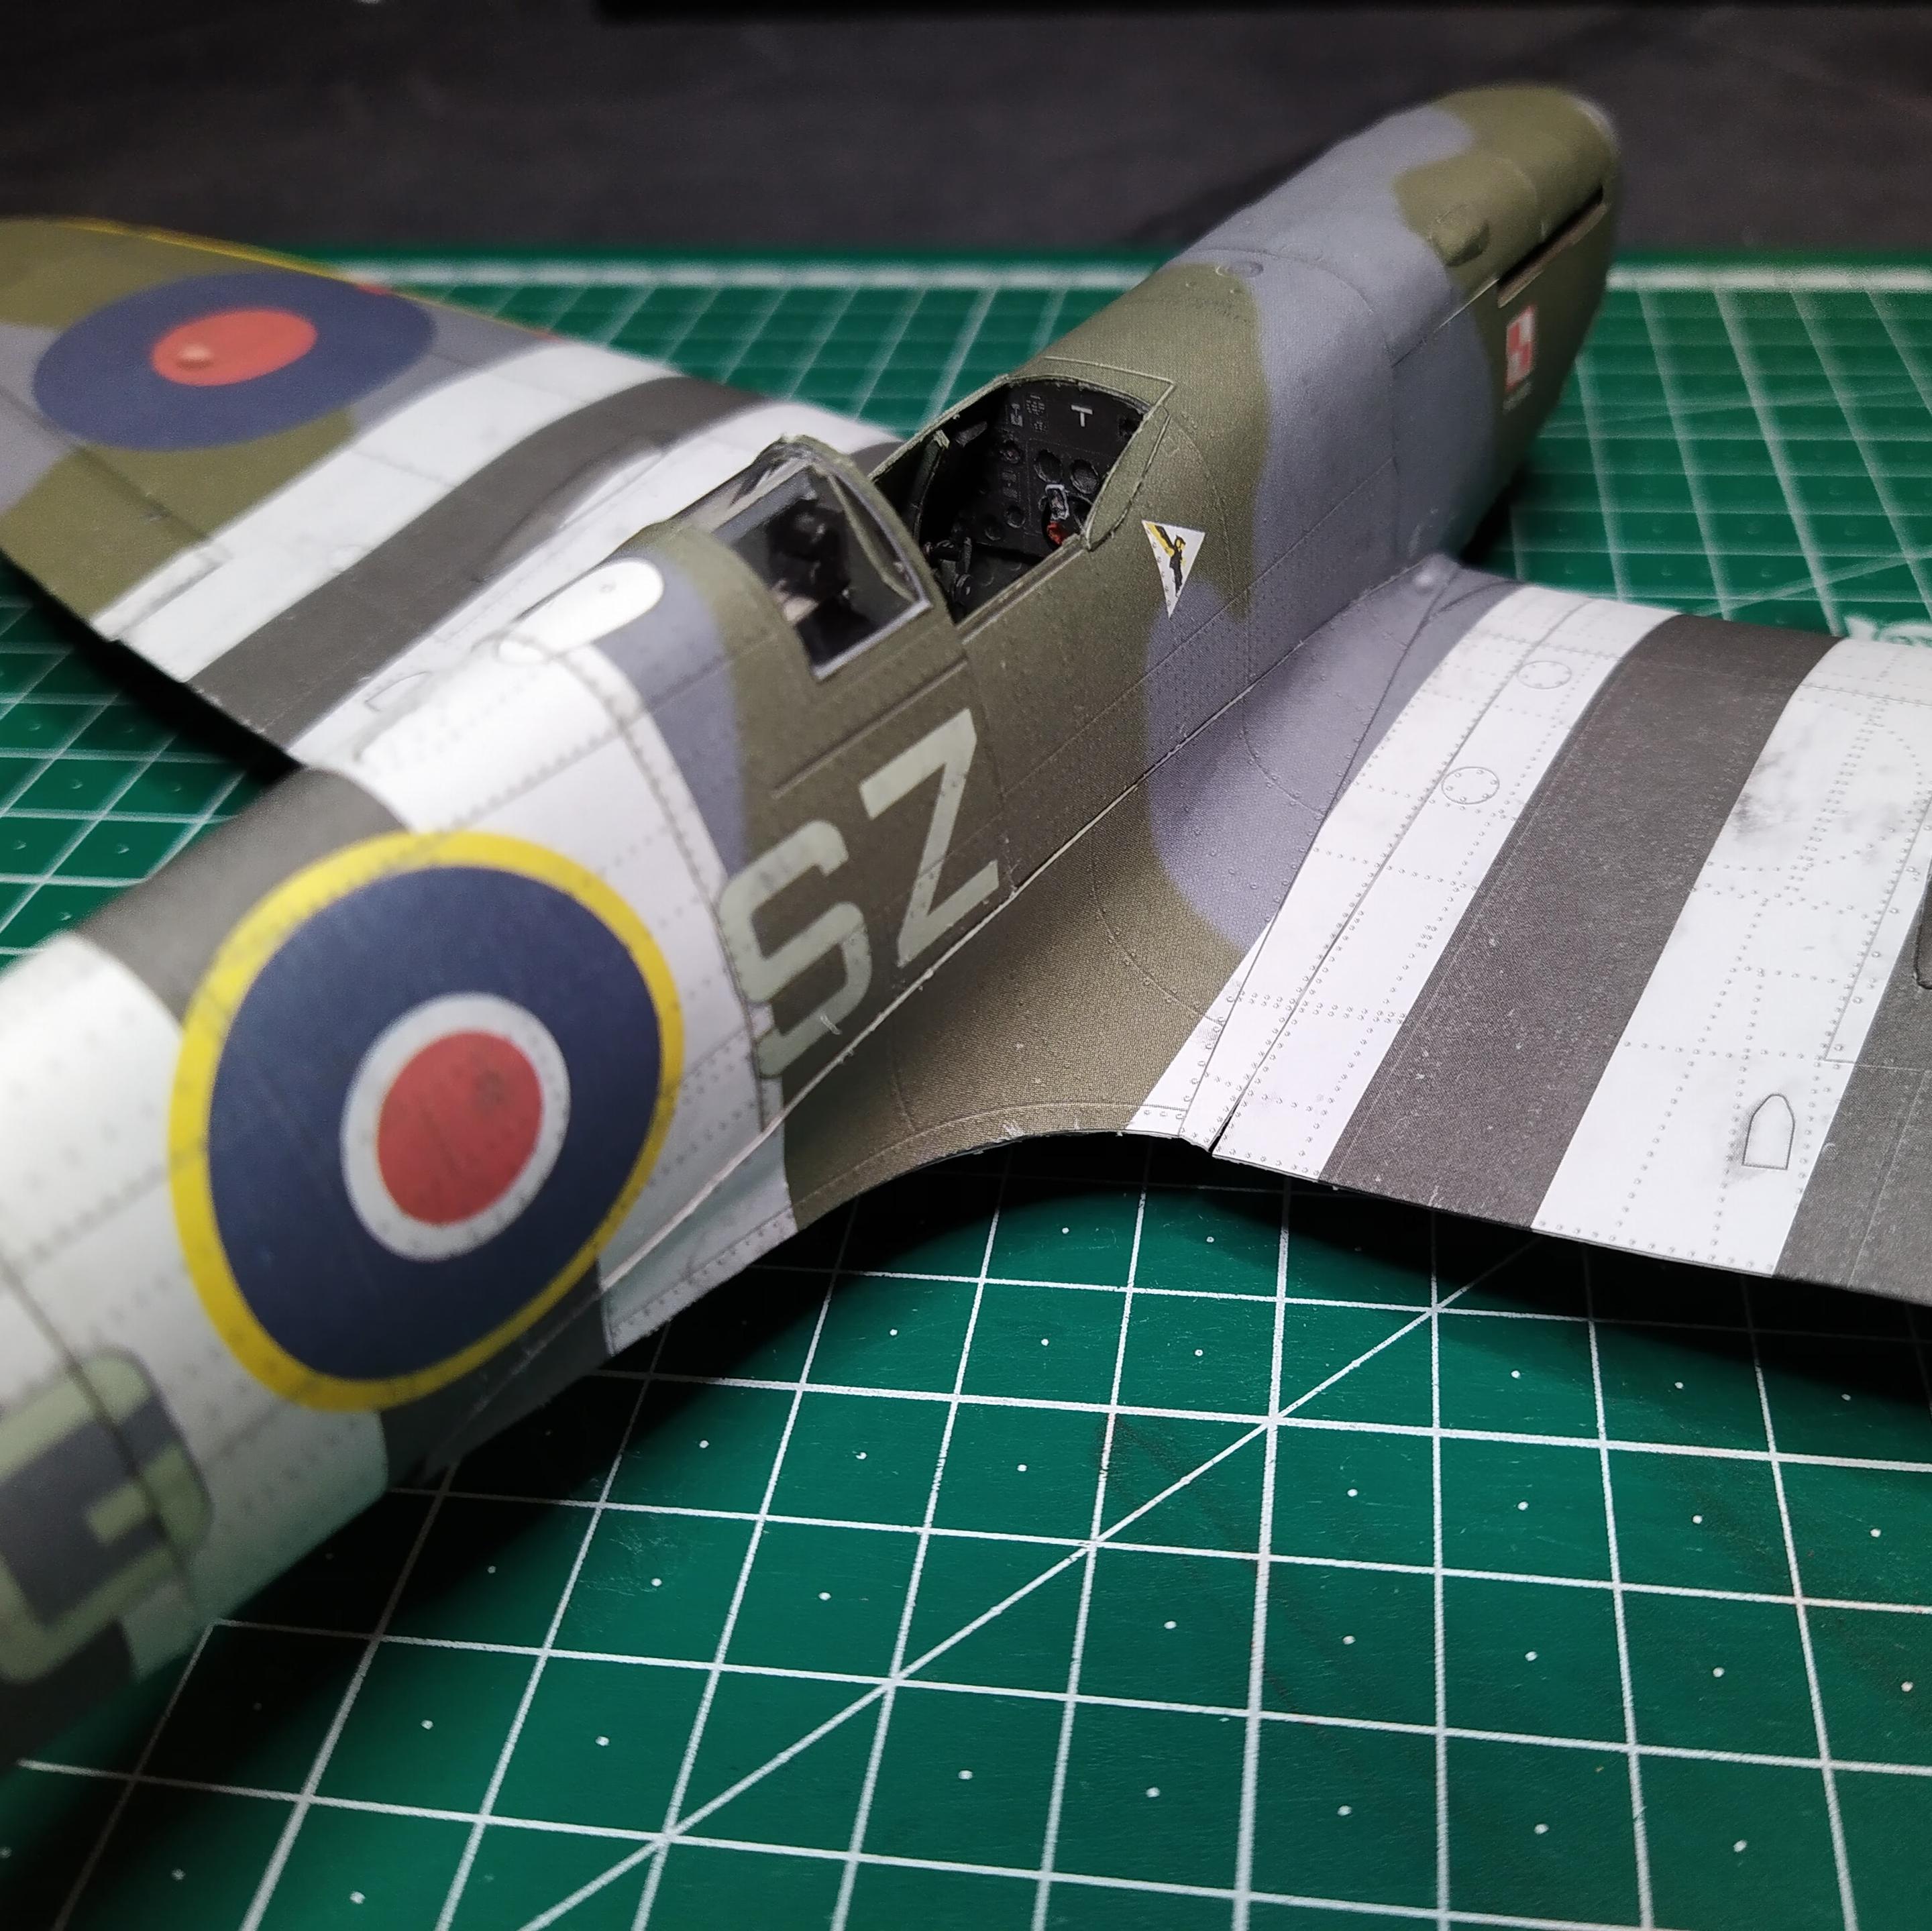
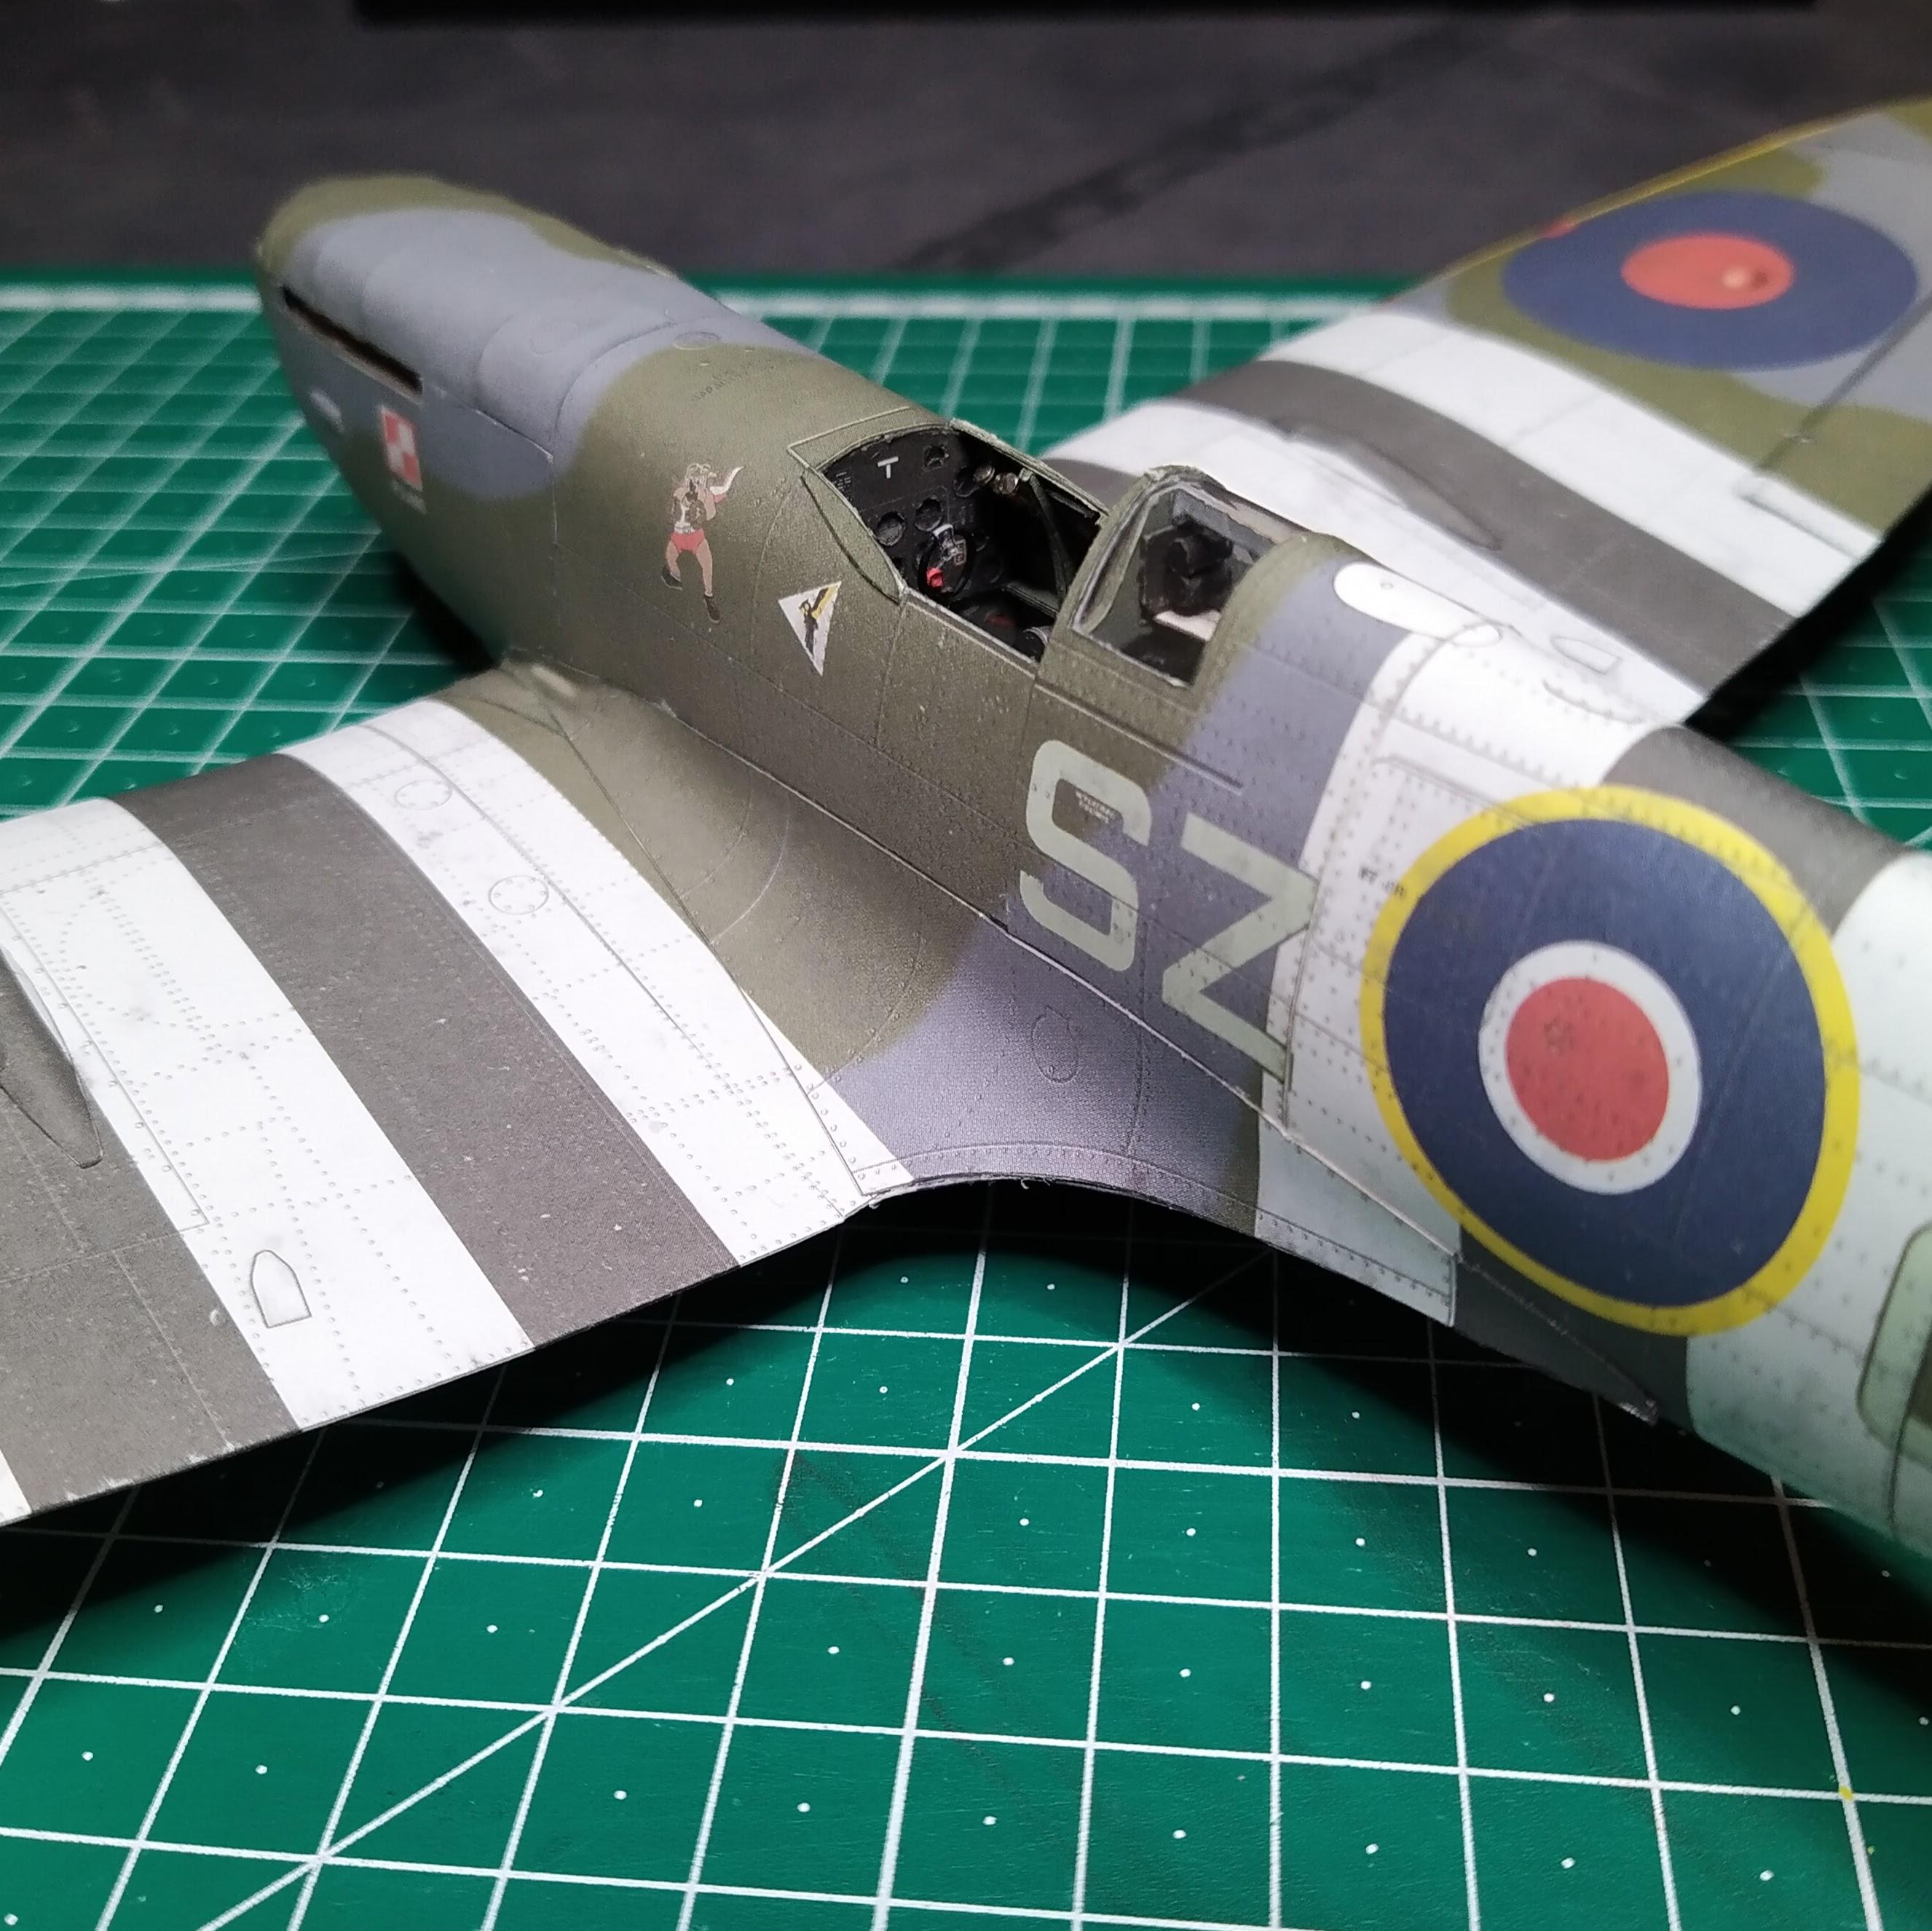
Built a mirror for the top of the canopy. #archive #papercraft #Spitfire #scalemodel #histscalemodels
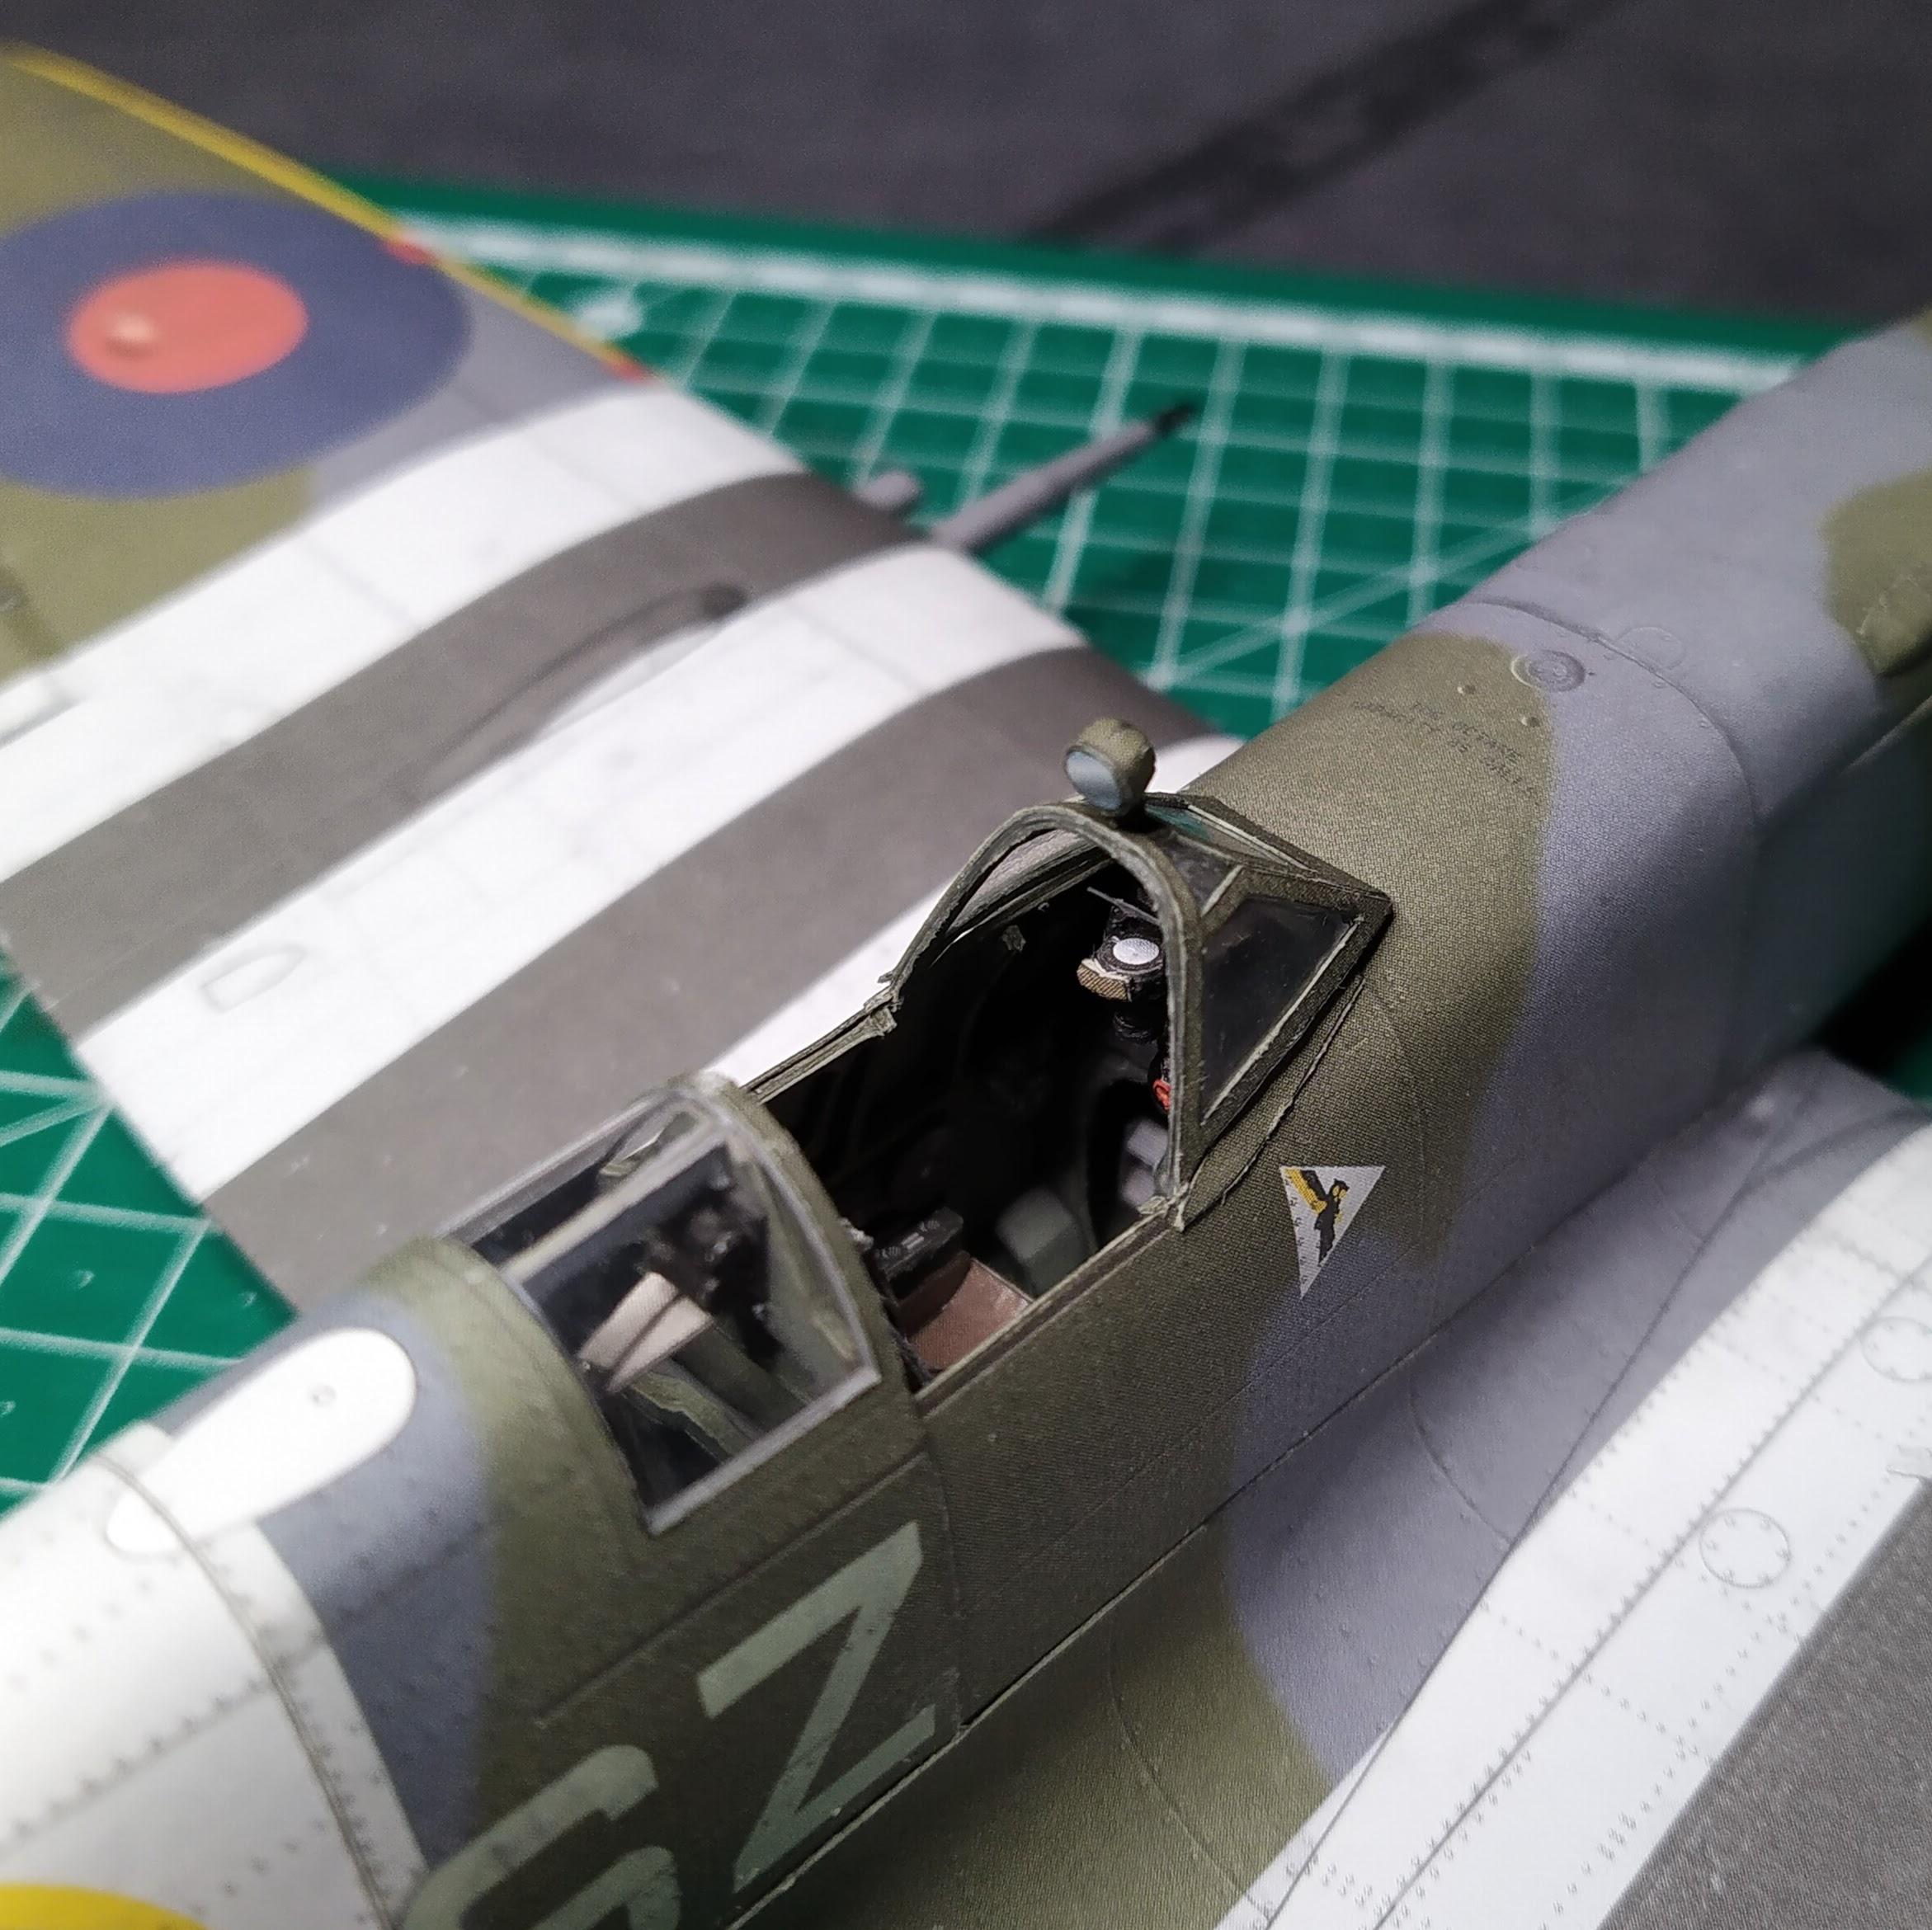
Attached the canopy to the fuselage. #archive #papercraft #Spitfire #scalemodel #histscalemodels
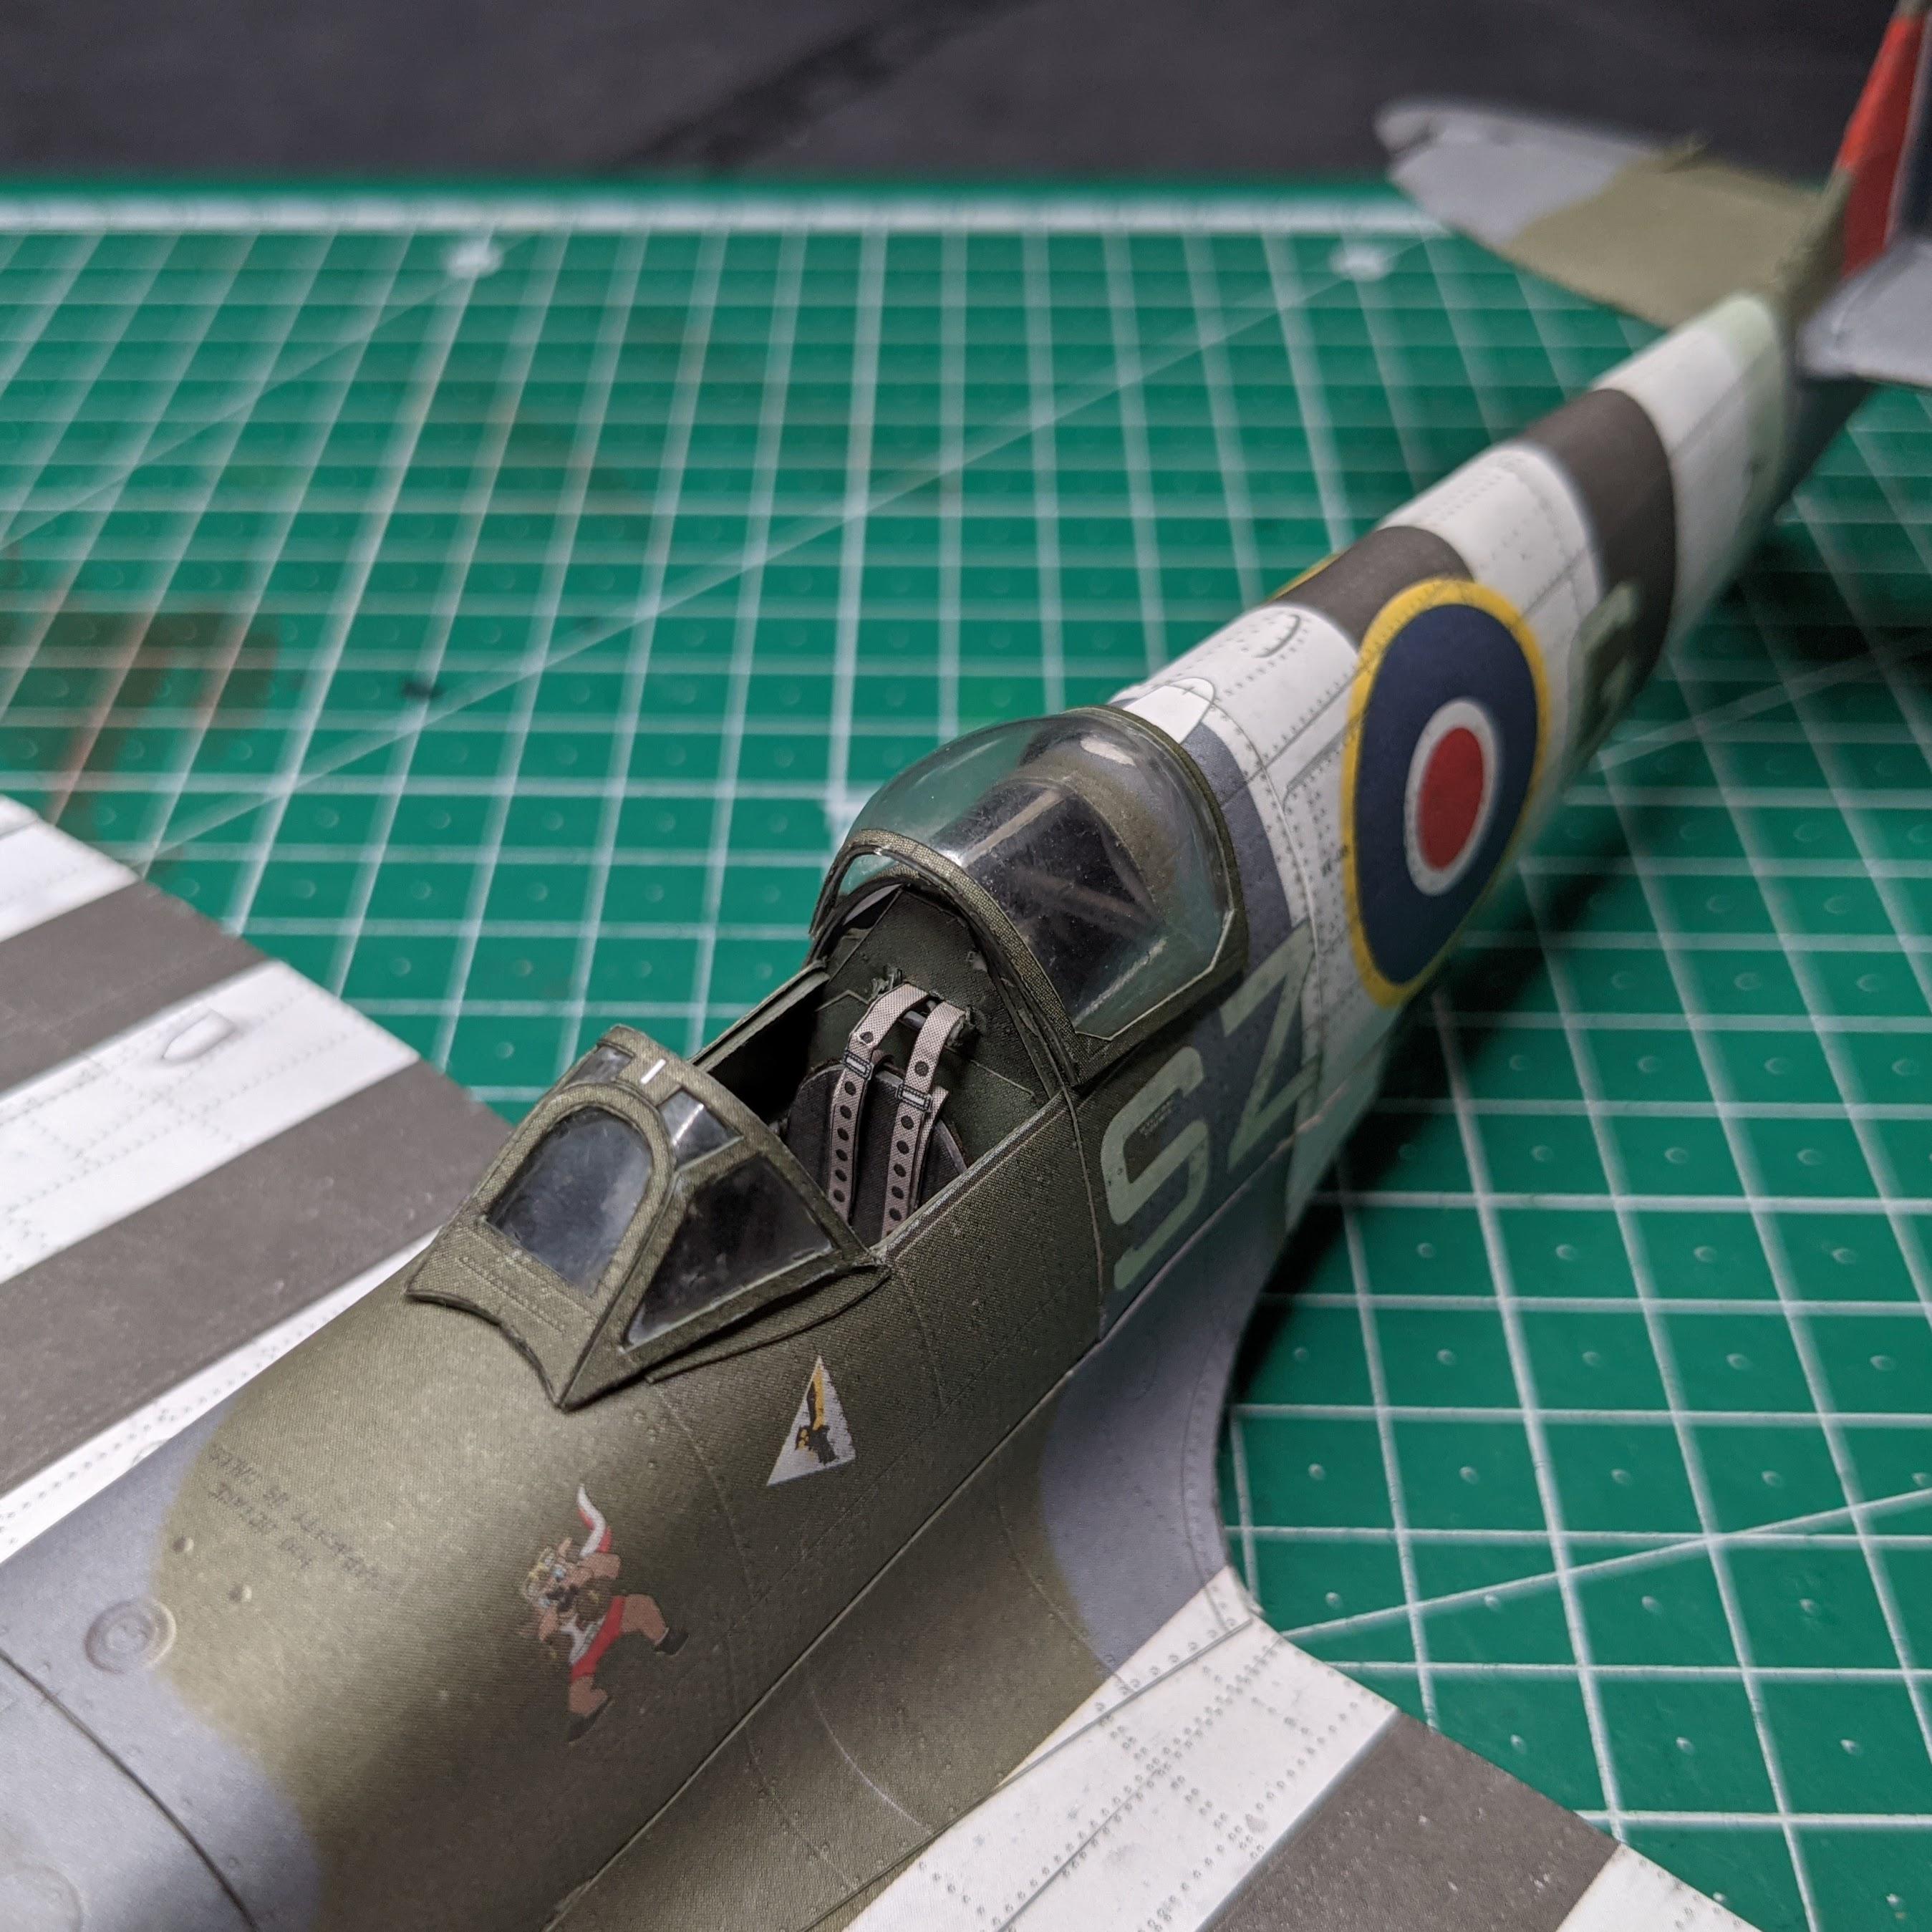

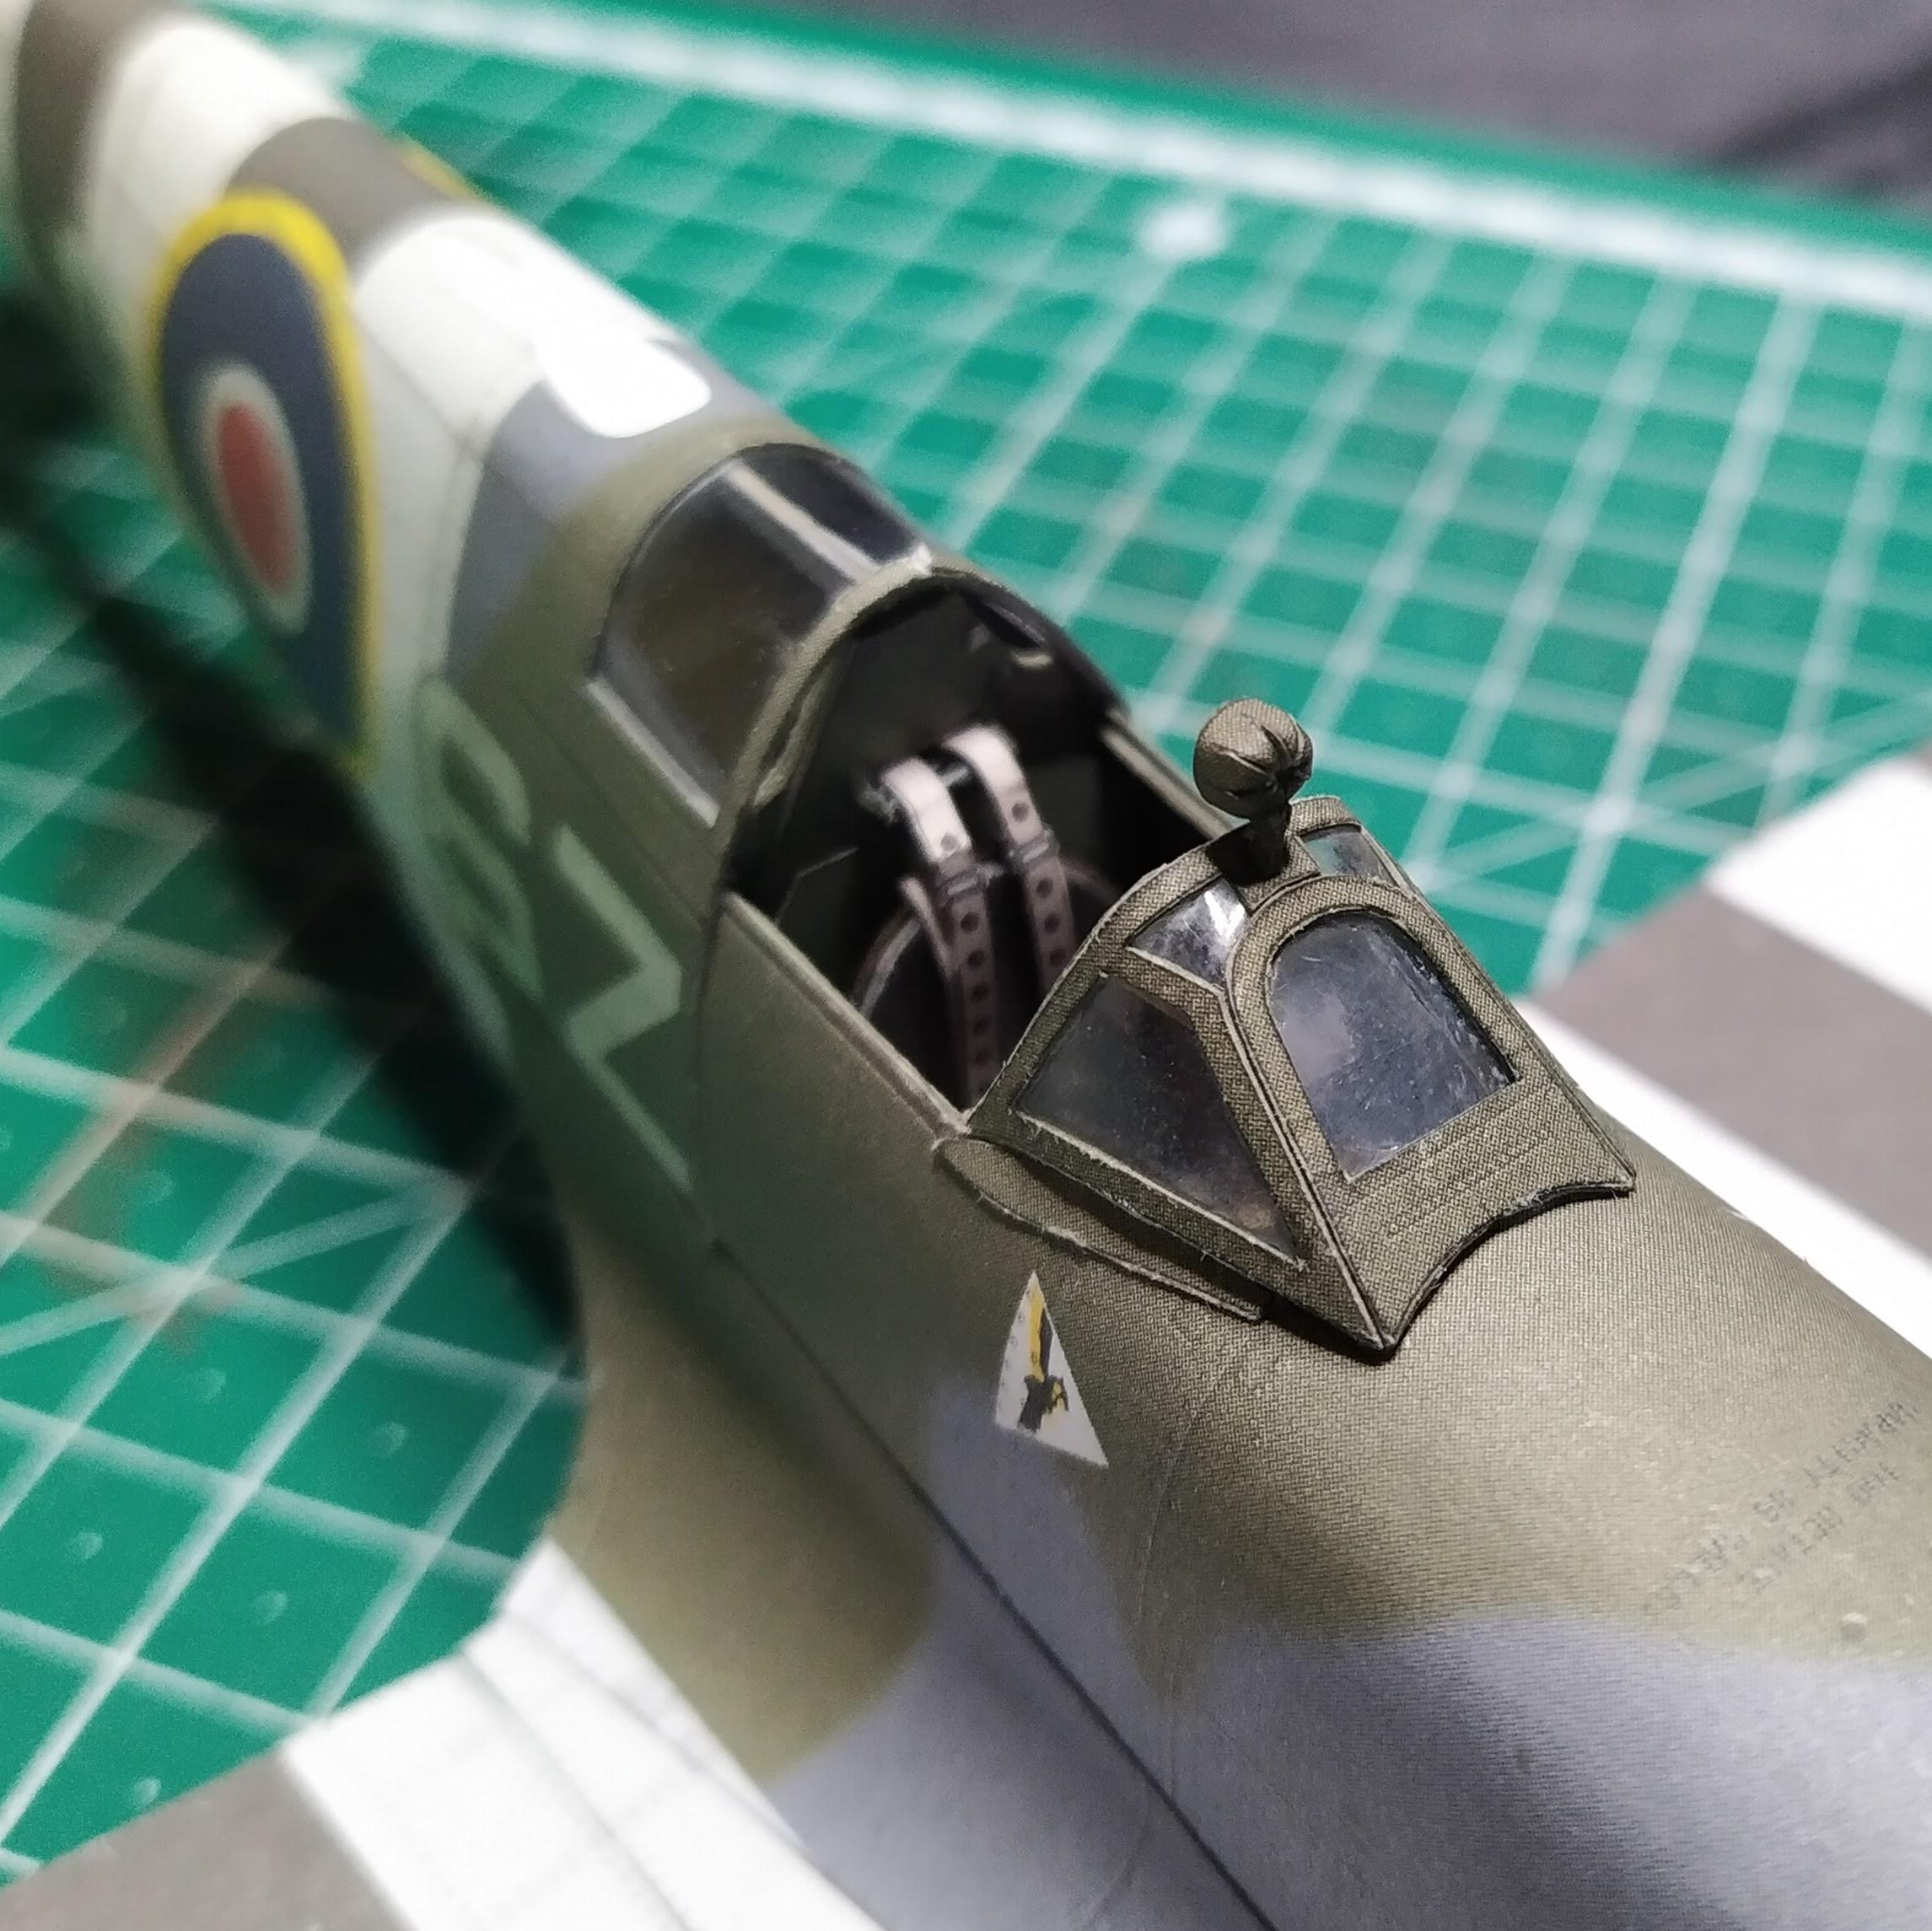
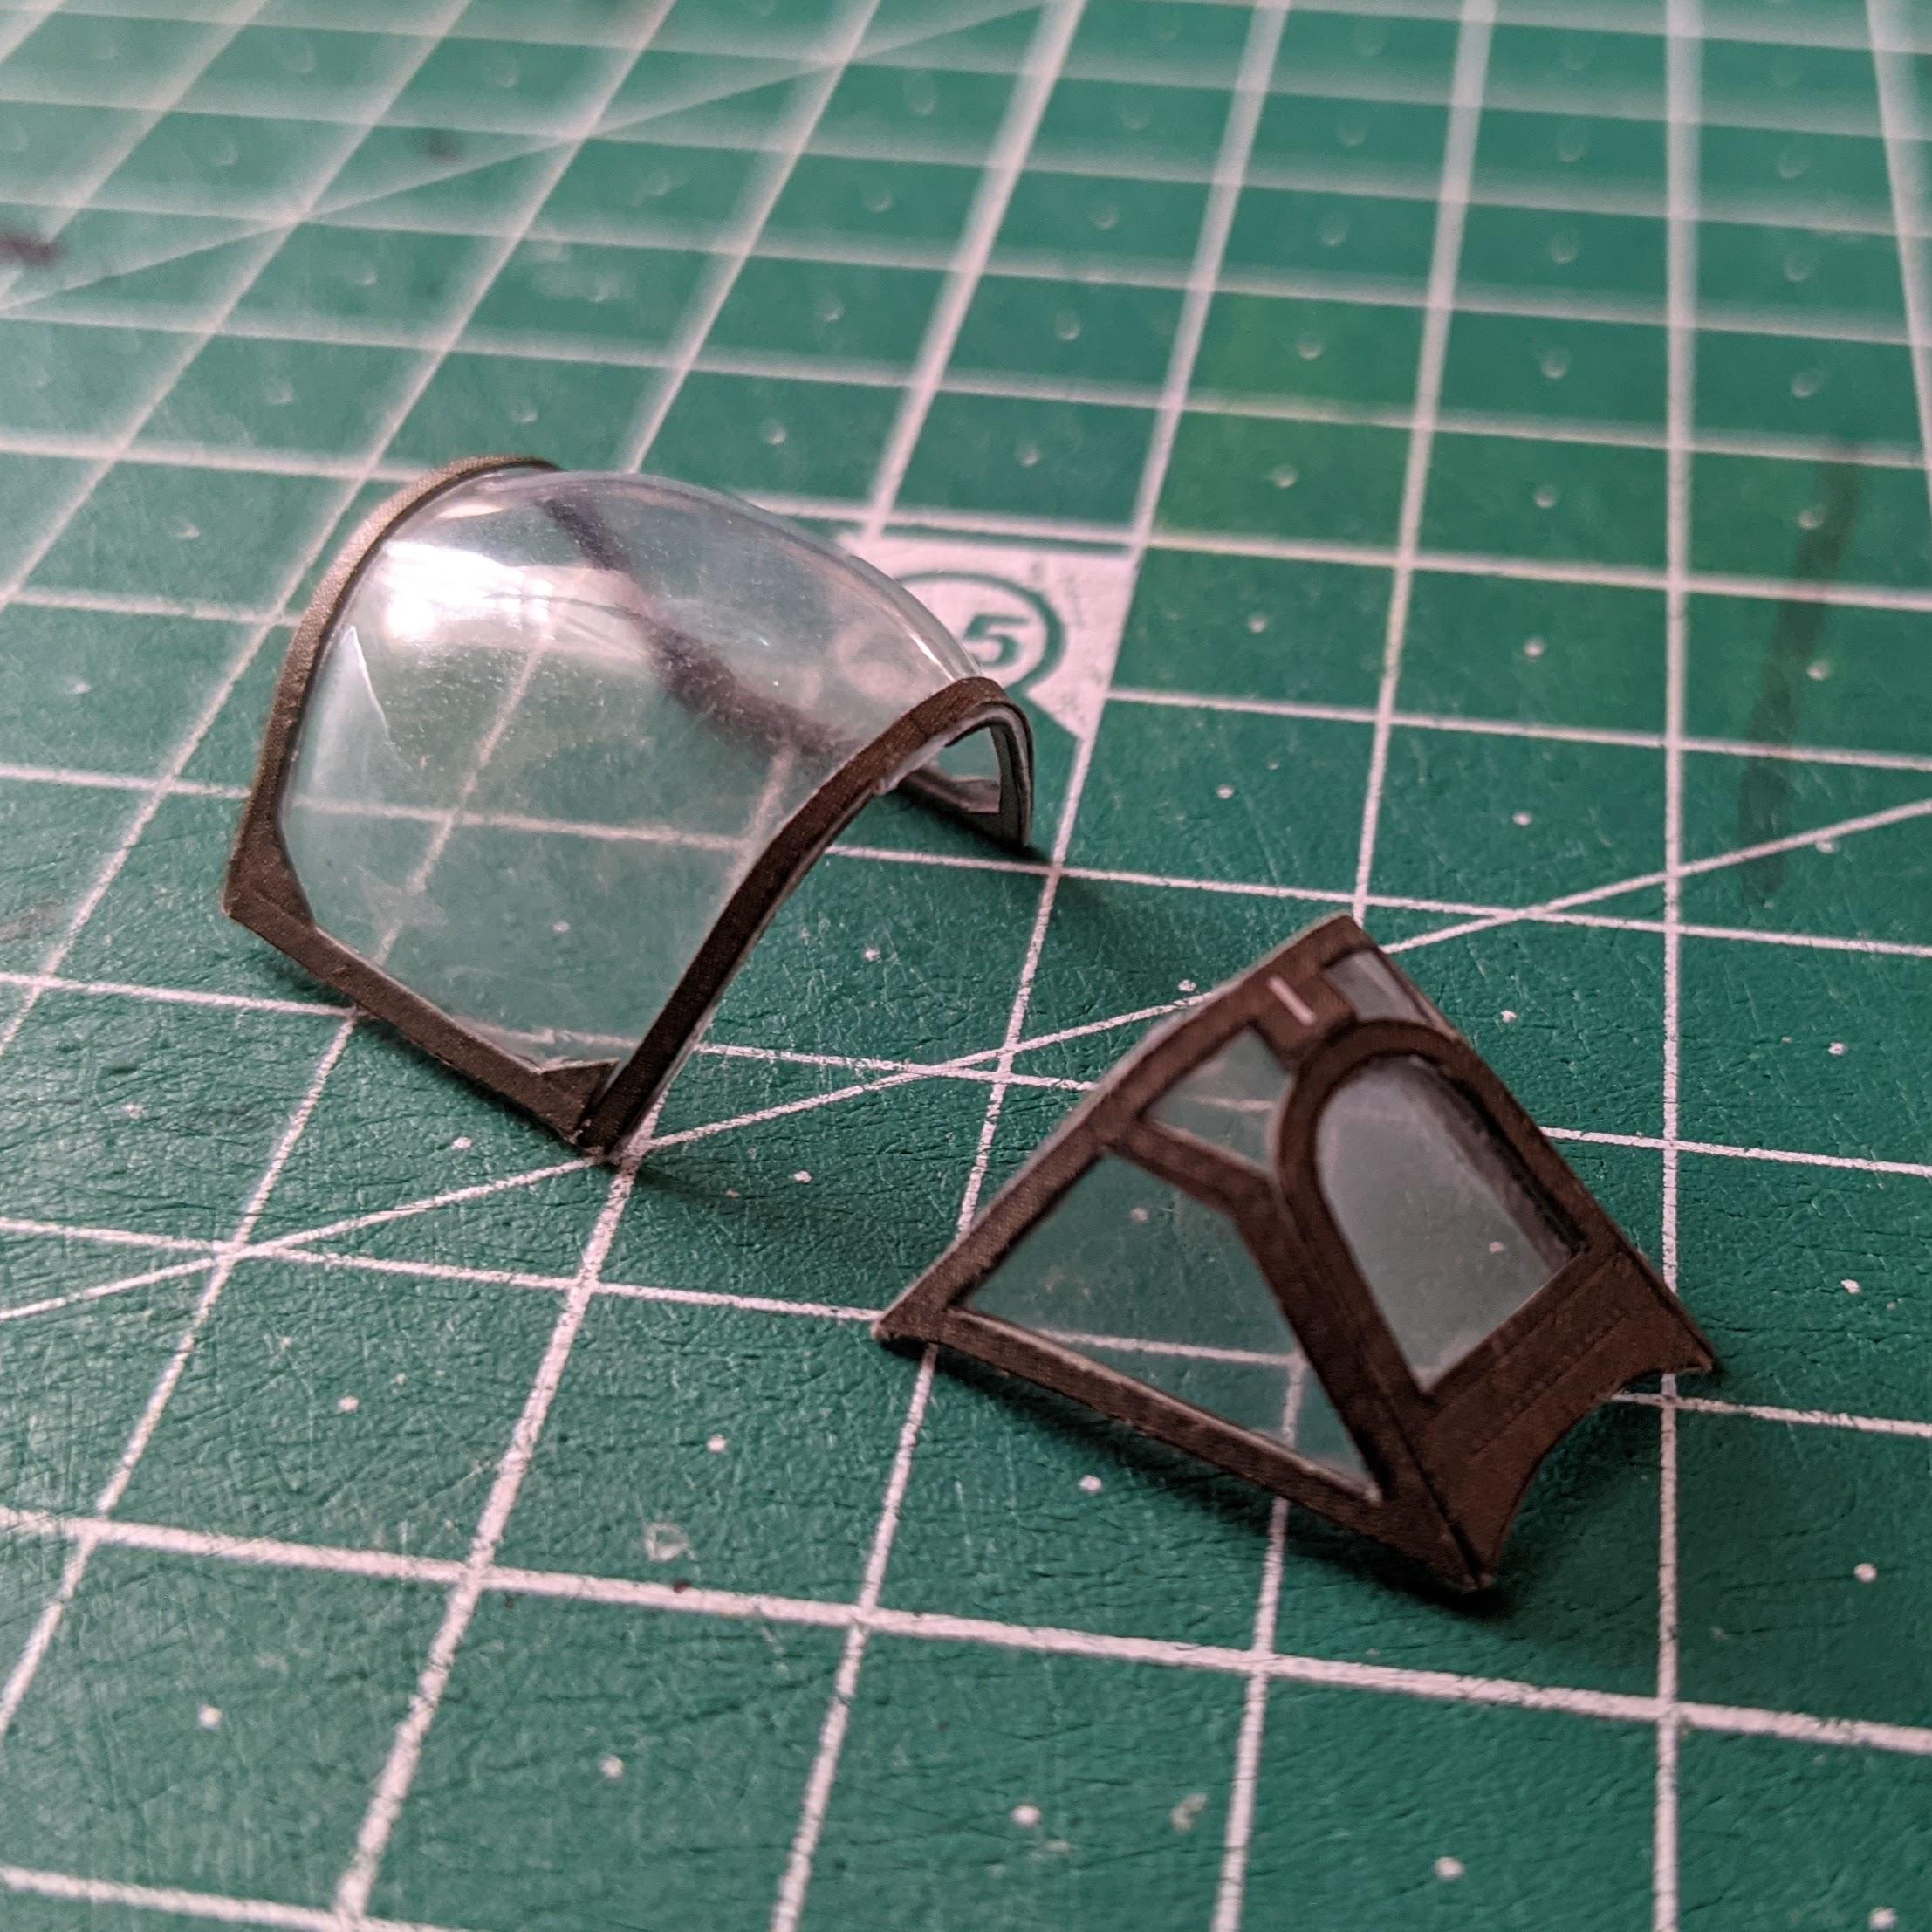
Built the canopy. The "glass" is vacuum shaped plastic, all the frames are from paper. #archive #pspercraft #Spitfire #scalemodel #histscalemodels

Added the sight to the dashboard. #archive #papercraft #Spitfire #scalemodel #histscalemodels
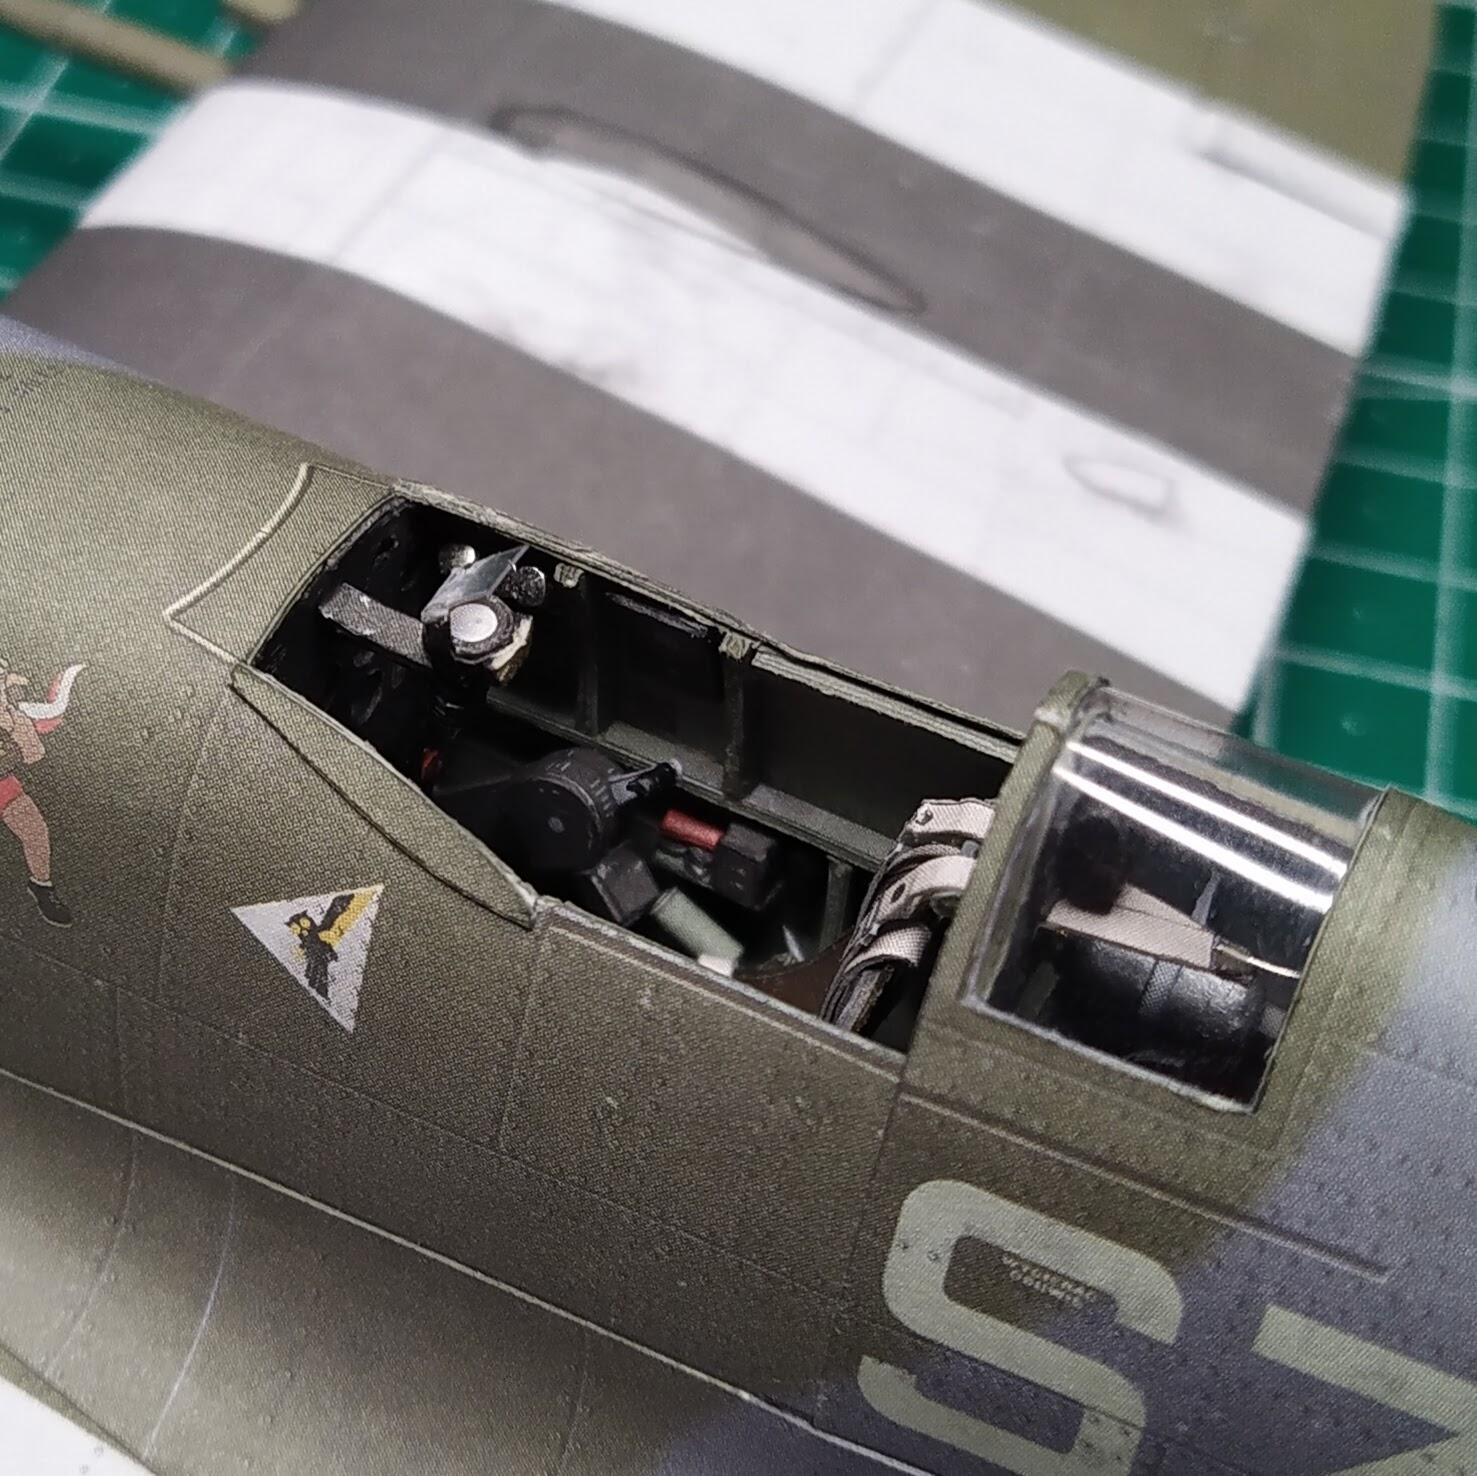
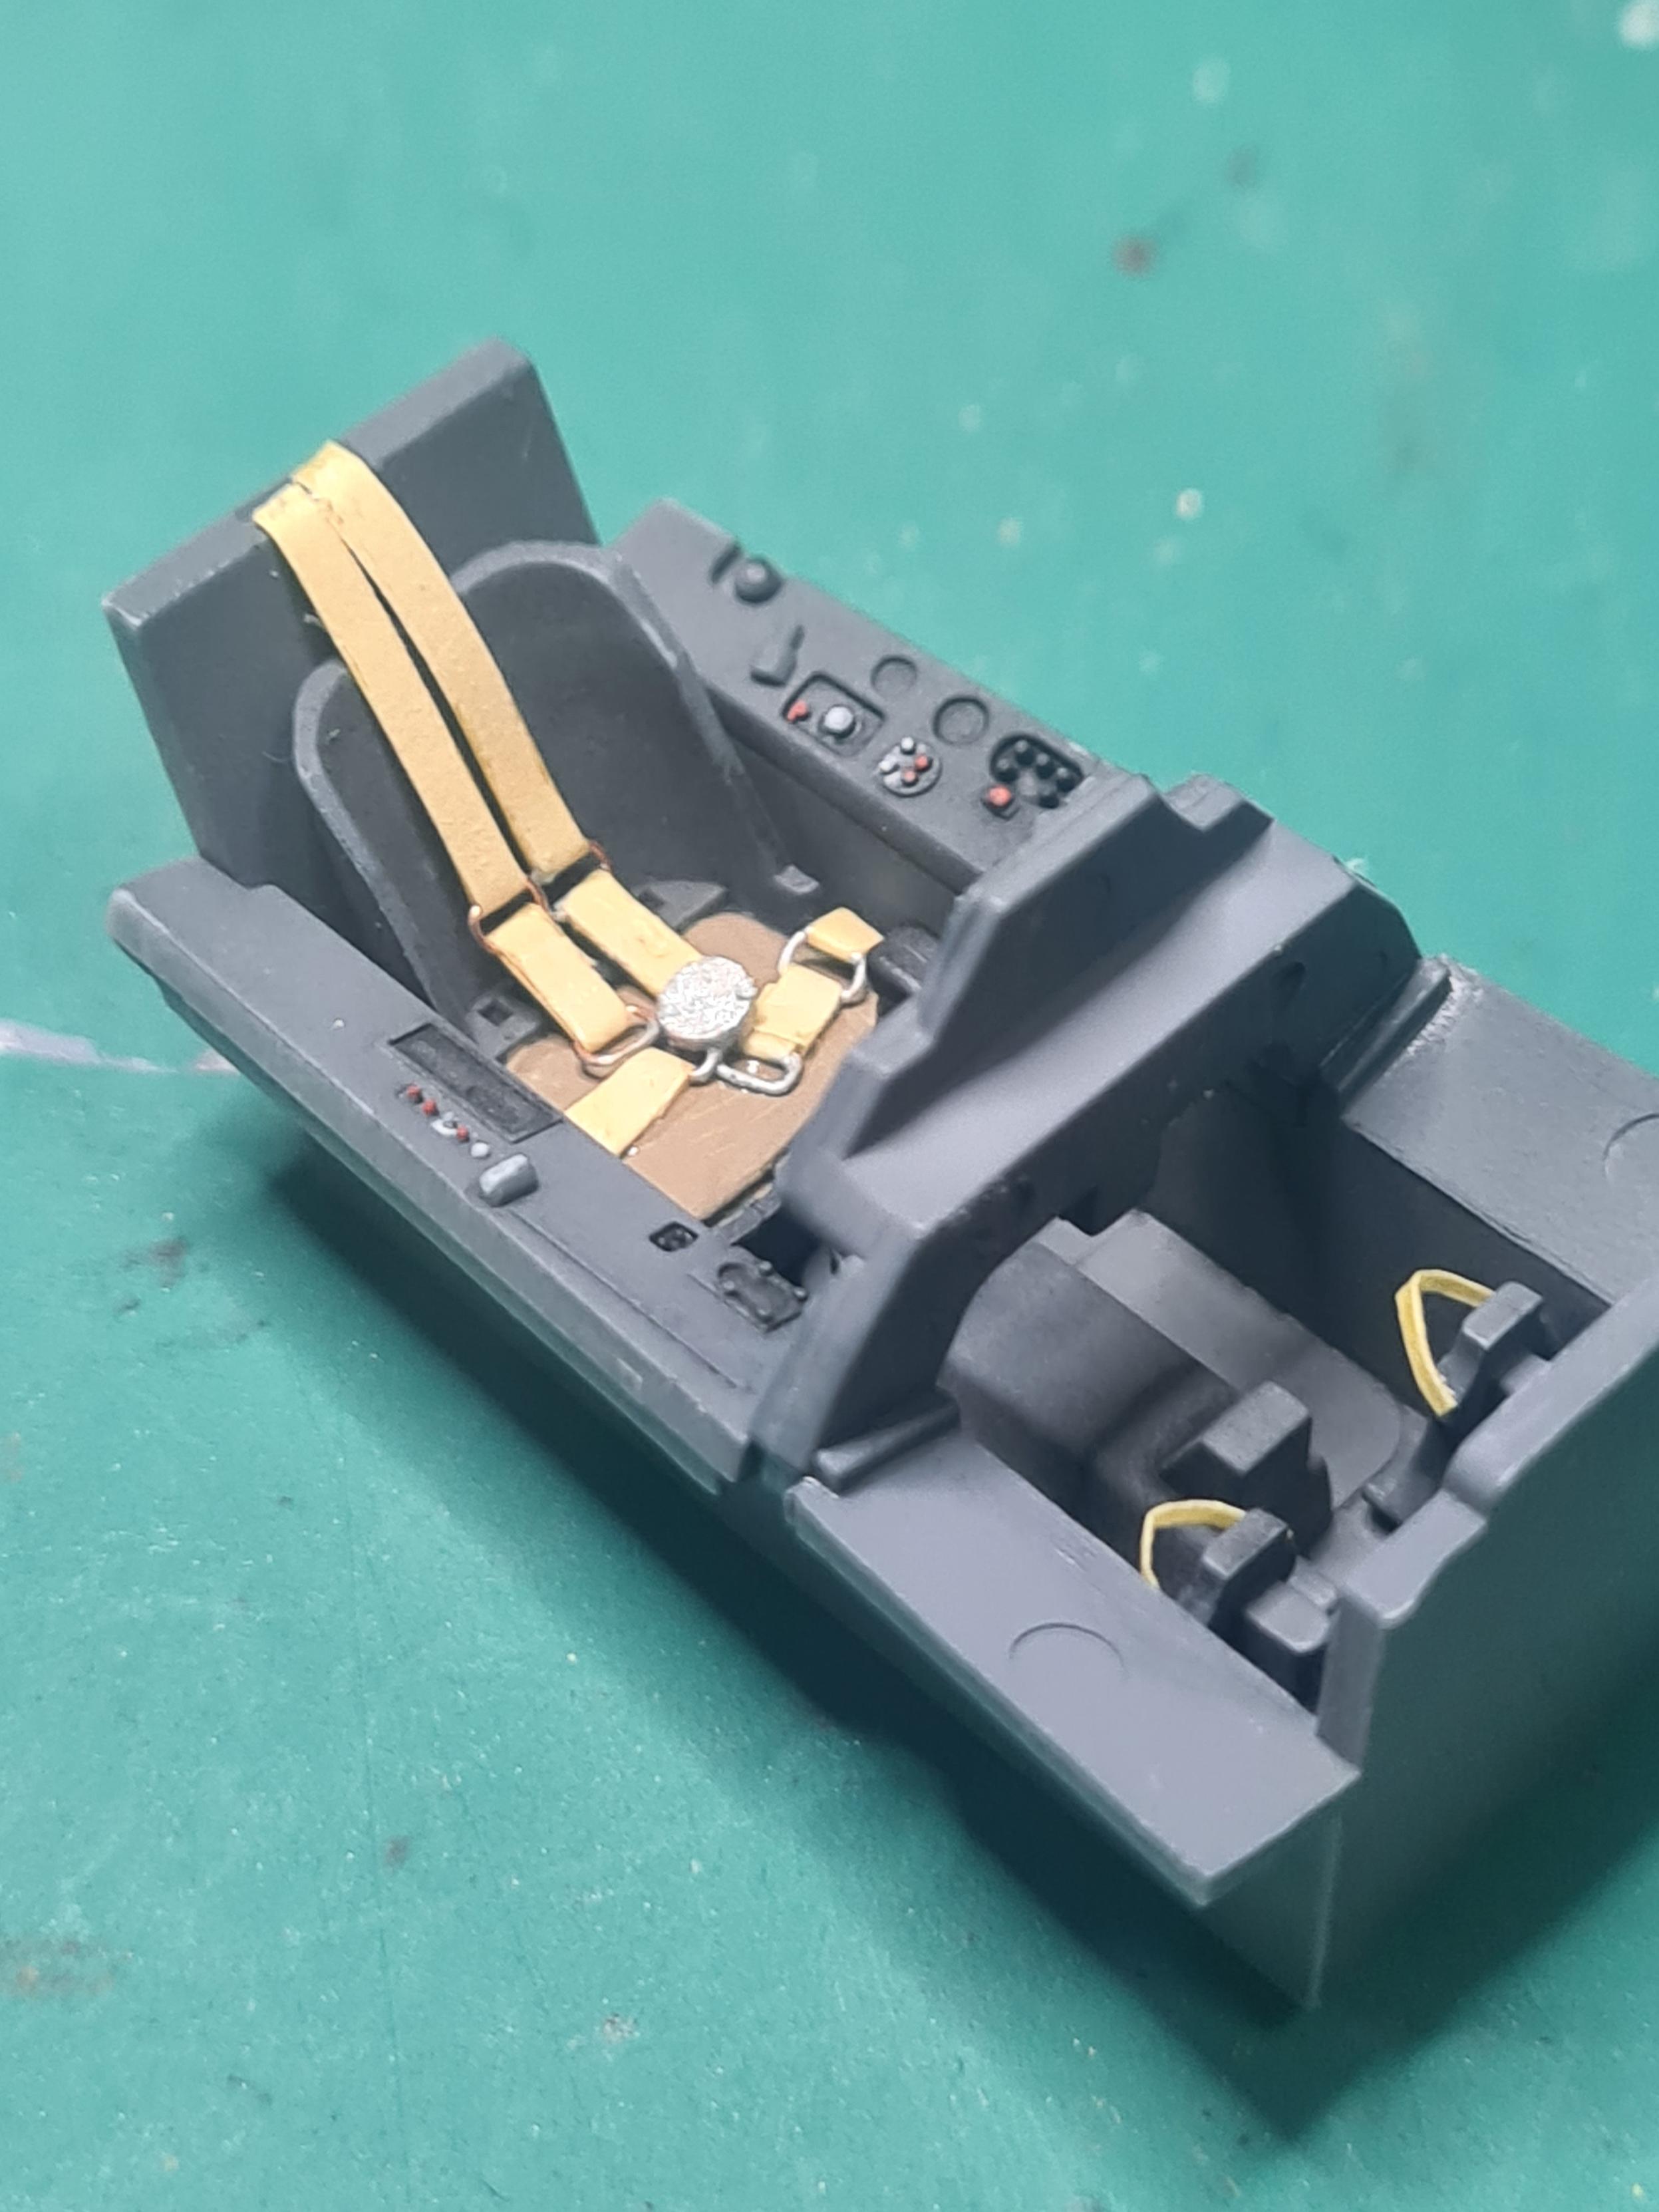
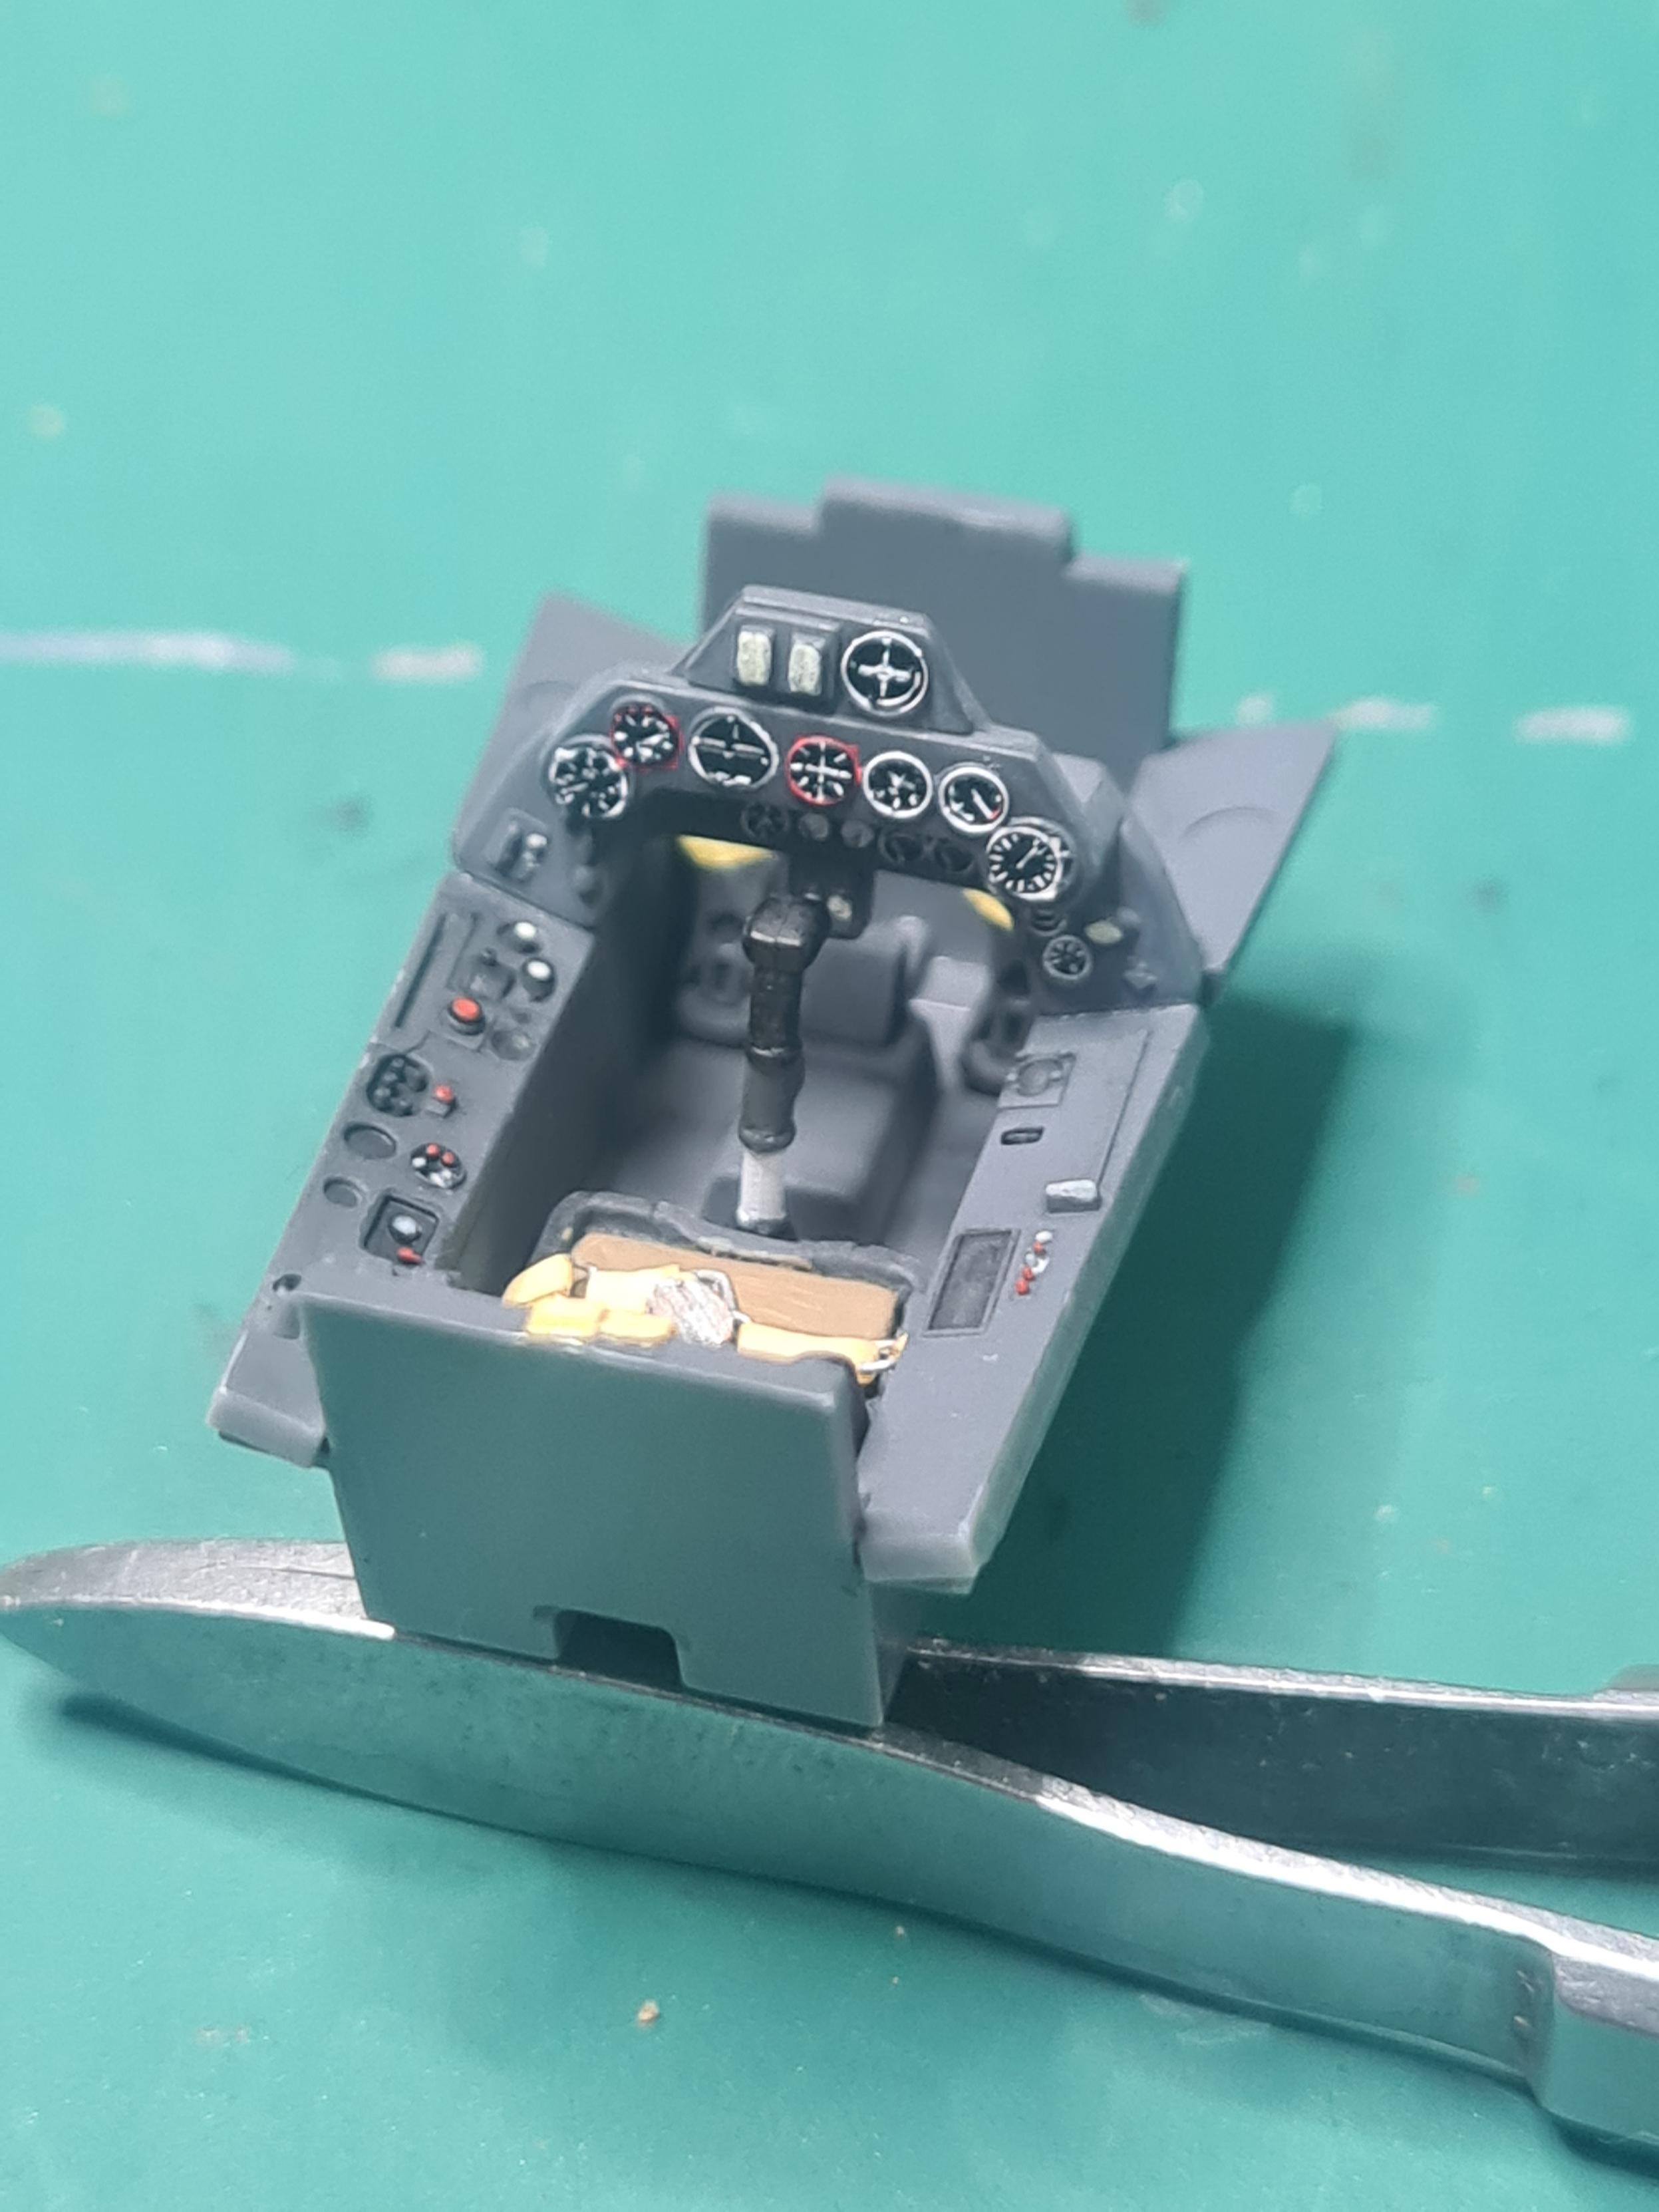
Seven part cockpit jazzed up with some scratch-built seat harnesses. In 53 years, kit manufacturers have struggled to fill this little void. Tamiya offer a ridiculous decal. Other kits, photo-etched copper or brass. These are difficult to make look natural.
I've used copper wire and masking tape. Not perfect, but it satisfies the casual glance. This assembly is approximately 35mm long.
#ScaleModel #ModelAircraft
Niche complaint.
Sometimes, kit engineers will make what should have been one part, into two or three parts under the false belief that modellers like this because it requires "more modelling".
I refute this.
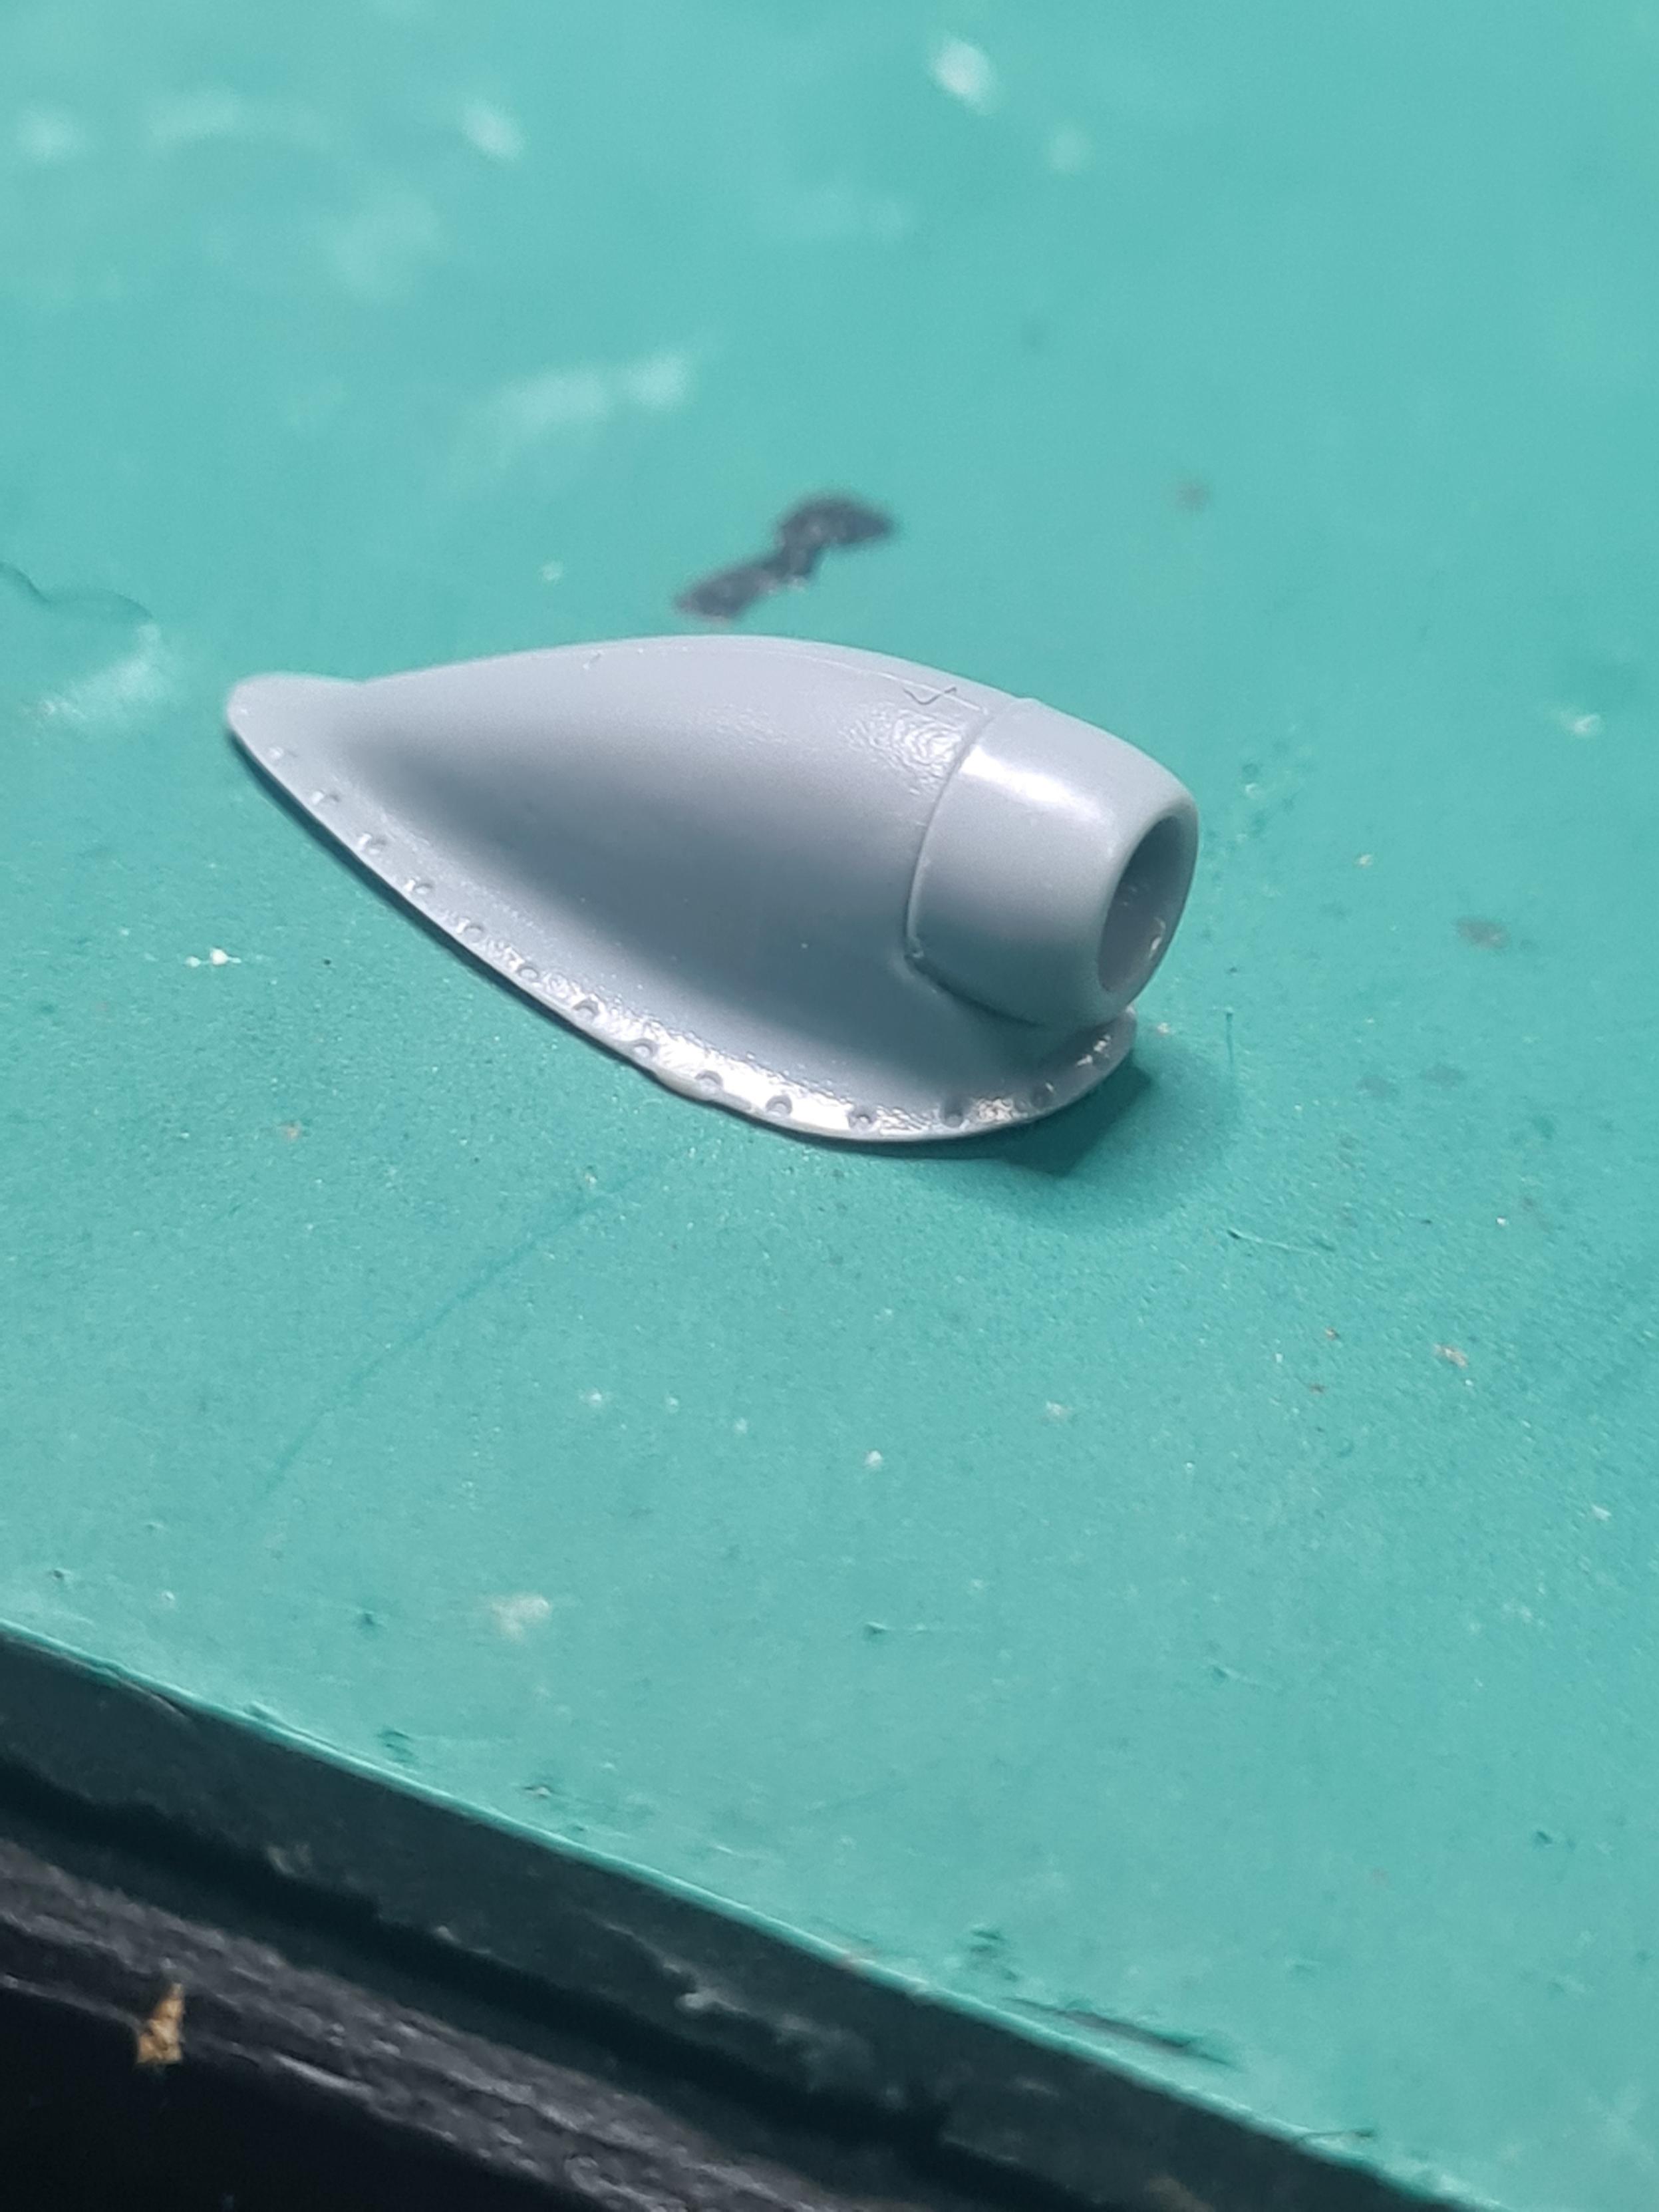
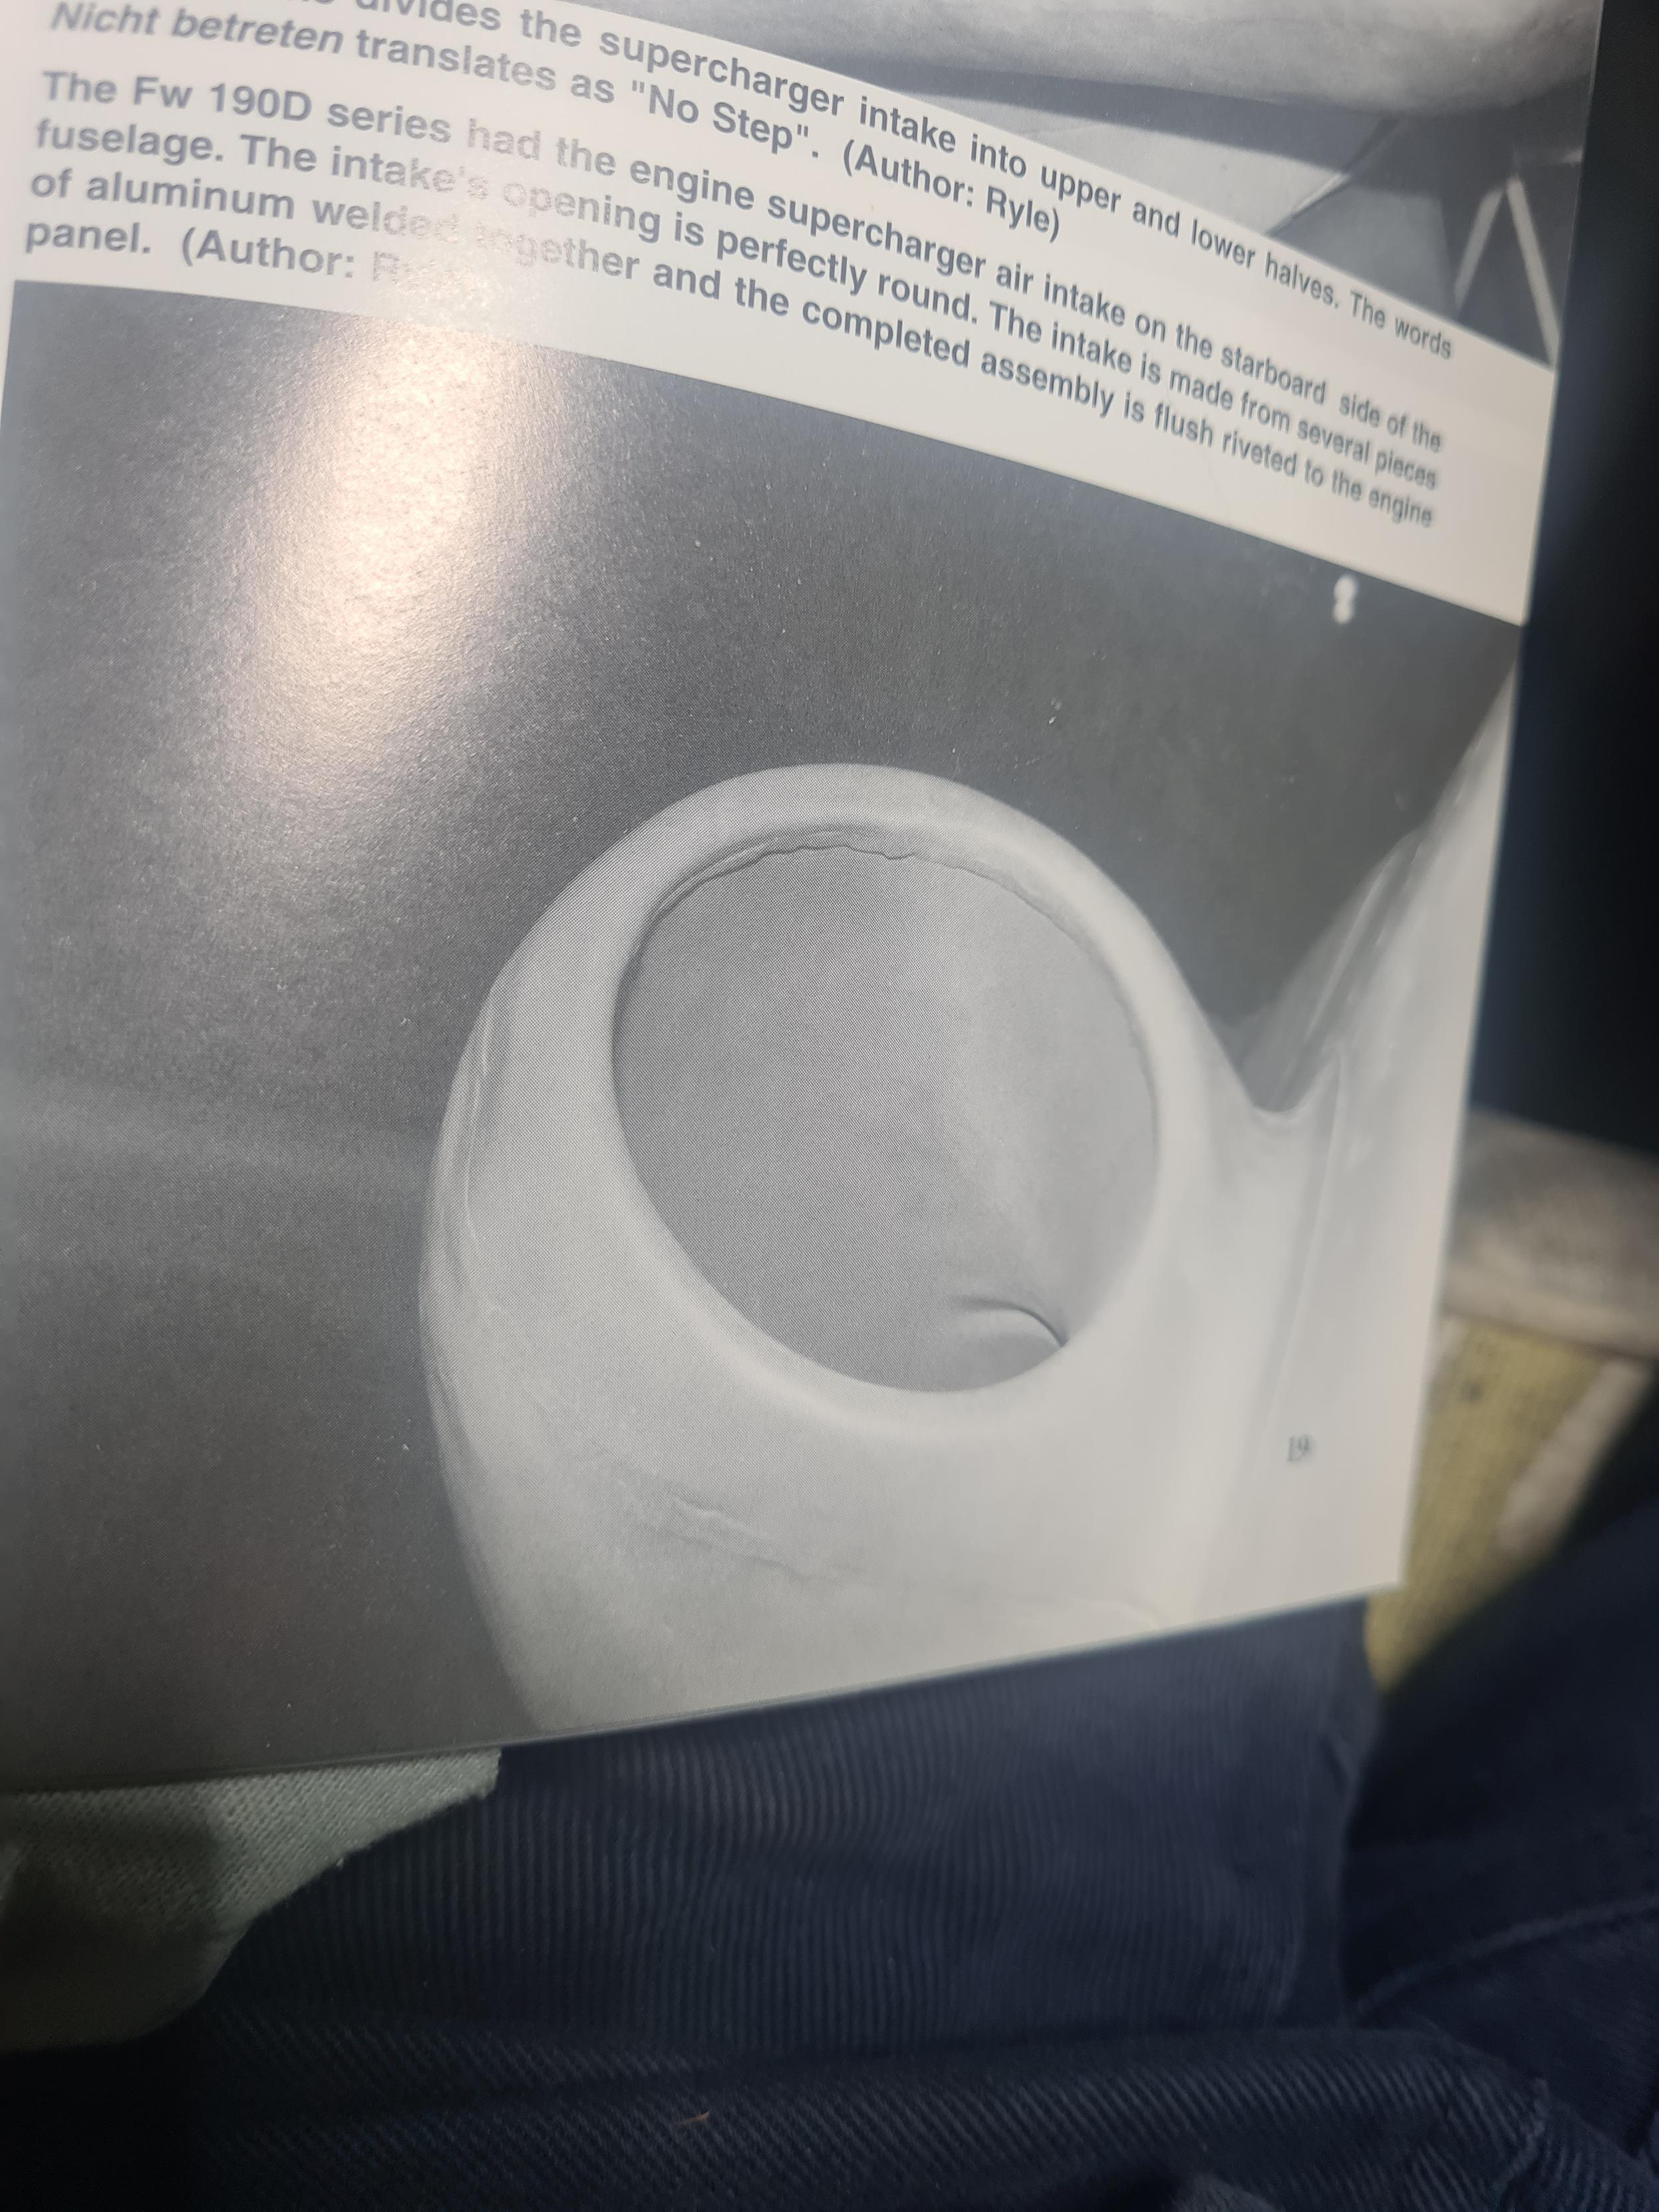
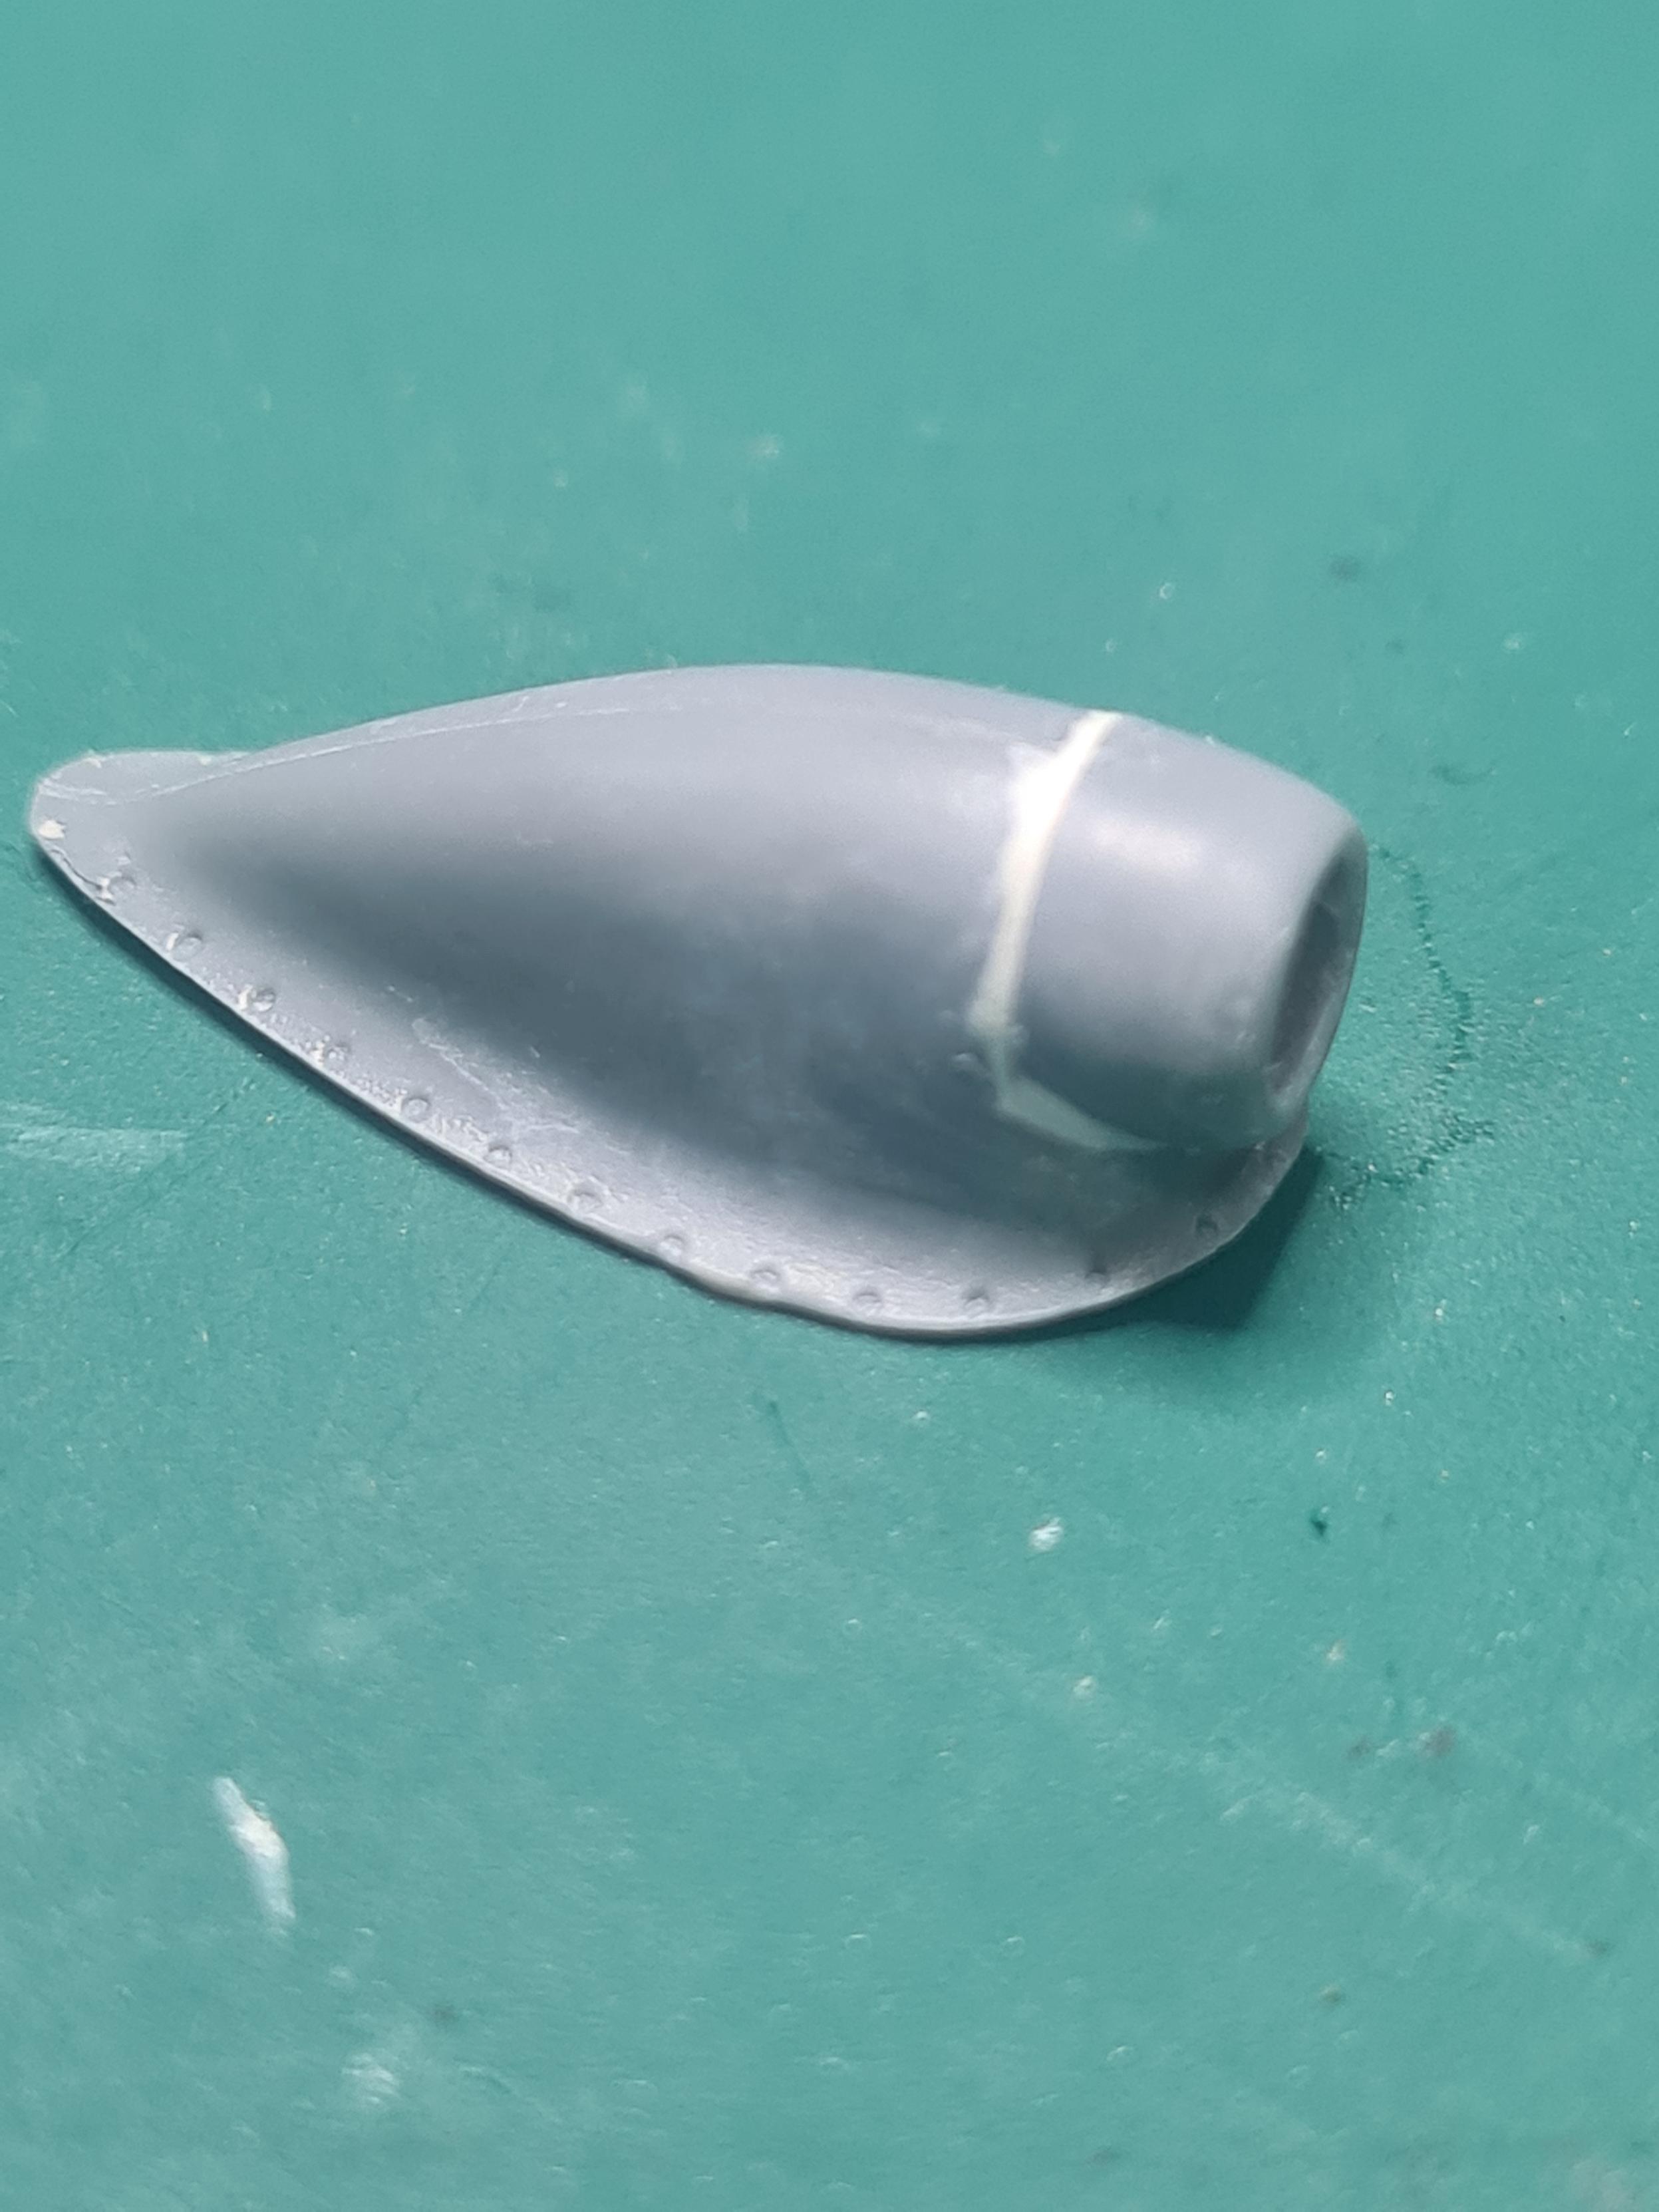
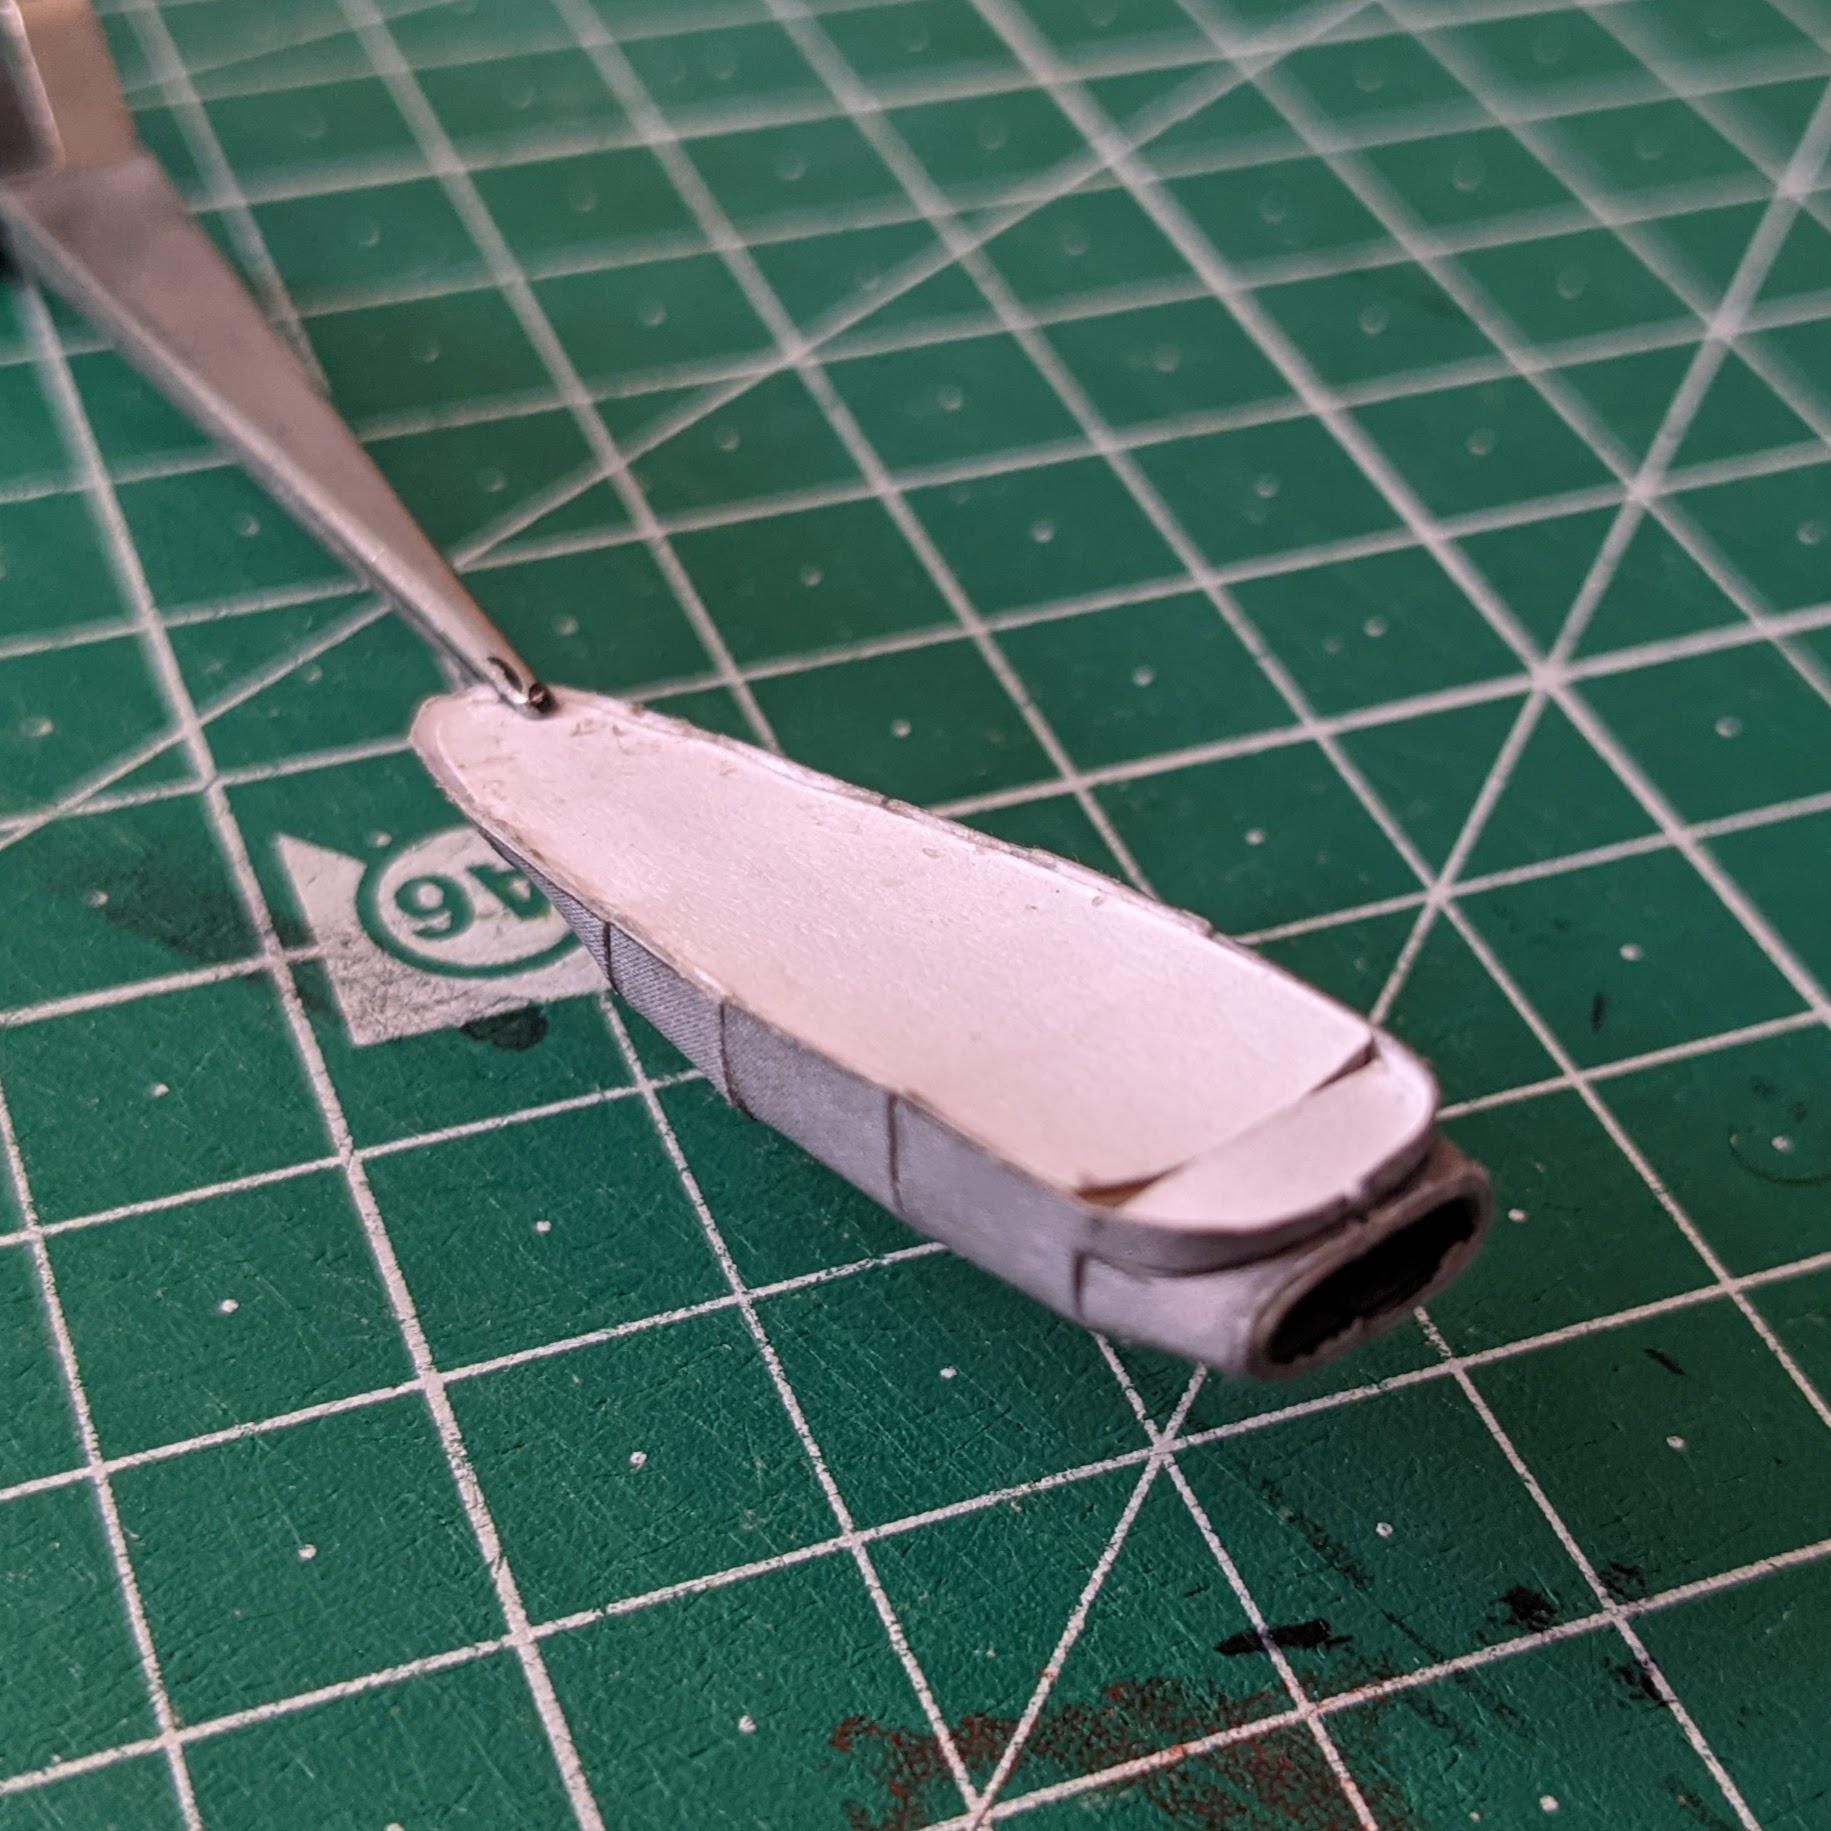
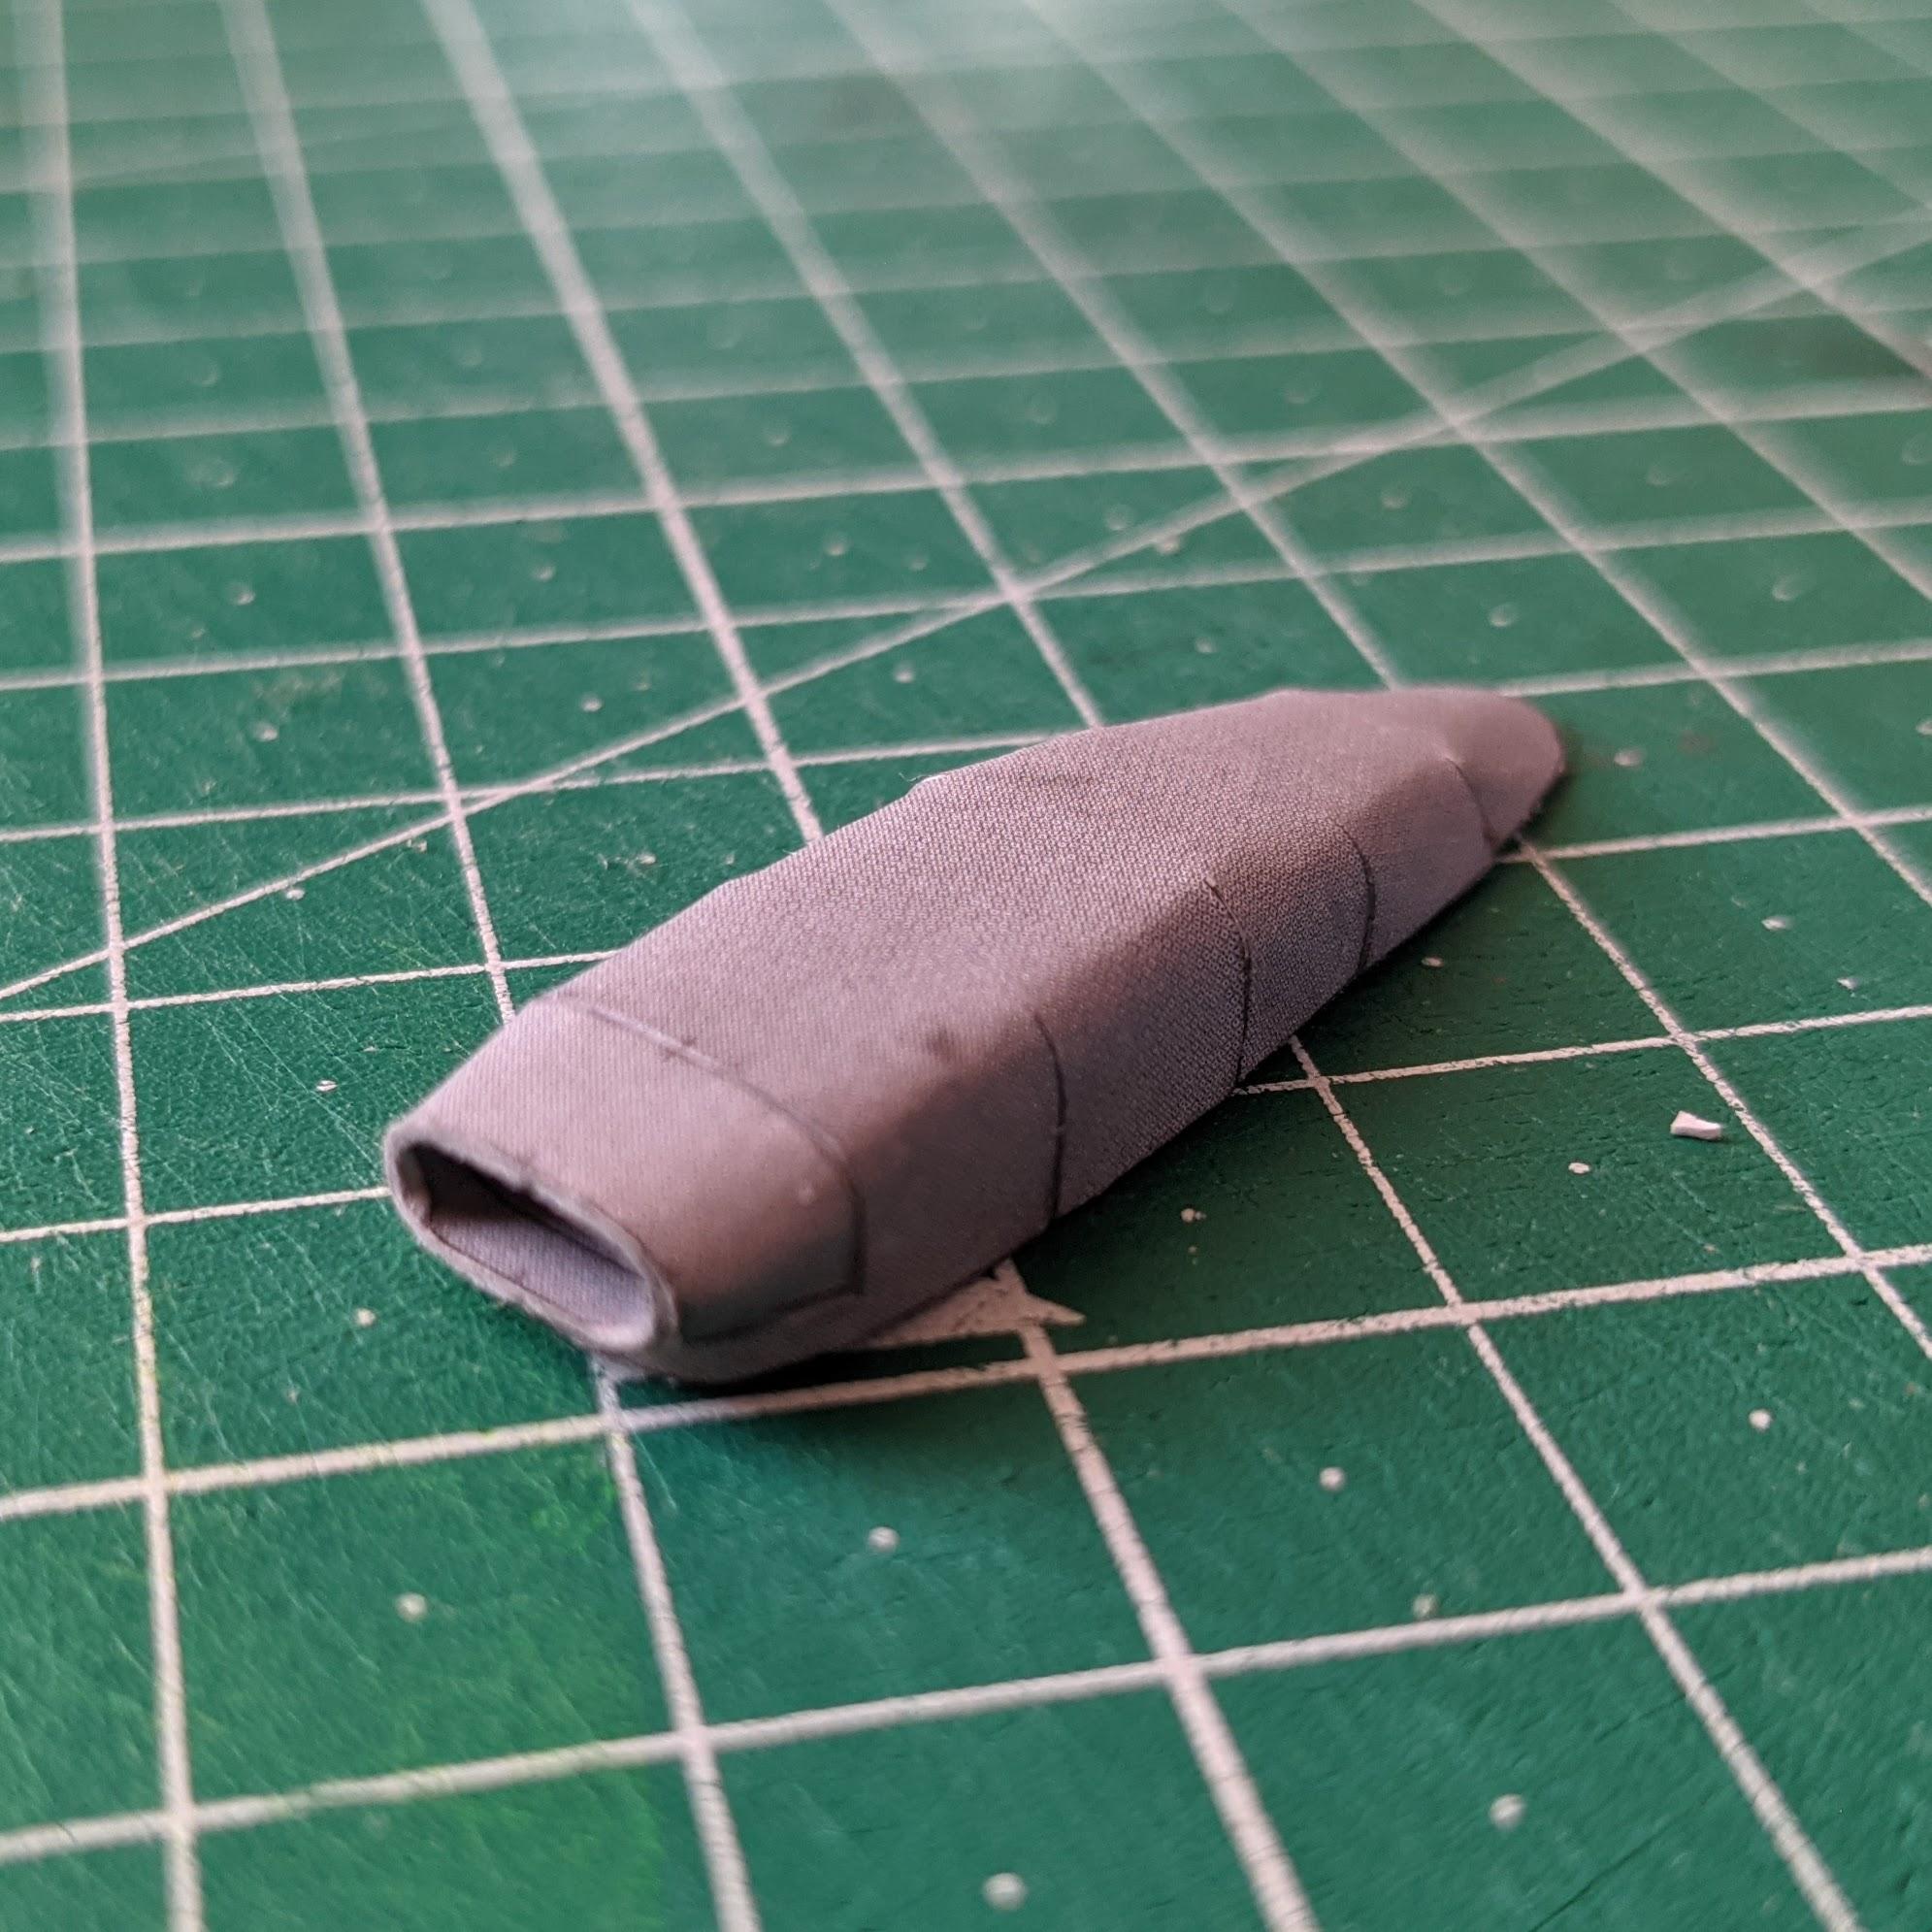
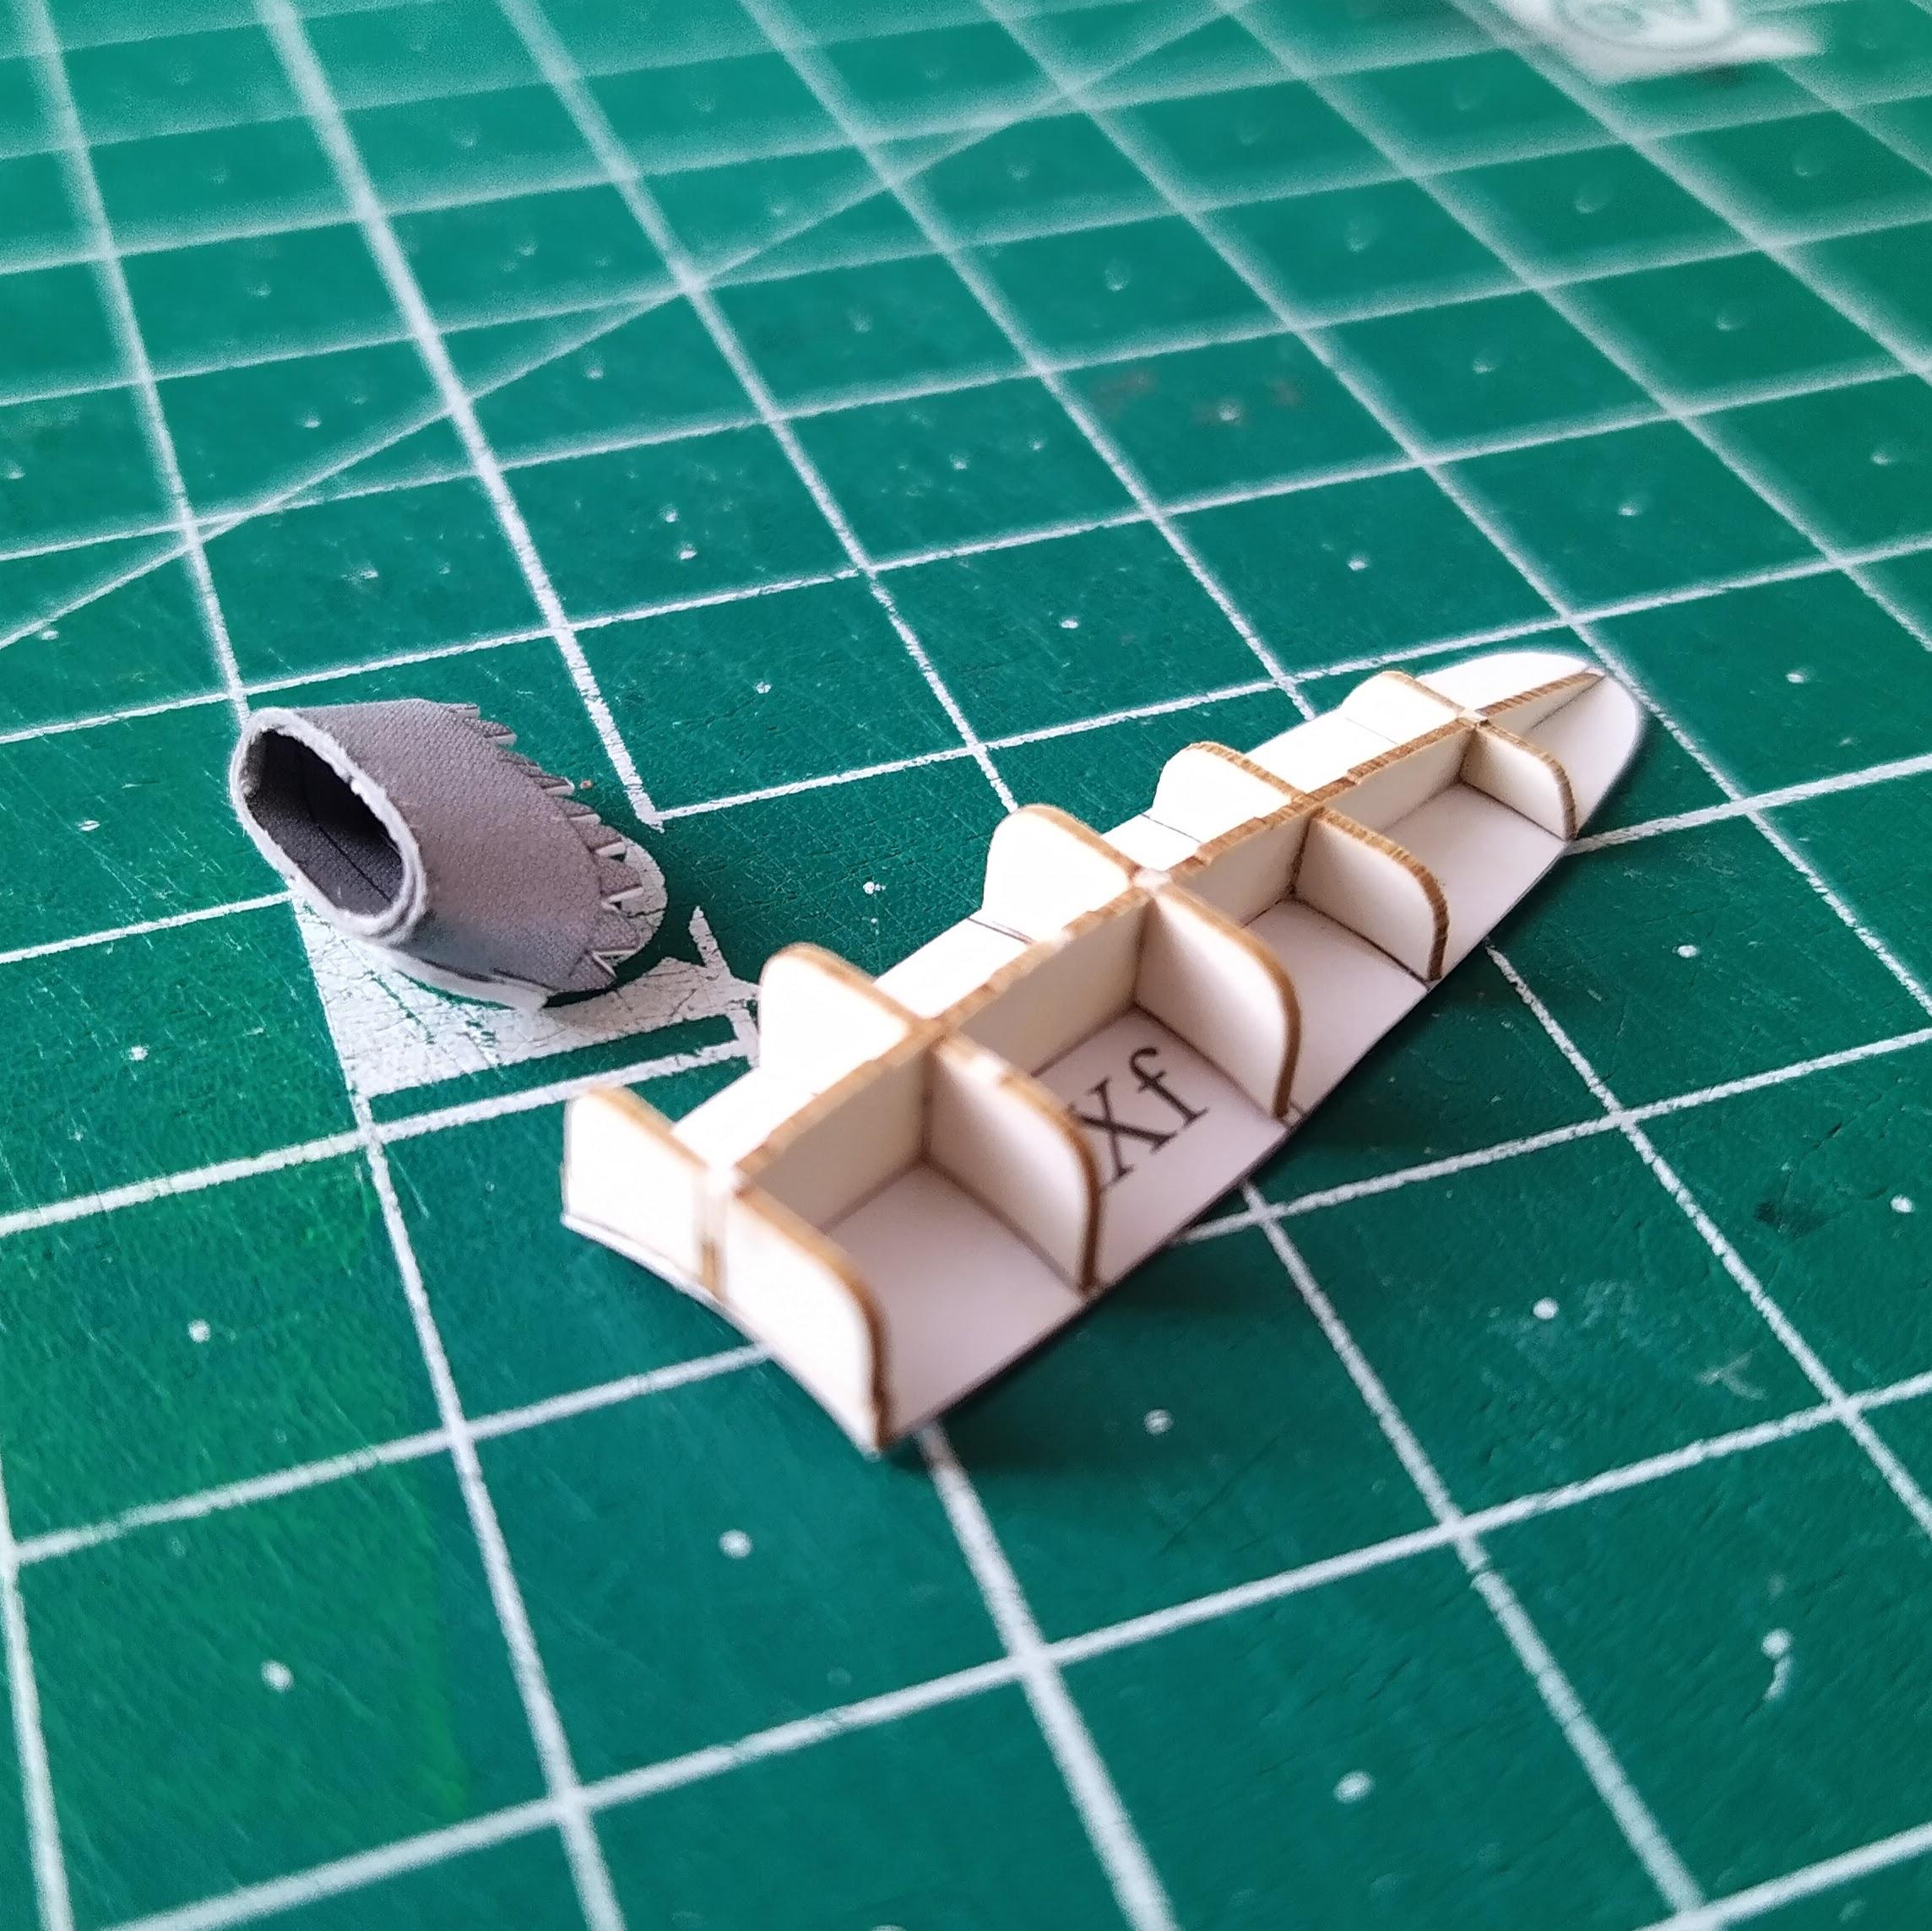
Even so, this supercharger intake from Tamiya's (pretty basic) Focke-Wulf 190 D-9 kit is a good example.
This is always going to be two parts given the shape and the limitations of injection moulding, but Dragon's kit presents this bit as two halves, not this silliness. There'll still be seam elimination, but easier.
Pics.
Tamiya's two parts assembled, a pic of the real thing, my attempt at sorting the problem. This is a kit for intermediate modellers. Good shapes, few parts.
#ScaleModel #ModelAircraft
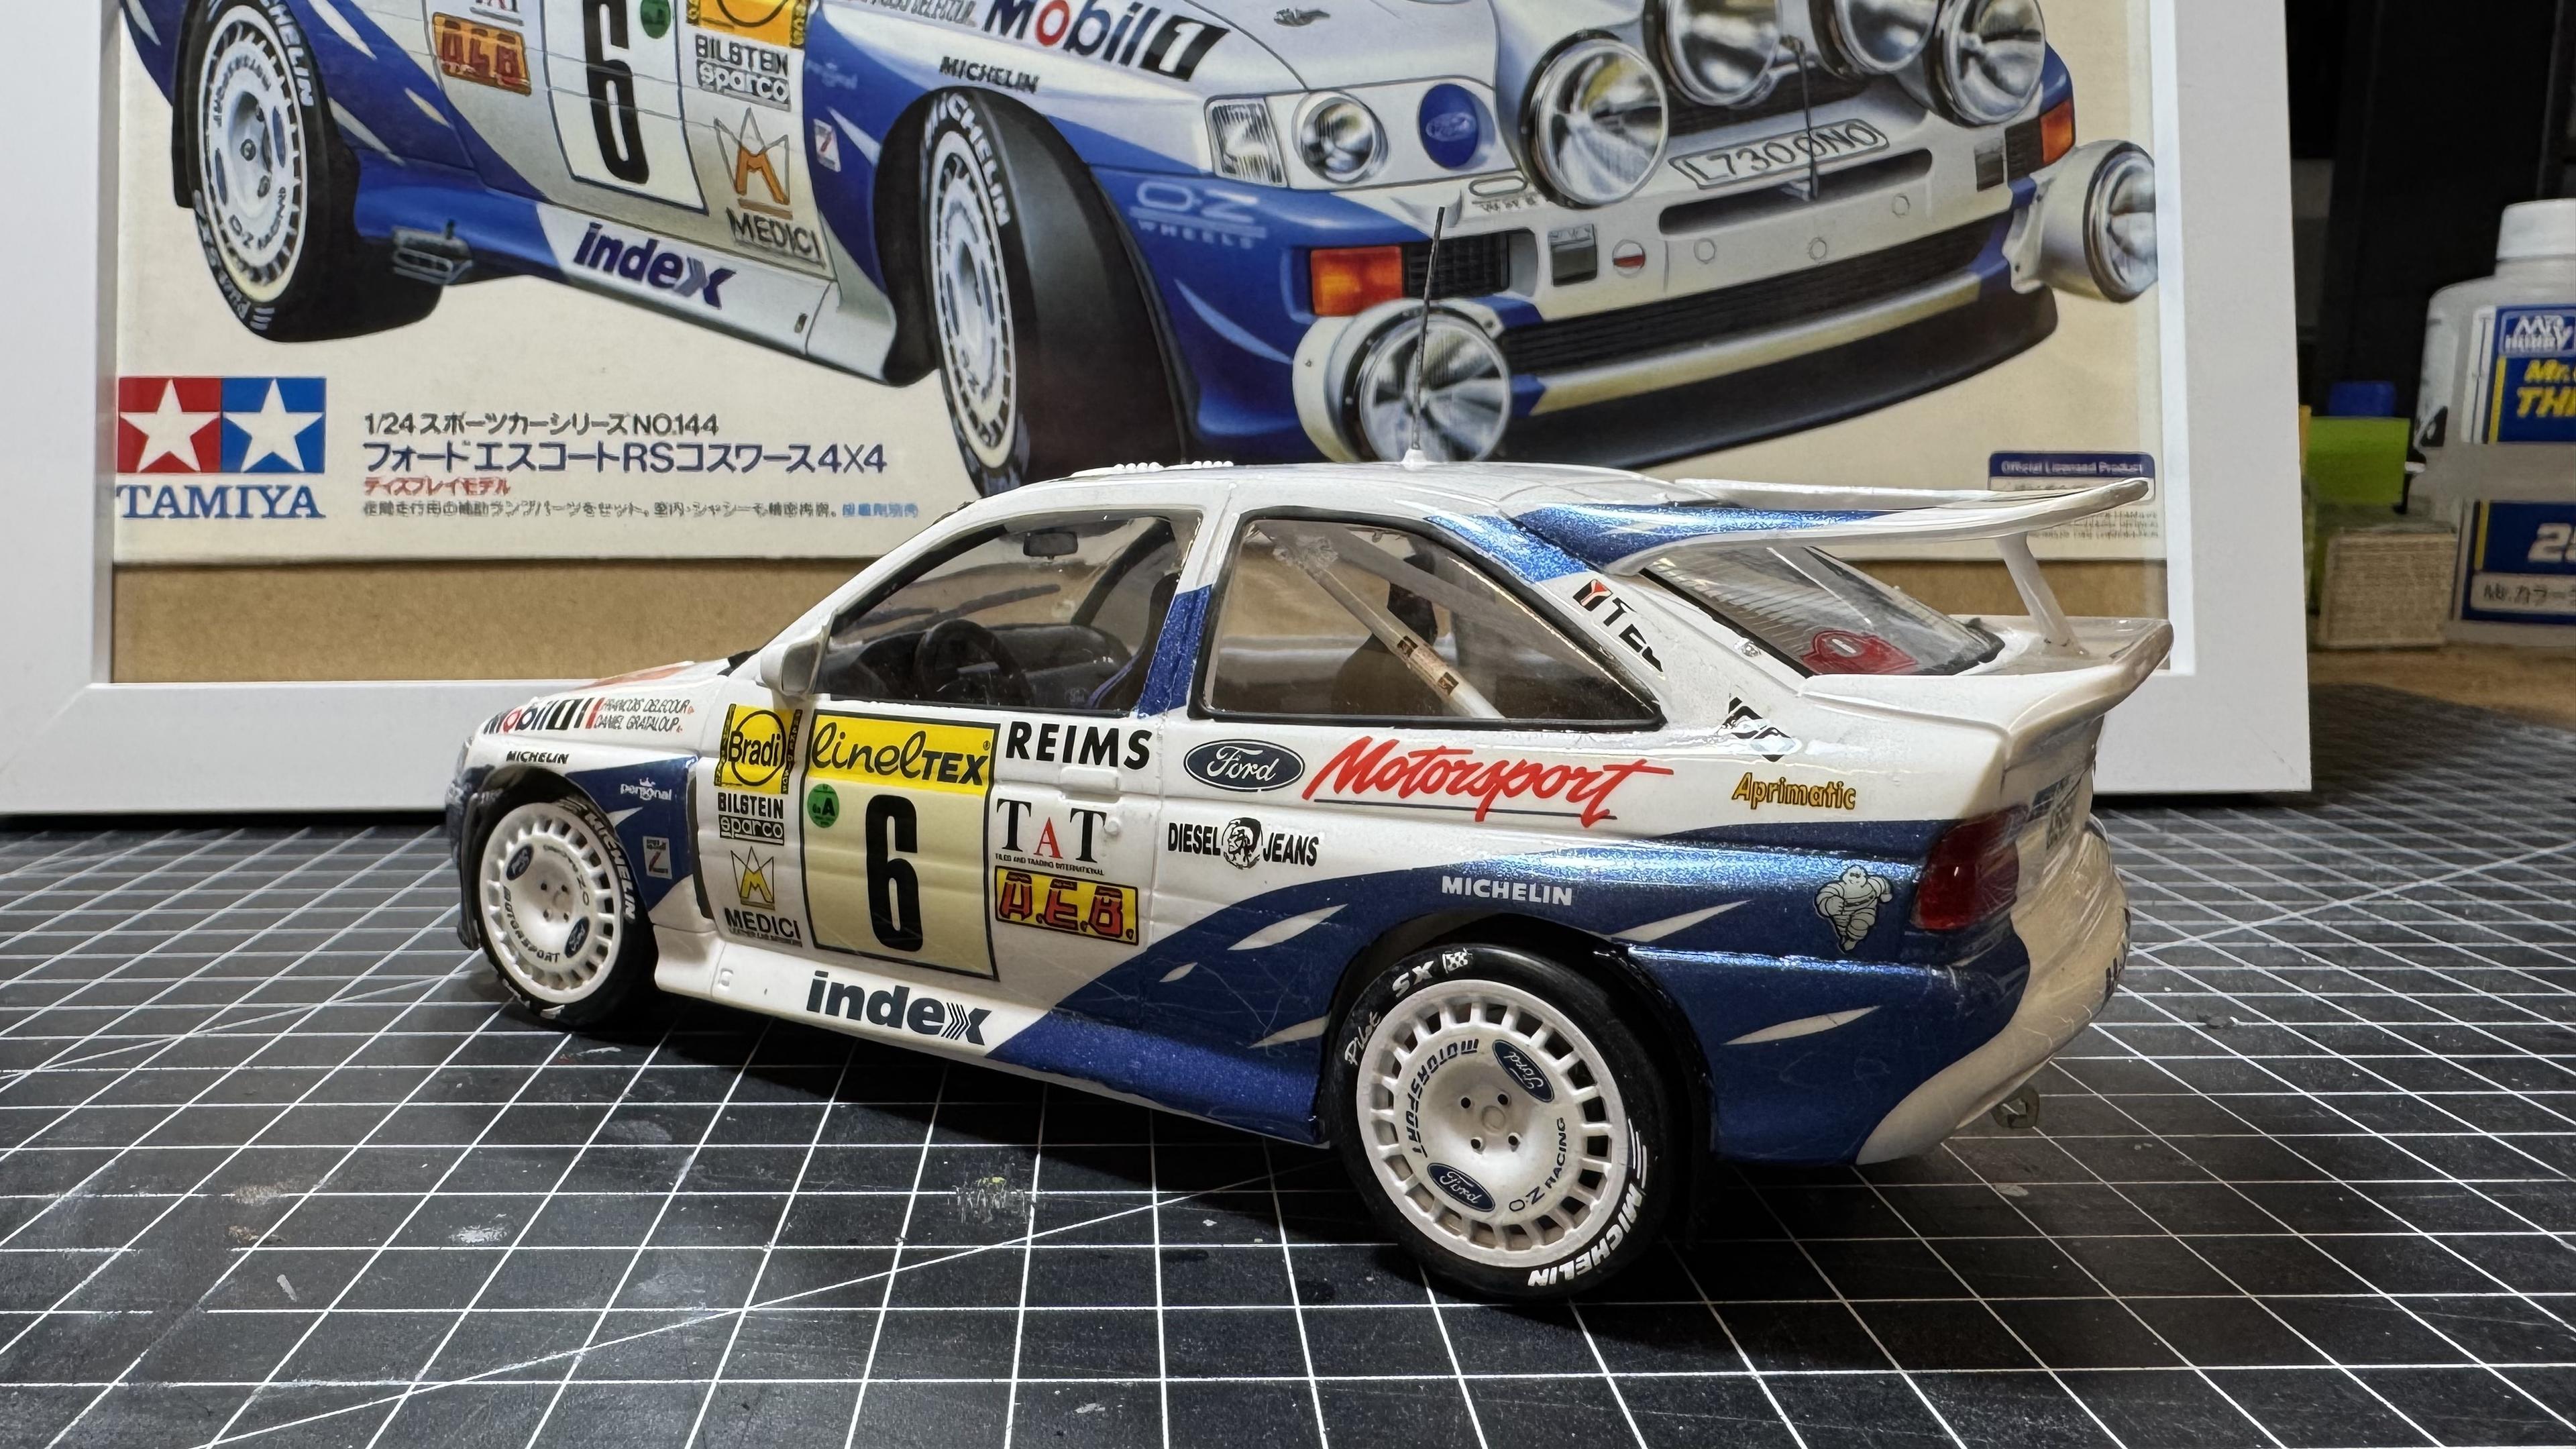
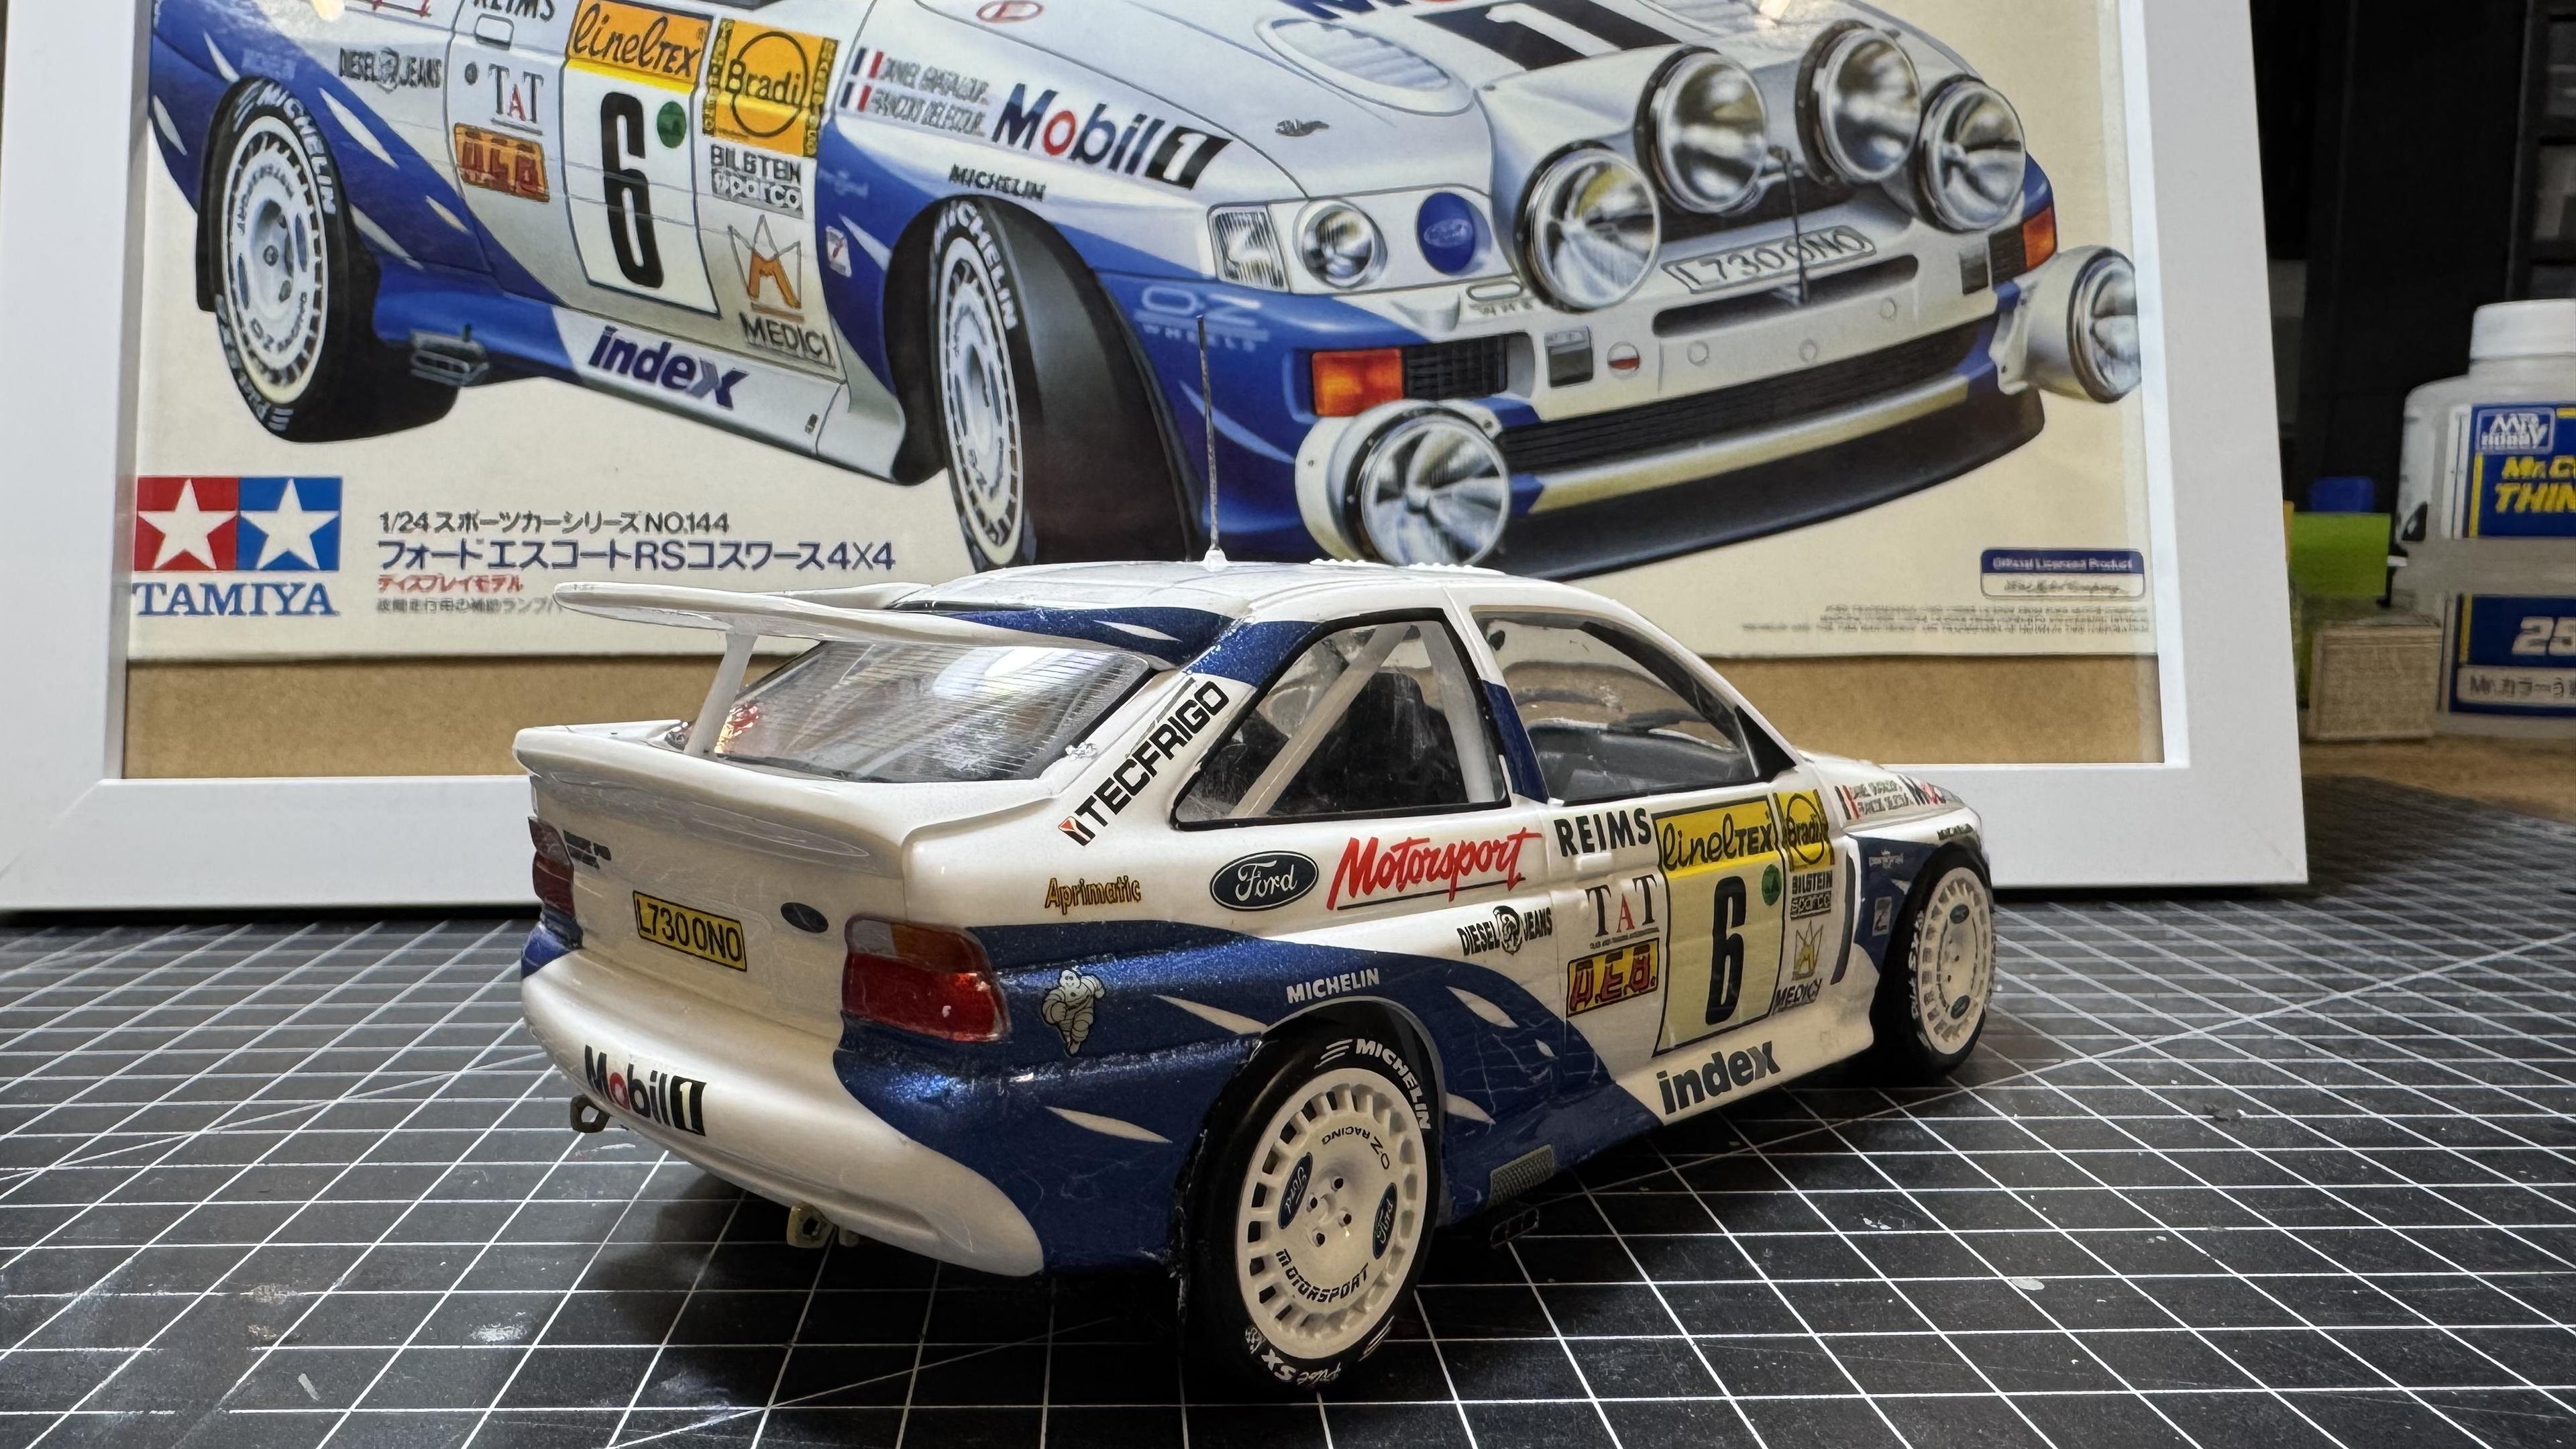
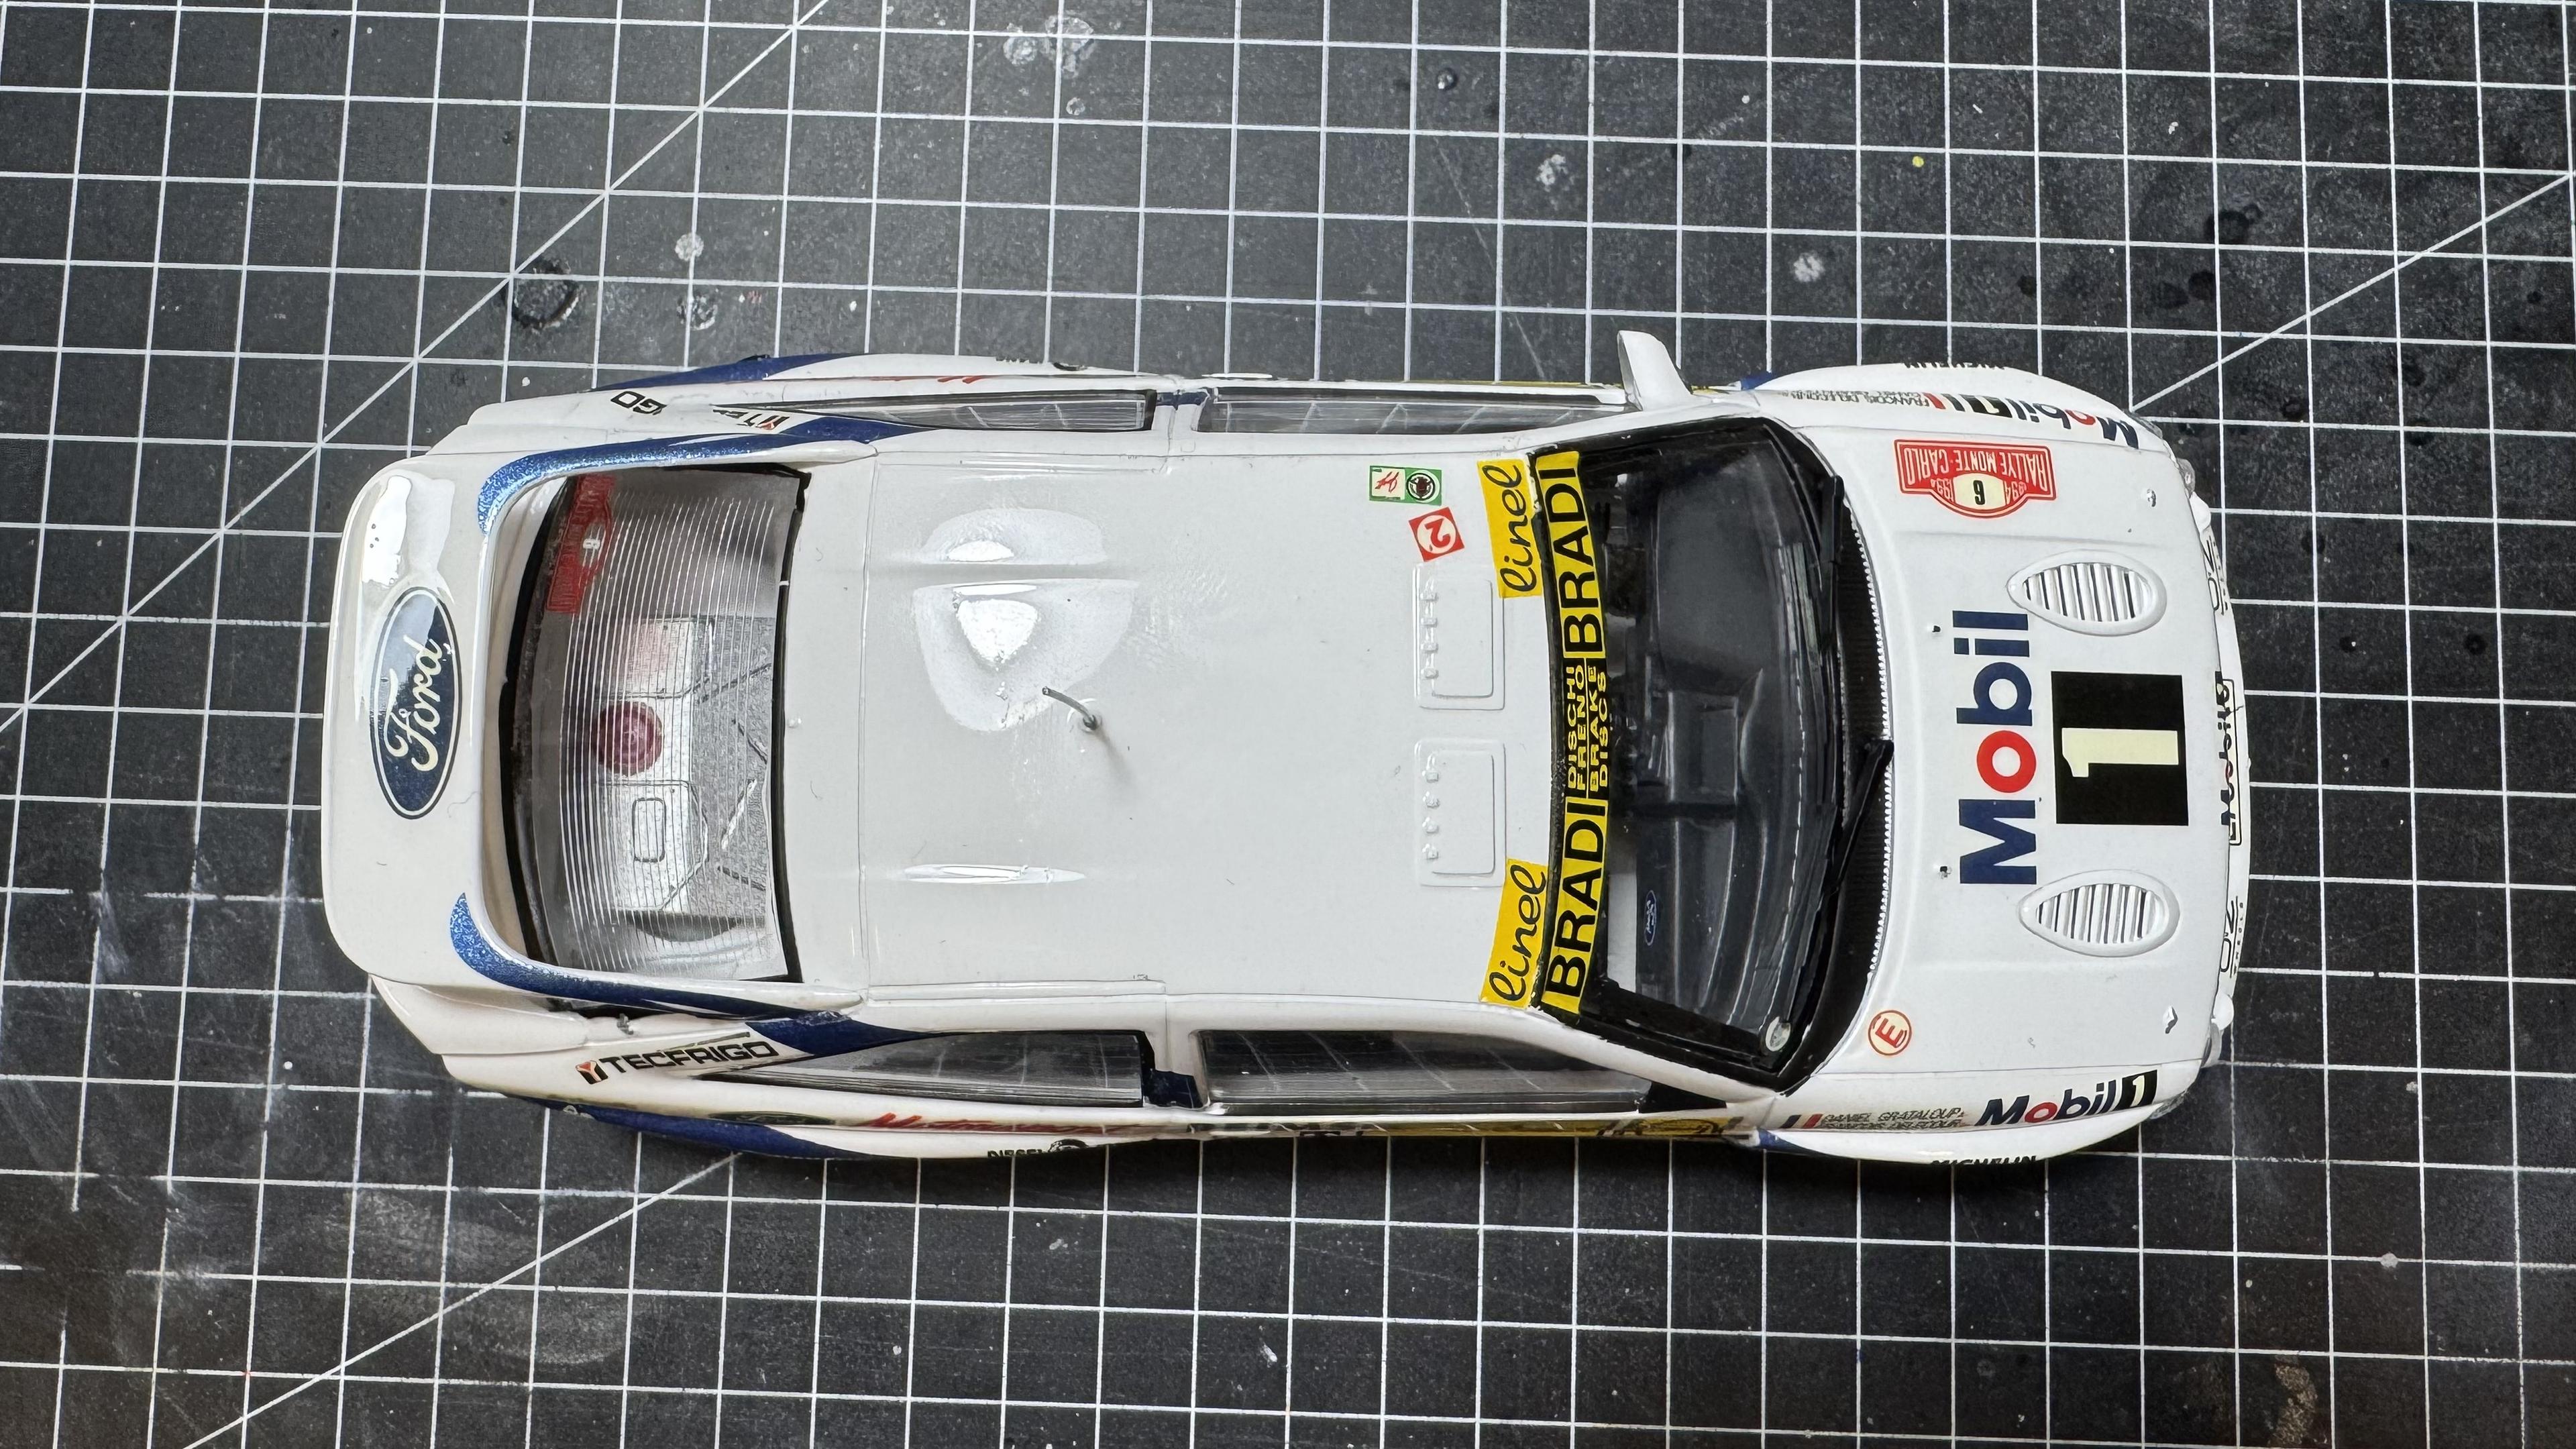
#tamiya #ford #escort #rs #cosworth #4x4 #finished #scalemodel #scalemodels #scalemodelling #scale124

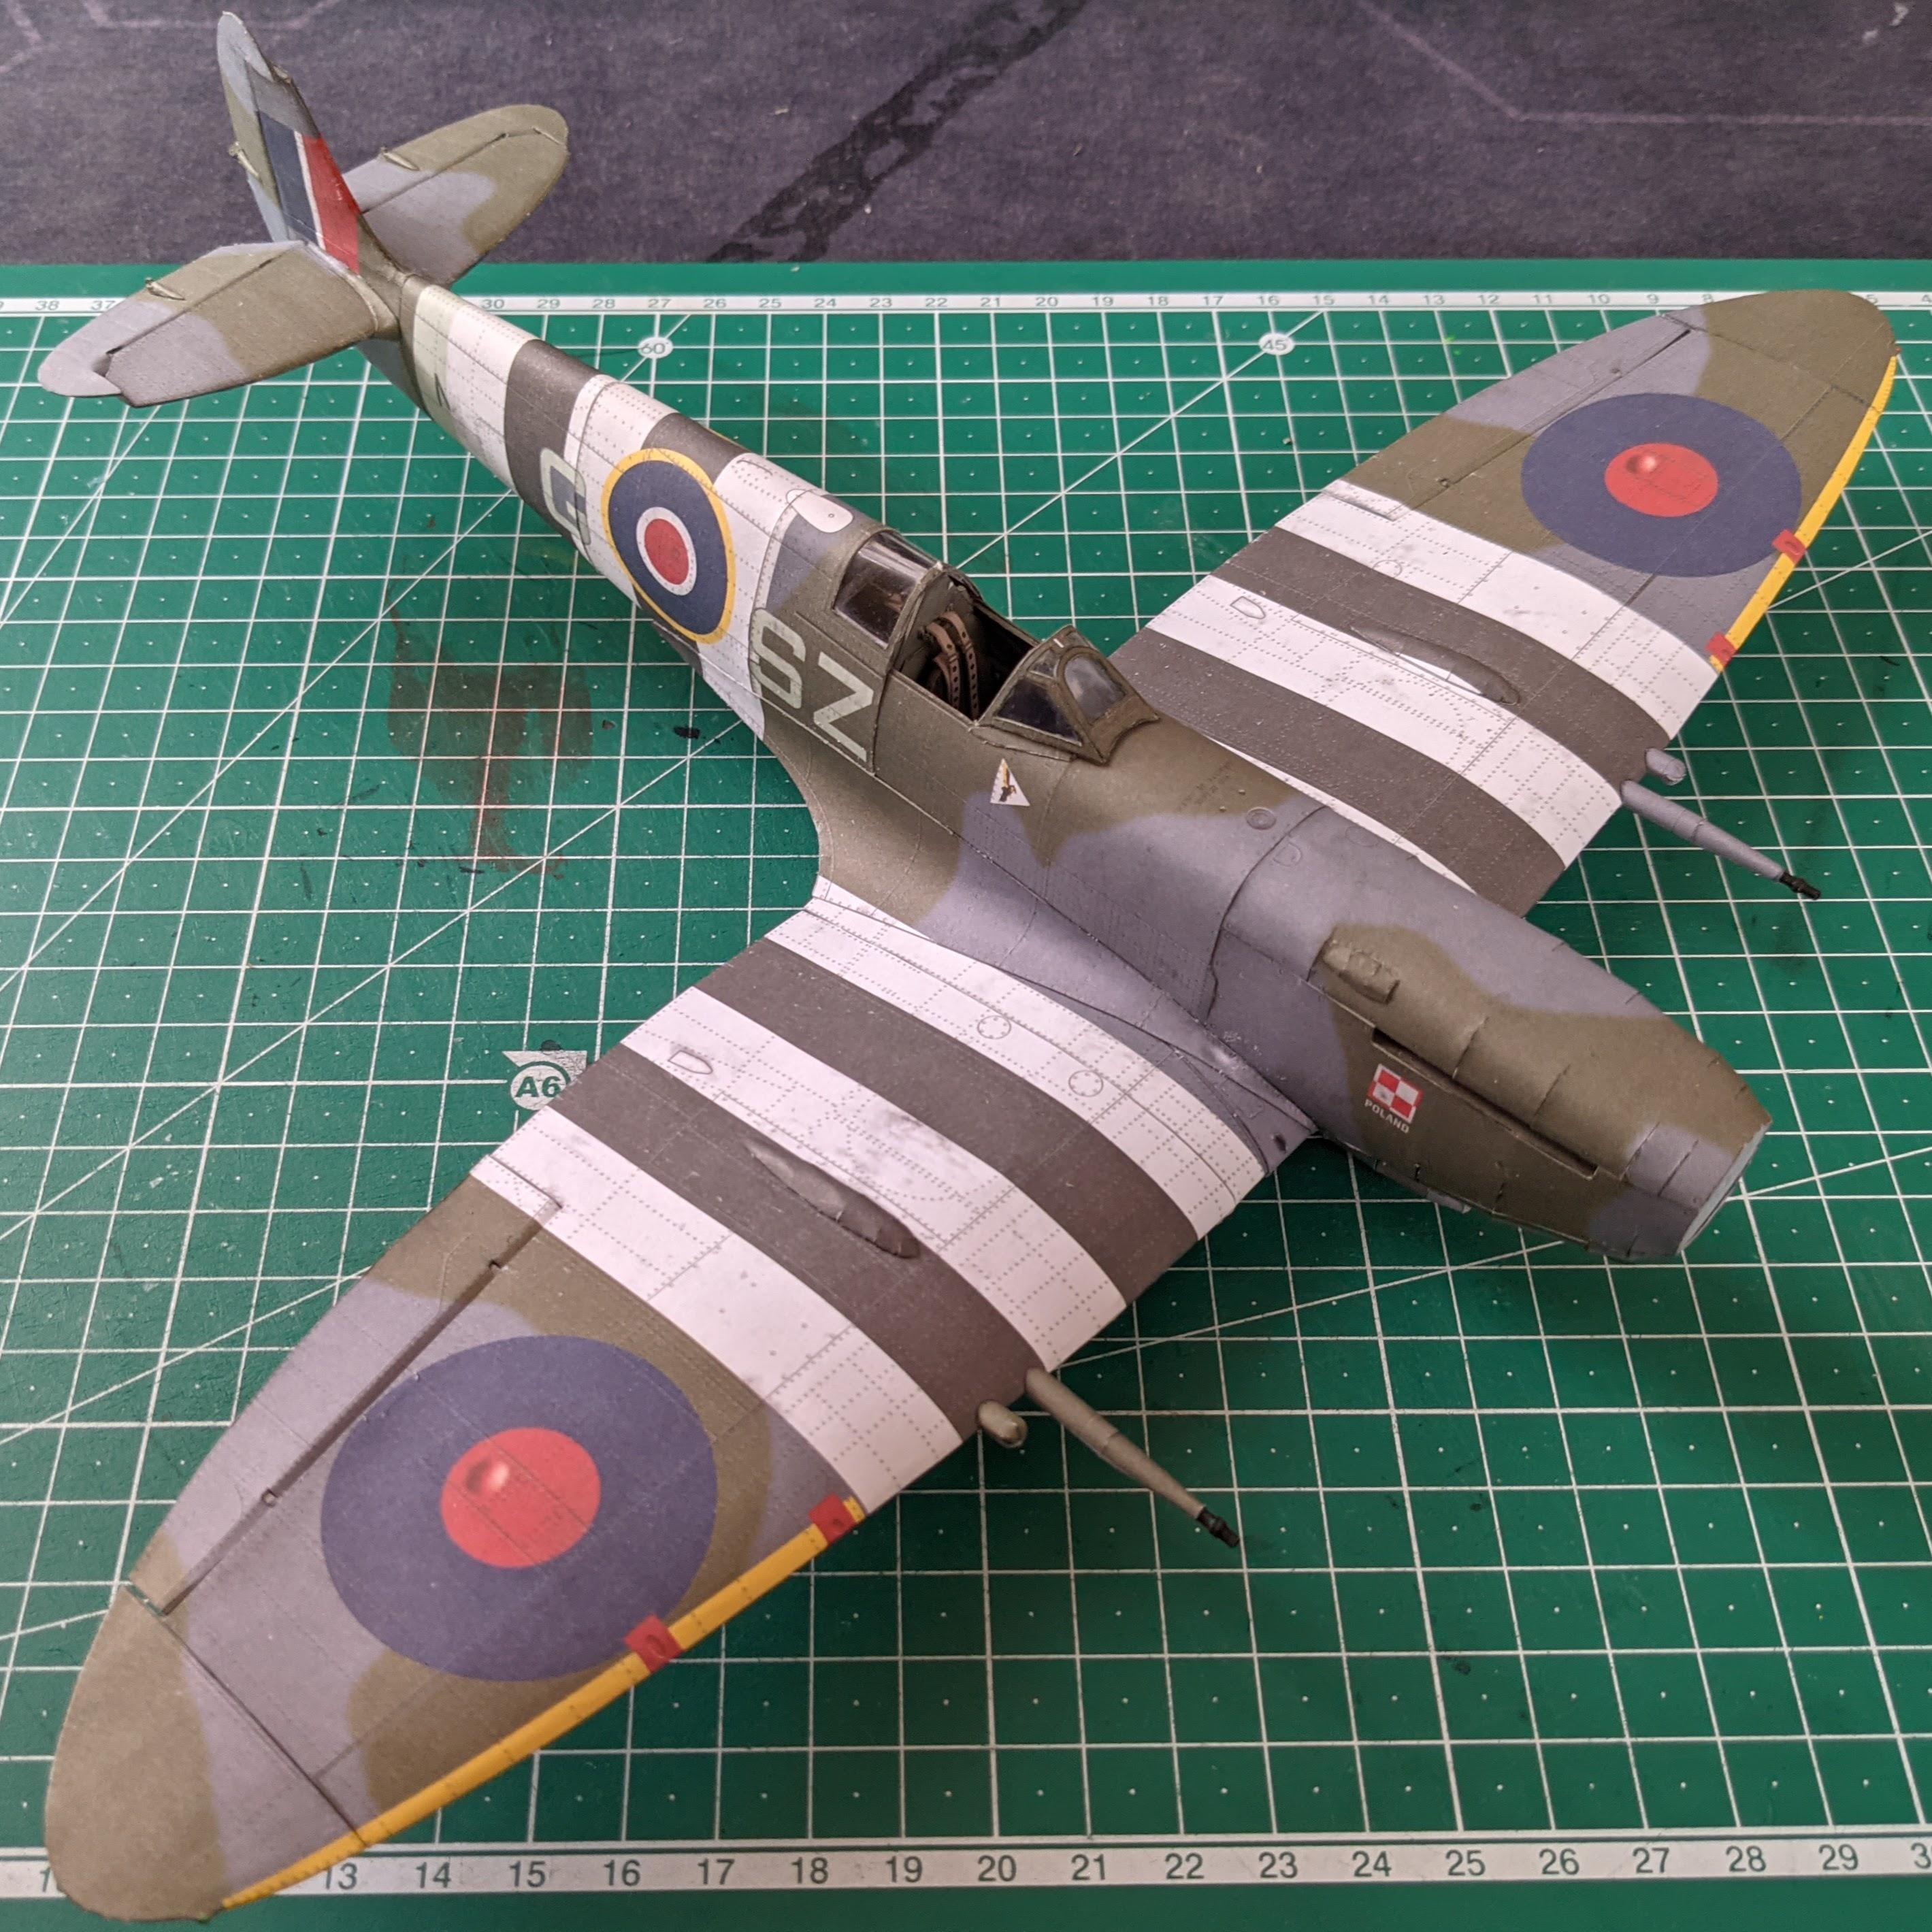
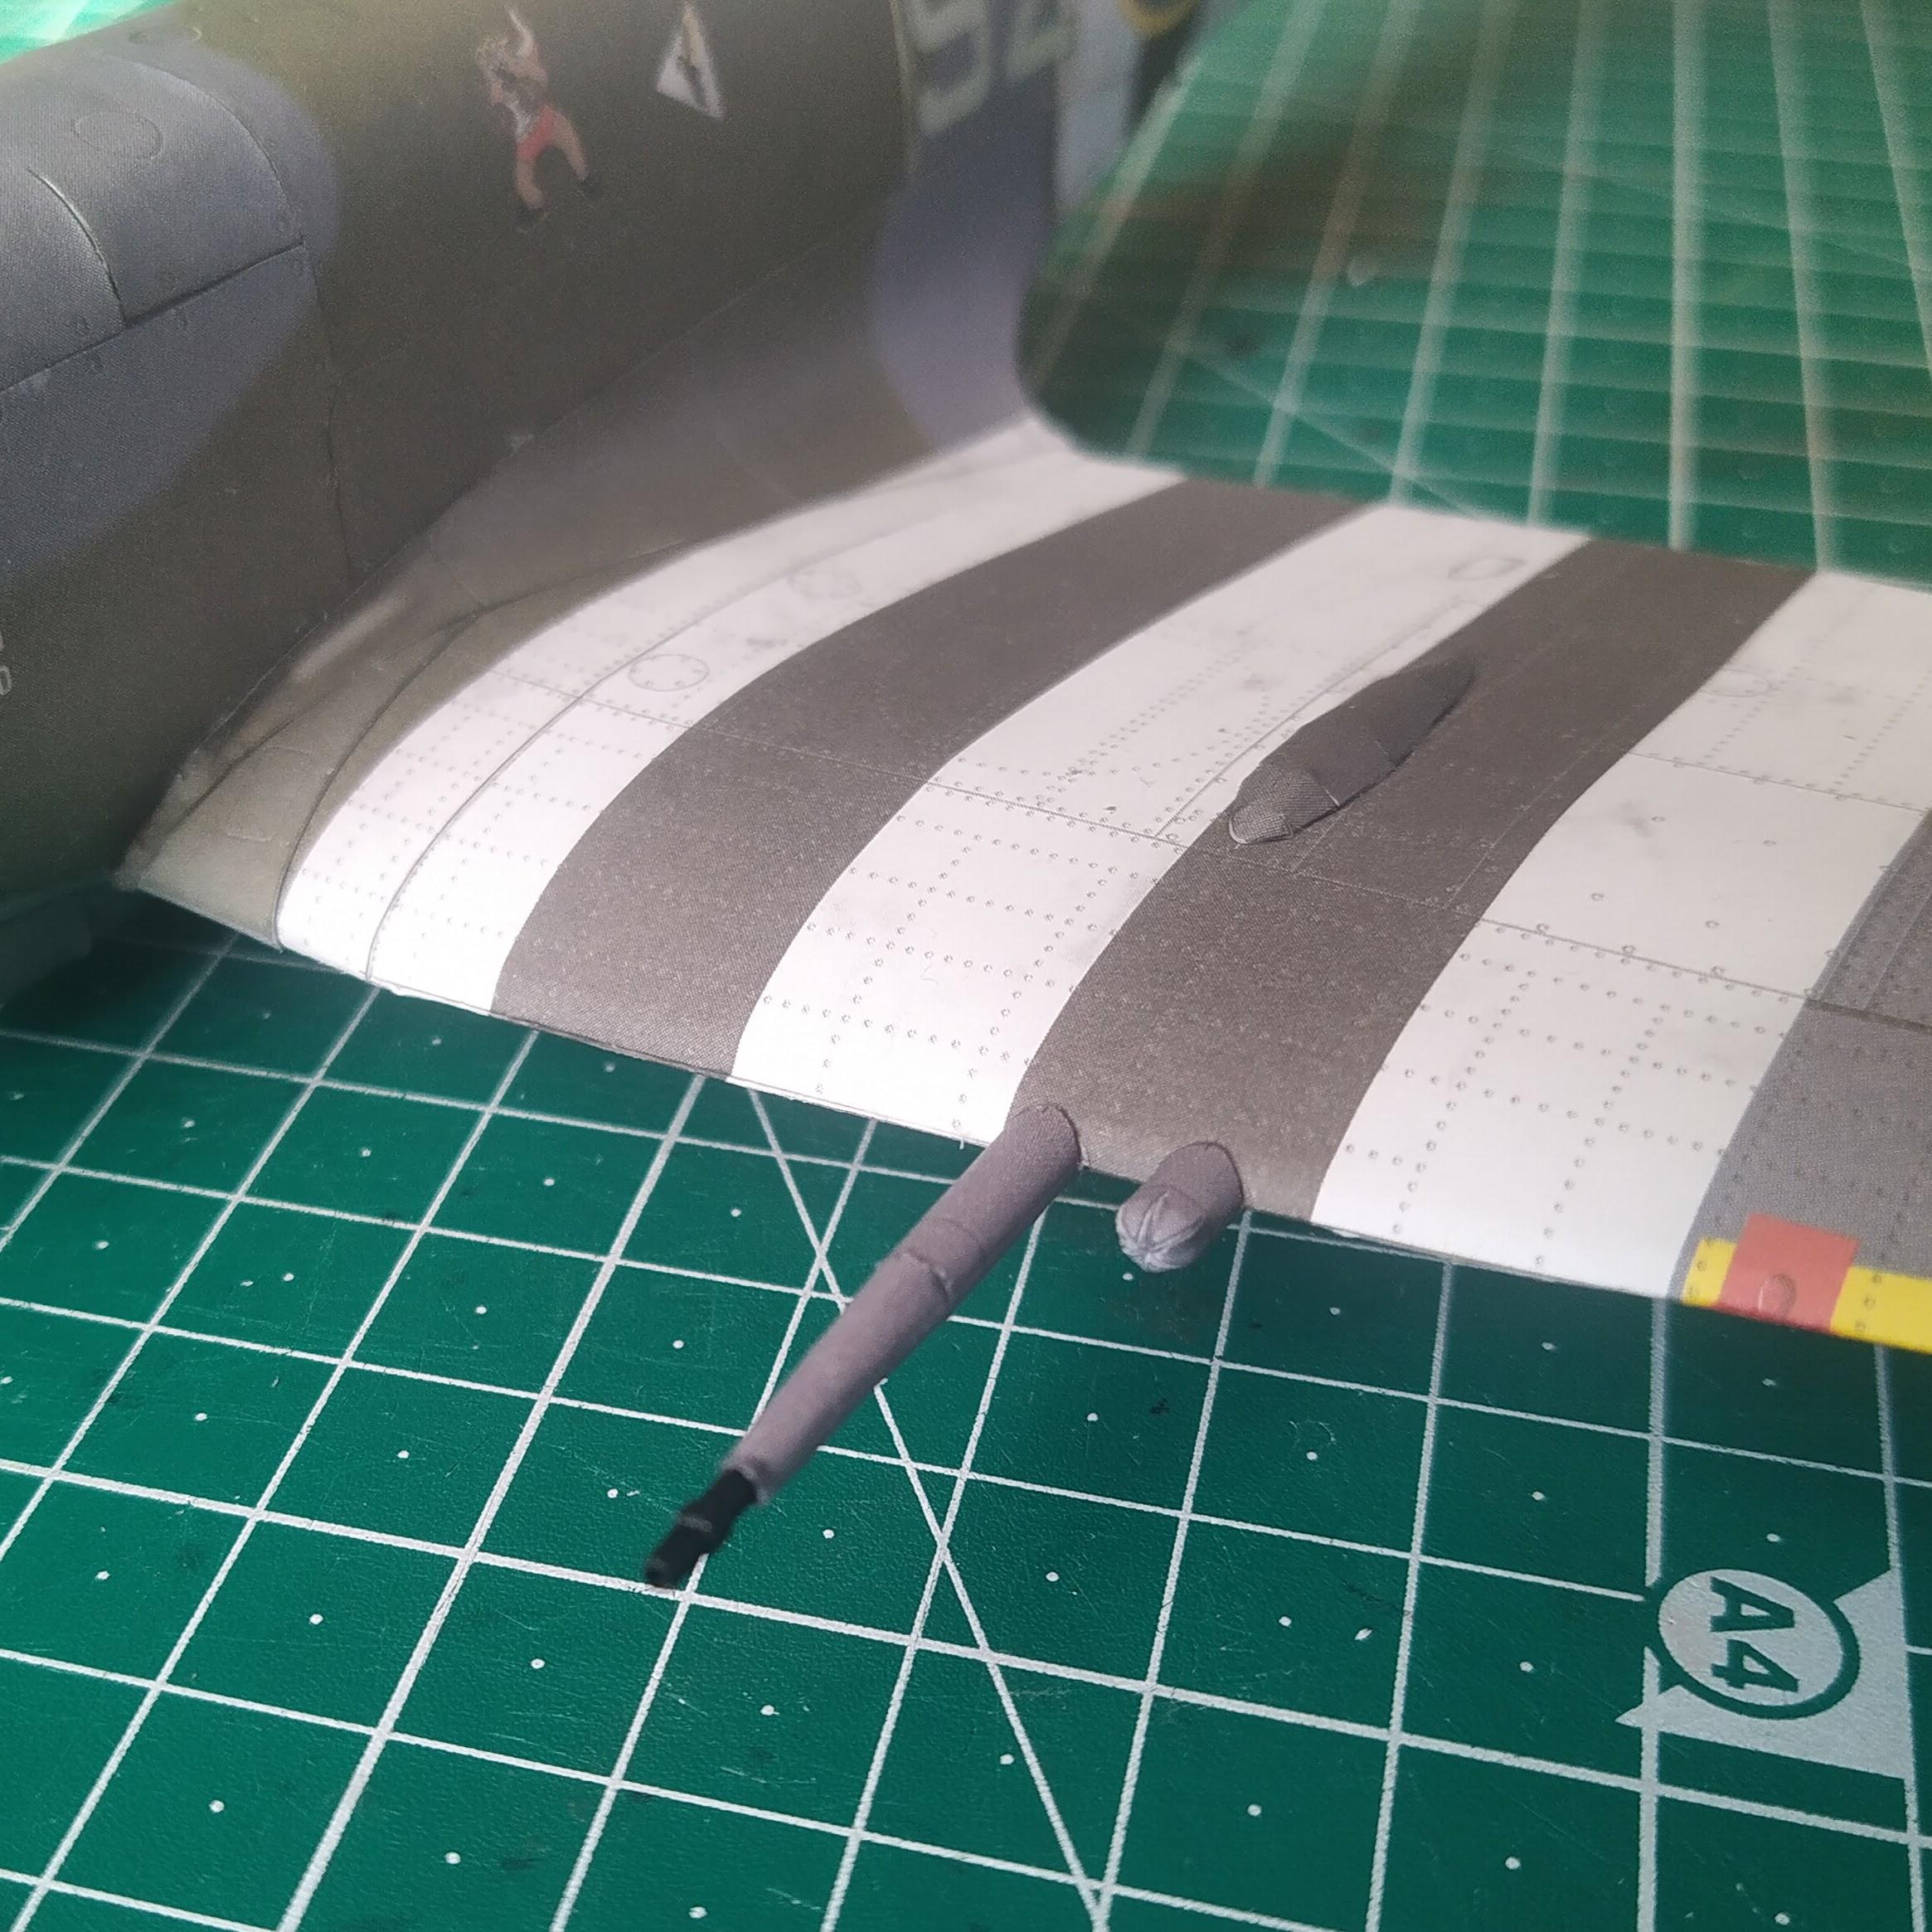
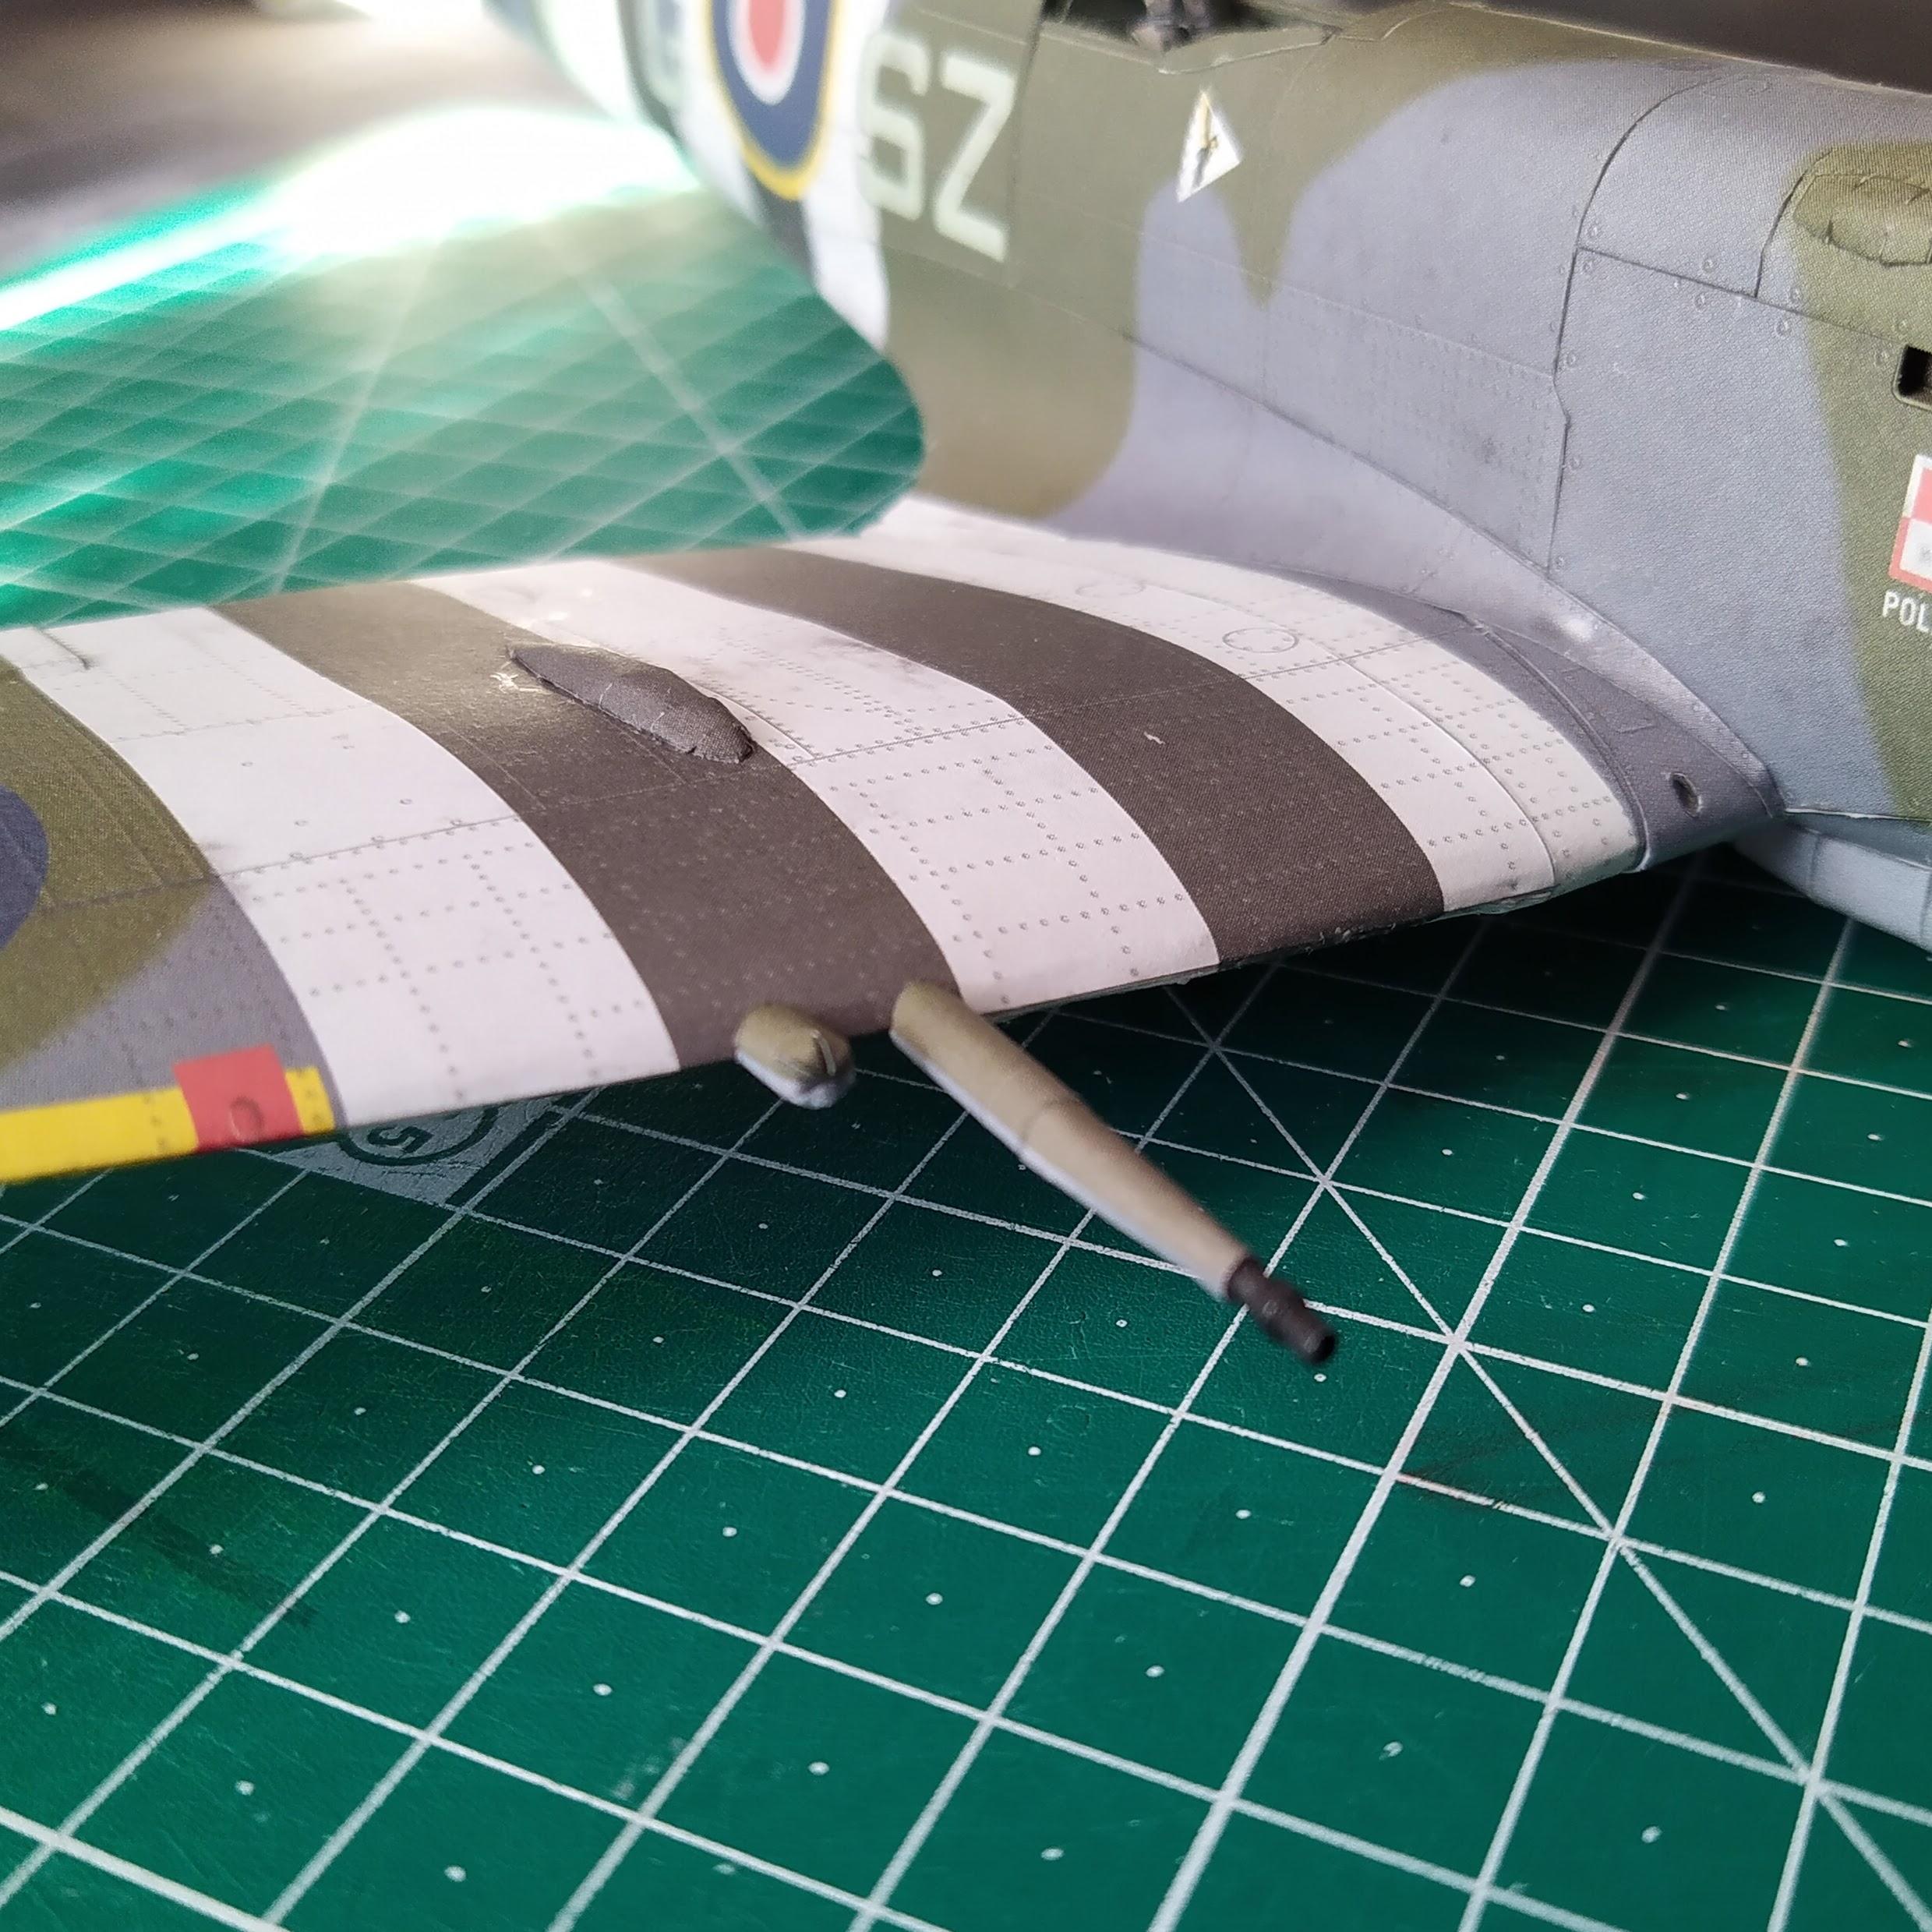
Built the wing cannons. #archive #papercraft #Spitfire #scalemodel #histscalemodels
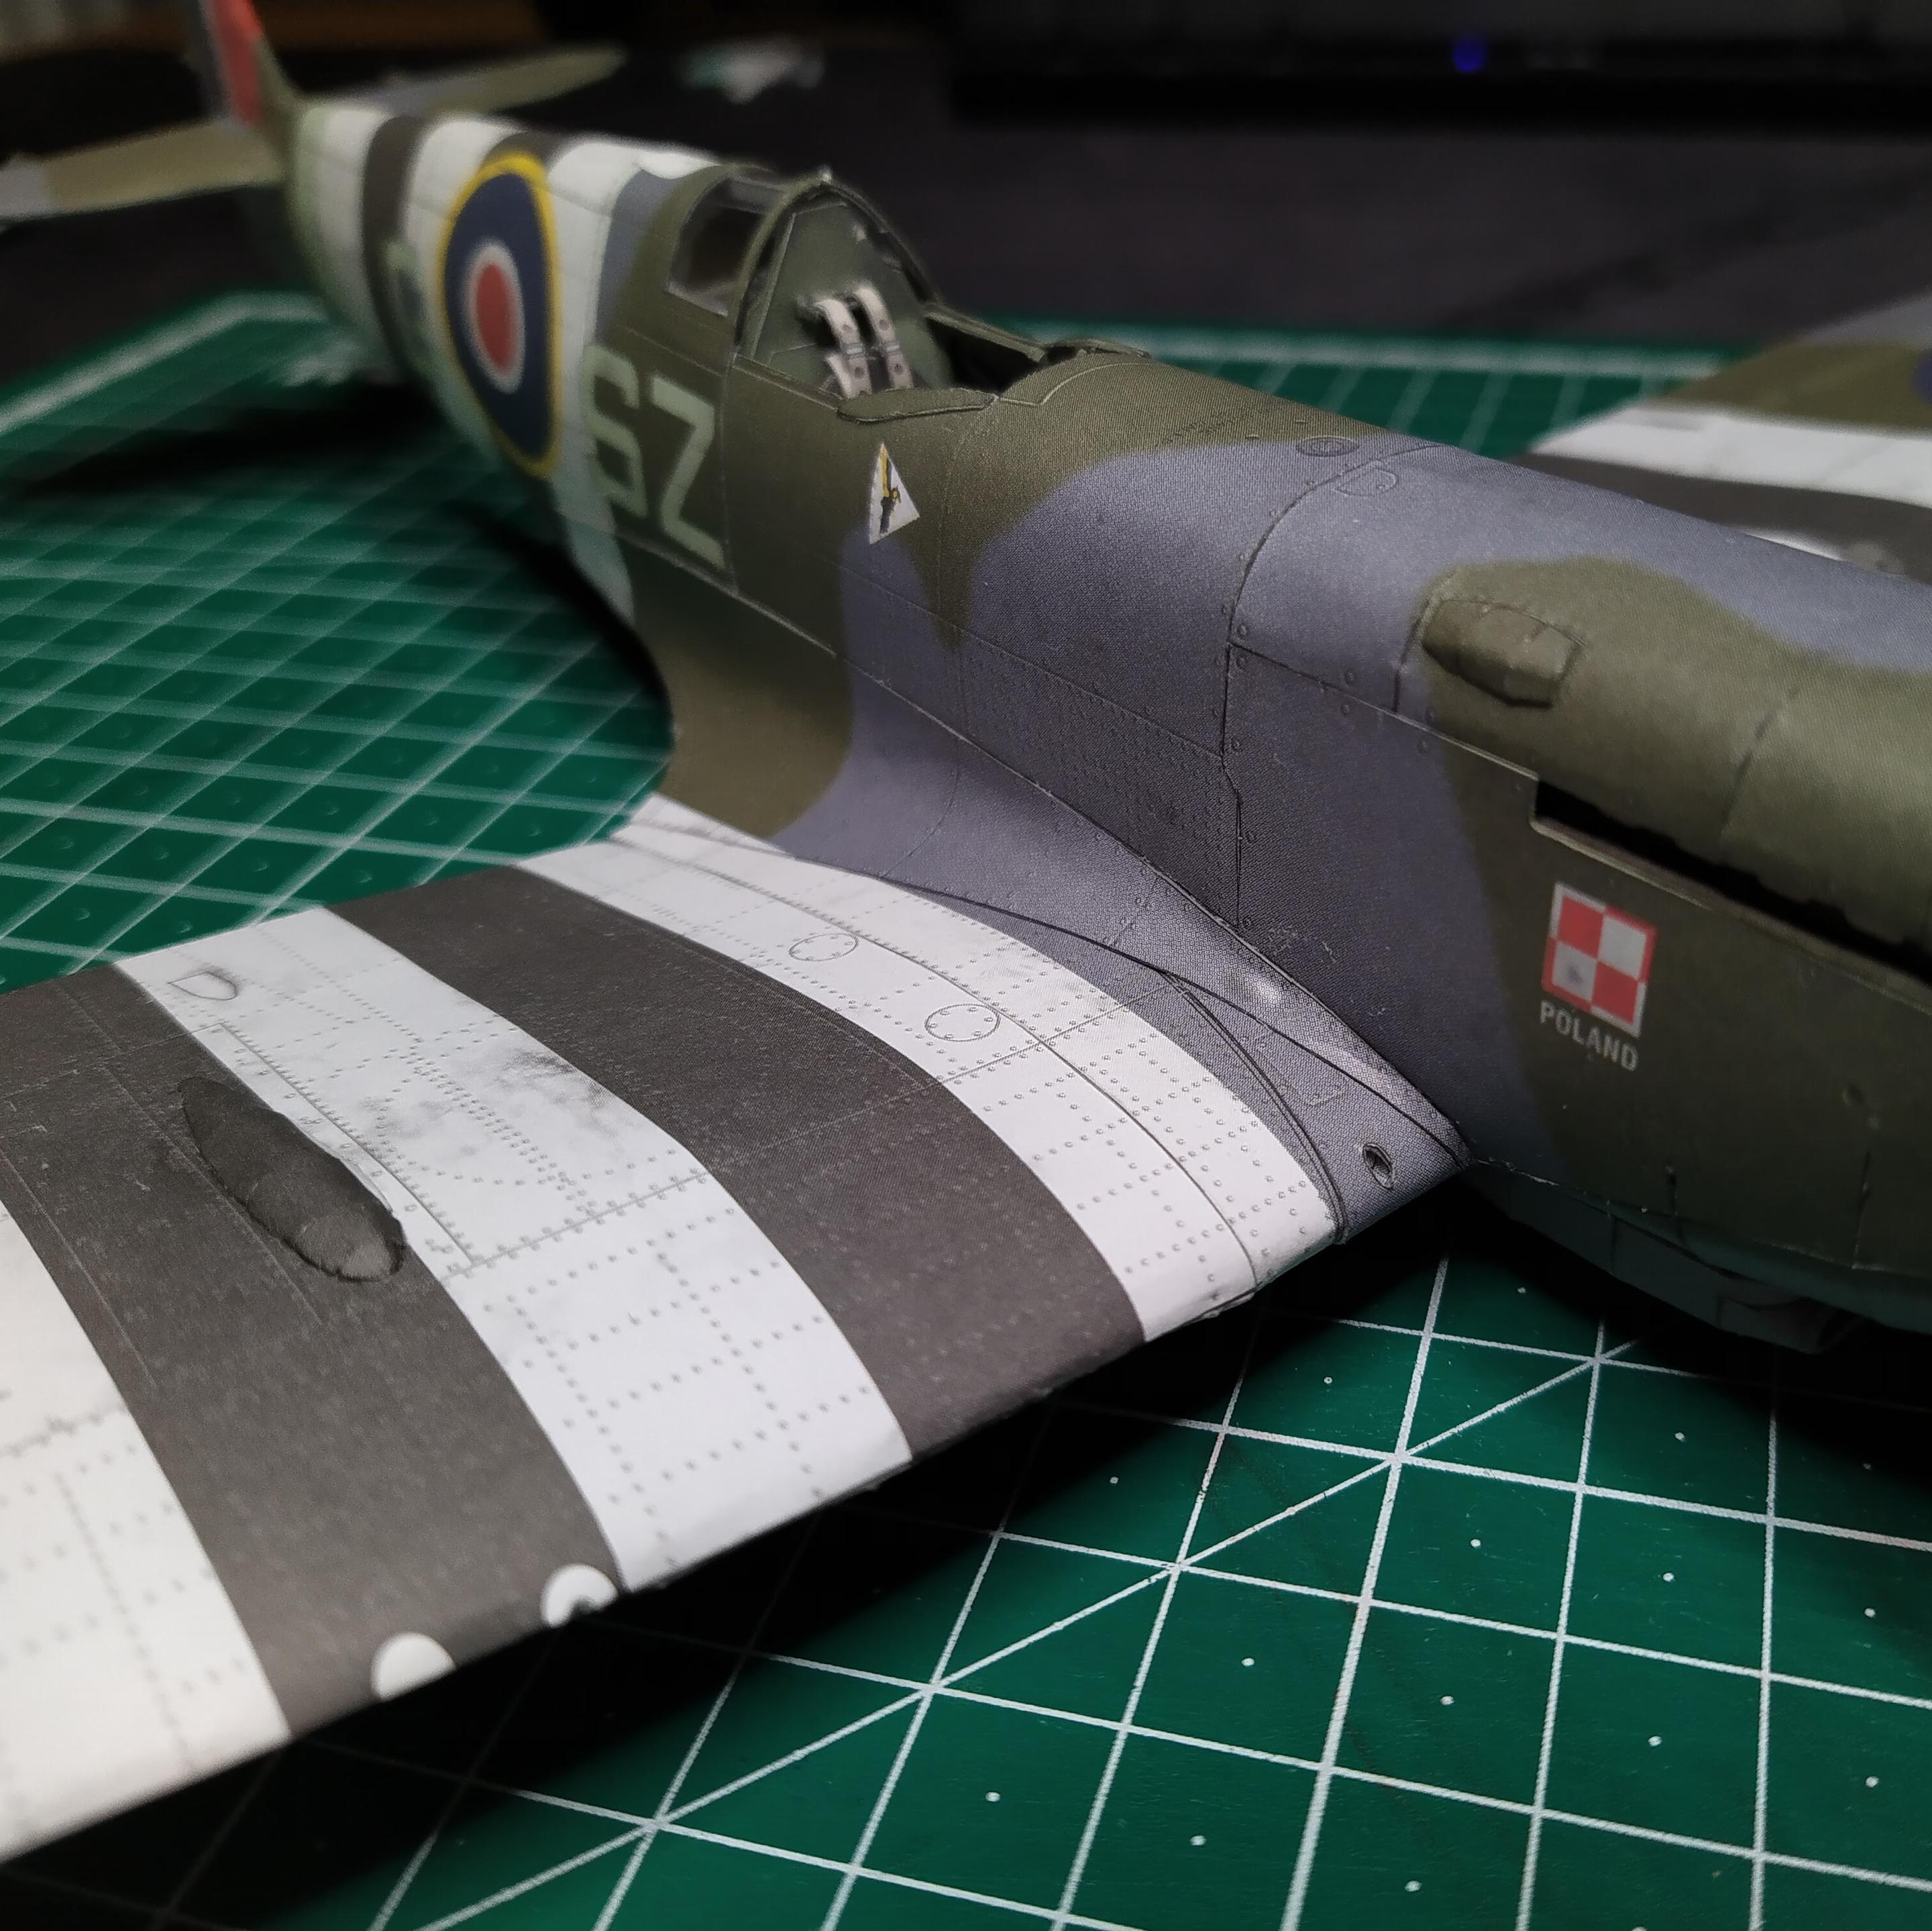
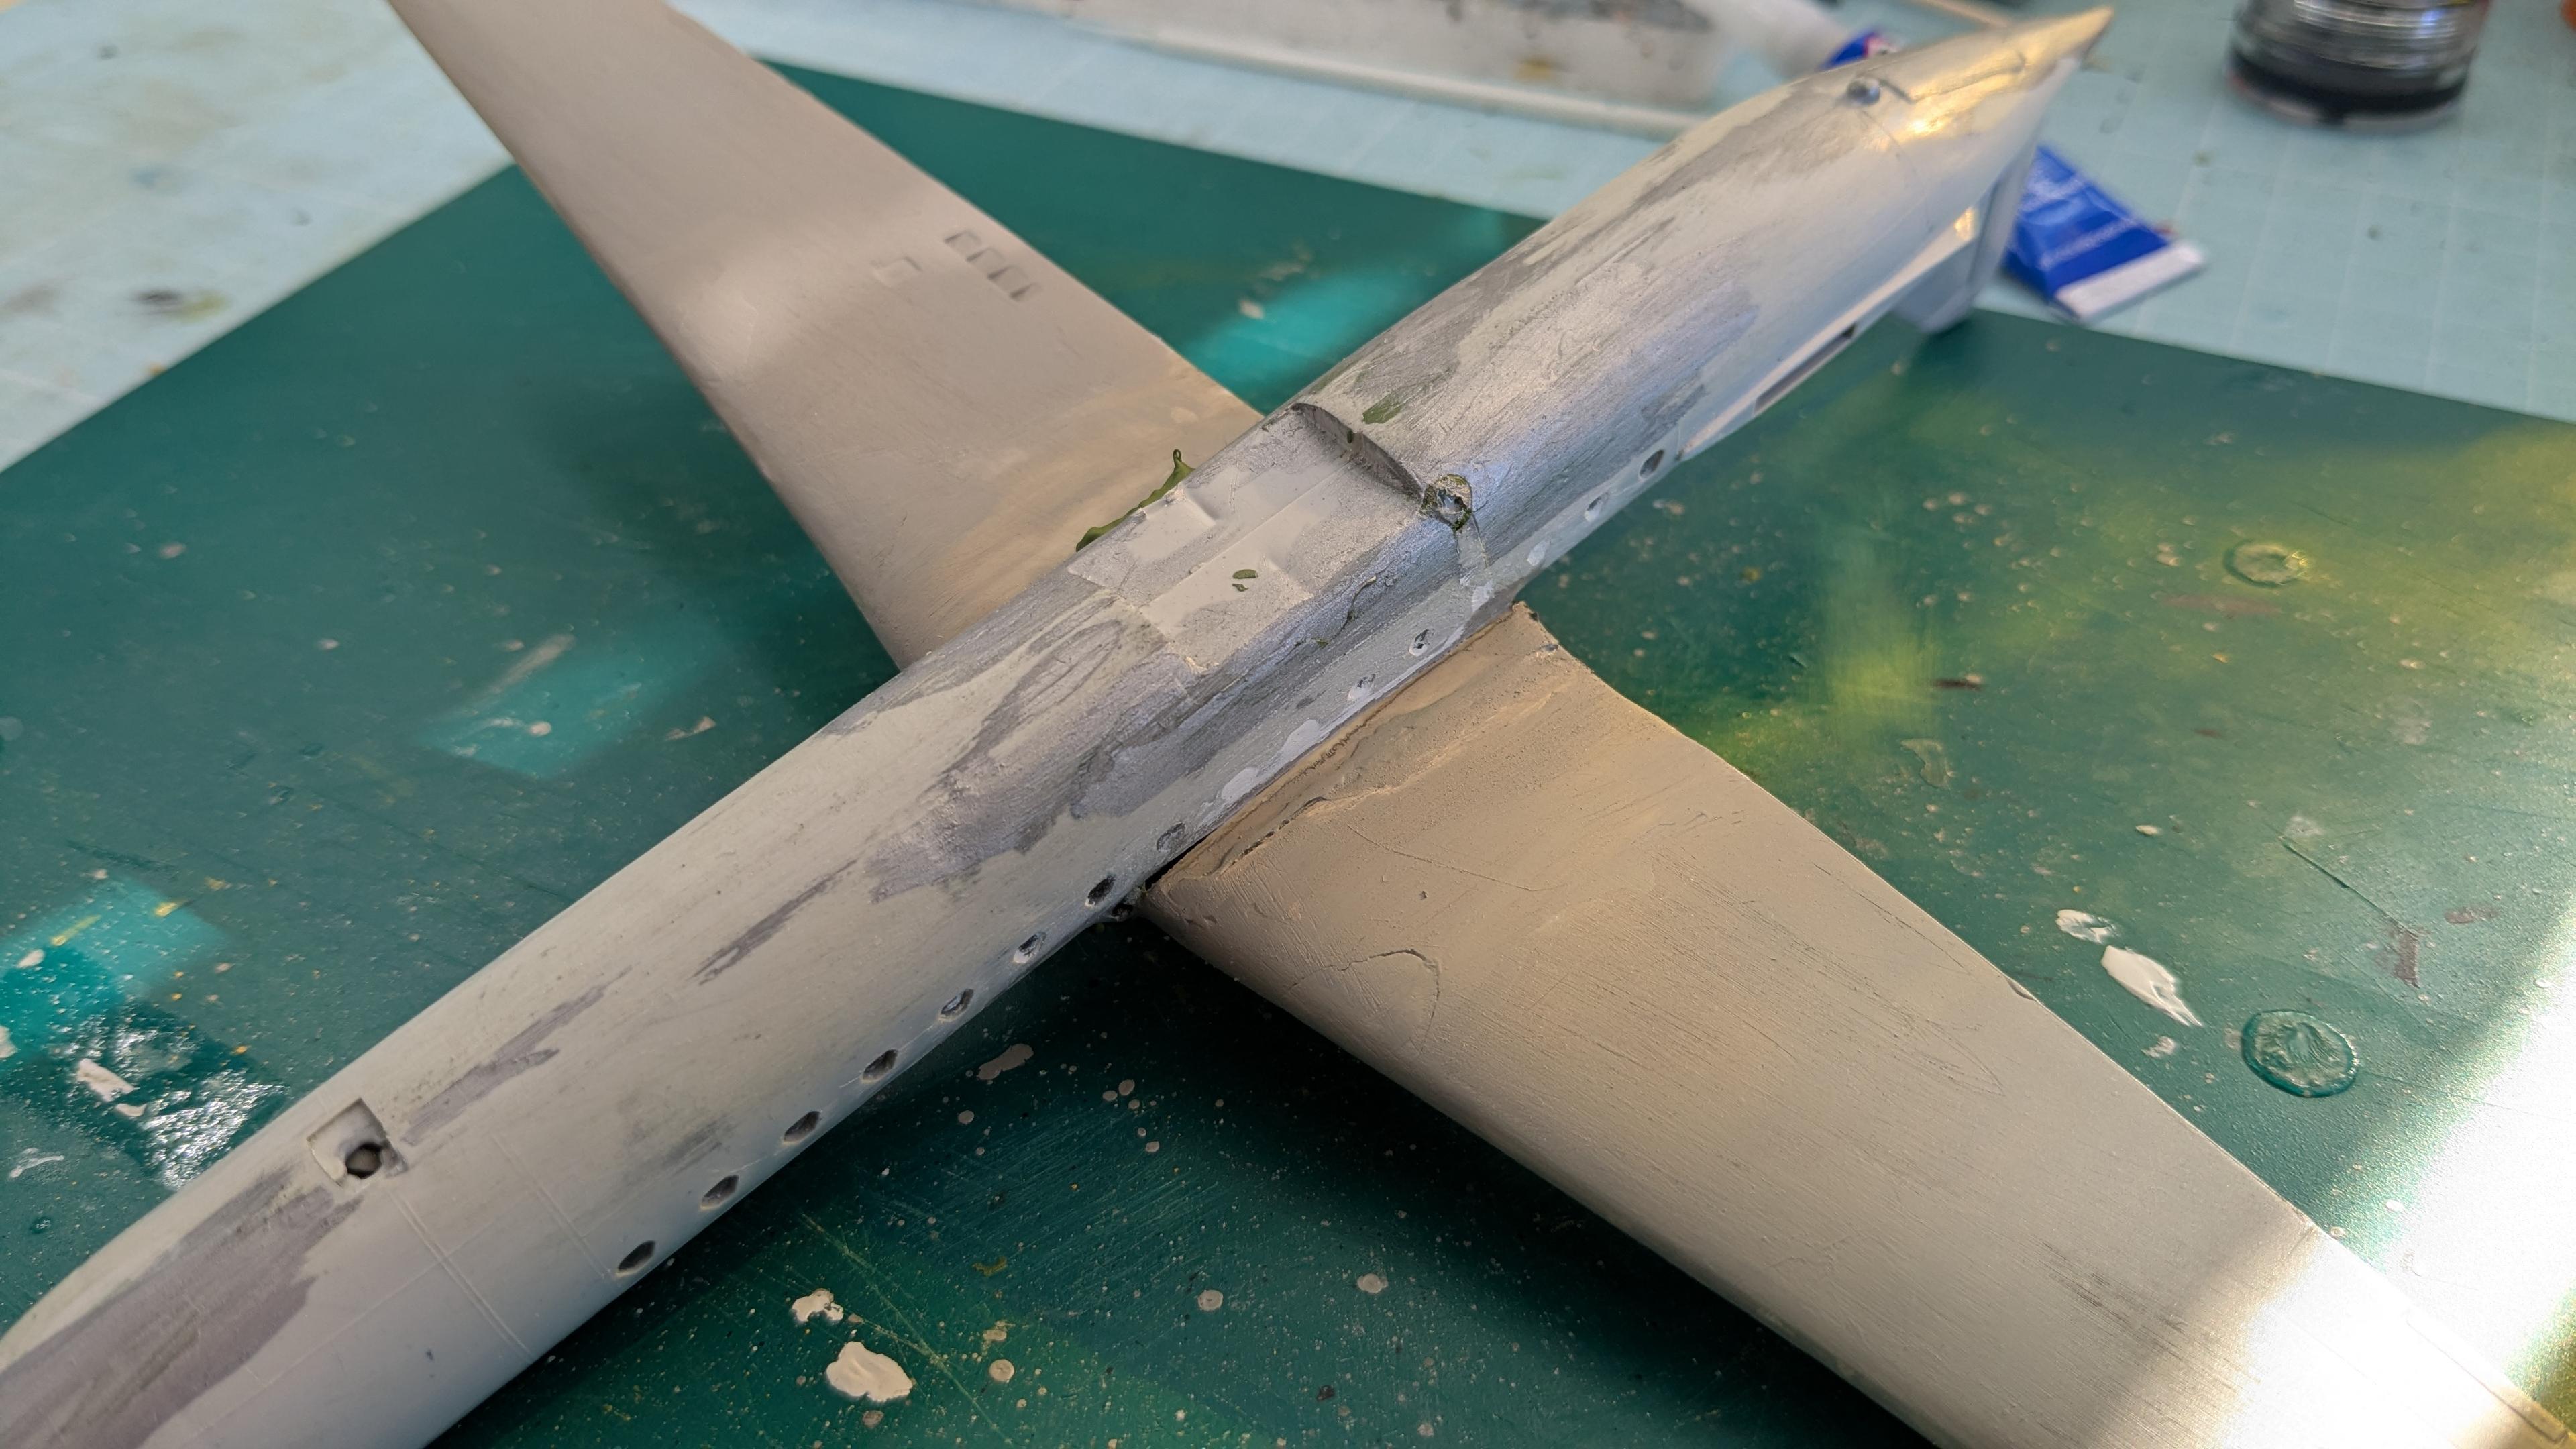
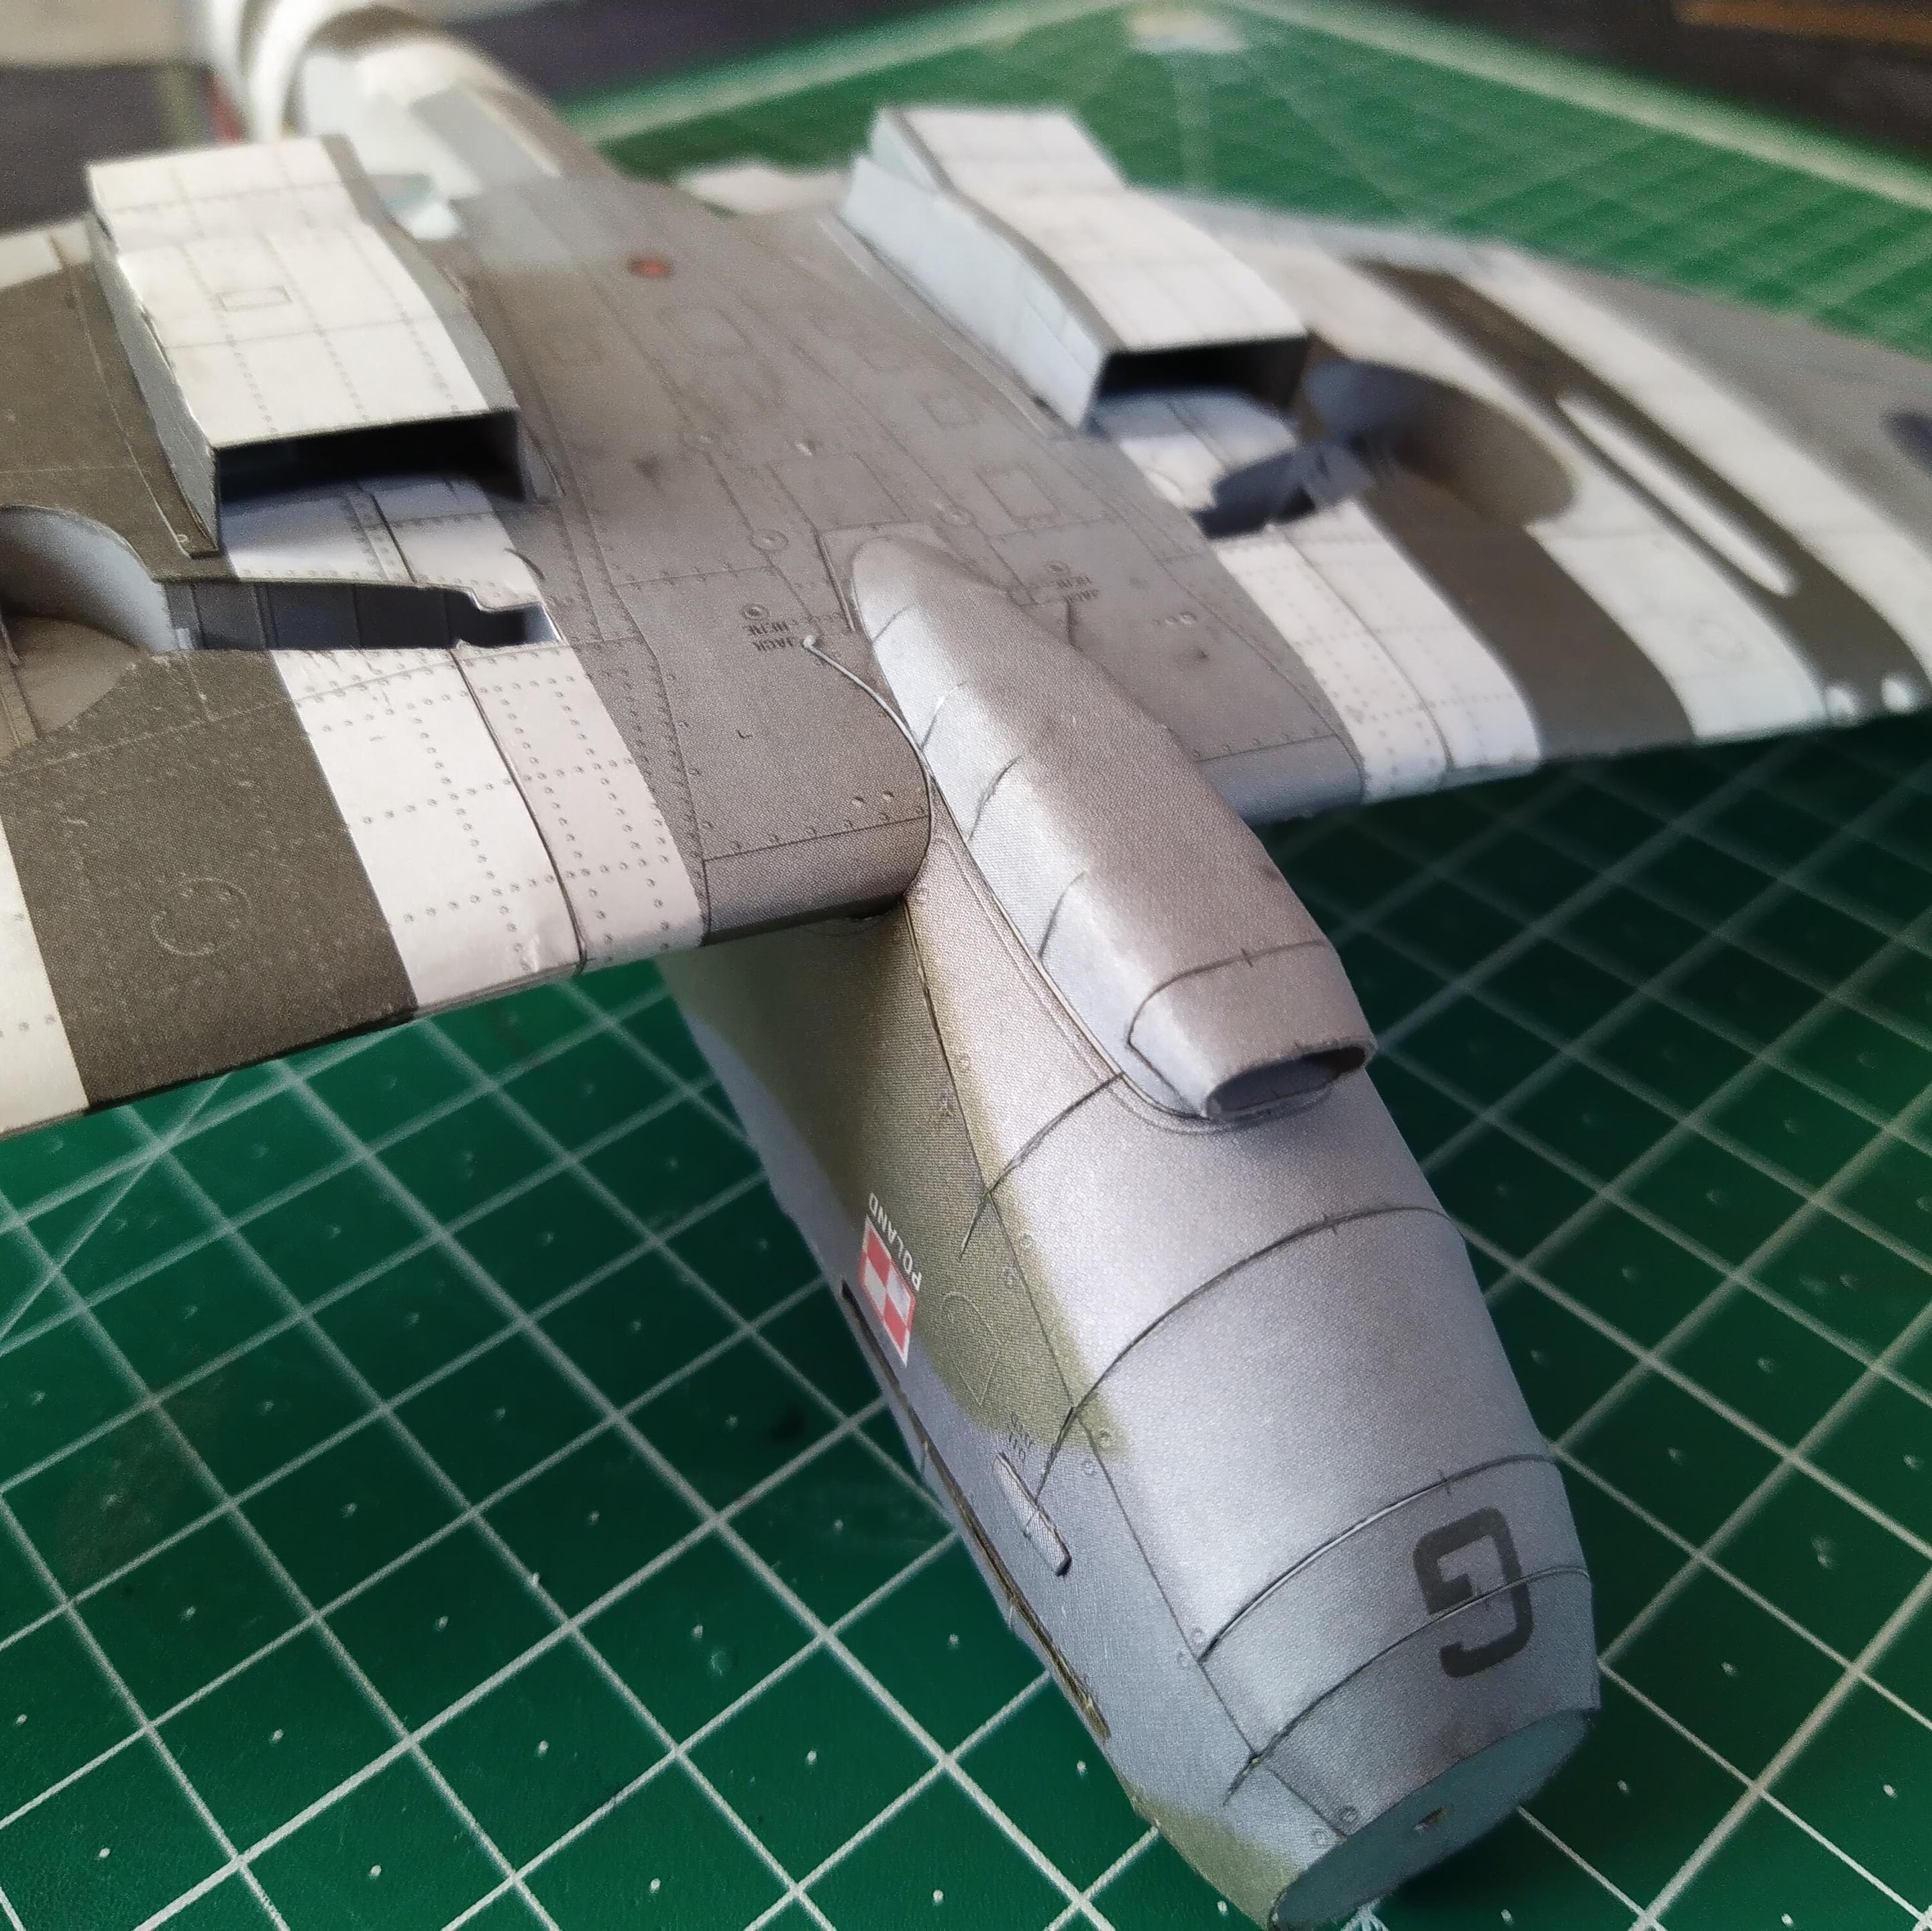
Added wing fillet. #archive #papercraft #Spitfire #scalemodel #histscalemodels

Work in progress: Closing the holes in the fuselage, putty and more sanding. Prepare to add the 3D printed part.
Completed the air intake and glued it to the fuselage. #archive #papercraft #Spitfire #scalemodel #histscalemodels
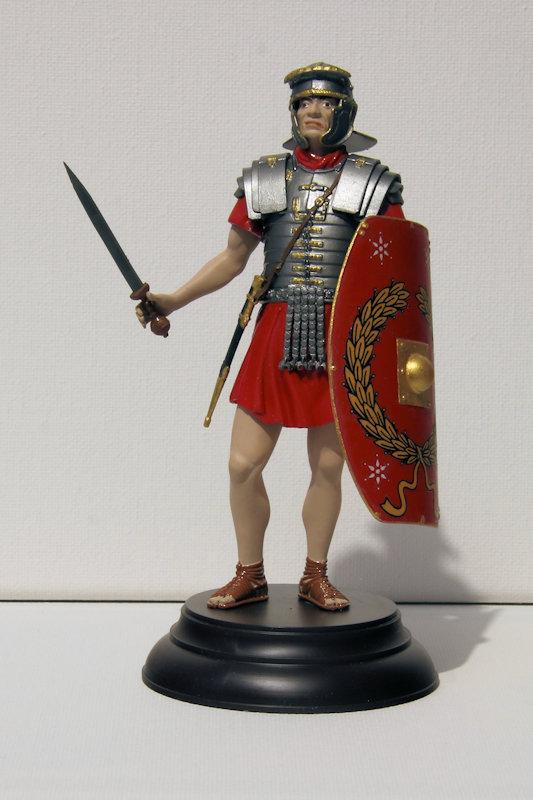
A 1st Century AD Roman Legionary built from the MiniArt 1:16th scale plastic model kit. Painted using a combination of enamel and acrylic paints. https://www.destinationsjourney.com/scale-models/scale-model-figures-and-super-heroes/roman-legionary-1st-century-ad-scale-models/ #scalemodel #RomanLegionary #Legionary #RomanEmpire #AncientHistory #MiniArt #figure #figurine
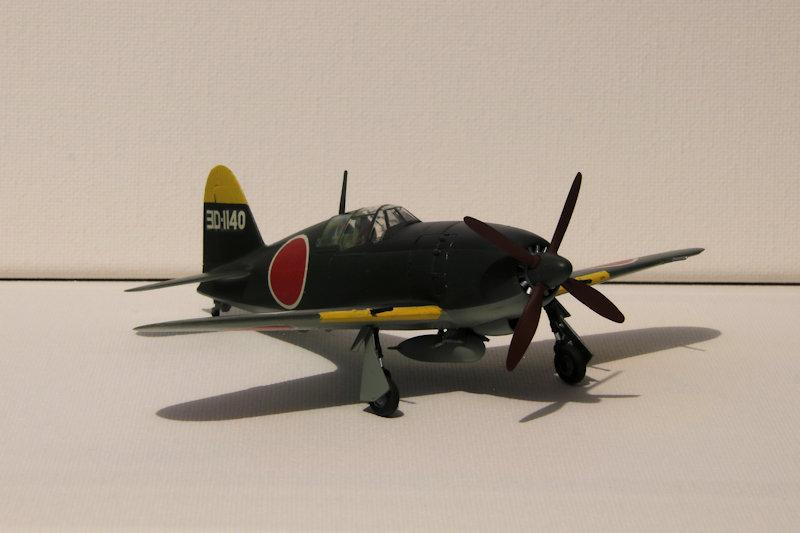
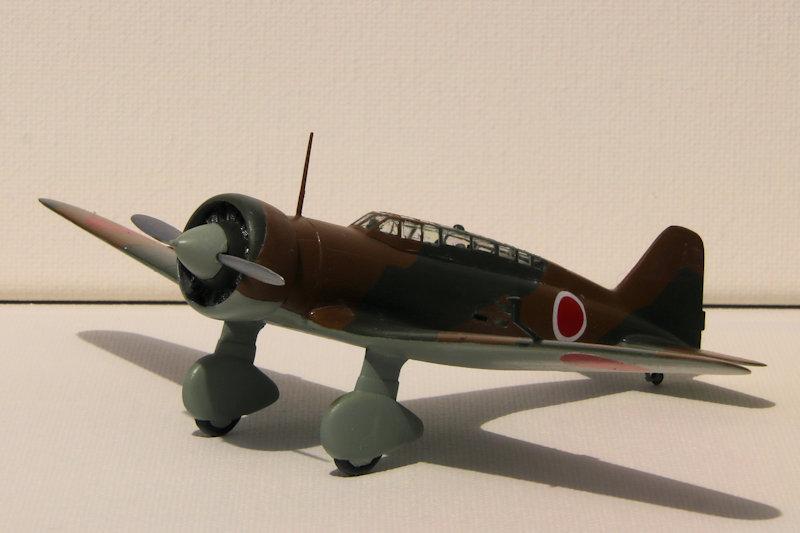
Mitsubishi J2M3 Raiden Scale Model by Hasegawa. Allied reporting name Jack. https://www.destinationsjourney.com/scale-model-aircraft-photographs/mitsubishi-j2m3-scale-models/ #MitsubishiJ2M3 #Aeroplane #airplane #aircraft #aviation #ScaleModel #WorldWarTwo #WW2 #SecondWorldWar #fighterplane
Mitsubishi Ki-15 (Babs) 1:72 scale model by Hasegawa. https://www.destinationsjourney.com/scale-model-aircraft-photographs/mitsubishi-ki-15-babs-scale-models/ #MitsubishiKi15 #MitsubishiBabs #Ki15Babs #aeroplane #Airplane #aircraft #WW2 #SecondWorldWar #WorldWarTwo #scaleModel #Hasegawa
Built a frame for the air intake. #archive #papercraft #Spitfire #scalemodel #histscalemodels
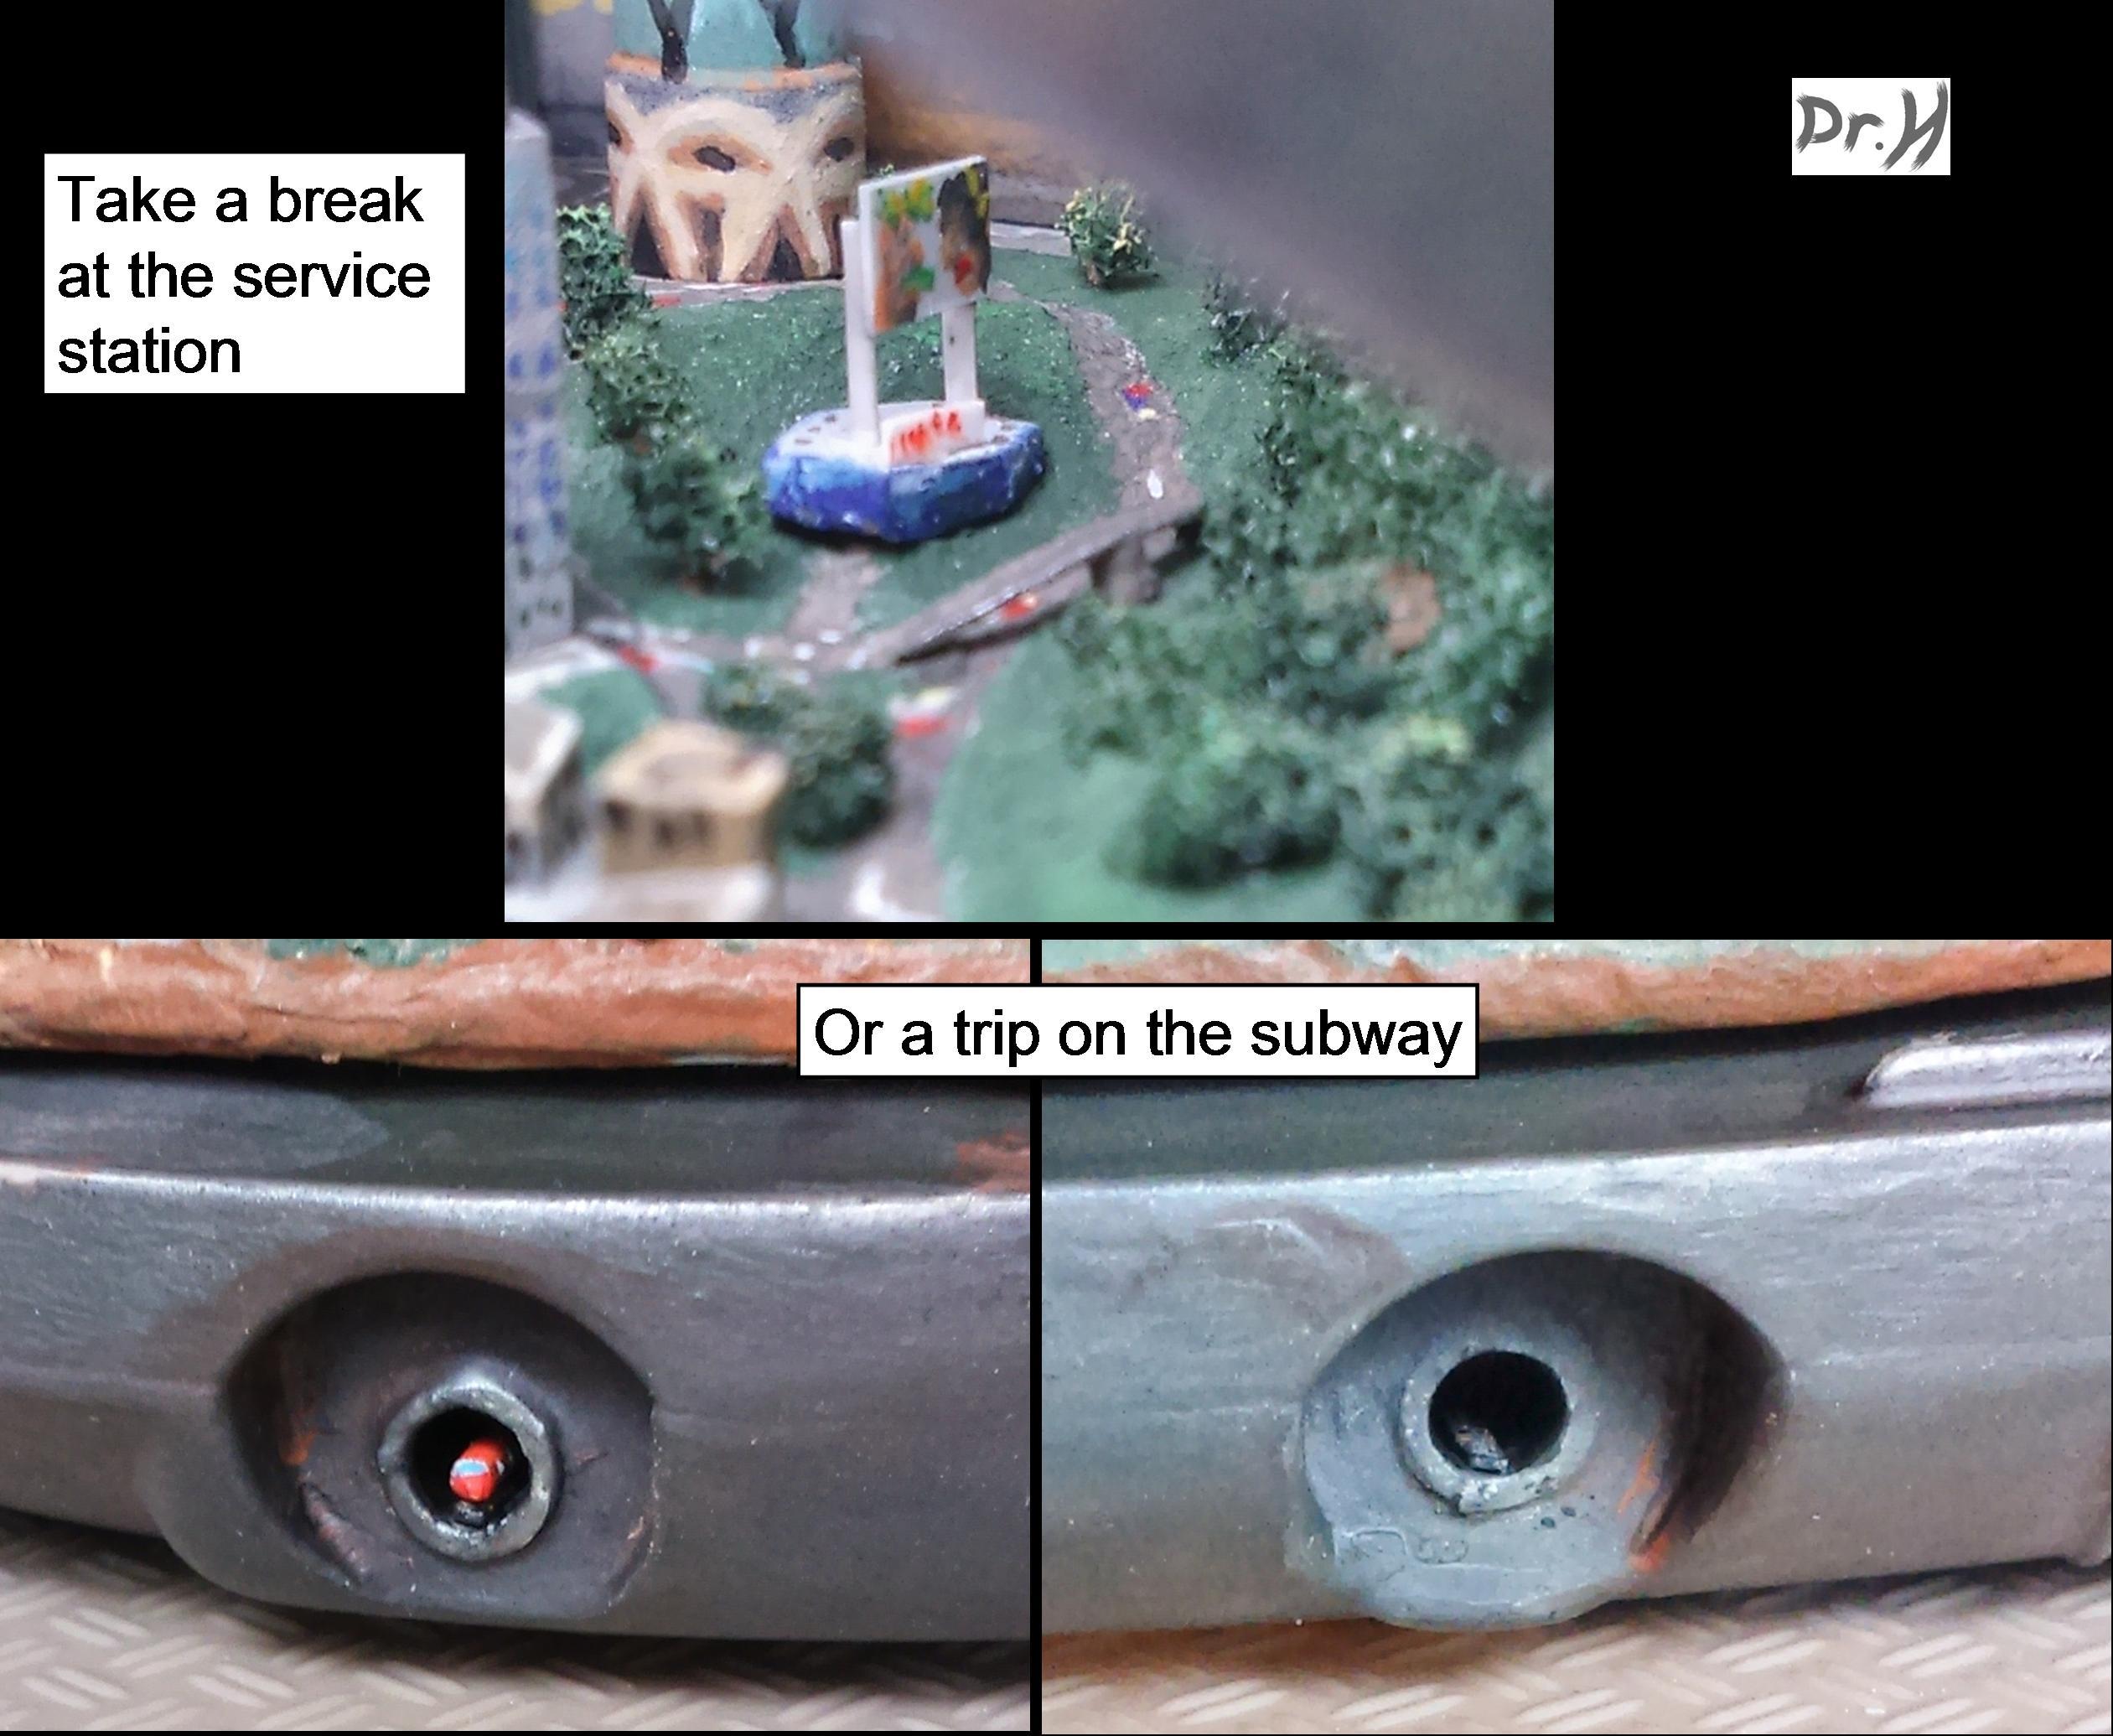
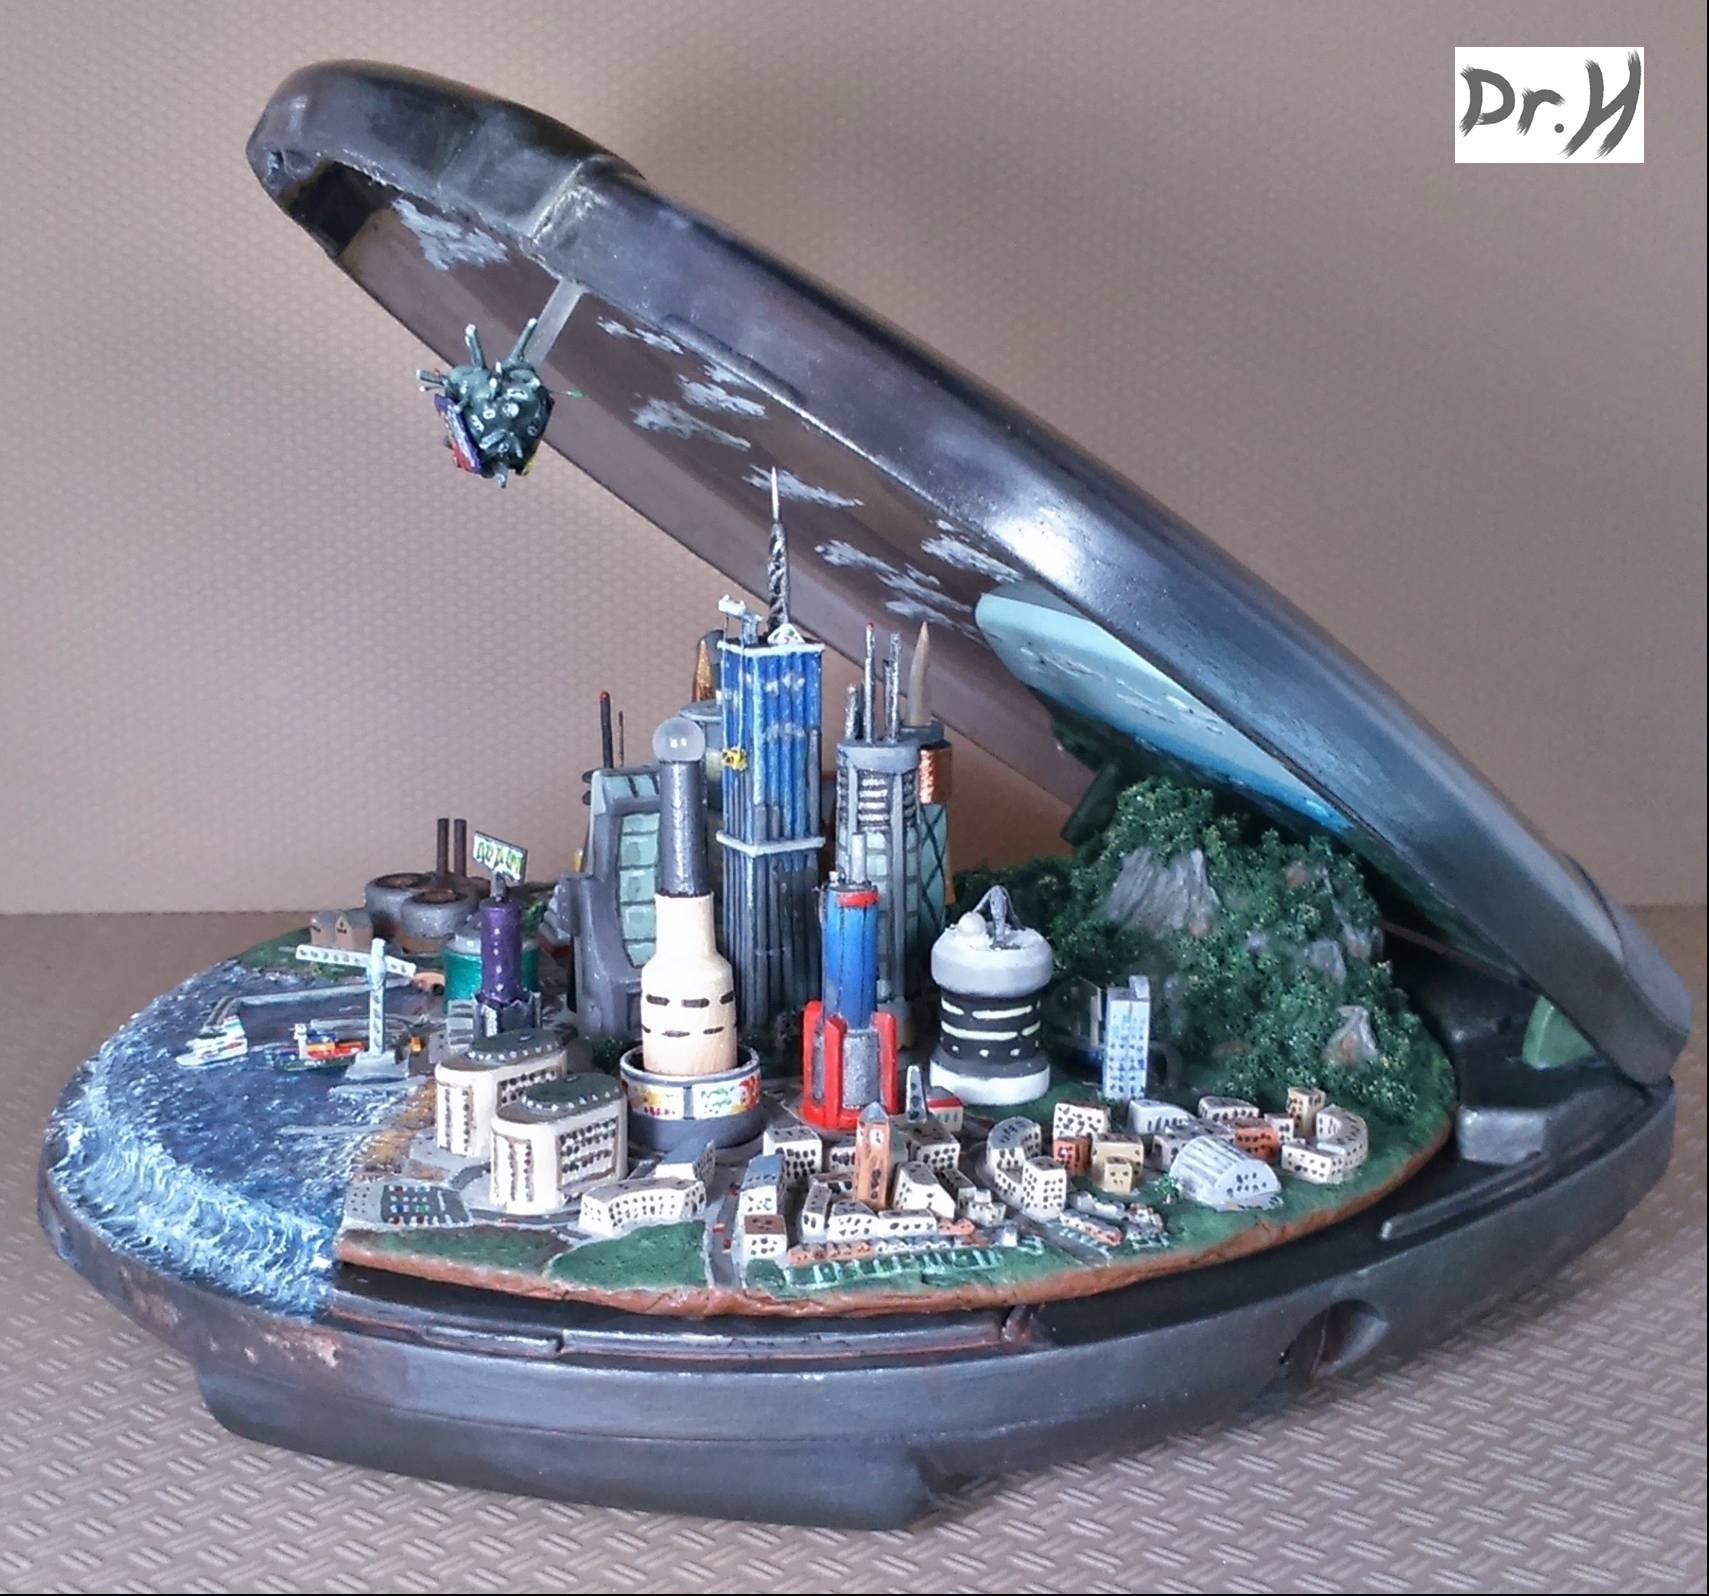
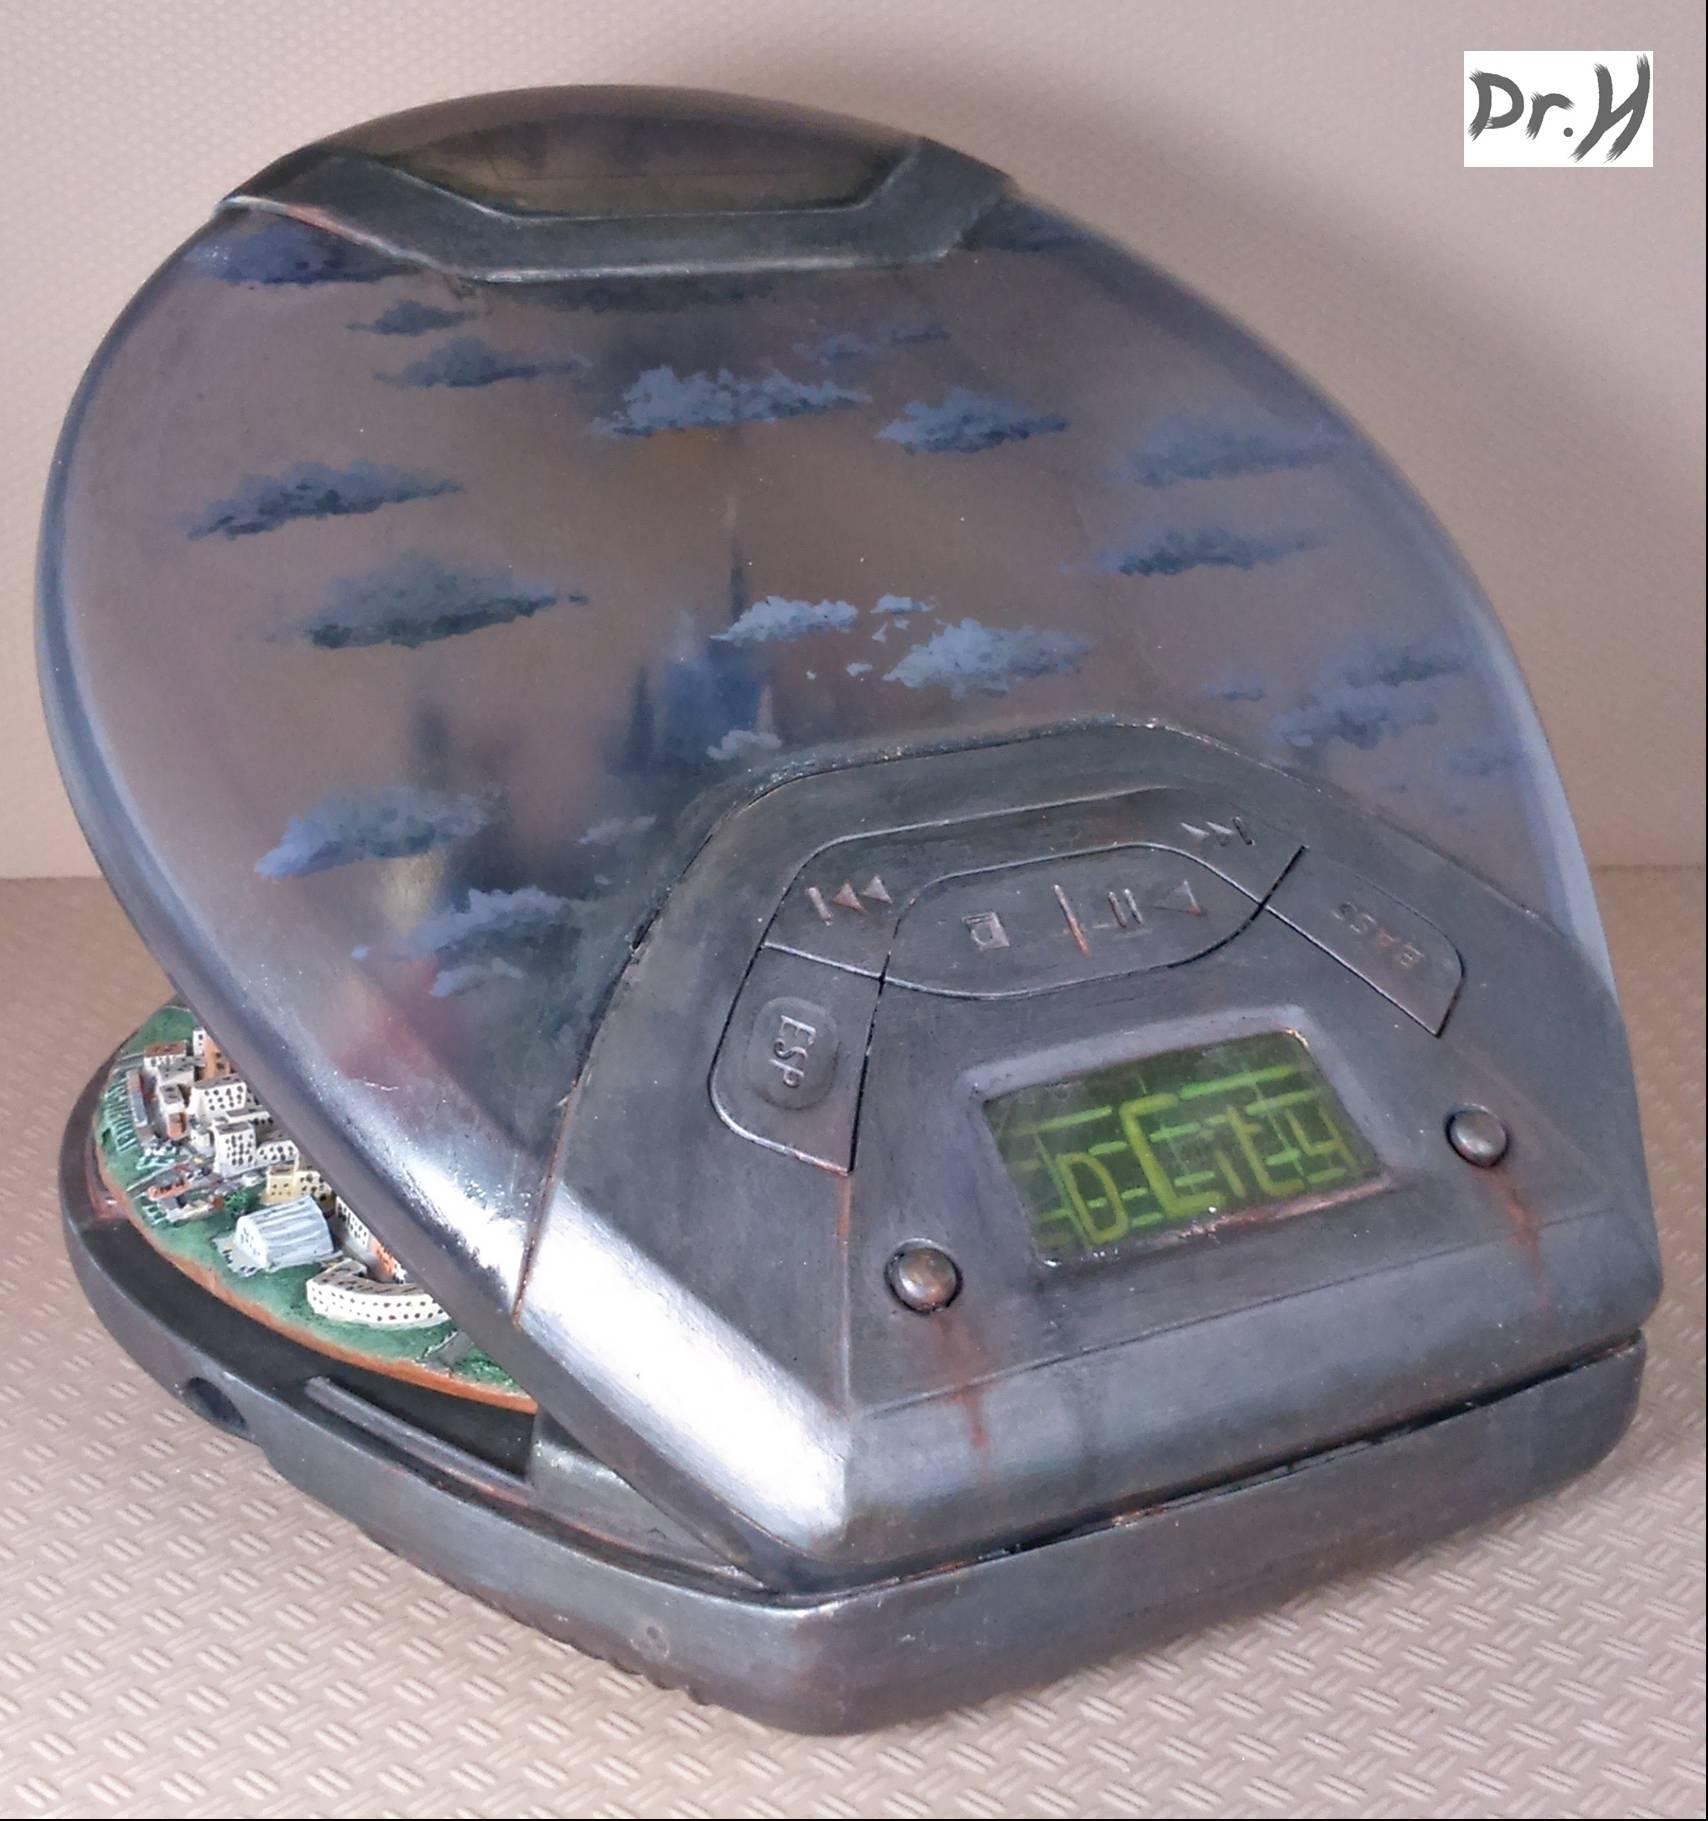
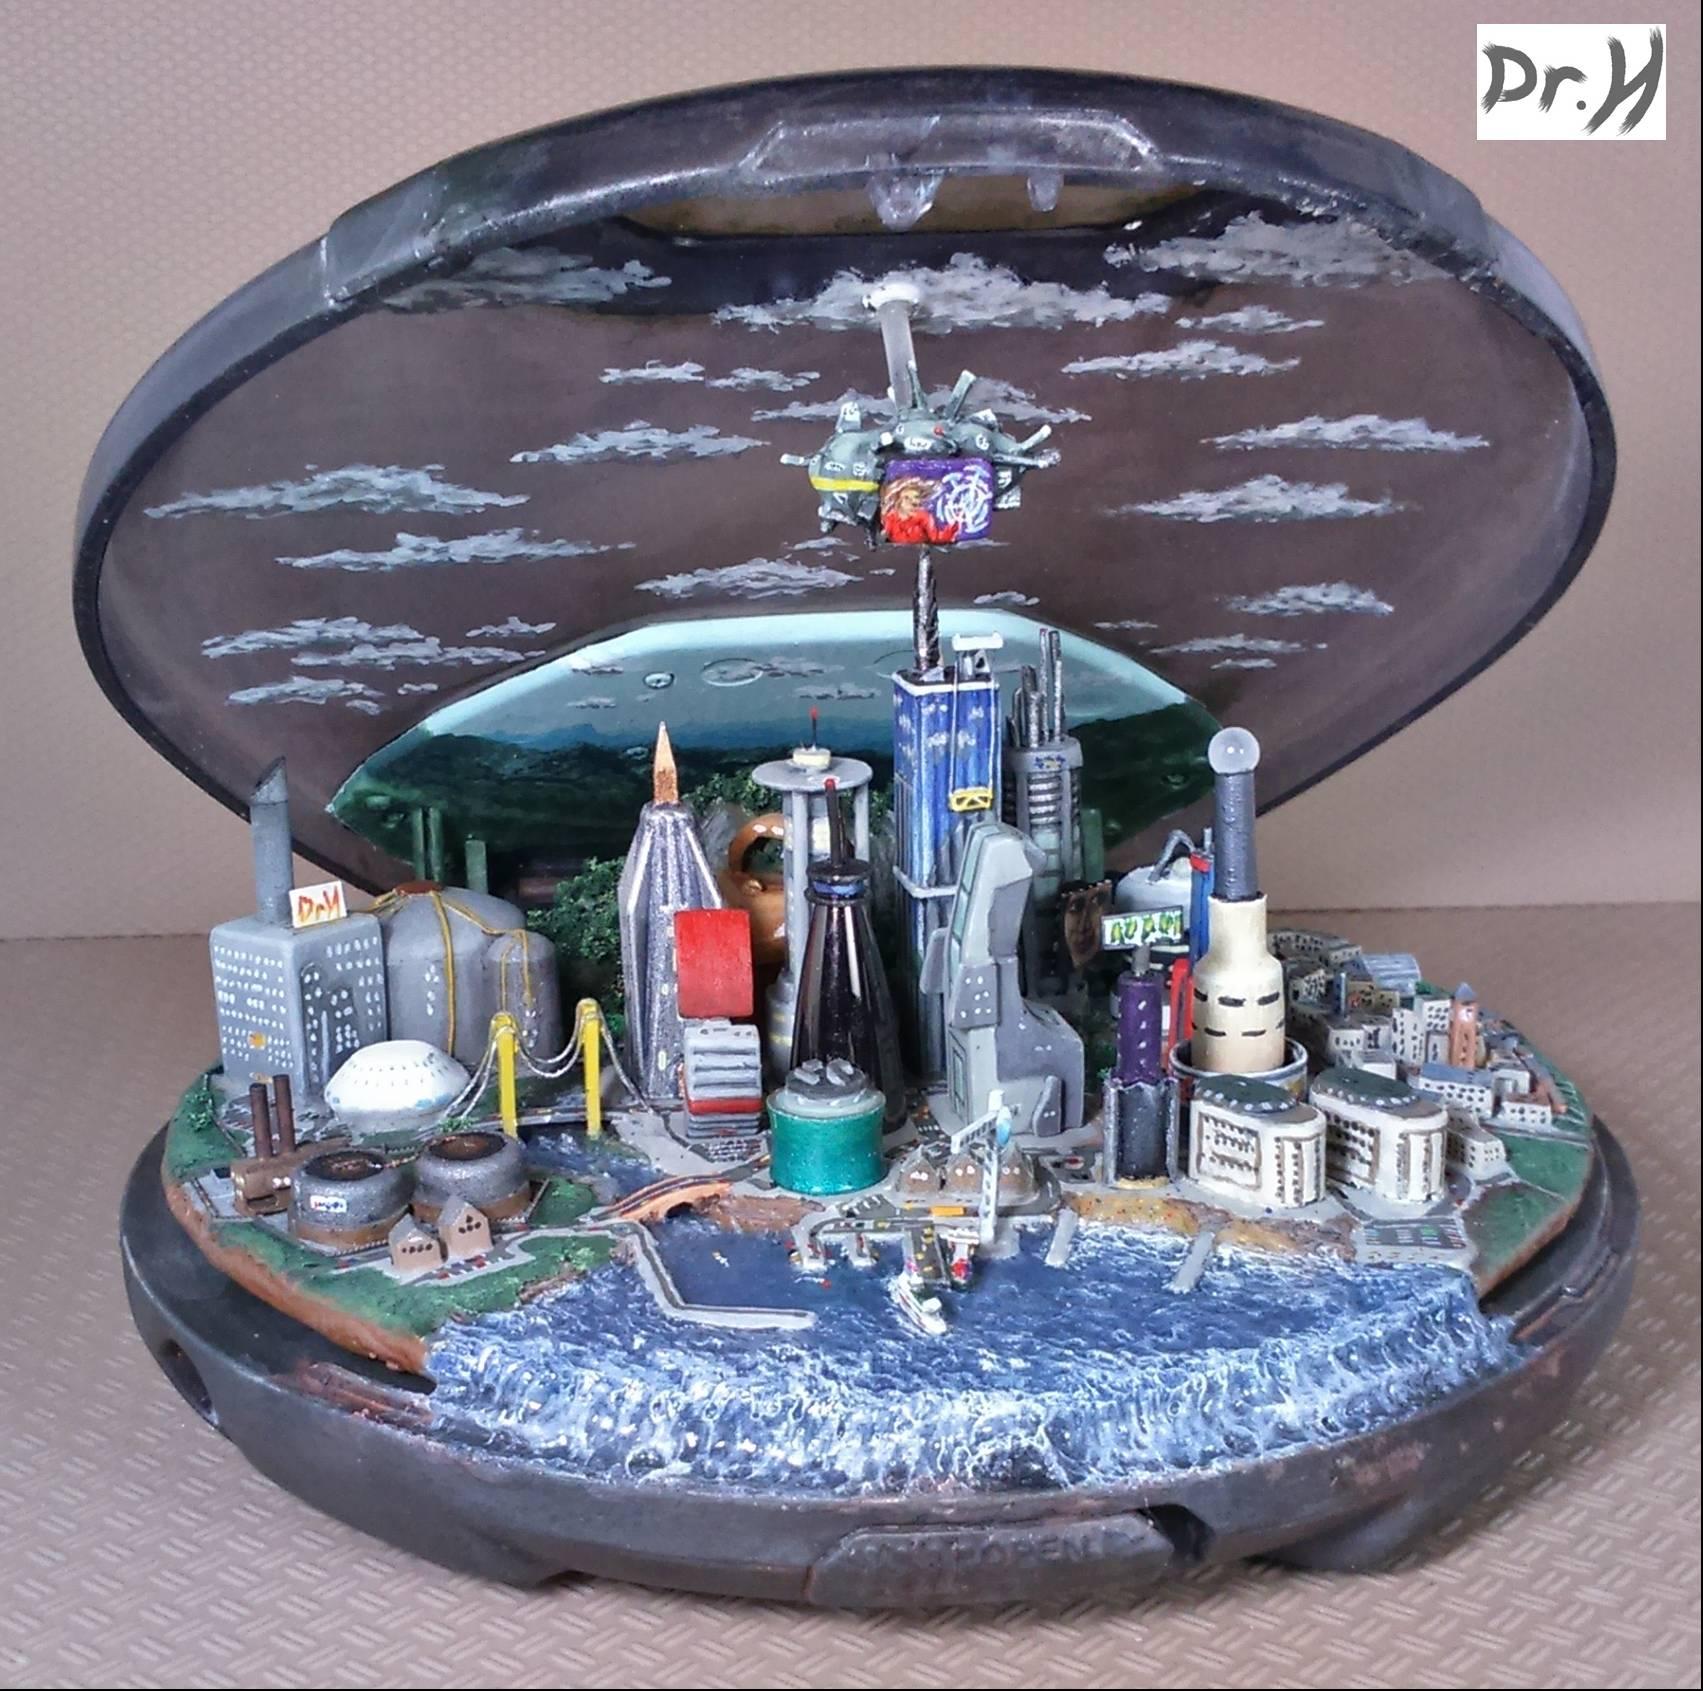
More angles of the CD City.
Including the service station on the bypass (gotta build bypasses...), and a subway that makes use of the headphone and power ports with track and a train peeking out.
Client Info
Server: https://mastodon.social
Version: 2025.04
Repository: https://github.com/cyevgeniy/lmst