https://youtube.com/shorts/A9Mg6MWiBWg #gameboy #nintendo #nintendogameboy #dmg01 #retrogaming #youtube #youtubeshorts
#dmg01


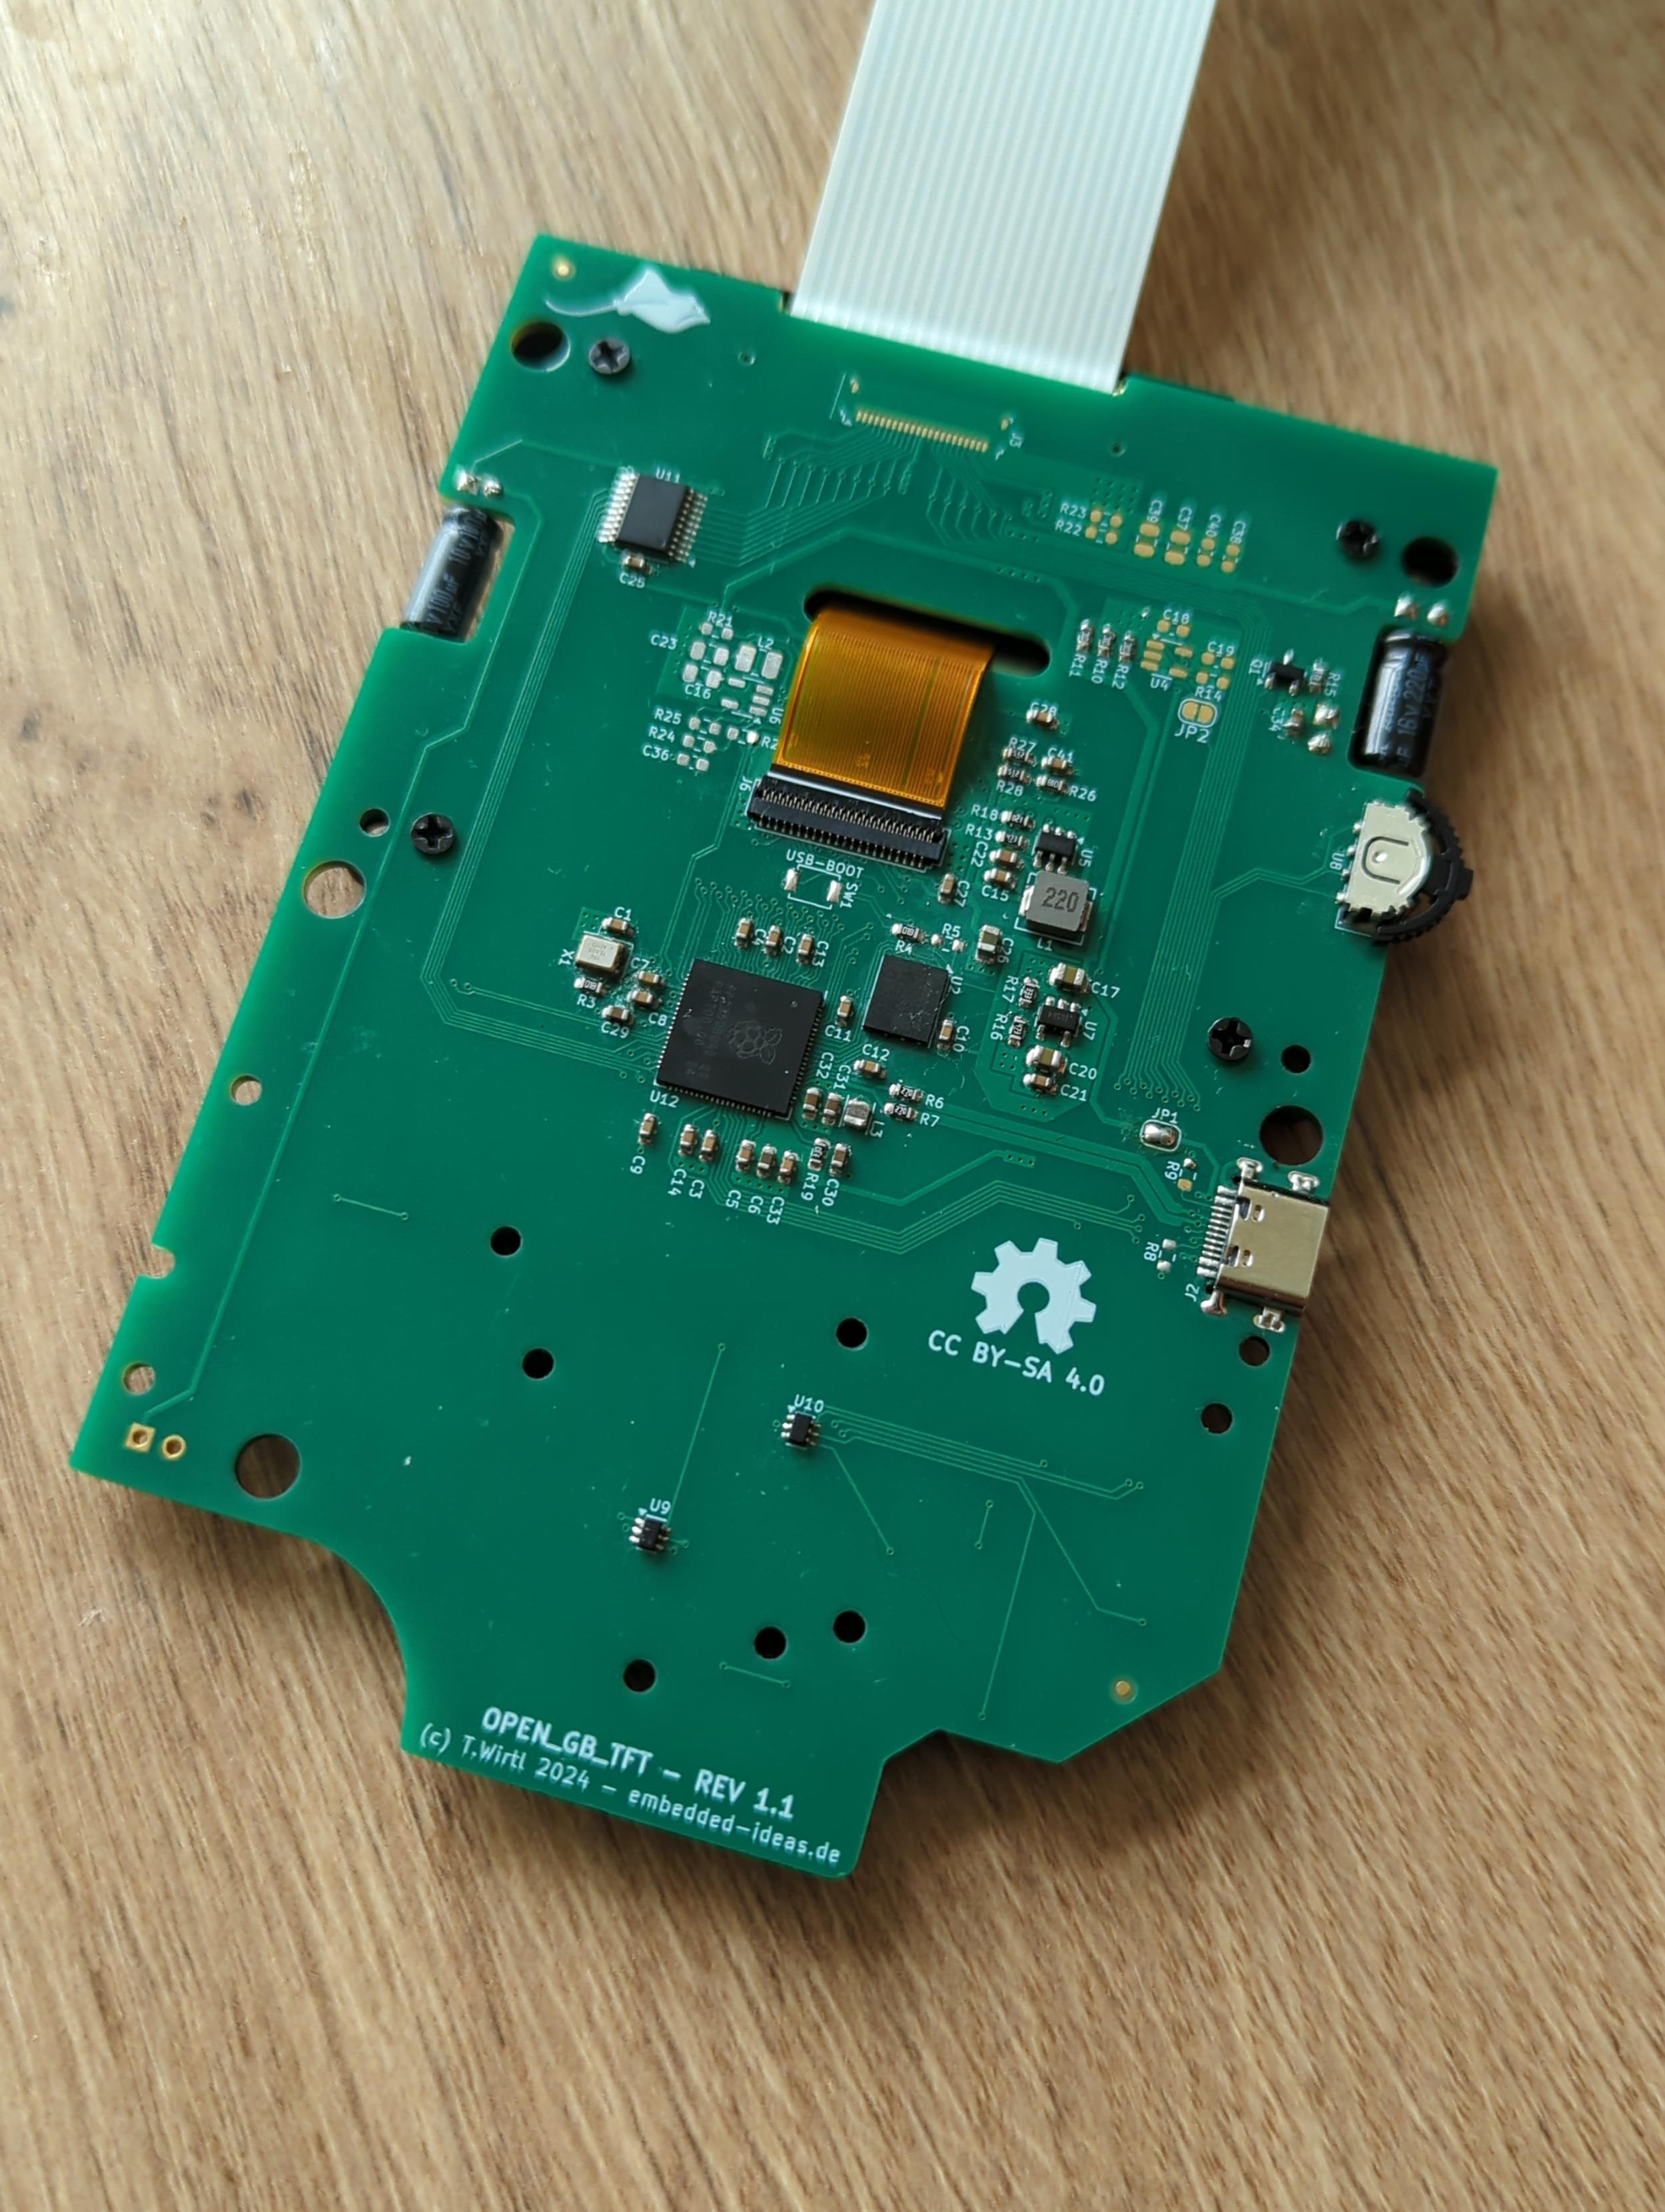
Just released a preview video for my current project: a DIY open hardware TFT display mod for the classic Game Boy (DMG01). I built it using the new RP2350B, so the release will have to wait until Raspberry Pi officially launches the controller chip. I’ll post an update when the project is ready for the public.
#dmg01 #retromodding #oshw #gpl #gameboy #rp2350 #rp2350b #raspberrypi
@rpimag working on an open version of the gameboy IPS screen mod featuring the RP2350B...


Today I worked on my goodwill Game Boy and tested to see if it works! Here's a video of the progress I've gotten so far:
https://www.tiktok.com/t/ZTFdSsT1g/
Please let me know how I did with recording it! This kind of stuff is a bit out of my wheelhouse so I'd love to know how it went!
#RetroGaming #Gaming #GameBoy #DMG #DMG01 #repair #repairs #ConsoleRepair #HandheldGaming #Handheld #HandHelds

Anyone in the market for a VGA out board for DMG? I've got two I don't need!
#chiptune #chipmusic #Gameboy #DMG #DMG01

Today we have a dead DMG GameBoy on the table. I never have worked on those. And immediately it is obvious that they are VERY different in design from the GBP and the GBC. There are two big PCBs.
#retrogaming #gameboy #dmg01

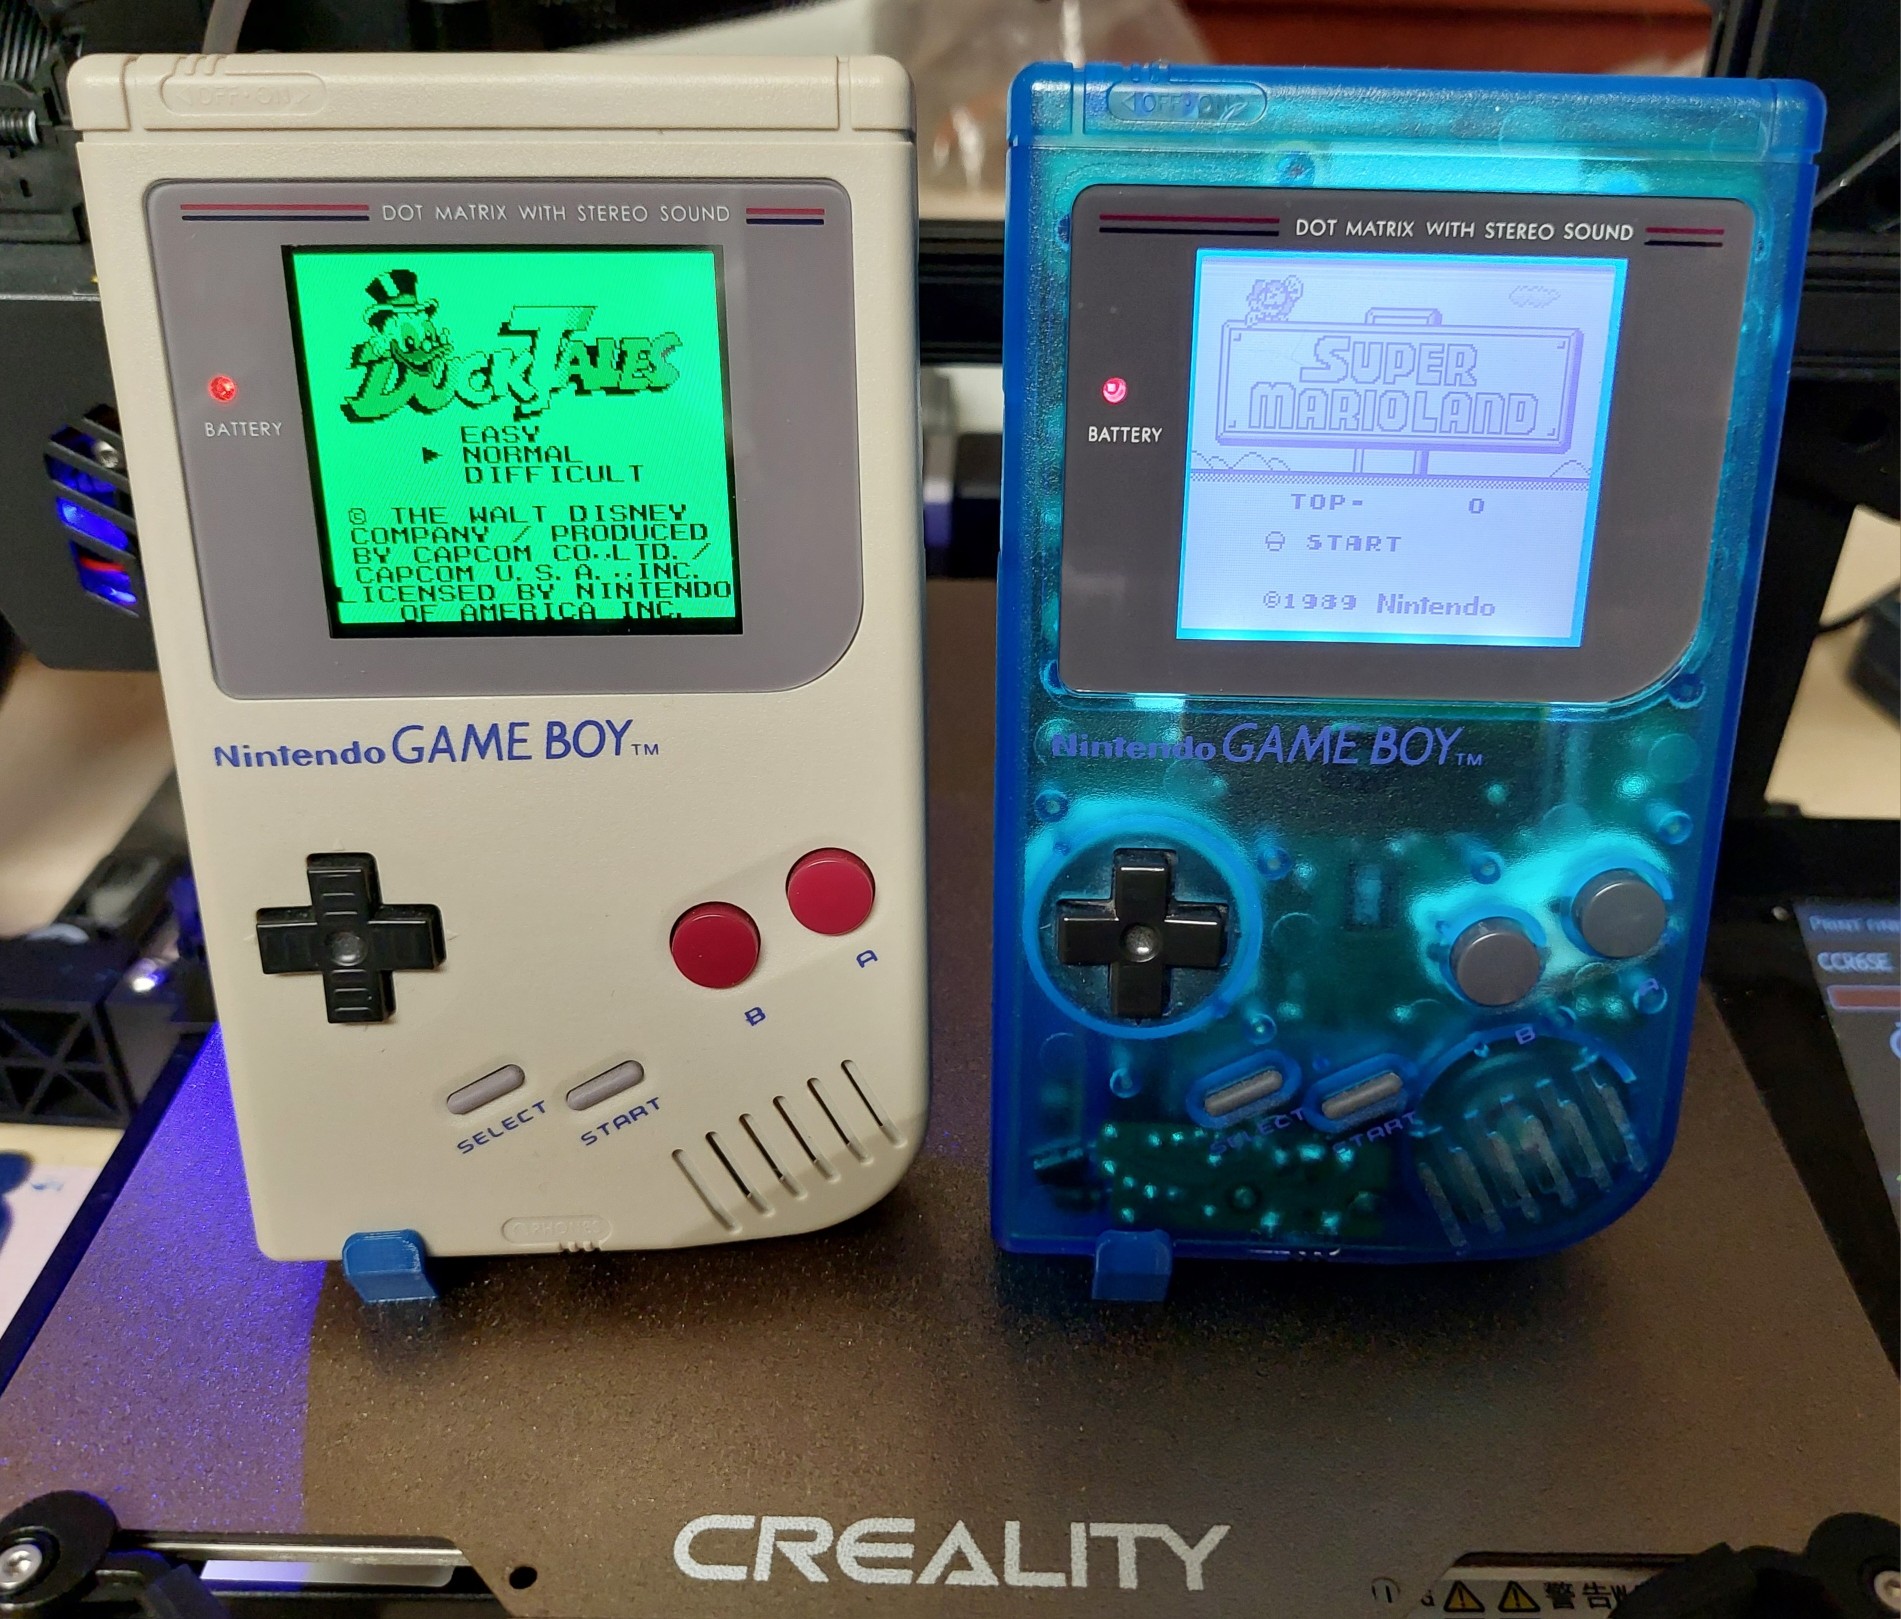
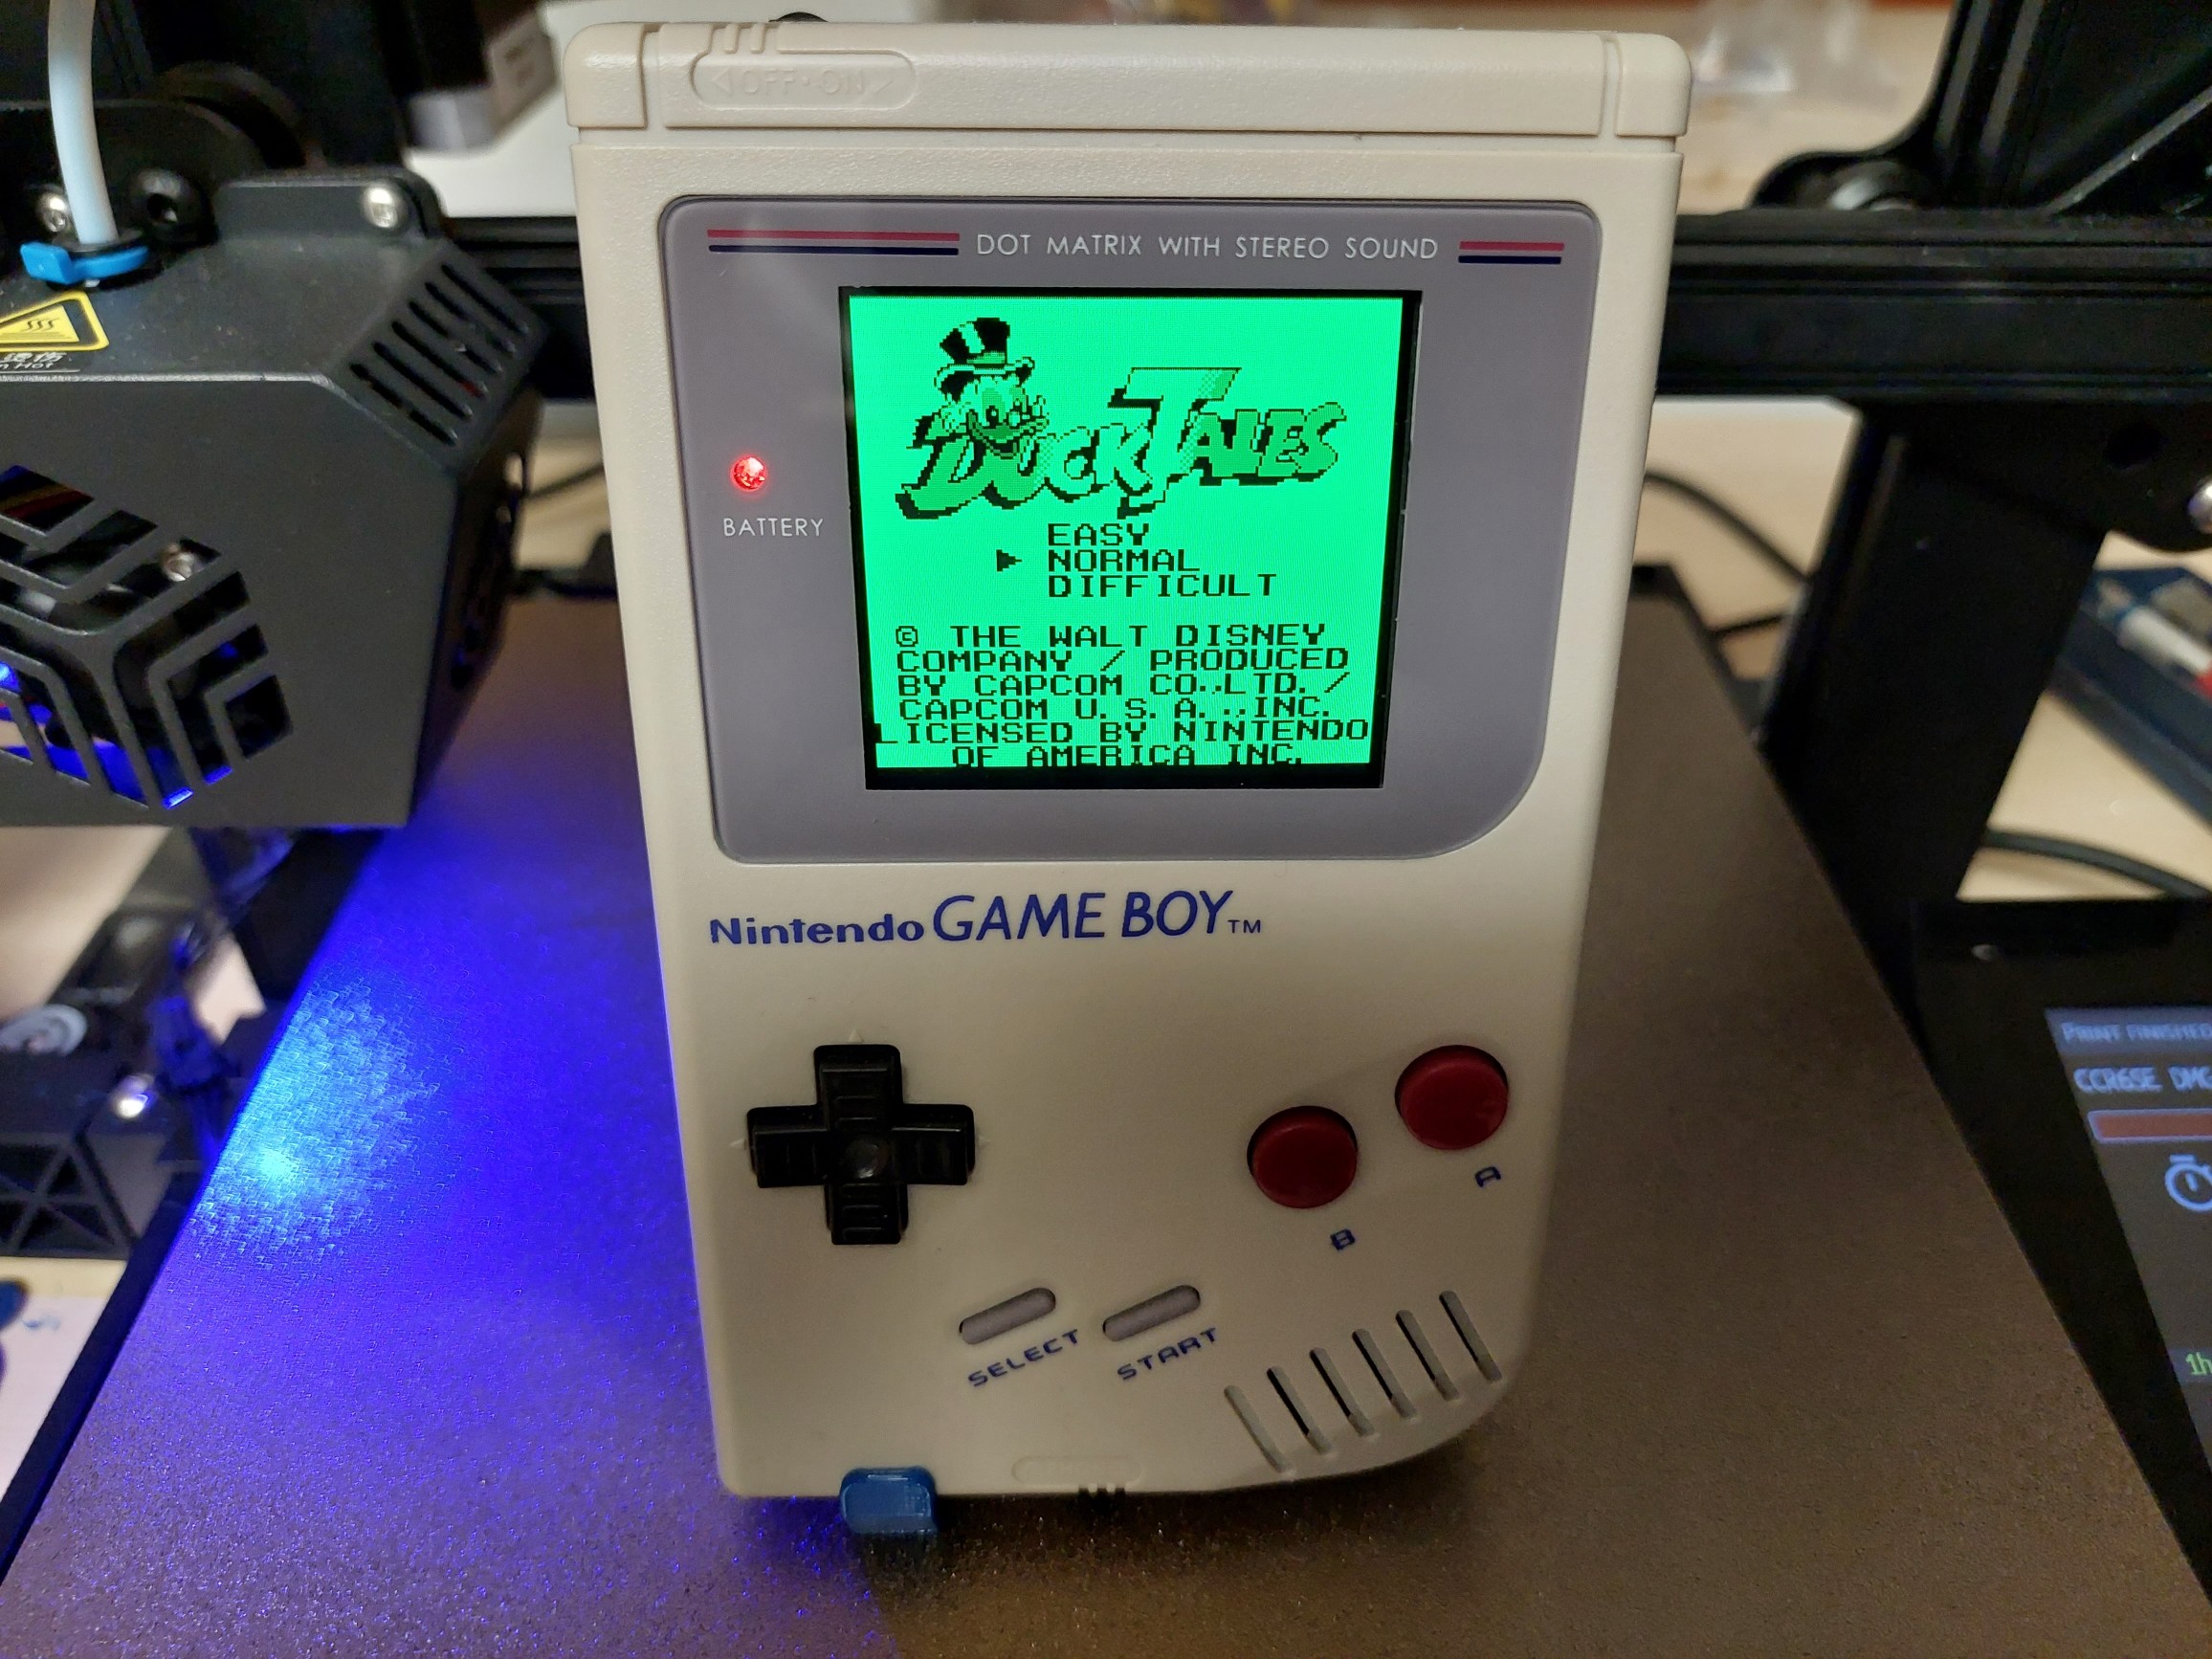
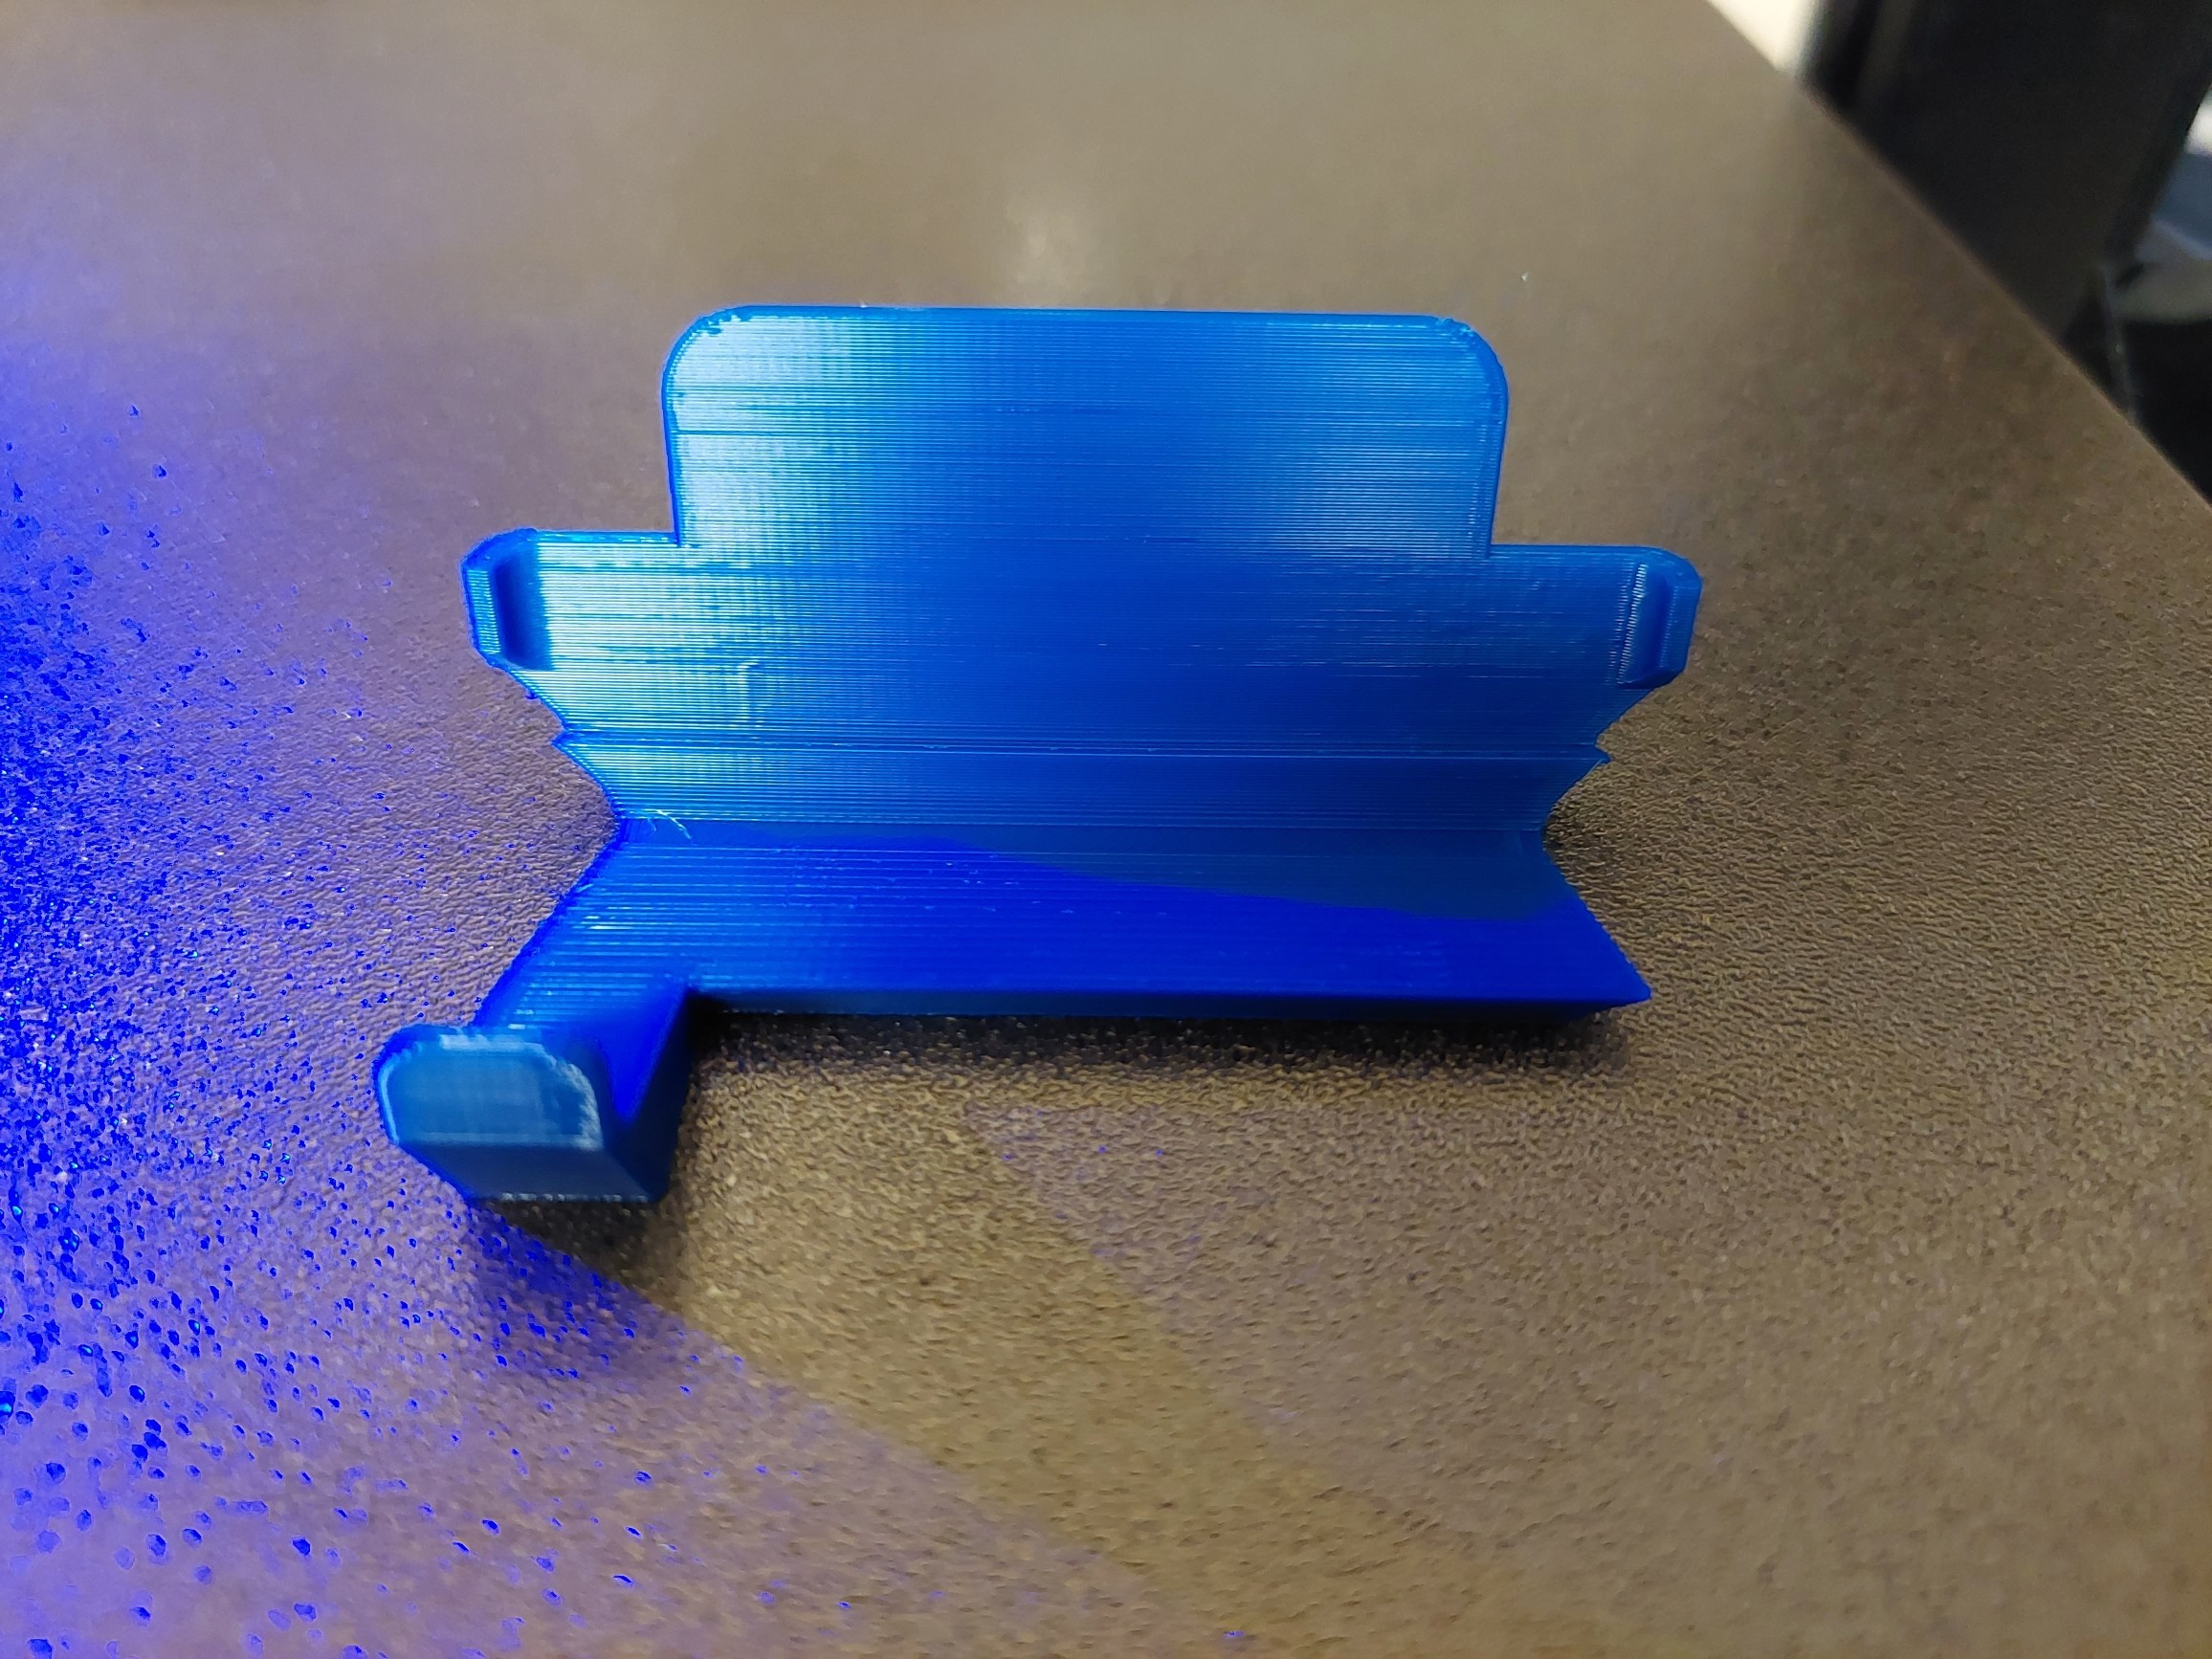
The 2nd print of the #Nintendo #Gameboy #DMG01 stand (printed with 100mm/s) came out pretty well, too. Seems that the #PEI printing bed was a good investment. The left Gameboy was modified with a TFT display, the right one with the bivert mod. #3dprinting #Retro #retrogaming
To check my new #PEI printing bed, I printed a stand for my #Nintendo #Gameboy #DMG01. It came out fine with no problems with bed adhesion. Next I will reprint it (for my 2nd GB) with a higher speed. #Retro #3dprinting

I'm glad I started trying to finish my AD&D 1e collection back when these were still considered mostly worthless. #DnD #ADD1e #TTRPG #DMG #DMGuide #DMG01
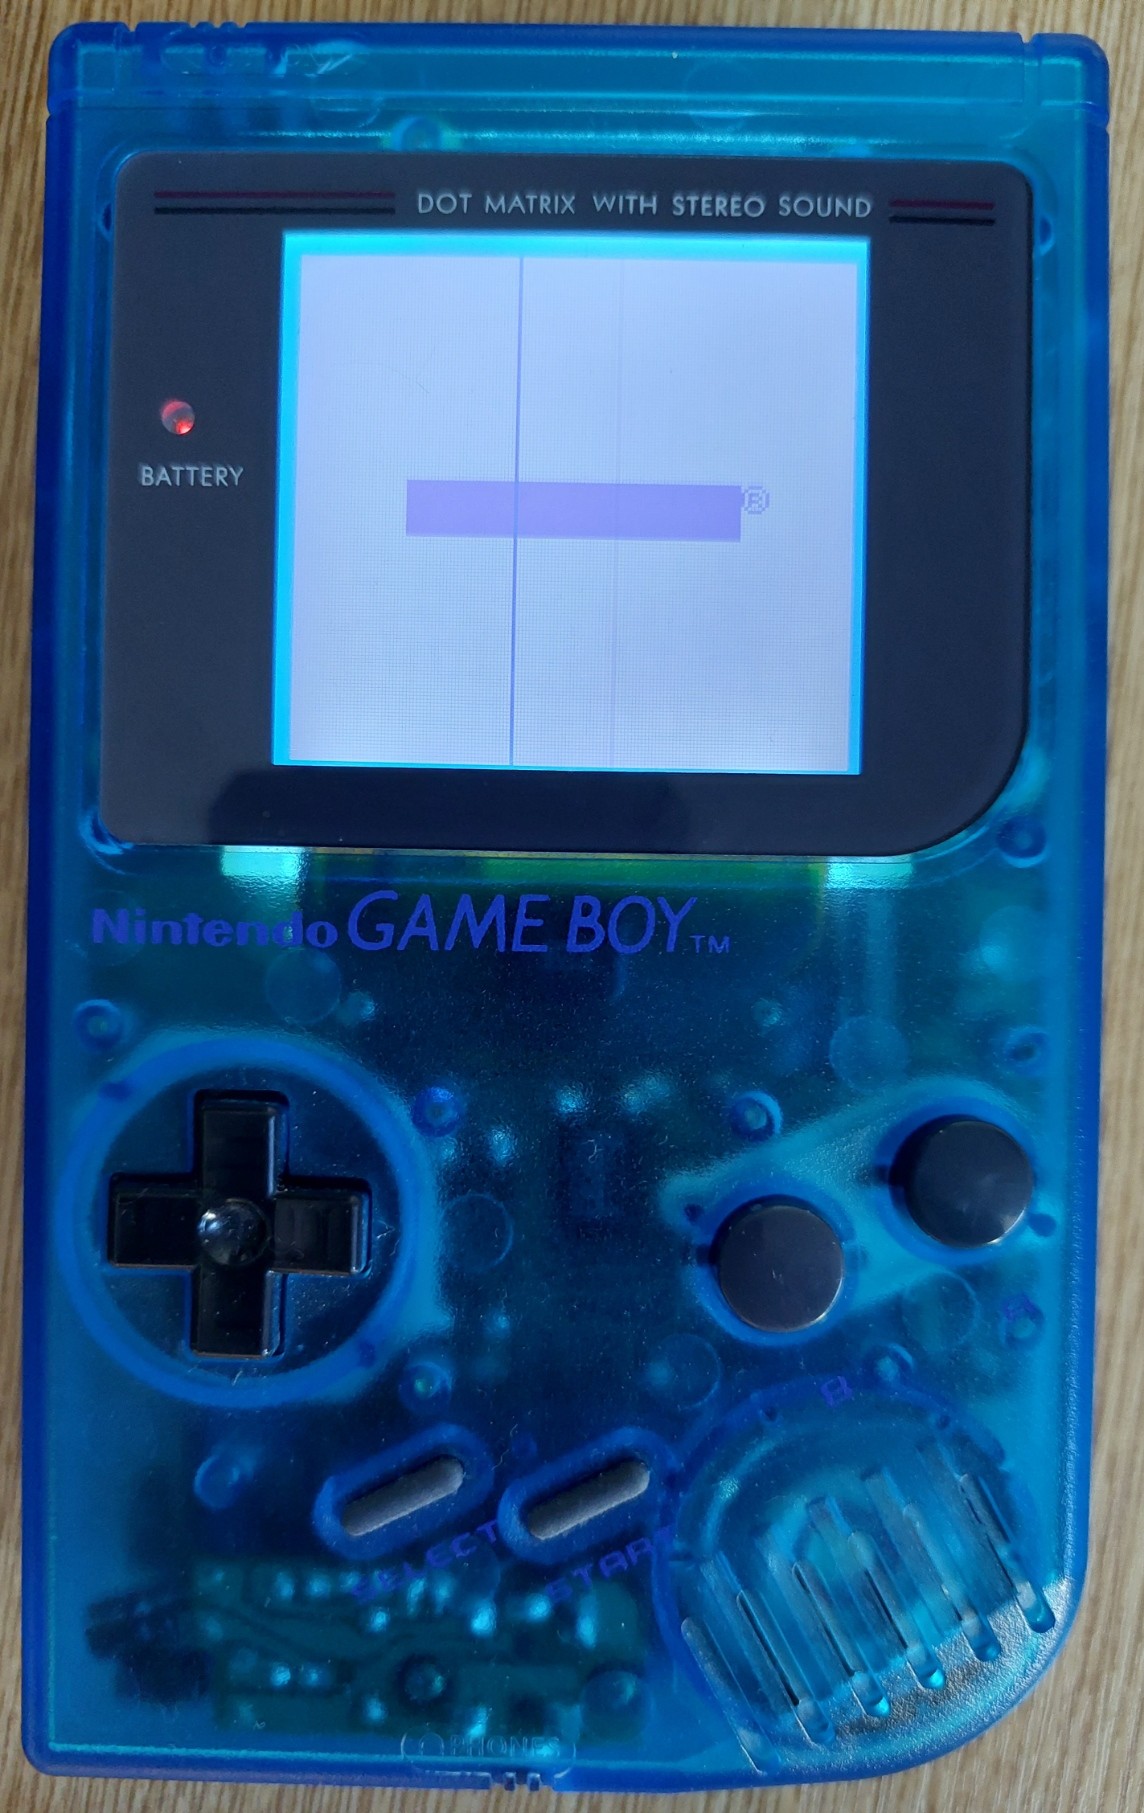
The wonderful Game boy. It's my favorite one! And it was my first console during my childhood. How many hours did I spend playing fun and addicting games like Tetris or Wario Land?
#gameboy #nintendo #handheldgaming #retro #tetris #retrogaming #wallcade #dmg01 #console #gaming #games #retrocomunity #oldschoolgaming #retrocollective #ninstagram #gamercommunity #gamecollection #handheldenthusiasts #lovetogame #pokemon #consolas #consolasretro #nintendoespaña #gameboyespaña
Ich muss die Tage dann auch mal meinen #Gameboy #DMG01 mit #Bivert Mod fixen. Glücklicherweise sind es nur vertikale Linien. Das sollte relativ leicht sein.

Game Boy Color Makes Itself at Home in a DMG-01
When we last checked in with [The Poor Student Hobbyist], he had just finished cramming a Game Boy Advance (GBA) SP motherboard into the body of the iconic Game Boy DMG-01, complete with an aftermarket IPS display. Unfortunately, after a few weeks of using the system, he ran into a few issues that sent him back to the drawing board.
This time, he's revamped Nintendo's classic handheld with the internals from its successor, the Game Boy Color (GBC). Obviously that means this new build can't play any GBA titles, but that was never actually the goal in the first place. It might seem obvious in hindsight, but owing to their general similarity, it ended up being far easier to fit the GBC hardware into the Game Boy's shell. Though we still wouldn't call this an "easy" swap by any stretch of the imagination…
Whether you want to follow his footsteps towards portable gaming bliss or just want to live vicariously through his soldering iron, [The Poor Student Hobbyist] has done an absolutely phenomenal job of documenting this build. While he cautions the write-up isn't designed to be a step by step instructional piece, there's an incredible wealth of information here for others looking to perform similar modifications.
The build involved removing much of the original Game Boy's connectors and controls, such as the volume wheel, Link Port, and even headphone jack, and grafting them onto a GBC motherboard that's been physically trimmed down. At a high level it's not unlike the trimmed Wii portables we've seen, but made much easier due to the fact the GBC only used a two-layer PCB. It also helps that [The Poor Student Hobbyist] has once again used an aftermarket IPS display, as that meant he could literally cut off the LCD driver section of the GBC motherboard. Of course there have also been several hardware additions, such as a new audio amplifier, power regulation system, LiPo charger, and 2000 mAh battery.
There's a lot of fantastic details on this one, so if you're remotely interested in what made the Game Boy and its successors tick, we'd highly recommend taking the time to read through this handheld hacking tour de force. His previous build is also more than worthy of some close study, even if it ended up being a bit ungainly in practice.
#nintendogameboyhacks #dmg01 #gameboy #gameboycolor #ipsdisplay #retrogaming
Original Game Boy Powered Up with GBA Motherboard
The Game Boy DMG-01 is about as iconic as a piece of consumer electronics can get, but let's be honest, it hasn't exactly aged well. While there's certainly a number of games for the system that are still as entertaining in 2021 as they were in the 80s and 90s, the hardware itself is another story entirely. Having to squint at the unlit display, with its somewhat nauseating green tint, certainly takes away from the experience of hunting down Pokémon.
Which is precisely why [The Poor Student Hobbyist] decided to take an original Game Boy and replace its internals with more modern hardware in the form of a Game Boy Advance (GBA) SP motherboard and aftermarket IPS LCD panel. The backwards compatibility mode of the GBA allows him to play those classic Game Boy and Game Boy Color games from their original cartridges, while the IPS display brings them to life in a way never before possible.
Relocating the cartridge connector took several attempts.
Now on the surface, this might seem like a relatively simple project. After all, the GBA SP was much smaller than its predecessors, so there should be plenty of room inside the relatively cavernous DMG-01 case for the transplanted hardware. But [The Poor Student Hobbyist] made things quite a bit harder on himself by deciding early on that there would be no external signs that the Game Boy had been modified; beyond the wildly improved screen, anyway.
That meant deleting the GBA's shoulder buttons, though since the goal was always to play older games that predated their addition to the system, that wasn't really a problem. The GBA's larger and wider screen is still intact, albeit hidden behind the Game Boy's original bezel. It turns out the image isn't exactly centered on the physical display, so [The Poor Student Hobbyist] came up with a 3D printed adapter to mount it with a slight offset. The adapter also allows the small tactile switch that controls the screen brightness to be mounted where the "Contrast" wheel used to go.
An incredible amount of thought and effort went into making the final result look as close to stock as possible, and luckily for us, [The Poor Student Hobbyist] did a phenomenal job of documenting it for others who might want to make similar modifications. Even if you're not in the market for a rejuvenated Game Boy, it's worth browsing through the build log to marvel at the passion that went into this project.
Some would argue [The Poor Student Hobbyist] should have just put a Raspberry Pi into a Game Boy case and be done with it, but where's the fun in that? Sure it might have been a somewhat better Bitcoin miner, but there's something to be said for playing classic games on real hardware.
#classichacks #nintendogameboyhacks #dmg01 #gameboy #gameboyadvance #gameboycolor #restoration

@Twelve
With how little I use it, I'm not sure it'll be worth it.
The #GBA games I can also play on my #NDSLite, and I might prefer playing #GameBoy games with an actual Game Boy; my original #DMG01, probably with the magnifier glass with built-in light. ;)
I do have a spare DMG-01 that I could mod, especially since one or two of its lines are gone.
That would only leave a couple of #GameBoyColor games.

Client Info
Server: https://mastodon.social
Version: 2025.07
Repository: https://github.com/cyevgeniy/lmst