
The SCSI Film Scanner Resurrection https://hackaday.com/2026/01/11/the-scsi-film-scanner-resurrection/
#Digitalcamerashacks #Epson #Filmscanner #Scsi
#Filmscanner

I made a 16mm film scanner using Lego technic! 🎞️⚙️
The film is slowly pulled by a motor, passing the frames in front of a camera with a macro lens that I picked up at MPB for 60 euros. The rig itself sits on a glass plate from my fridge. It films constantly, capturing all the frames as a video. Then I asked Chat GPT to write me a Python script that selects the frames and only keeps those where the sprocket holes are perfectly aligned.

Ah, the cutting-edge marvel of #Knokke, where high-resolution dreams meet the harsh reality that nobody asked for 🙄. A film scanner so advanced, it'll make your camera cries for attention while your wallet sneaks out the back door 🚪💸. Enjoy watching the promo video on repeat—it's the most action you'll get out of this "modern" relic #📼🎥.
https://www.soke.engineering/ #FilmScanner #HighTech #ModernArt #WalletWoes #HackerNews #ngated
I share a turning point in my film journey: discovering flaws in lab scans — missing details, overexposed areas, and tones that didn’t reflect the negative.
Trusting your own interpretation is key in film photography
Unfortunately, due to some technical issues, this video is a bit shorter than I originally planned.
#shootfilm #keepfilmalive #filmworkflow #negativelabpro #epsonv800 #filmscanner #kodakgold200 #ilfordxp2 #blackandwhitefilm #photography #believeinfilm

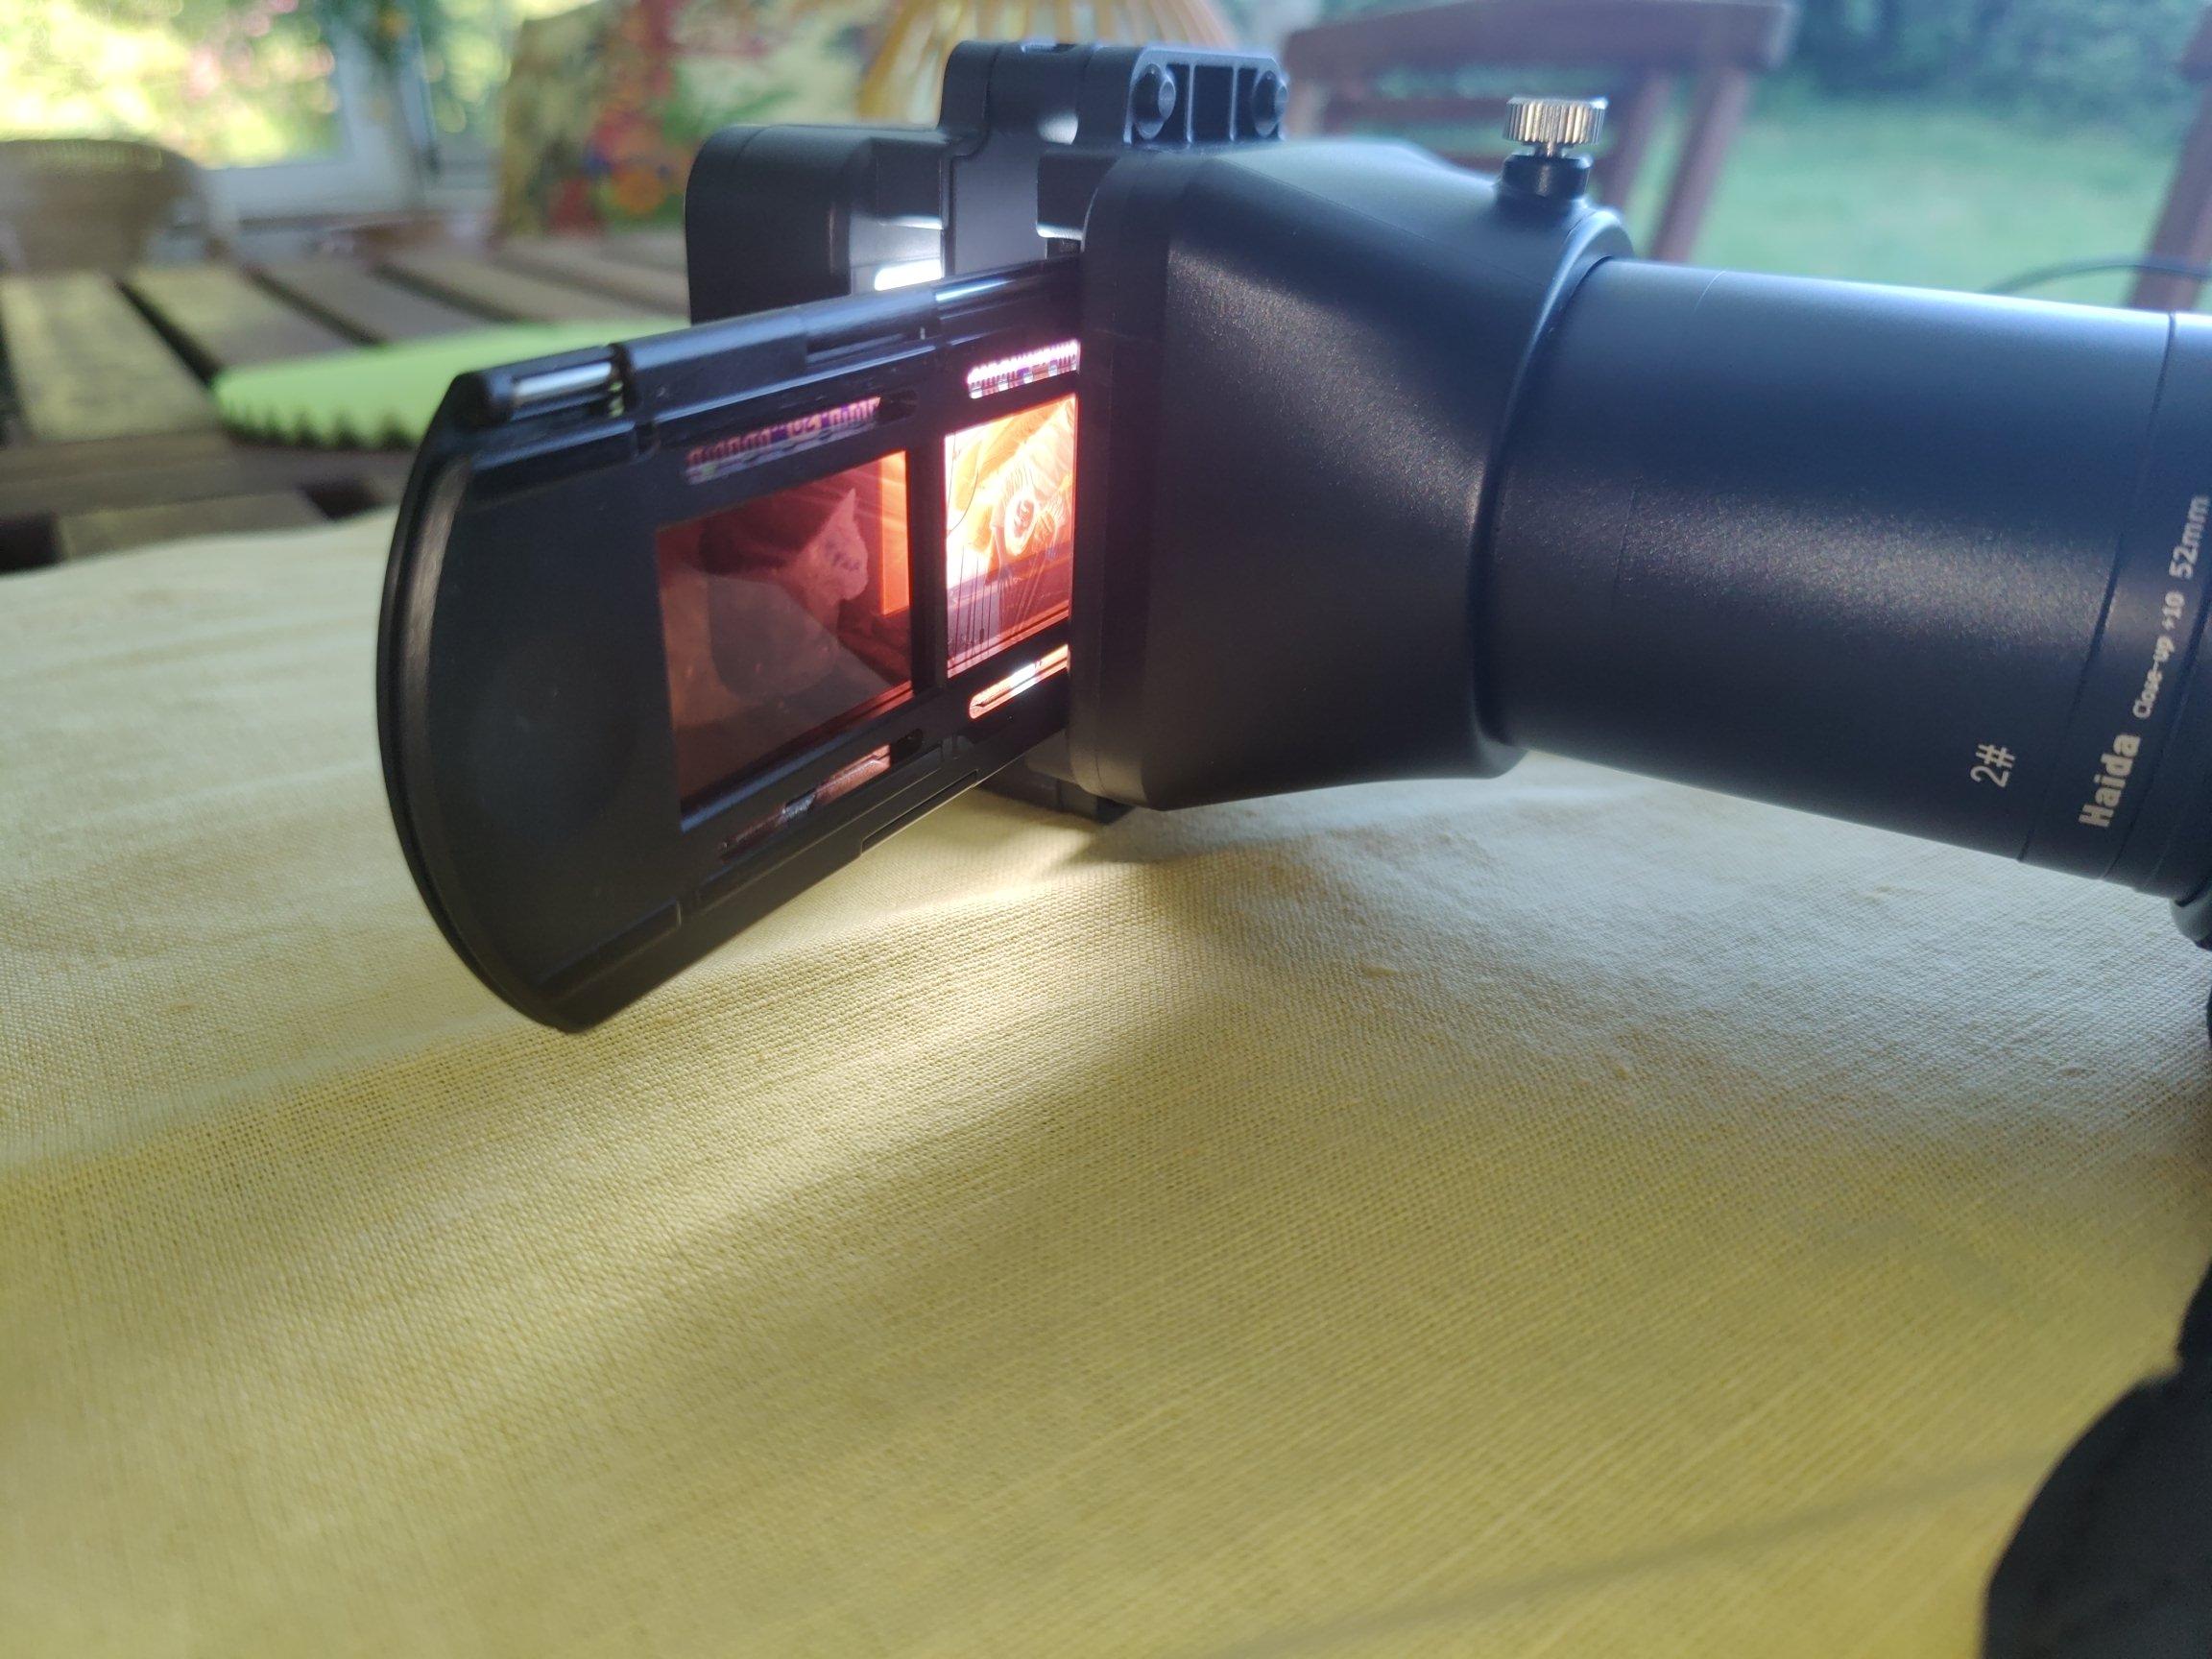
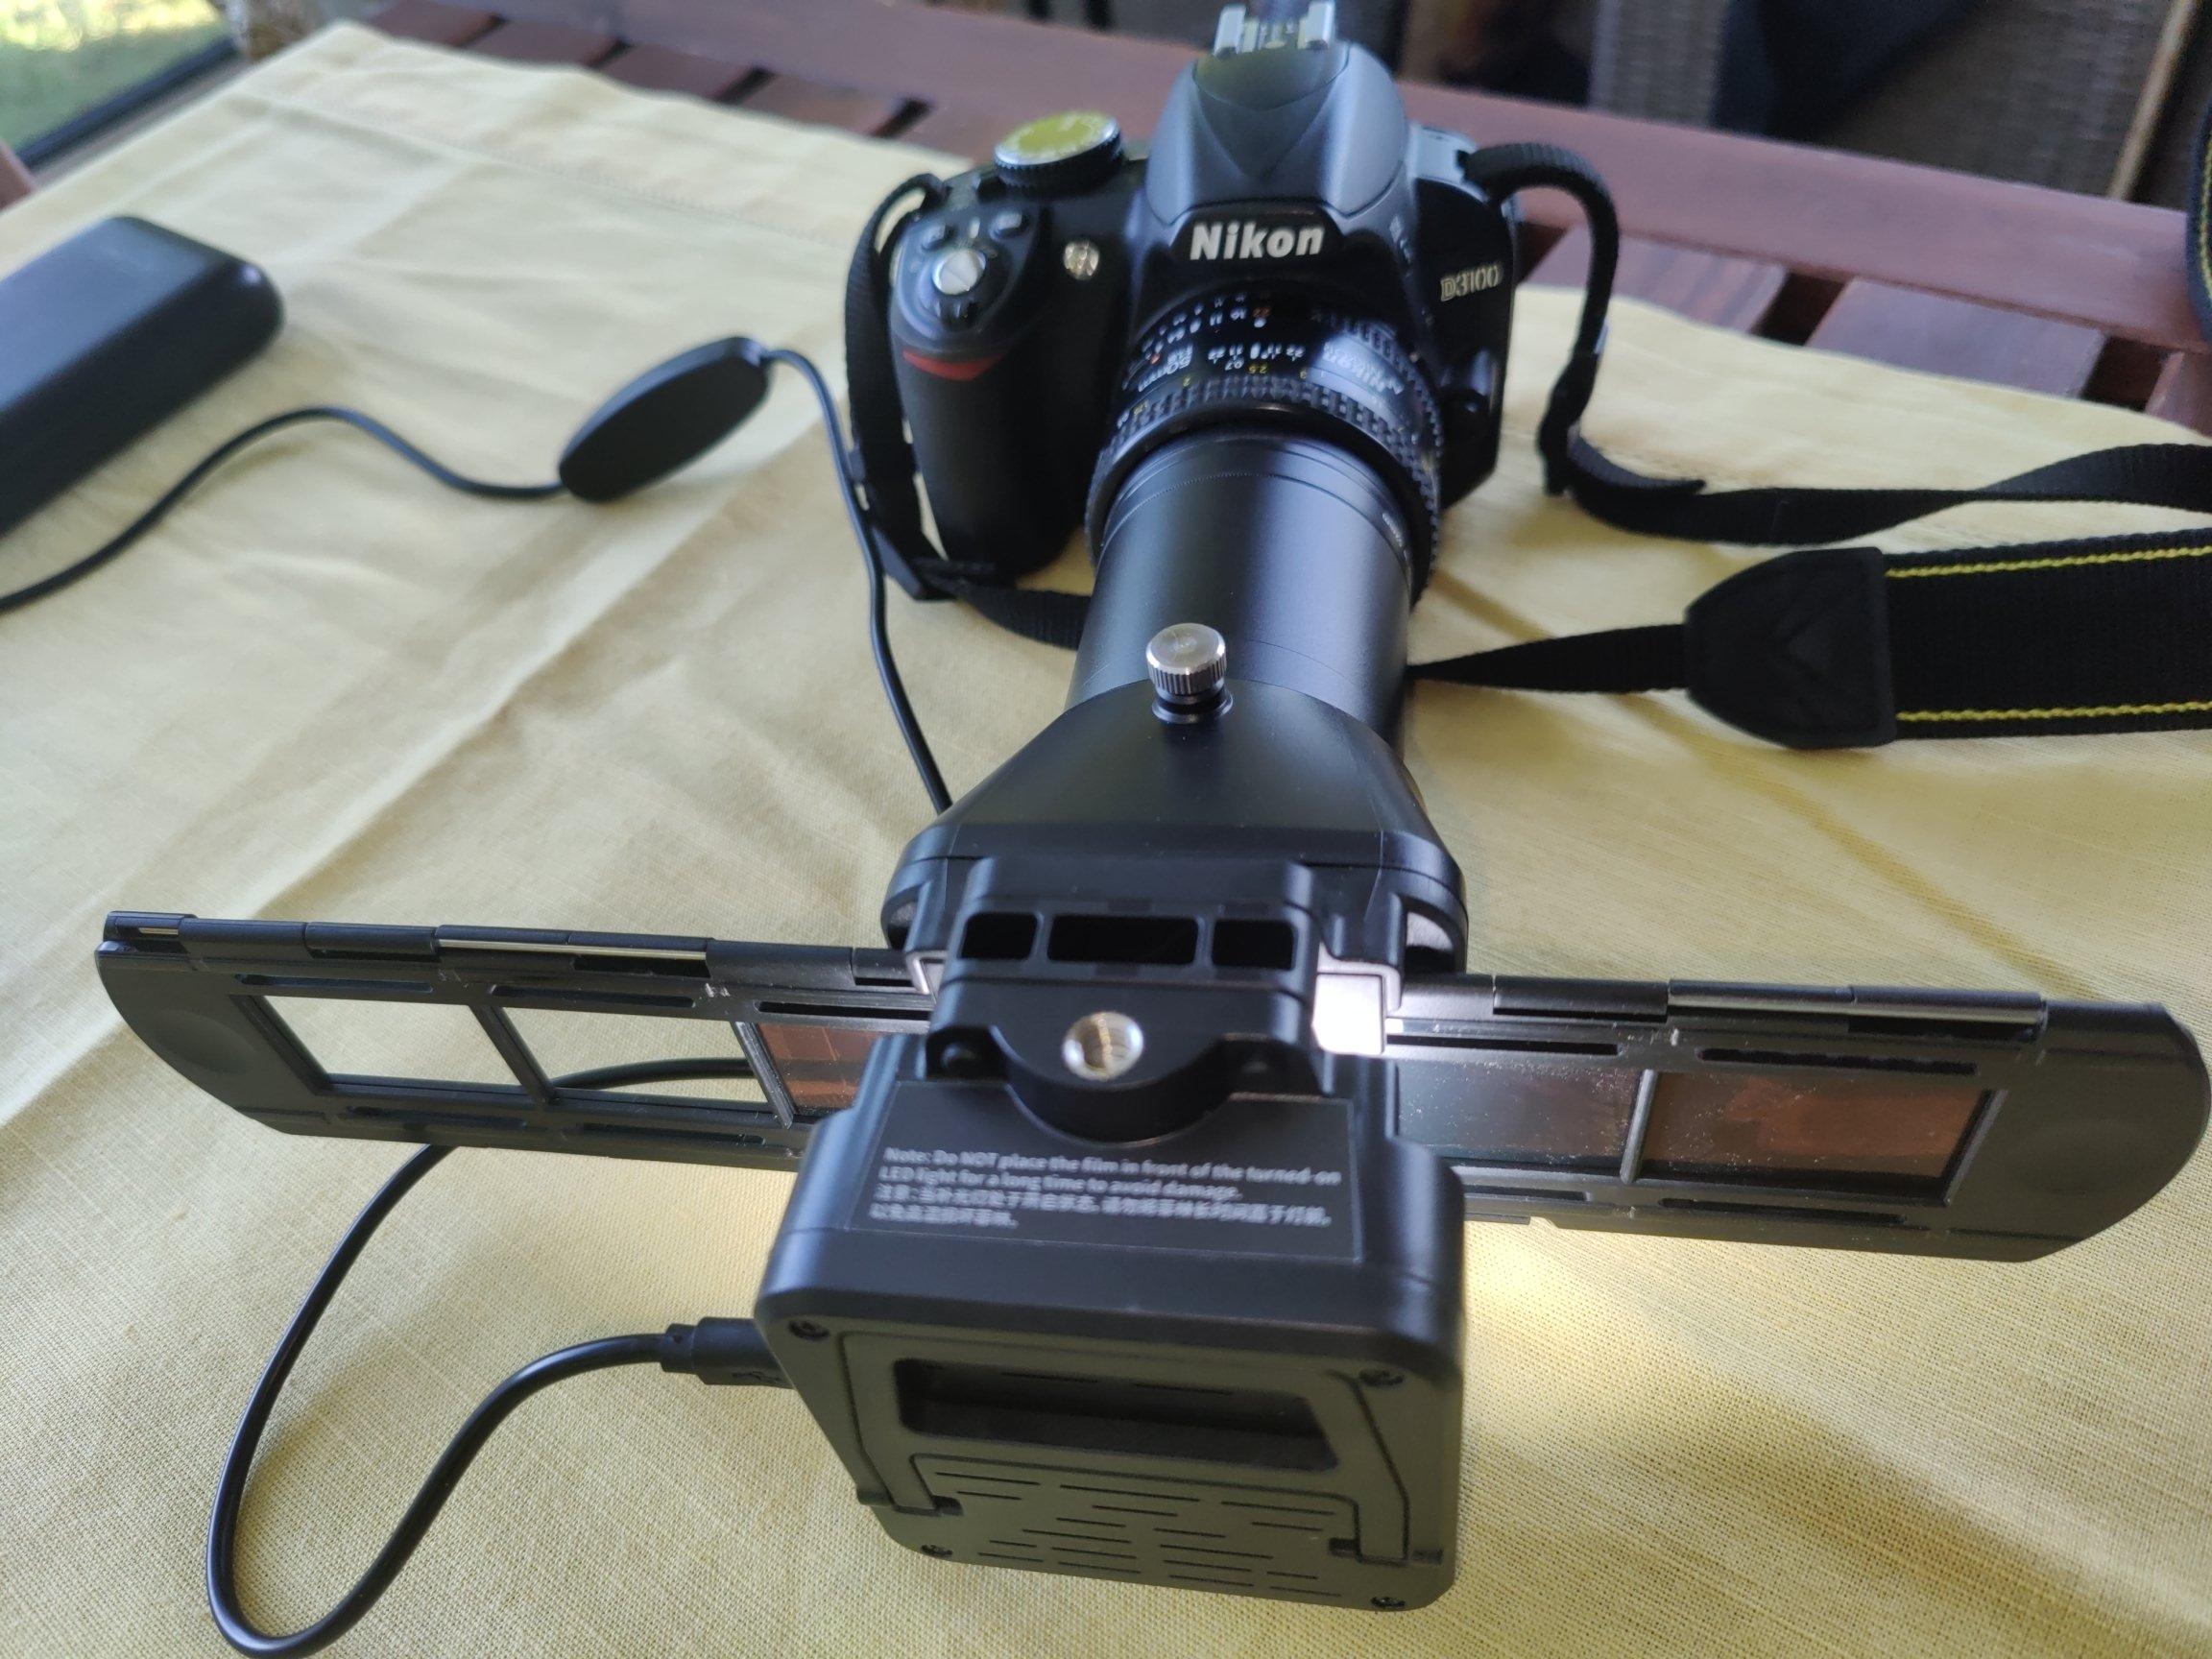
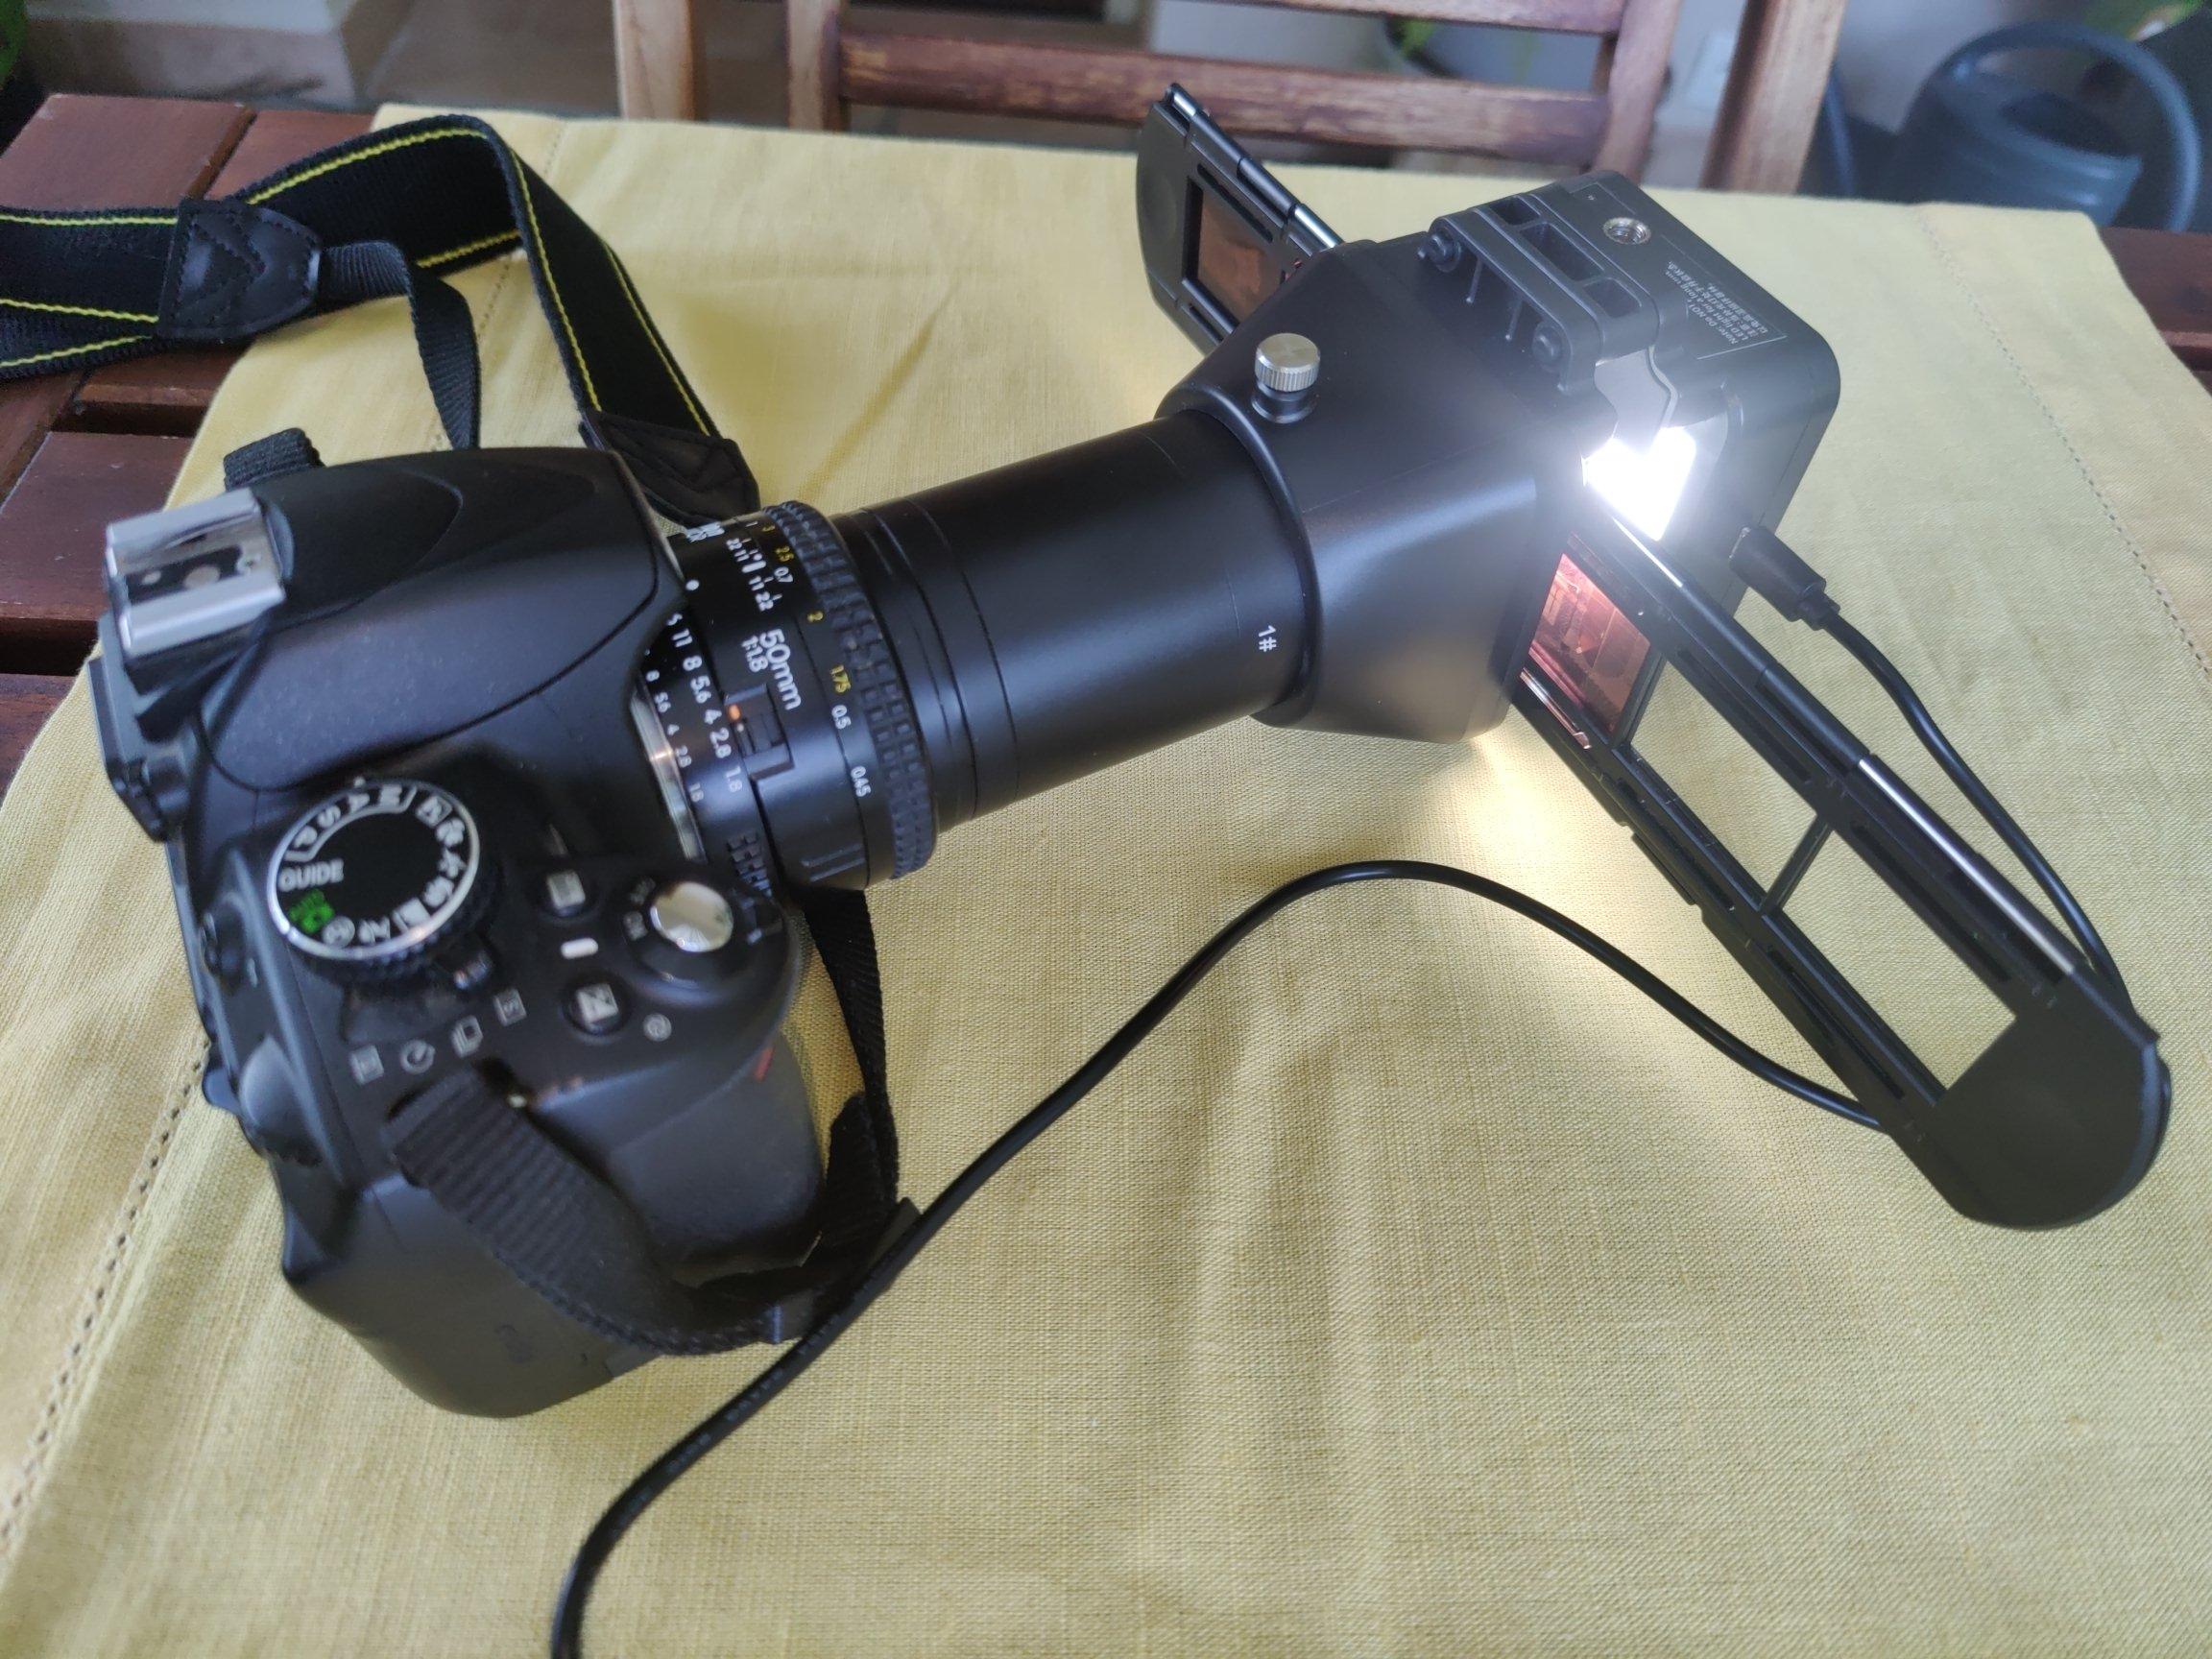
Mon nouveau scanner a film...rétro-éclairage a leds, systeme très adaptable il faut quand même une bonnette +10 pour arriver au plein format ...il vaut mieux regler les iso au minimum, l'ouverture sur 22. Au moins aussi bon que mon scanner a plat, mais bien plus rapide et transportable...et pas de probleme de driver 😅
#35mm #35mmfilm #filmphotography #film #filmisnotdead #filmisalive #believeinfilm #analogfilm #keepfilmalive #bw #argentique #filmcamera #scanner #filmscanner

Lomography’s Redesigned DigitaLIZA Makes Home Film Scanning Simple https://petapixel.com/2025/03/25/lomographys-redesigned-digitaliza-makes-home-film-scanning-simple/ #filmphotography #digitalizamax #digitization #filmscanning #digitaliza+ #filmscanner #lomography #digitize #Analog #News
Epson Denies Claim That Its CCD Film Scanners Are Approaching ‘End of Life’ https://petapixel.com/2025/02/05/epson-denies-claim-that-its-ccd-film-scanners-are-approaching-end-of-life/ #epson13000XLarchivalscanner #epsonv850proscanner #35mmfilmscanner #filmscanners #filmscanner #Equipment #Analog #epson #News #film

Scanning films with a digital camera - very high resolution scan
https://www.denisolivier.com/scanning/films-digitalization-with-digital-camera/en/
#scanningfilm #scanner #digitalscan #filmscan #filmscanner #digitialscanner #dslrscan #dslrscanning

Valoi Advancer 2 Offers Quality-of-Life Improvements for Film Photographers https://petapixel.com/2024/05/22/valoi-advancer-2-offers-quality-of-life-improvements-for-film-photographers/ #35mmfilmscanner #filmphotography #digitalcamera #filmscanner #Equipment #35mmfilm #120film #Analog #valoi #News


Lomography DigitaLIZA Max Lets You Scan Film With Your Smartphone
#equipment #mobile #news #analog #digitaliza #digitalizamax #film #filmscanner #filmscanning #lomography #smartphone

Negative Supply Launches the Basic Film Carrier 120 At-Home Scanner
Negative Supply has announced the Basic Film Carrier 120 which it bills as an affordable, accessible option for easily obtaining professional medium format film scans at home, on the go, or in the studio.
After the successful launch of the Basic Film Carrier 35 earlier this year, Negative Supply simplified the Film Carrier 120 into a similarly approachable and affordable alternative to its full-fledged professional film scanning tool system. The company says that it rounds out the "basic" line of products to include support for medium format.
The Basic Film Carrier uses a carbon fiber composite housing with a tolex-wrapped exterior that is similar to the Basic Film Carrier 35 and 4×5 Light Source Basic, and also employs a magnetic hinge mechanism that is found on the original Film Carrier 120.
The system relies on a digital camera to capture scans. The Film Carrier keeps film flat using the magnetic hinged clamping design and Negative Supply says that the system allows photographers to capture a full roll of film in as few as 60 seconds.
The Basic Film Carrier 120 can scan cut strips or full rolls of 120 film, and scan up to 6×9 centimeter film in a single capture. It also allows the full image area to be scanned plus a thing border on all sides. 6×12 centimeter or larger film (such as can be found in panoramic photos) can be captured in two frames.
Below are a few sample images that were scanned using the Basic Film Carrier 120:
Photo by Alexander Kawasaki Photo by Alexander Kawasaki Photo by John Schell Photo by John Schell
Negative Supply says that the Basic Film Carrier 120 works well with the Basic Riser MK1 and 4×5 Light Source Basic, which is important because the system isn't "complete" on its own. The Riser MK1 is the company's copy stand that allows for the scanning of 35mm or 120 film, and the 4×5 Light Source basic (which is available in 95 or 99 CRI variants) is a light source that is designed specifically for scanning film.
The Negative Supply Basic Film Carrier 120 is available starting today for $199 directly from the Negative Supply online shop.
#equipment #news #120film #analog #basicfilmcarrier120 #basicfilmcarrier35 #film #filmphotography #filmscanner #negativesupply

Review: Photomyne Filmbox
I don't know if everyone else has been bombarded lately by ads for the Photomyne Filmbox app on the surprisingly detrimental to teens and self esteem instamachine. The almighty algorithm has targeted me and I assume many others who often post and tag film photography related content. I usually just flip past sponsored posts but the pitch for easily scanning your negatives with just your phone is an intriguing proposition and I bit. The following is a quick look at the process and results from go with the Photomyne Filmbox. I did the homework so you don't have to.
What is the Photomyne Filmbox
While catching up on followers posts, the sponsored ad for the Filmbox caught my eye as it initially seemed like a great idea. A quick scan of your negatives on your phone can be a boon. Of course it's unreasonable but people will somehow expect Noritsu quality from that 4mm lens and 4mm sensor in your pocket.
The app is marketed and targeted towards, shall we say "older people", and is meant as a quick and easy way to digitize the arcane physical cellulose and paper that dinosaurs use. There is just no physical possibility that this can in any way replace a proper scanner for any real work but does it do what it promises and could be a helpful tool for proofing, etc.?
Photomyne Filmbox Process
Firstly, the app tells you to open a blank white screen and set your monitor brightness to the max level. You can also just click on the link they provide which leads you to the above image.
You then hold up your negative as shown, press the button for 3 seconds and your negatives will be quickly and nicely scanned to the camera roll on your phone. At least that's what the marketing material will lead you to believe.
Actual Results
The instructions video made it look simple enough. But in real world use, I don't think everyone's negatives are that straight and flat like in the how-to video. Streetpan for example, is quite thin and difficult to hold up as required. Holding it not quite right provides wildly inaccurate croppings and distortions. Below is a landscape somehow confused to be in portrait and the buildings are way skewed.
You also have to be wary of the angle you're holding the negatives at. Otherwise the glare from the monitor can cause some unsightly marks like below.
It seems many people have had similar issues enough that there is a developer response to the matter:
The negative has be 2 inches (5 cm) away from the computer screen in order not to have the image pixelated. The camera needs to see the side holes. Please try again and let us know how it goes.
Alrighty then, let's give it another go. So holding the negative precisely provides the image below. The following is the same image scanned on a Plustek Opticfilm 8200i.
Results from Photomyne Filmbox
Results from Plustek Opticfilm 8200i
Results from Photomyne Filmbox
Results from Plustek Opticfilm 8200i
The first 7 images are free as a trial, well sort of, then after that you'll need a subscription of some sorts to access your images and remove the watermark. I say sort of because, you can't export the sample images you scanned for free, you can only view them.
And before you ask, yes I tried to just take a screenshot to circumvent the watermarking to which the app responded with:
Currently, the app can only crop to 35mm film. For scanning 35mm slides there is a separate app, and scanning actual prints also requires a separate albeit related app. Why can't they be combined? Not sure…
Conclusion
Seems like the Filmbox app has good intentions but execution and the freemium features have many kinks that need to be worked out. The idea was to make digitizing your negatives "easy" but fiddling around to make sure you hold your negative perfectly still at an awkward position defeats the purpose.
The disparity in image quality between a real scanner and your smart phone is nothing that can be helped yet I was hoping that it could aid in checking your negs on a light table at the lab or sending quick samples. Not sure this even cuts it for the grandma scanning old family albums.
I don't mind the "freemium" concept per se, but you gotta offer something better to hook people let alone keep them coming. Just a nice idea doesn't cut it I'm afraid, the execution portion of the equation has much catching up to do.
What do y'all reckon? Is this something you'd be interested in given it does what it should? Let us know, you know the drill.
MN
The post Review: Photomyne Filmbox appeared first on Japan Camera Hunter.
#reviews #filmscanning #filmphotography #filmscanner #filmbox #japanclassiccamerablog #photoappreview #photomyne
This is How AP Journalists Sent Photos From the Field in the 1980s
Thanks to advancements in modern technology, photojournalists can have a near-instantaneous connection with agencies and outlets with very little downtime between when a photo is captured and when it is published. But it wasn't always like this.
To celebrate its 175th birthday in 2021, the Associated Press (AP) has published a series of detailed blogs that dig deep into its corporate archives and explain as well as show the history of the organization. In part seven of the eight-part series, the AP shared a scan of an old brochure that advertises the latest of 1970s technology: the AP Portable Picture Transmitter.
This large device is basically a portable fax machine that would be able to send both black and white or color photographs over long distances using telephone lines. It could also be used to send drawings or printed materials of any kind that could fit on its scanning spool.
Associated Press brochure announcing AP's new portable photo transmitter for both color and black and white photographs, 1981. (AP Photo/Corporate Archives)
"Sending color photographs is greatly simplified with the AP Portable Transmitter," the description reads. "A single color print is mounted on the drum and by simple positioning of the desired filter in front of the photo multiplier, the same print is sent three times. One time each for cyan, magenta, and yellow. Of course, the transmitter can also be used to send regular black and white separation prints."
One of the major selling points was that it only contained two mechanical functions: the rotation of the picture drum and the electronics that moved the fiber optic carriage. The entire machine was powered by an 8-bit microprocessor that controlled the timing, motor, video, and oscillating functions. It also controlled the automatic gain system and would prescan the entire photograph to obtain the best white levels and then set that white output signal to the proper level.
The AP Portable Picture Transmitter was also capable of operating in the AM or FM modes in the laserphoto standards that were used at the time.
While it isn't small by any modern standards, at the time it was considered to be light and compact as well as durable -- it took up no more space than 170 cubic inches.
The design of the device is similar to one that was used by other organizations at the time, including the United Press International UPI Model 16-S. This drum-based transmitter was detailed in a blog post from Dallas Morning News photo director Chris Wilkins back in 2012. In that explanation, it was revealed that transmitting images this was was extremely slow and could take between eight and nine minutes to send a single black and white photo. The UPI 16-S was used from the early 1970s up through around 1991.
The AP Portable Transmitter looks as though it has more features and was slightly more advanced in its design than the UPI 16-S, though additional information on it outside of this single image from the AP's archives is thin. What is notable is that the AP eventually switched to a different device called the AP Leafax 35 by 1988, which was more advanced and was housed inside a silver briefcase (which can be seen on the AP's blog post). It eventually became the proprietary technology of the AP as it was capable of the same functions as the Portable Transmitter but was also a portable negative scanner, the first device of its kind that could perform both duties.
Photo by Morio, Creative Commons
That said, it still wasn't fast. In an interview with PetaPixel from 2015, photographer Brad Mangin mentions that it could take upwards of 30 minutes to send a single photo.
"I was covering sporting events all over the place and sending pictures back to our picture desk in New York over analog phone lines with an AP Leafax transmitter that took 30 minutes to send one color picture -- and that was state of the art at the time!" he said.
Gratefully, technology has advanced to the point where in the time it once took photojournalists to send a single photo, modern methods could send hundreds.
_Image credits: Header image via the AP and used with permission. _
#equipment #news #technology #1980s #apportablepicturetransmitter #associatedpress #filmscanner #history #photojournalists #portable #scanning #scans #sendingphotos #telephone
Review: Photomyne Filmbox
I don't know if everyone else has been bombarded lately by ads for the Photomyne Filmbox app on the surprisingly detrimental to teens and self esteem instamachine. The almighty algorithm has targeted me and I assume many others who often post and tag film photography related content. I usually just flip past sponsored posts but the pitch for easily scanning your negatives with just your phone is an intriguing proposition and I bit. The following is a quick look at the process and results from go with the Photomyne Filmbox. I did the homework so you don't have to.
What is the Photomyne Filmbox
While catching up on followers posts, the sponsored ad for the Filmbox caught my eye as it initially seemed like a great idea. A quick scan of your negatives on your phone can be a boon. Of course it's unreasonable but people will somehow expect Noritsu quality from that 4mm lens and 4mm sensor in your pocket.
The app is marketed and targeted towards, shall we say "older people", and is meant as a quick and easy way to digitize the arcane physical cellulose and paper that dinosaurs use. There is just no physical possibility that this can in any way replace a proper scanner for any real work but does it do what it promises and could be a helpful tool for proofing, etc.?
Photomyne Filmbox Process
Firstly, the app tells you to open a blank white screen and set your monitor brightness to the max level. You can also just click on the link they provide which leads you to the above image.
You then hold up your negative as shown, press the button for 3 seconds and your negatives will be quickly and nicely scanned to the camera roll on your phone. At least that's what the marketing material will lead you to believe.
Actual Results
The instructions video made it look simple enough. But in real world use, I don't think everyone's negatives are that straight and flat like in the how-to video. Streetpan for example, is quite thin and difficult to hold up as required. Holding it not quite right provides wildly inaccurate croppings and distortions. Below is a landscape somehow confused to be in portrait and the buildings are way skewed.
You also have to be wary of the angle you're holding the negatives at. Otherwise the glare from the monitor can cause some unsightly marks like below.
It seems many people have had similar issues enough that there is a developer response to the matter:
The negative has be 2 inches (5 cm) away from the computer screen in order not to have the image pixelated. The camera needs to see the side holes. Please try again and let us know how it goes.
Alrighty then, let's give it another go. So holding the negative precisely provides the image below. The following is the same image scanned on a Plustek Opticfilm 8200i.
Results from Photomyne Filmbox
Results from Plustek Opticfilm 8200i
Results from Photomyne Filmbox
Results from Plustek Opticfilm 8200i
The first 7 images are free as a trial, well sort of, then after that you'll need a subscription of some sorts to access your images and remove the watermark. I say sort of because, you can't export the sample images you scanned for free, you can only view them.
And before you ask, yes I tried to just take a screenshot to circumvent the watermarking to which the app responded with:
Currently, the app can only crop to 35mm film. For scanning 35mm slides there is a separate app, and scanning actual prints also requires a separate albeit related app. Why can't they be combined? Not sure…
Conclusion
Seems like the Filmbox app has good intentions but execution and the freemium features have many kinks that need to be worked out. The idea was to make digitizing your negatives "easy" but fiddling around to make sure you hold your negative perfectly still at an awkward position defeats the purpose.
The disparity in image quality between a real scanner and your smart phone is nothing that can be helped yet I was hoping that it could aid in checking your negs on a light table at the lab or sending quick samples. Not sure this even cuts it for the grandma scanning old family albums.
I don't mind the "freemium" concept per se, but you gotta offer something better to hook people let alone keep them coming. Just a nice idea doesn't cut it I'm afraid, the execution portion of the equation has much catching up to do.
What do y'all reckon? Is this something you'd be interested in given it does what it should? Let us know, you know the drill.
MN
The post Review: Photomyne Filmbox appeared first on Japan Camera Hunter.
#reviews #filmscanning #filmphotography #filmscanner #filmbox #japanclassiccamerablog #photoappreview #photomyne

Scanning Medium Format Film on a 35mm Scanner
Scanning film is great for archival purposes as well as sharing said photos digitally. However, if you're scanning 120 film, aka medium format, it can be expensive to get the requisite hardware. 35mm scanners are comparatively more common, so [Christian Chapman] decided to modify one to suit medium film instead.
The hack is for the Plustek 8100, and requires modifying the scanner in two ways. Firstly, the driver has to be scanned to sweep a longer range to take into account the bigger film. Secondly, a part of the film carriage has to be replaced so it doesn't show up in the scanners field of view.
The former is achieved by using the sane-genesys scanner software backend, which can be easily modified to adjust the scan length values appropriately. The latter is achieved via 3D printing replacement components that fit without blocking the requisite area.
It's a tidy hack and one that allows [Christian] to both scan medium format film as well as overscan 35mm film to capture details from the sprocket hole area. We've seen fully custom film scanner builds before, too. If you've built your own scanner, be sure to drop us a line!
#mischacks #camera #film #filmscanner #mediumformat #scanner

Photographer Finds and Digitizes Century-Old Family Photos
A Wyoming-based photographer has uncovered a large collection of family photographs taken throughout the 20th century and digitized them to reveal and preserve the everyday lives of past generations.
Zachary Ian Peabody, based in Powell, Wyoming, is a photographer who discovered that his family has had an interest in photography throughout generations when he came across boxes and albums full of old photographs and negatives passed down by his family.
Although his own photography slowed down after several years of experimenting by shooting bands with a Canon Rebel T3, his interest was once reignited just prior to the COVID-19 pandemic, when his mother located her old Canon AE-1 Program, a 35mm single-lens reflex camera, and some old and expired film.
Image by Zachary Ian Peabody
Using this camera, Peabody taught himself how to develop the film and also how to properly scan and color grade it digitally, which coincided with the time albums and boxes of old family photos and negatives began to come in his possession from his late grandmother's house. Also, the memory of his grandmother shooting on a Polaroid Sun 600, which was released in the early 1980s, brings the full cycle back to his own photography today as he now uses that same camera for his own photography.
Image by Zachary Ian Peabody
Peabody's own photography revolves around photographing mundane or abandoned things, that may also be from a different generation, which is something he often comes across living in a small town.
Uncovering Decades of Past Lives
The discovered family collection of photographs and negatives dates back to the early 1900s and goes into the 1980s. Peabody recalls that "with the negatives, it seemed like a grand mystery because every negative I would mount would exceed my quality expectations upon the first preview scan," particularly in regard to the photos taken in the 1950s and before, where framing and exposure were seemingly perfect and "provide a glimpse into the life of a generation."
Peabody found this to be a relative called Jesse Read, photographed in his early years Jesse Read decades later
These photos have been accumulated and passed down from generations, and for the first time, Peabody is further preserving this rich collection of local social history by scanning and digitizing the photographs, giving them another life, and inviting the public to view them, too.
Although the photographer believes that these photos firstly belong to the family, he is also confident that "it is a sacred duty to preserve and share these stories," because it also opens up the dialogue and helps connects the dots from person to person depicted in each of the photos.
The process of going through the photographs is time-consuming: although the images are somewhat organized, many of the negatives are still in the slips from the developer at the time or "stuffed into random containers of "See's Famous Old Time Candies" and old Ziploc bags.
Even though photographs have been passed down by Peabody's grandmother and also his mother, there are also collections of work that belong to different branches of the family, such as Peabody's grandmother's siblings and their lives, dating from 1940 to 1960. This takes Peabody's work from merely scanning and digitizing to tracing connections between dates, locations, and people.
Some photographs have the year and the name of the person who had their film developed and the developer, for example, "B. Myers, AUG. 7 1936, Colorado Springs Drugstore," which gives additional clues behind the story in these photos.
Peabody has learned quite a lot through this process, but it has also invited more questions than answers. His own knowledge in regard to the faces and places found in the photos was fairly limited, but he did know his grandparents met during World War 2, and that his grandmother lived in Hawaii during this time before moving to Colorado and then finally to Wyoming to retire.
"When you see family members, past and present, and uncover their stories you always reflect on your own life," Peabody says. "It's something that builds and expands your mind, much like traveling expands your knowledge and the same can be said about looking at unseen photos of mystery places and people."
When it comes to recognizing his own immediate family in the photos, Peabody finds it easier to put names to the faces depicted, especially when the negatives are still in order in the sleeves they came in. For example, the photo series of Kelly's Turkey Ranch, below, are easy to spot now that he has a location, familiar faces, and landscape to refer to.
Looking through the varied collection of photos, which have documented not just the family's social life but also trips across the country, from Florida to Arkansas, and New Jersey, Peabody points out that he feels "it's easy to get an idea in our heads that our elderly family members always enjoyed staying home, but to the contrary, I've found they were far better explorers than I am, and many times better photographers as well."
"I've found quite a few photos mentioning a town called Calhan Colorado, which now seems to mostly be a ghost town," Peabody says. "Photos of storefronts in the 1900s and schoolhouses are prevalent -- many with handwriting detailing the identities of children in the lineup. Sometimes it feels like connecting the dots with string and pins to a missing person's case or something.
"I've found that I have a long generation of adventurers, photographers, documentarians, ice skaters, servicemen, mothers, fathers, turkey farmers, car enthusiasts, travelers, heroes, and beautiful human beings."
The back of the photograph reads "mercantile store - Calhan Colorado"
Peabody discovered a recurring character, referred to by the family as "Cousin Mike," who served in the Vietnam War and was a photography enthusiast, developing and printing his own photographs in a darkroom. Some of the best images Peabody has come across, such as those of his mother ice-skating, have his name stamped on the back of the photos.
Michael Conley also known as "Cousin Mike" during his early childhood years Michael Conley during his service Photograph of Peabody's mother, taken by "Cousin Mike"
Peabody also found that Michael Conley, the full name of "Cousin Mike", had courageously helped evacuate and rescue locals during the 1976 Big Thompson Flood, before tragically passing away. "Cousin Mike's" courage and service, as well as his dedication to his photography and arts, is something Peabody found inspirational, and, by digitizing the images, the photographer can honor Conley's life's achievements and preserve the photographs he took.
Besides the people who can be identified by the living family members, Peabody came across many whose identities are unknown, as well as locations and license plates from areas that the photographer didn't know he had a connection to. Some people were recurring subjects, while others appeared in the collection just once.
For example, the alligator photo, titled "Enemies", below, as well as the unidentified man in a suit leaning against a pillar and the two young men with a cougar. Even though photos like these don't reveal much about the connections to the family history, it still is "a window in time."
Peabody believes that the image was taken at the turn of the 20th century or before
Peabody explains, "I would say about a third of the photos I can recognize someone, a third is just landscape and people, and the remaining third is a mystery."
Currently, the photographer intends to share the experience of these digitized vintage photographs, and the glimpse of the past they provide, with others. It has been and continues to be a lengthy task, as his family has gone to great lengths to try and organize the images and identify the subjects, and Peabody feels that it's his duty to carry on, share, and preserve these memories.
He believes it is important to "open dialogue and show others that life is a flash, and the things that we do day-to-day might end up as a moment in time, captured as a negative in a dusty box."
The Scanning and Digitizing Process
Peabody often invites viewers to join his live streams on Twitch, where he spends time scanning and digitizing the photographs at home. Because the process is time-consuming, Peabody found it to be a good medium for his workflow because while he is working on revealing long-lost images in real-time, having the audience join in makes it feel like "doing it with a friend," who can provide both critique and praise.
As of now, the process of digitizing is fairly simple and cost-effective, the photographer says. Generally, he goes through a pack of negatives at a time, picking out the ones that catch his attention, with approximately 5 to 10 chosen images which take him 2 to 4 hours to scan and digitize.
For 35mm film, he loads the negatives into an Epson 35mm holder, which is equipped with anti-Newton ring glass. Aside from fluid mounting, this seems the best method for the photographer.
He then loads the entire holder in his Epson V700 scanner. For most of the medium 6 x 4.5-centimeter (2.4 x 1.8 inches) negatives, he mounts them on a small piece of photo frame glass with the dull edge facing down and some rubber bumpers to lift the negative off the scanner bed. So far, the photographer has had good results with this method but in the future would like to obtain a medium format mount for his scanner.
To get the most range out of his negatives, like setting the scan parameters, Peabody has researched various ways of working, such as from YouTube tutorials, and practiced those through trial and error. So far, the Epson scan software does a good job, the photographer says.
When it comes to editing, he starts by cropping the frames within the preview scan, then adjusts the histogram for the full range. Once he sets the mid-tones, to bring out enough detail, he scans it. In addition, he enables Epson's Digital ICE Technology, which, from Peabody's understanding, uses infrared light to detect scratches, fingerprints, hairs, and so forth.
When the scan is complete, he uses Darktable, an open-source editor. Depending on what the image requires, he then crops and rotates the file, as well as works on basic adjustments.
During the color correction, the photographer tries to match the black and white to the original image, because some are more yellow while others are true black and white depending on if they are prints or not, while still giving himself room for any additional creative choices, such as slight hue alteration.
The interface of Darktable bears similarities to Lightroom
And, lastly, he corrects scars and scratches using Darktable's retouch tool. Large distracting scratches are removed, while minor blemishes are left in. Peabody says that his process is relatively simple and his scanner, which was kindly donated to him by another photographer, who drove over a hundred miles to deliver it, does the majority of the hard work.
As with his own photography, Peabody currently doesn't have a particular refined goal besides continuing his current process of scanning and digitizing but is open to any opportunities that may come his way, such as publishing his own zine or a photo book, dedicated to his family.
Having received support from the online community, his friends, and family, Peabody is willing to say yes to this journey wherever it takes him, the same way as Joel Meyerowitz said on a podcast, "every time something comes to me and I say 'yes' to it, I enter the next unfolding of being…. every time I press the button on the shutter, it's a 'yes'."
A portion of Peabody's scanned vintage images and his own photographs are available on his website and Instagram, and viewers can tune in on his Twitch streams to watch him scan and edit in real-time.
Image credits: All images used with the permission of Zachary Ian Peabody.
#editorial #inspiration #20thcentury #digitization #digitize #filmscanner #filmscanning #history #negatives #retro #scan #vintage
Client Info
Server: https://mastodon.social
Version: 2025.07
Repository: https://github.com/cyevgeniy/lmst