#LEDCube

Dr Footleg (he/him)drfootleg@fosstodon.org
2024-11-18

Before I delete my 16 year birdsite history, I thought I would pick some of my more popular project posts and share them here.

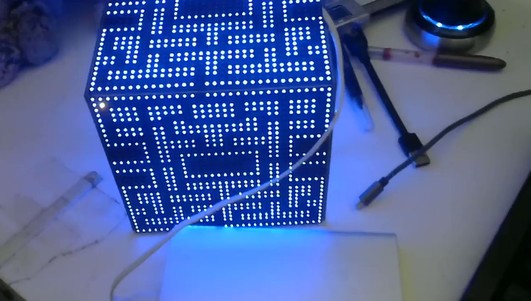
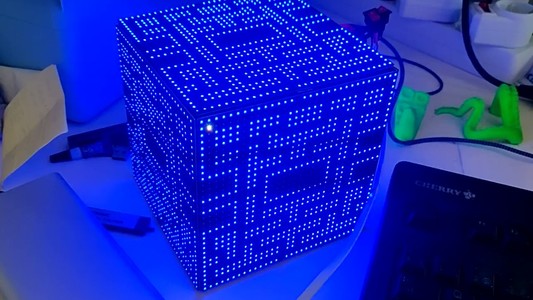
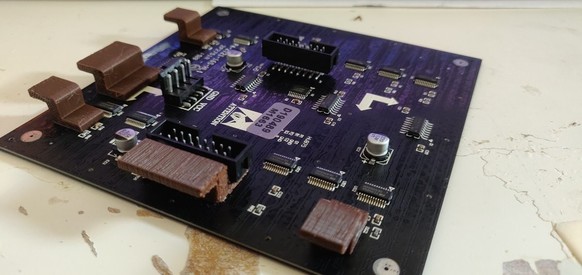
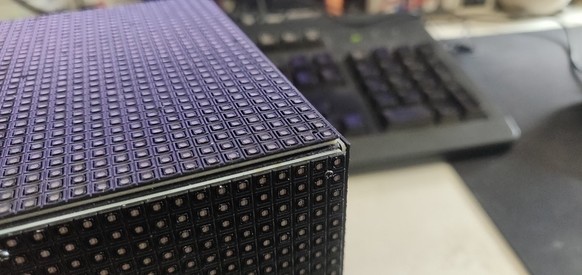
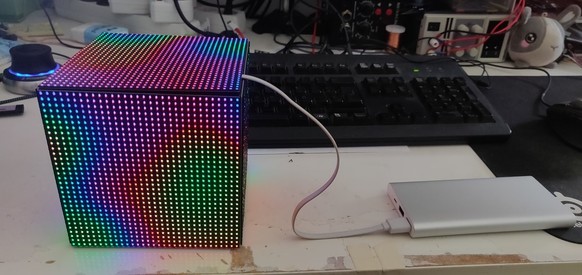
This was the LED Cube I designed in 2020 during lockdowns. I finally got it assembled in January 2023, but still have not finished the power electronics. I did produce a PCB to drive the panels off a Raspberry Pi. The Li charger and power board PCB is still waiting for me to send it off to be fabricated. #electronics #LEDcube #RaspberryPi #maker

An LED cube made from 6 LED matrix panels, 64x64 LEDs per side. The top panel is not present in the picture, showing some of the interior electronics. The panels are mounted on 3D printed frames, with 4 metallic contacts per edge which will be capacitive touch points.
funvillfunvill
2024-08-01

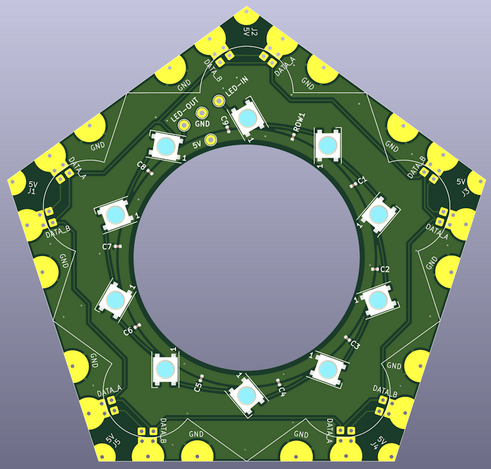
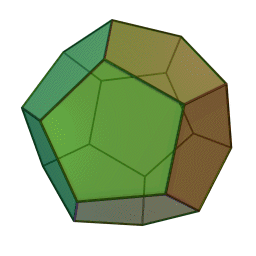
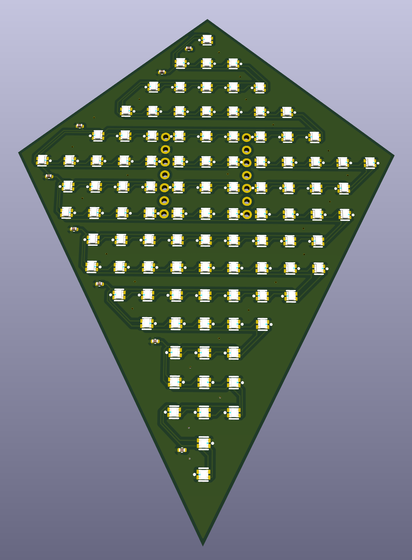
Next project, a Tetragonal Deltohedron LED polyhedron.

It seems If you are making Art PCBs eventually you make the LED Cube style project.

101 Addressable LEDs per side, 8 sides. running off a XIAO ESP32, Lipo battery inside...

Same shape as my stained glass version blog.abluestar.com/projects/20

Same methods as the Dodecahedron PCB blog.abluestar.com/dodecahedro

funvillfunvill
2024-03-31
Dr Footleg (he/him)drfootleg@fosstodon.org
2023-01-03

My lockdown project from 2020 has reached a momentous stage. I finally confirmed that my design is possible to assemble! #LEDcube #electronics #RaspberryPi

View of an LED cube made from HUB75 LED matrix panels with the top face removed.Interior view of LED cube made from HUB75 LED matrix panels, showing wiring and connecting brackets.
Dr Footleg (he/him)drfootleg@fosstodon.org
2022-12-25

A good session this evening working on the design and mounting of the interior electronics for my LED cube.
#CAD #LEDs #LEDcube #electronics #RaspberryPi #3Dprinting

Dr Footleg (he/him)drfootleg@fosstodon.org
2022-12-24

Started wiring up the first frame of my #LEDcube #LEDs #Maker

A black 3D printed frame with gold metal touch points around the edges and blue wires coming from each one. The other end of the wires are not yet connected to anything.
Dr Footleg (he/him)drfootleg@fosstodon.org
2022-12-22

Today I have done some more work on the CAD model of the LED cube I am building. Added the metal touch points to the frame edges and all the interior brackets which hold the frames together. All these parts are 3D printed in PETG already, and I am working on assembly now.
#LED #LEDcube #electronics #3Dprinting

CAD model showing the interior construction of an LED cube. The LED matrix panels are attached to frames and these are joined together with blue 3D printed brackets.
Dr Footleg (he/him)drfootleg@fosstodon.org
2022-12-21

I’ve fitted the first 16 touch points into the edges of one frame for my LED cube. Minimal cracking on 3 of them from the pressure applied while forcing them in, but I think we’re good. 32 more to go, but my fingers hurt too much to do more tonight. #maker #LEDcube #LEDs #electronics #RaspberryPi

View of corner of a black plastic 3D printed frame with gold metal  balls embedded in the edges.Black plastic 3D printed frame with gold metal  balls embedded in the edges
GeekMomProjectsgeekmomprojects
2022-12-20

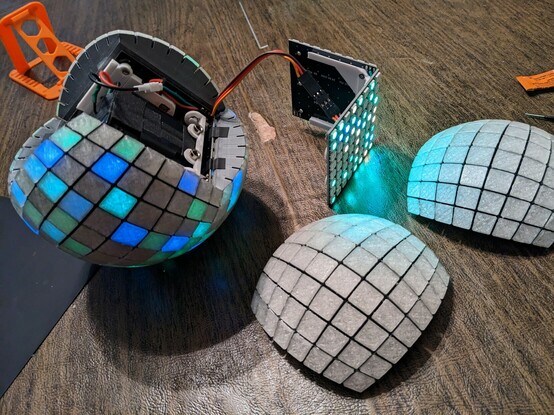
Orb-ification of LED cube is underway. The four matrices in the body are now covered with their 3D printed shells, and just the lid matrices are left to complete. My son said it looks like the Death Star, which made me happy, but also has me on the alert for tiny, low flying rebel spacecraft.

Pieces of an Illuminated LED orb under construction laying on a table. The body is formed from four 8x8 LED matrices in a cubical shell. Each matrix in the body is covered by a curved 3D printed shell which forms part of a sphere and pipes the light out to translucent tiles on the Orb's surface.
2022-05-21

Es läuft endlich (fast)!

Falls ihr Lust habt da auch mal Animationen für zu schreiben, schreibt oder sprecht mich an.

#ledcube #gpn20

2022-05-20

Finally got the #ledcube (4x4x4 and 8x8x8) working using the #pimoroni #tiny2040 at #gpn20.

It’s at one of the front tables when entering the building on the right side. I’ll be back later this evening if you’ve got questions or just want to chat about it.

#hashtag

2022-04-20

2022 Sci-Fi Contest: Glowing LED Cubes Make Captivating Artifacts

LED cubes were once an exercise in IO mastery, requiring multiplexing finesse in order to drive arrays of many LEDs. Going RGB only increased the challenge. This build from [DIY GUY Chris] shows how much easier it is these days, when every LED has a smart addressable controller on board, and serves as a great sci-fi prop to boot.

Yes, the build relies on the venerable WS2812B addressable LEDs, soldered up in 5×5 grids on each of the six faces of the cube. Running the show is the Raspberry Pi RP2040 microcontroller, sourced here as an individual part rather than in its development board form. An SPI memory chip is on board for the code, along with a USB-C connector for programming. Signals pass around the cube via soldered connections along the edges of the custom PCBs that make up the faces of the solid.

Sitting on its 3D printed stand, the cube glows brightly while drawing a full 2 amps of power. [Chris] coded up a variety of animations, from simple color breathing routines to frantic dazzle animations sure to captivate any cyberpunk thieves that come to steal your magic glowing artifact.

If rectangular prisms aren't your fancy, though, you can always consider building yourself a glowing D20 instead. Video after the break.

#contests #ledhacks #2022scificontest #cube #ledcube

image
2021-11-04

Big RGB LED Cube You Can Build Too

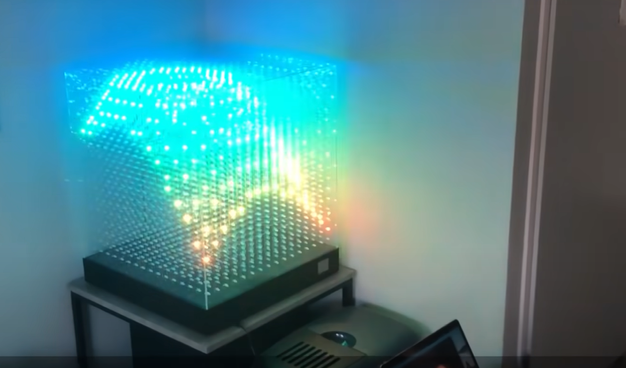
LED cubes are really nothing new, many of us consider the building of a good sized one almost an electronics rite of passage that not so many manage to find the time or have the skill to pull off. It's our pleasure to draw your attention to a lovely build, showing all the processes involved, the problems and the solutions found along the way.

Building a small cube is somewhat of a trivial affair, especially without considering PWM colour mixing, however as simple maths will illustrate, as you increase the number of LEDs on each side, the total number will quickly get quite large. More LEDs need more power and increase control complexity considerably. A larger matrix like this 16 x 16 x 16 LED build, has a total of 4096. This would be a nightmare to drive with plain RGB LEDs, even with cunning multiplexing, but luckily you can buy indexable LEDs in a through-hole package similar to the ubiquitous WS2812-based SMT LEDs you see around. These are based on the PD9823 controller, which can be programmed as if they were a WS2812, at least according to this analysis. Now you can simply chain a column of LEDs, with the control signal passed from LED to nearest neighbour.

Early on in the video build log, you will note there are four power supply modules needed to feed this juice. If we assume each LED consumes 60 mA on full-white (the data for this product link shows a peak value of 100 mA) that is still a total of 246 A or around 1 kW of power. The video does shows a peak power measurement of around this figure, for the whole array on full white, so the maths seems about right.

Control is via a Teensy 4.0 using the FlexIO function of the IMXRT1060RM CPU, and a bunch of 74AHCT595 shift registers giving 32 channels of up to 1000 LEDs per channel if needed. Roughly speaking, using the DMA with FlexIO, the Teensy can drive up to 1 Million LED updates per second, which works out about 32 channels of 100 LEDs per channel updated at 330 frames/sec, so plenty of resource is available. All this is with almost no CPU intervention, freeing that up for handling the 2.4-inch LCD based UI and running the animations, which looks pretty darn slick if you ask us. You can checkout the description of the firmware in the firmware section of the GitHub project. 3D printed jigs allowed for bending and clipping the LEDs leads as well as fixing and aligning the LED column units, so there really is enough detail there to allow anyone so inclined reproduce this, so long as you can swallow the cost of all those LEDs.

For a different approach to LED cubes, checkout this sweet panel based approach, and here's a really small 4x4x4 module for those with less space to spare.

Thanks [Keith] for the tip!

#ledhacks #ledcube #pd9823 #rgb #teensy40
image
conejo 🐇🐰 :clippy:conejo
2021-08-23

This remembers me my unfinished of games powered by @TinyGolang and @adafruit itsybitsy-m4 t.co/DB3UcrNAp2 t.co/h6GL2t3zl2

« DIY LED Cube for the Masses hackaday.com/2021/08/22/diy-le »

— Retweet twitter.com/hackaday/status/14

2020-11-10

If i make 99 more of those, i've got myself a pretty awesome #LEDCube /cc @acmelabs

conejo 🐇🐰 :clippy:conejo
2020-04-26

I know what I'm adding next to the of games powered by t.co/9hUJ8mE19r

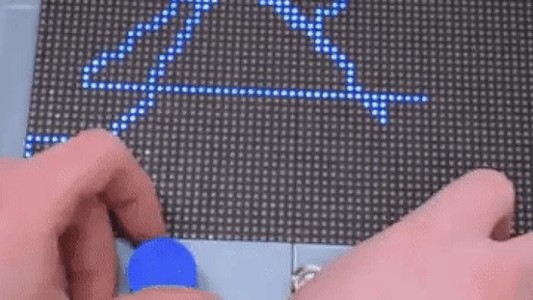
« Pix-a-Sketch! Use two rotary encoders to draw whatever your heart desires on an LED matrix, and then shake it to erase the image — just like the real thing! bit.ly/2KzwnDp t.co/j6zqtM4RQC »

— Retweet twitter.com/Hacksterio/status/

conejo 🐇🐰 :clippy:conejo
2020-04-03

Well, the mighty of games has BT control powered by the easy-to-use HC-06 and some @TinyGolang magic t.co/THqmJJLWMf

conejo 🐇🐰 :clippy:conejo
2020-03-29

PoC: 1-pixel pacman in the great of Games , powered by @TinyGolang and @adafruit famous itsybitsy-m4 t.co/13Z6N5G91H

conejo 🐇🐰 :clippy:conejo
2020-03-15

This works quite well for a quick open/close lid, it leaves a small gap on the opposite corner but it doesn't fall off/open when handling the cube. Only one screw to permanently close it. Next we need wifi or BT for the controllers! t.co/iDYDdFcWDx

Client Info

Server: https://mastodon.social
Version: 2025.04
Repository: https://github.com/cyevgeniy/lmst