#PiCluster

2025-02-19

I've messed around with programmatic graphics to display on a 1.8" TFT panel connected to my Pi Cluster. Each node runs a cronjob of a python script to capture state into a .json file while a master node fetches those json files to then drive the LCD display.

I have a writeup for the whole build process of the Pi Cluster I created:

codingcipher.wordpress.com/202


A screenshot of a small LCD display showing some system information about four different devices, also demonstrating how the display information changes if a node hasn’t been reached past a predefined timeout period. When this happens the graph is set to all gray and the status text changes to the word DOWN in red.
Kevin Karhan :verified:kkarhan@infosec.space
2024-11-12

@koakuma @techokami also #UltraSparcT2 as cool as it was at release (including dual 10Gbit-NICs and hardware RNG on die) has a lot of things noone would want to deal with in 2024 (i.e. DDR2-FBDIMMs).

  • Plus #RISCv unlike #SPARCv9 amd #OpenPOWER was designed on a clean slate in academia by people who had dealt with #RISC & #CISC architectures and needed something #OpenSource as they can't just violate NDAs nilly-willy for teaching.

Pretty shure @stman could write an entire curriculum on why #SPARC, #PowerPC, #s390x and even #ARM / #ARM64 should not be pursued and why #mc68k died alongside the unfixable-by-design mess that is #ix86 & #amd64.

  • Plus RISCv's ISA has been an #OpenStandard from the get go, whereas the efforts by #Oracle nee #Sun and #IBM were mostly done in reaction to it and to keep the few invested licensees and co-designers onboard and not drop the platform entirely...

Look, I'd love to get my hands on some Sun SPARC Hardware but aside from making my room hot and noisy there isn't much to justify blowing likely over half a Euro per hour (electricity price: € 0,40/kWh) just to have it up and running, as compared to a #PiCluster like those @geerlingguy had built multiple times are more practical.

  • For comparison: It's like driving a 2011 Ford CVPI-71 with a 11,9l SONNY'S SAR-729 engine for commuting from Leverkusen to Köln when there's ample of affordable, reliable and fast public transport that gets me faster from Opladen to Deutz than it takes to drive up the 15th deck of a parking garage just to find a spot to park that 5,7m long street yacht where one can climb out of it from the doors and not the trunk!

And that's just bottom-billing, low-cost ARM SoC tech designed for a price tag (to the point that until the #Pi5 they neither included a power button nor #RTC onboard!

  • OFC RISC-V is still 5-25+ years behind #ARMv9 solely based off #patents, #budget and #PersonnelHours invested in it, so it's barely getting on-par with 10-20yr old ARM devices in terms.of power and support.

Oh hello there, k3s. It's nice to meet you.

Thanks for the informational videos of clustering on raspberry pi, Jeff! (@geerlingguy)

youtube.com/watch?v=N4bfNefjBS

#PiCluster
#Kubernetes

A screenshot of a terminal window running a Kubernetes control command and the resultant informational text. The data shows that Kubernetes is properly setup and running on four Raspberry Pis.

My TFT control class seems to be running well, comparing the test mode and hardware mode display images. I've deployed PiHole on Node3 and a Minecraft server on Node2. Node0 is the master node and controls the TFT display.

#PiCluster
#RaspberryPi

Four rows of test mode data and graphs on a black background.Four rows of hardware mode data and graphs on a black background.

Messing around with programmatic graphics to display on a 1.8" TFT display connected to my Pi Cluster. The is not a whole lot of pixel real estate to display much, but I think I've got the basics down.

Pink - current CPU temperature
Orange - CPU utilization graph (span is about 30 minutes)
Blue - Memory utilization graph (span is about 30 minutes)

Each node runs a python script from a cronjob. The master node uses ansible to fetch all the data JSON files.

#PiCluster
#Python
#Ansible

A black image split into for rows of text and graphics. Each row has white letters in the top left indicating the node hostname. Each row then has the CPU temperature in pink and either a green or red word indicating if the node is up or down. Each row also has a graph below the text where the orange filled line indicates the CPU utilization and the blue line indicates the memory utilization.

The third row down is unique in that it is indicating the node is down and all the text and graphics are dark gray except the word Down which is red, giving a good visual indication that something is wrong.
matt 🦕mattjbones
2023-07-26

@rpilocator Though of course a wouldn't be complete without a case... so I've made a start on that today too. Probably my favourite print to date given that I took a design off thingiverse.com and remixed it using tinkercad.com.

GCode view from OctoPi showing the top downview of the in progress print, there are a series of lines and circles connected by green lines indicating where the print head will move to between laying down material
Overview of the main OctoPi UI with several panels including a webcam view of the printer and print bed in the midle and a status box above with various print stats (~1 day estimated print time). On the left is a list of all the previous prints that have been attempted and on the right is the Gcode viewer (which is currently empty) and a photo of the temp change on the hot end and print bed.Prusa Slicer image of the 3d model that will be printed. There are green trees surrounded by an orange box which represent the new "organic".
matt 🦕mattjbones
2023-07-26

Today i'm mostly getting a couple more Pi's added to the I've decided on one main Pi4 (as they're basically golddust at this point, props to @rpilocator for the tips tho) and then all the Pi 3Bs that I have around the house will be added as workers, that should give me more than enough. Currently configuring to make a start on some simple network storage. The aim is to have all the containers use data on this OMV storage and then I can back that single point up... in theory.

2023-05-06

Cus vs #Kubernetes :: The update.

How it started: I have no idea what I'm doing.

How it's going: I have no idea what I'm doing but there are are graphs in grafana and for some reason minio operator stopped and I don't know why.

The #PiCluster was a bad idea. A whole bunch of VMs running on my desktop seems to be much better behaved.

Even just monitoring itself some nodes are using more ram than the pi hosts had, by 25% in some cases.

2023-01-19

Ohh yeah, the goodness has finally arrived #turingpi2 #tpi2 #picluster
Time to fight this nice #kickstarter which still lacks a lot of documentation. (Like how to install linux on a cm4 with eMMC). It lacks a hardware switch to put it in nRPI_BOOT mode.

2022-03-21

Cluster Your Pi Zeros In Style With 3D Printed Cray-1

From a performance standpoint we know building a homebrew Raspberry Pi cluster doesn't make a lot of sense, as even a fairly run of the mill desktop x86 machine is sure to run circles around it. That said, there's an argument to be made that rigging up a dozen little Linux boards gives you a compact and affordable playground to experiment with things like parallel computing and load balancing. Is it a perfect argument? Not really. But if you're anything like us, the whole thing starts making a lot more sense when you realize your cluster of Pi Zeros can be built to look like the iconic Cray-1 supercomputer.

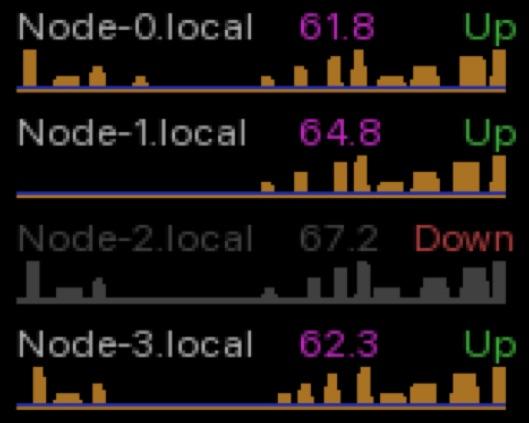
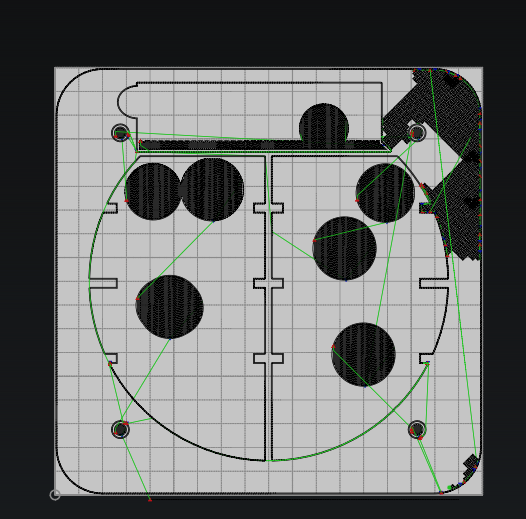
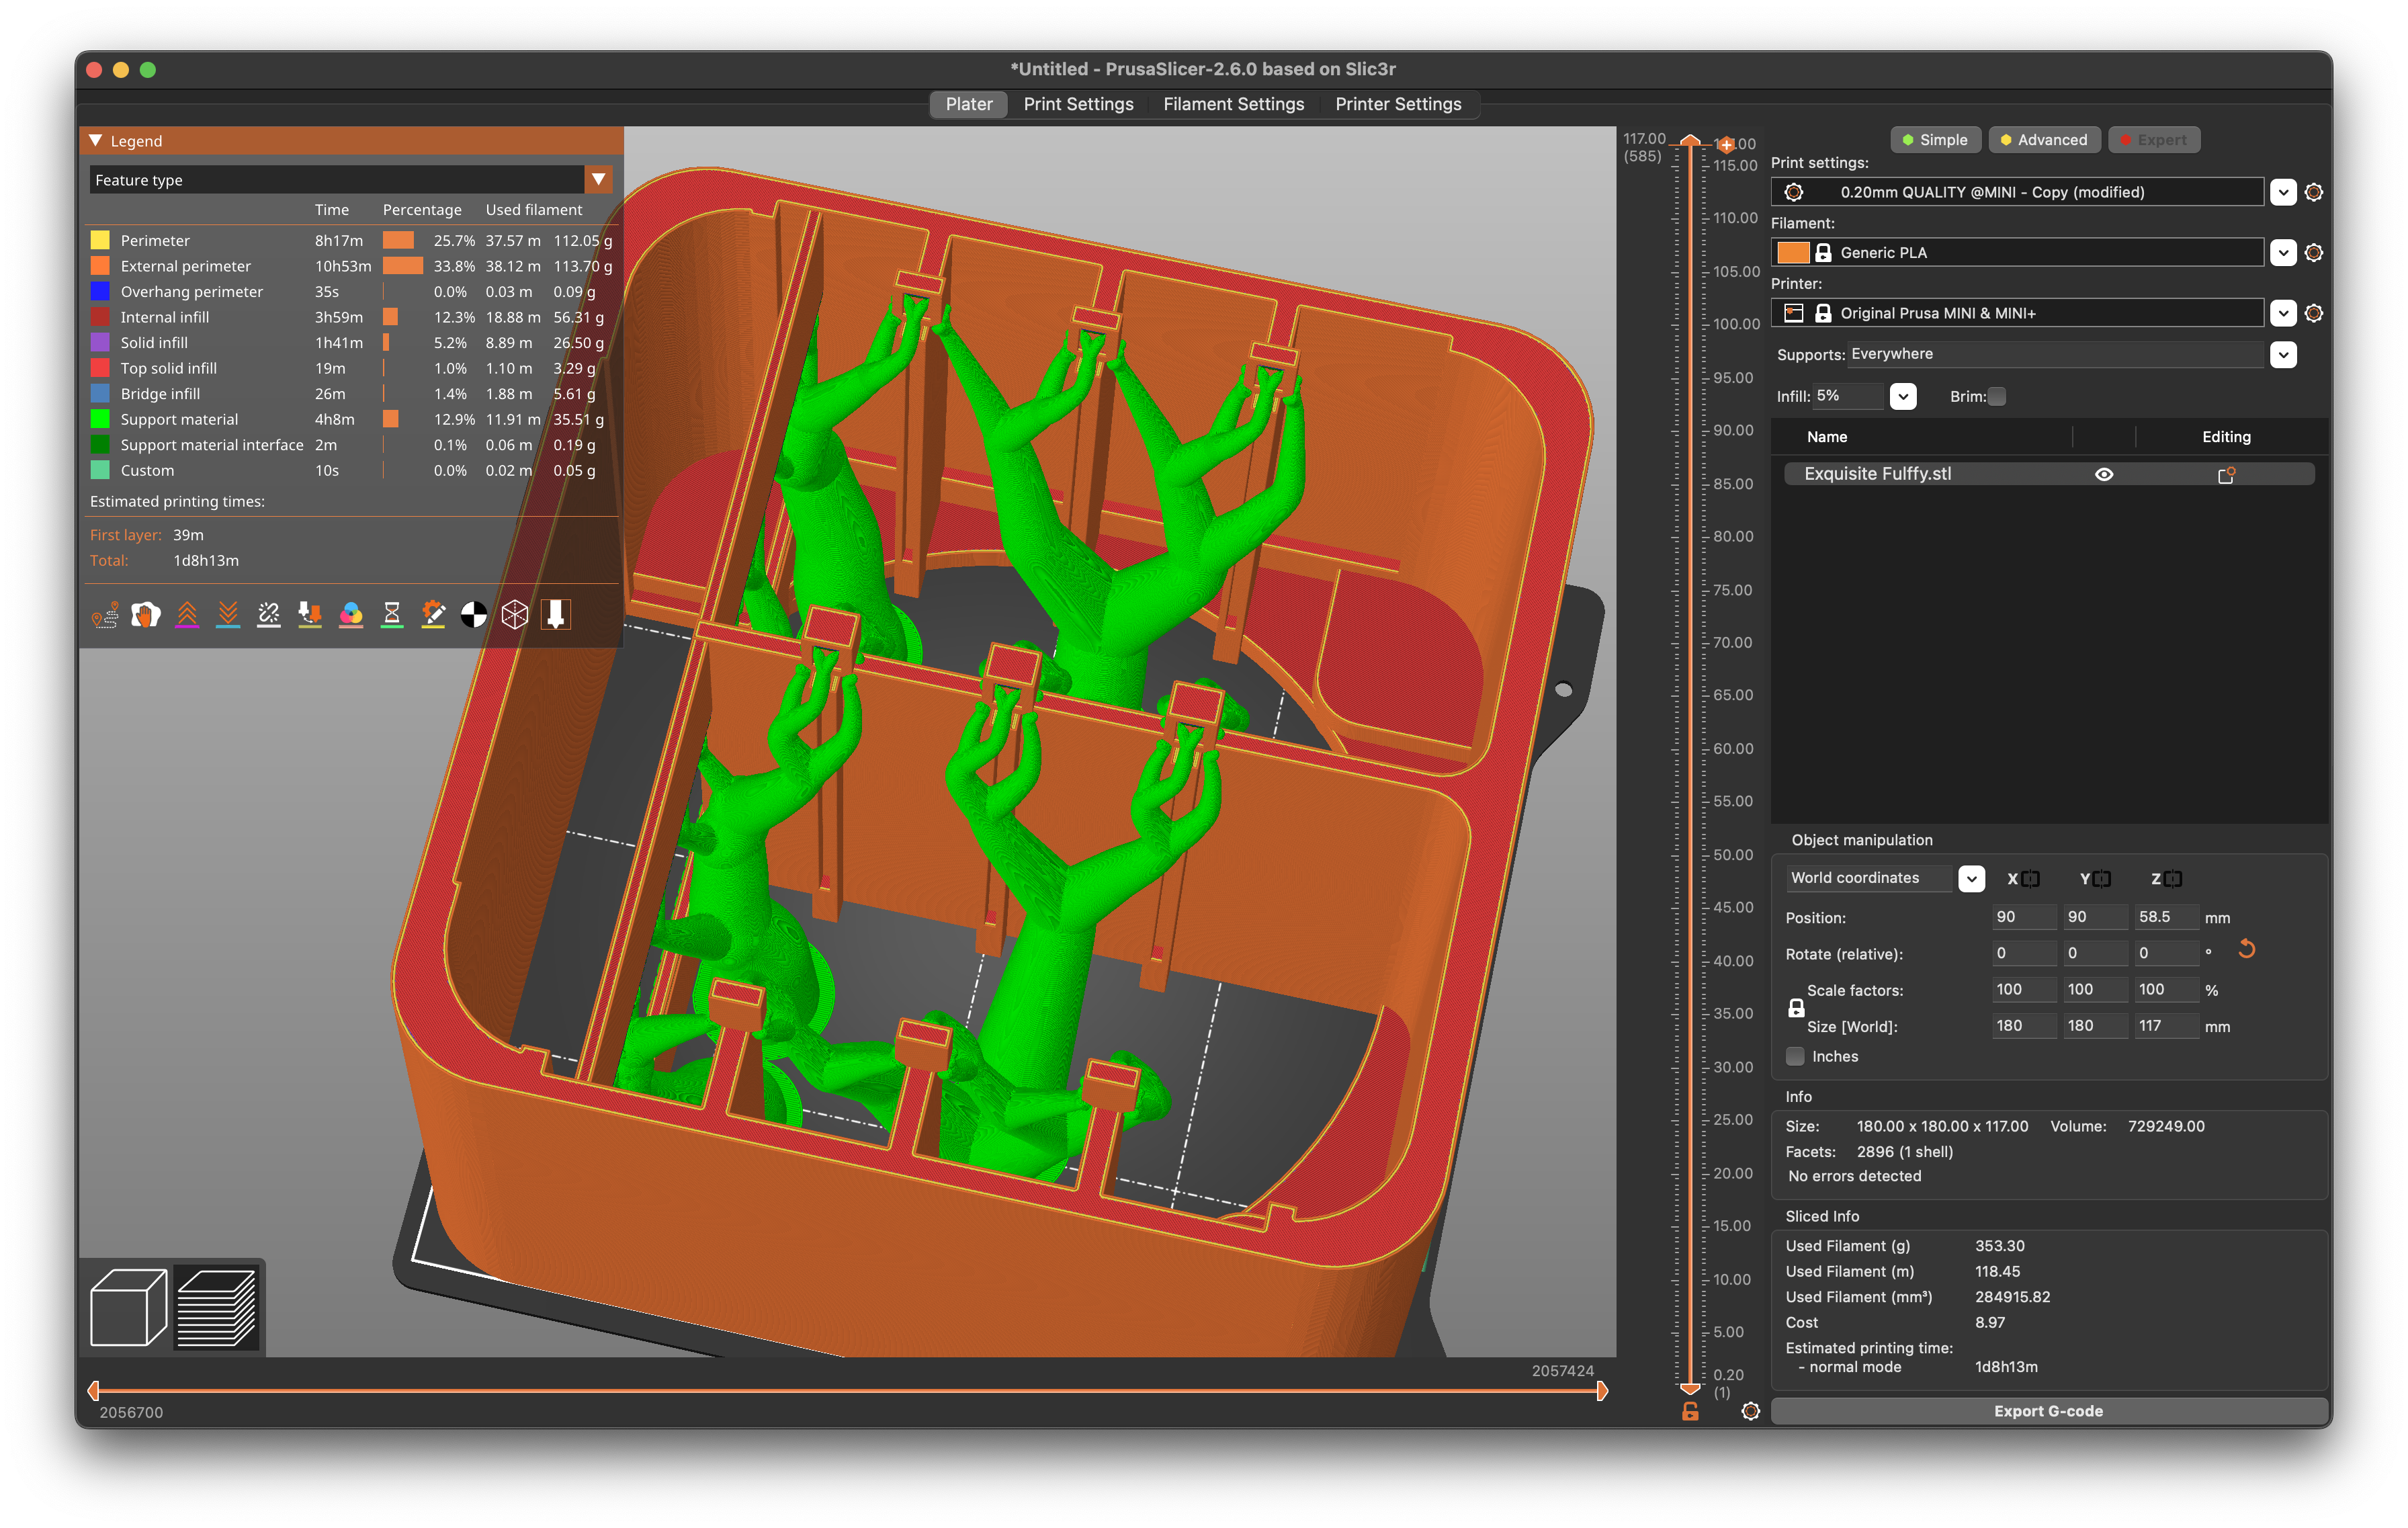
This clever 3D printed enclosure comes from [Kevin McAleer], who says he was looking to learn more about deploying software using Ansible, Docker, Flask, and other modern frameworks with fancy sounding names. After somehow managing to purchase a dozen Raspberry Pi Zero 2s, he needed a way to keep them all in a tidy package. Beyond looking fantastically cool, the symmetrical design of the Cray-1 allowed him to design his miniature version in such a way that each individual wedge is made up of the same identical set of 3D printed parts.

In the video after the break, [Kevin] explains some of the variations the design went through. We appreciate his initial goal of making it so you didn't need any additional hardware to assemble the thing, but in the end you'll need to pick up some M2.5 standoffs and matching screws if you want to build one yourself. We particularly like how you can hide all the USB power cables inside the lower "cushion" area with the help of some 90-degree cables, leaving the center core open.

This isn't the first time we've seen somebody build their own tiny Cray-1. A particularly dedicated hacker built his own 1/10th scale replica of the 1970s supercomputer powered by an FPGA back in 2010, and eventually got to the point of trying to boot original software on it.

Thanks to [Xark] on the Hackaday Discord server for the tip.

#raspberrypi #cray #cray1 #miniature #picluster #raspberrypicluster

image
2021-10-09

Client Info

Server: https://mastodon.social
Version: 2025.04
Repository: https://github.com/cyevgeniy/lmst