
My tiny win for today: I finally figured out how to get rid of the default macOS dropdown menus and replace them with the style Apple uses in System Settings. It’s a small thing, but wow — it looks so much better!
#appkit


Last Black Friday post from me for this year, I promise 😀
Discounts are still available for:
macOS Apps Step by Step book: https://sarahreichelt.gumroad.com/l/oximx/4xfw8q6
Escape from Tutorial Hell book: https://sarahreichelt.gumroad.com/l/iqdry/4xfw8q6
macOS Apprentice book: https://www.kodeco.com/books/macos-apprentice
Man Reader app: https://apps.apple.com/au/app/man-reader/id522583774?mt=12
Man Reader
As a fallback for TextEditors rich text editing we have since iOS26 I try to make use of NSTextView on the mac. But it doesn‘t receive events like font changes from the menu and I don’t get it into the responder chain. Am I doing something wrong? Any hints? #swiftui #appkit
EDIT: I was wrong all along. It's not the responder chain, but NSTextView does not seem to handle changeFont(:_) 🤔

Weiiiiiirrrd...
I always wondered why app menu item selection never adopts your app's custom accent color in macOS apps.
Whatever the app's accent color is, the highlight color is always blue.
But I realized that when you do a search in the Spotlight search of the app's Help menu, all results do highlight in your app's accent color.
I tested here with my app but you can totally do it for any app that has custom accent colors (not blue) like Music or Notes.


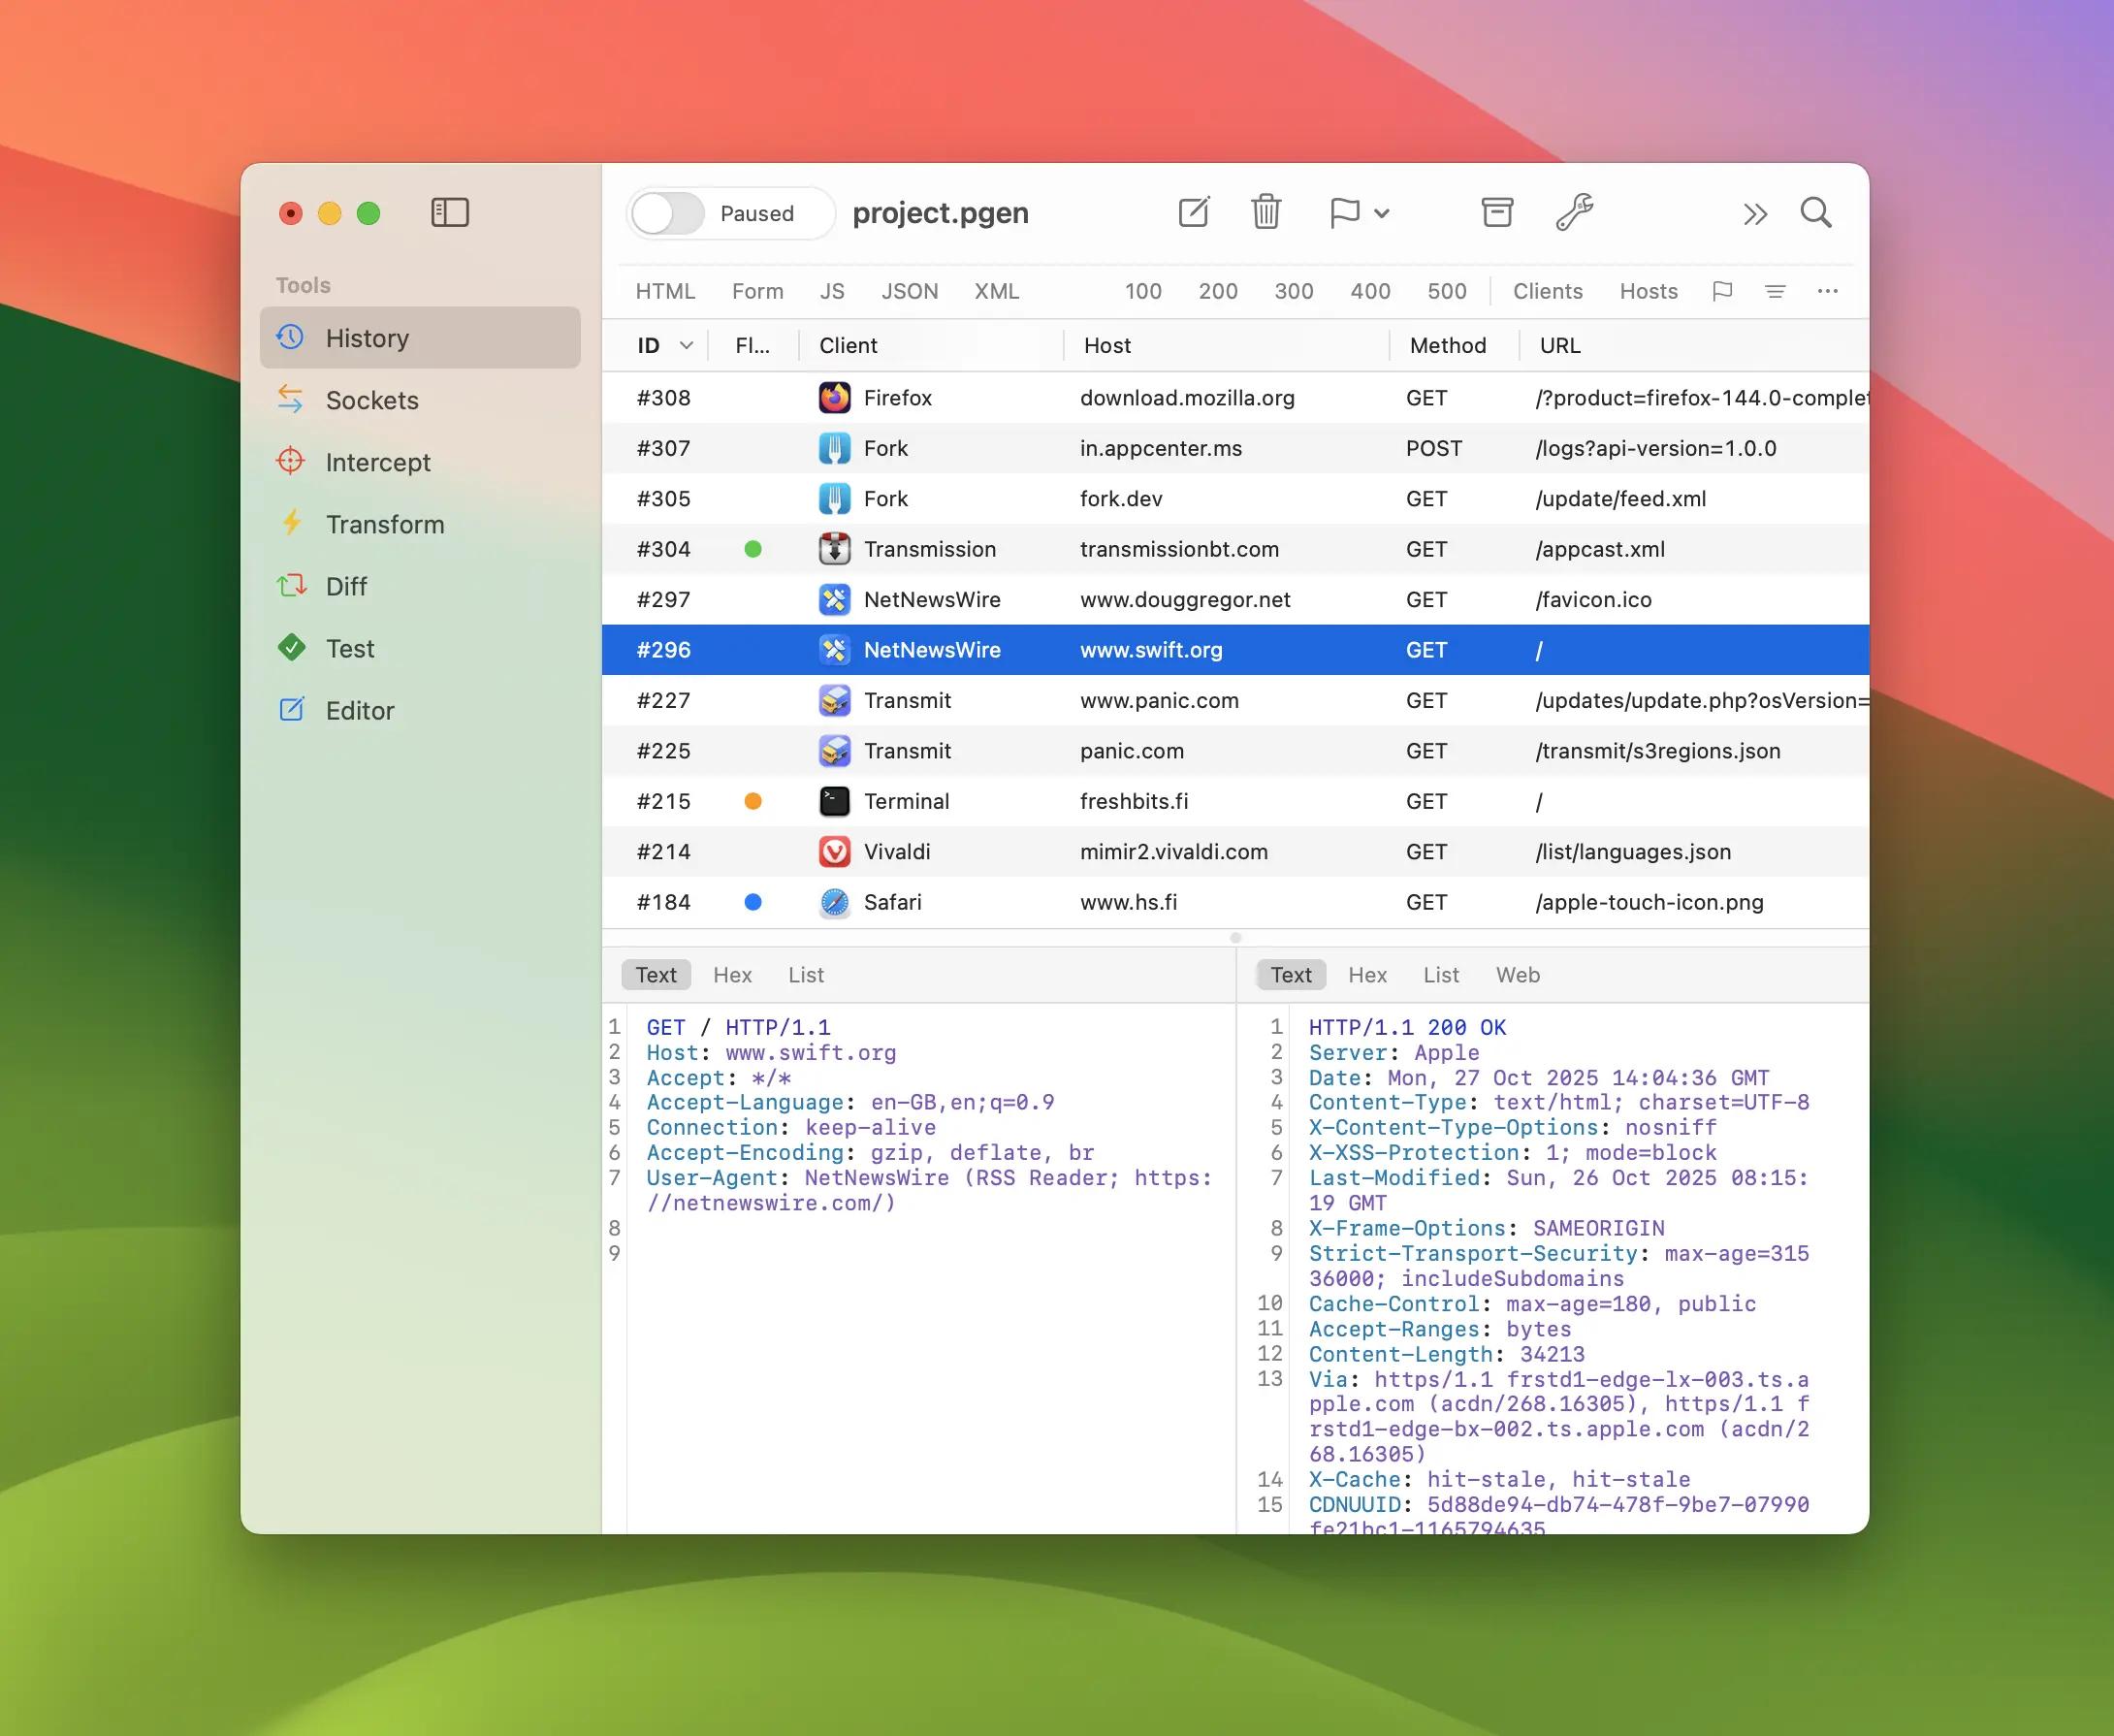
Proxygen 4.0 is now available with client app lookup and helper tool that automatically configures system HTTP/HTTPS proxy for traffic monitoring.
Mac app available at https://proxygen.app and iPhone & iPad apps at App Store. Take it for a spin!
Oh sorry, one more... here's a cool one showing Touch Bar support for MacBook Pro with Touch Bar. Haha The #TriMet logo on the Touch Bar did look pretty darn cute! :D

And finally, the present time. I had to re-think some parts of the app due to the new design language of #macOSTahoe. There's far less compartmentalization and neighboring views and more "floating”-over-content views. #LiquidGlass is my least favorite but just gotta roll with it.
But this is the visual evolution of PDX Transit for macOS! :) It's been so fun working on this & learning best practices for Macintosh UI!!!
toot 5/x (fin)


And next, macOS Sonoma and macOS Sequoia. Sequoia didn't get much but Sonoma's update adopted the new full-height "Inspector" sidebar introduced in AppKit.
It's finally starting to look more modern, isn't it? :)
toot 4/x


For the macOS Ventura era, I added a right-sidebar with additional details. It was pretty cool and it set me up for what Apple introduced as the Inspector Sidebar the following year!!!
Notice how the right-sidebar doesn't go to the top of the window...
toot 3/x


Up next, the macOS Big Sur and Monterey era... Still, ewww. What was I thinking!?
toot 2/x


For fun, here are some #PDXTransit screenshots from the Yosemite-era of #macOS. Don't judge too harshly... this was so ugly lol. What was I thinking?! #AppKit
Or do judge harshly. IDC. Lordy knows I DO! LOL
I love the OG Mac OS X Pinstripes so much I added them to this app lol!!!
toot 1/x


I have also updated the webpage for it with Tahoe screenshots and to reference the all-new PDX Transit for iOS/watchOS.
#macOSTahoe #LiquidGlass #pdx #portland #publictransit #trimet #appkit
These are the screenshots I've submitted for the macOS version of PDX Transit updated for #macOSTahoe + #LiquidGlass. Hopefully App Review goes pretty quick and goes smoothly.


Update: Added a Readme marking the code as public domain, and describing how it works while I still remember it. #appkit #objectiveC #macOS #NSView #programming #transition
OK, I don't know what I did differently, but I now have sample code that performs a CATransition or a CIFilter-based transition when adding/removing NSViews from their parent.
Not quite sure why it didn't work before.
https://github.com/uliwitness/TransitionTestApp/
(Sorry, it's Objective-C because I needed to integrate with C++ in the *real* app this code went into, but shouldn't be too hard to Swiftify)
When making Settings windows for your #AppKit / #macOS app, it is perfectly okay to break up your pane's content further using a Tab View... That way you won't end up with long forms like this with tons of overwhelming text.
Also section headers should be on the left-side rather than the top. *sigh*
For those at Apple, I took your original HIG that explained the right way and modernized it. You can find it here:

I've just published the 4th edition of macOS Apps Step by Step formerly titled macOS by Tutorials.
Read the details and check out a sample chapter at https://troz.net/books/macos_apps_step_by_step/

Client Info
Server: https://mastodon.social
Version: 2025.07
Repository: https://github.com/cyevgeniy/lmst