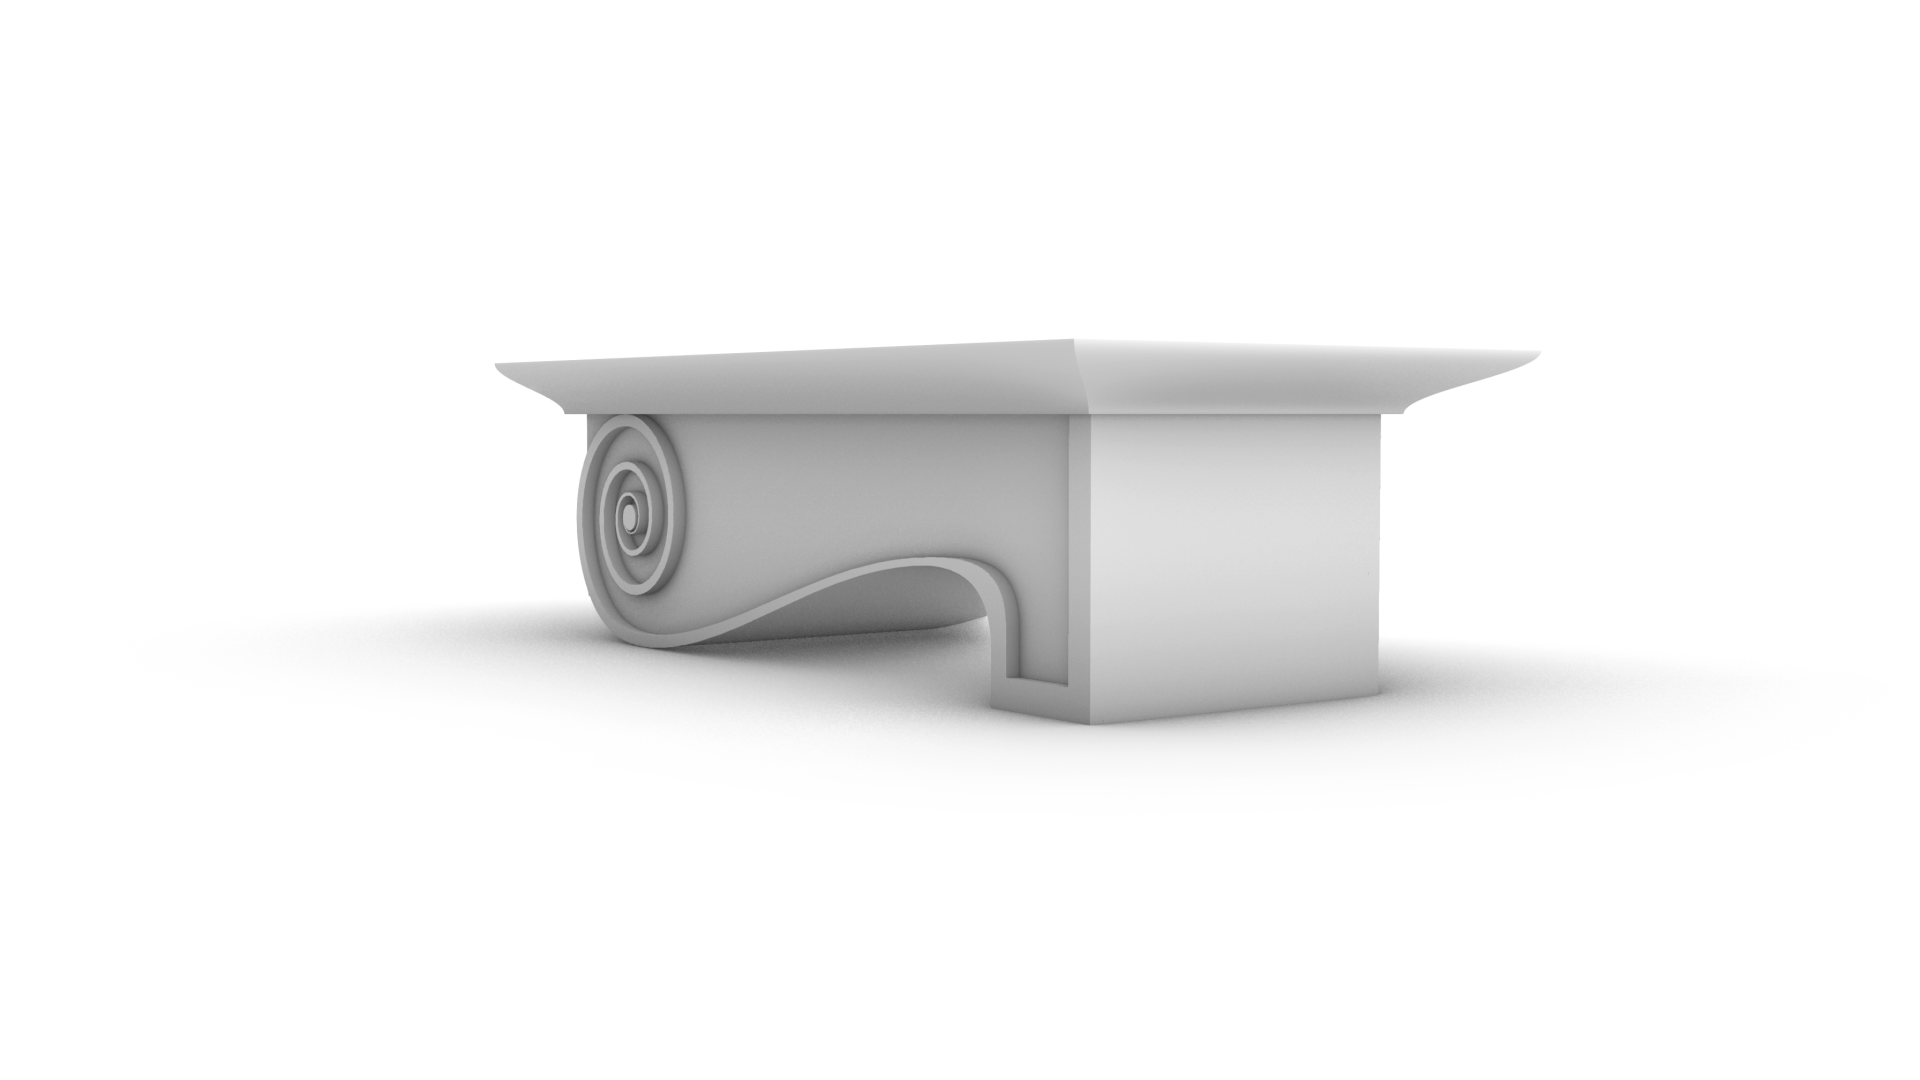
#Modillion for the #ModernIonicEntablature
In https://pixelfed.social/p/Splines/790782316675150160 , I mentioned that there are two variations of the #IonicEntablature — a classic version that we saw in https://pixelfed.social/p/Splines/804548474524642209, and a modern version that has a new feature called #modillions, which are projecting brackets under the #corona of the #cornice. Note that, "modern" is a relative term. For designs that are more than 2000 years old, even an alteration hundreds of years ago would qualify as modern.
The modillion design continues a similar pattern but not identical to that of a #keystone. The measurements can be found in https://babel.hathitrust.org/cgi/pt?id=mdp.39015031201190&view=1up&seq=45 from which you can surmise that the length is 130 units (based on µ = 144) and the height is 36 units excluding the flamboyant #cymaReversa. The depth is not given, but can be derived from the sketch in https://babel.hathitrust.org/cgi/pt?id=mdp.39015031201190&view=1up&seq=141.
The measurements for the cymaReversa are listed between the corona and medallions, but its #profileCurve is attached to the modillion, not to the corona. Like #dentils, we attach modillions separately to the entablature. The dentils are still there with the same square footprint and same interdental spacing, but they are shorter to make room for the modillions above.
The original #volute that forms the basis of the modillion design is µ = 144 wide (including #arcZero) and 128 tall. Since the modillion height divides evenly into µ, I used that orientation for constructing the modillion, creating a box 144 units wide and 520 units tall. After construction, I scaled it to 1/4 to get 36 x 130 units, and then rotated it 90°.
The length of 520 was divided into 128*3.5 = 448 for the curved portion (which aligns with the wall) and 72 for the straight portion, which faces the front. Try to recreate it on your own first, and if you need help, just ask me.
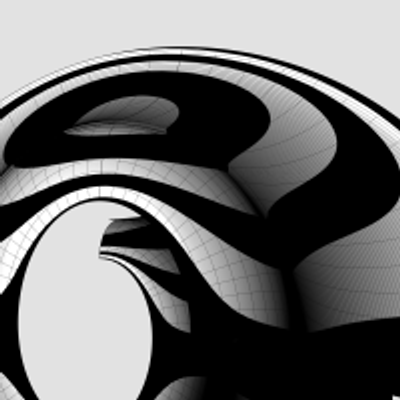
#ArcZero
See https://pixelfed.social/p/Splines/796798349526747214 and https://pixelfed.social/p/Splines/796786779066451143 for detail.
Just like #ArcZero in the #spiral for the #IonicVolute, the plan for #EggsAndDarts starts out larger than what is eventually used.
The outermost frame is 7.5 parts or 60 units tall (from A to D), and 5 parts or 40 units wide when µ = 144. The innermost frame is 6 parts or 48 units tall (from B to C), and 4 parts or 32 units wide.
The height and width for both inner and outer are in 3:2 ratio. The difference in height is also split in the ratio 3:2. So, the gap between A and B as 12*2/5 = 4.8, and the gap between C and D as 12*3/5 = 7.2. We then divide both of these gaps in 5 equal segments shown by the dots between them.
Create an ellipse to fill the outer frame, and another to fill in the inner frame. Then interpolate them to create 4 more through the dots, only to delete the 3rd ellipse. This gives us the 5 #rails for sweeping the rim of the egg.
Create circles perpendicular to and touching adjacent pairs of rails, and then #sweepTwoRails using the circles to get the rim shown in the top-right. The red cutting plane marks tentative slicing for eggs.
The bottom left image shows a convex egg created with an #ellipsoid that is 48 units tall, 32 units wide, and 32 units deep. This is equivalent to #revolving the innermost ellipse around its major axis. Only half of this egg is above the oval slab.
The bottom right image shows the concave variant which is created by performing a #booleanDifference between the oval slab and the round egg created above. The top portion of the egg is removed in the concave variant, but the convex variant must still account for the bulge of a fully round egg. As such, the slab heights of the convex and concave variant are different. I will show the measurements later.
To create the slabs for the convex and concave variants, #extrude the outermost ellipse according to their measurements and #cap #planarHoles.

#ReverseEngineer #ImageScans
We now dig into the archives and resurface old sketches for #restoration. This one is from #Vignola's #RegolaArchitettura at https://archive.org/details/gri_33125008229458/page/n39/mode/2up. This lavishly illustrated book with copious notes that also flaunt his #calligraphy was written (in Italian) when America was still a British colony. The book went out of copyright a long time ago.
Straighten the image as much as you can in an image editor and crop it before bringing it into a #CAD tool.
Then, stare at the image for a while and squint occasionally until you "see" crucial features and patterns emerge, while ignoring the "noise."
Finally, try #curveFitting with the simplest of curves — straight lines, circular arcs, ellipse, and so on to get as close an approximation as possible. Remember that with hand-drawn sketches, the fit will rarely be perfect. So use some structure as a guide or #scaffolding as I laid out in https://pixelfed.social/p/Splines/792966507797633558.
In the top left of the diagram, I show the measurements that I was satisfied with after a lengthy process of trial and error because the numbers comport with my understanding of the proportions the original designers intended — many, but not all of which are documented in #Scarlata's #PracticalArchitecture with #VignolaProportions in tabular form.
For measurements that are missing, use plausible heuristics to fill in the blanks and try to justify your choices using simple rules. In this case, the bedrock rules are:
1. The entire #volute is exactly µ = 144 units wide, including #ArcZero, which extends 32 units beyond the portion of the volute that is actually used in the design.
2. The portion of the volute that is actually used in the design is 112 units wide, same as the height of the unadorned #capital.
3. Width of the #scroll bell shape as seen from the bottom is 112 units in front, 56 units in the middle and 28 units in the rear — all in #geometricSequence.

Classic #IonicScroll #Scaffolding
Take the time to understand the measurements of this scaffolding plan in the broader context of the #IonicCapital measurements, as this is the bedrock on which the #scroll reconstruction rests.
First, note that there are 5 rectangles labeled M, N, P, Q, and R, where M and N are coplanar with the large #volute at the front of the scroll. P and Q are congruent, with P exactly midway between the front and the back of the scroll, and Q exactly 3/4 of the way from front, or 1/4 from back. R is the smallest of them and lies at the back of the bell-shaped part of the scroll, but ahead of the ribbon bearing the 3-strand #braid.
M completely encloses the volute, including #ArcZero, but much of Arc zero is discarded later. So, the part of the volute that really matters is enclosed by N, whose width is 112 units, height the same as M at 128 units, and the width of M itself is exactly µ or 144 units. So these measurements are in the ratio 7:8:9.
The width of P and Q is 56 units, which is exactly half the width of N. Recall from the post on #IonicCapital #Tectonic Surfaces [https://pixelfed.social/p/Splines/792124787573855518] that the unadorned capital is also exactly 112 units, divided into two halves of 56 units each.
R is concentric with P and Q and its width is exactly half of the width of P and Q, which are exactly half the width of N.
Top of R is 32 units from top of N and 16 units from top of P and Q. Bottom of P and Q are 32 units from bottom of N and 16 units from bottom of R.
Finally note the diagonal line from the origin to the #eye with a point in the middle. That middle point is the center of rectangle labeled N. It shows that the volute #eye, the center of N and the centers of concentric rectangles P, Q, and R would be collinear if these rectangles were coplanar.
All of these constraints point to warrantable consistency and coherence of the scaffolding measurements, justifying their use in scroll reconstruction.
Client Info
Server: https://mastodon.social
Version: 2025.07
Repository: https://github.com/cyevgeniy/lmst