cornice, tentativi, opera (una spiegazione) / differx. 2025
#cornice #corniceTentativiOpera #dichiarazione #differx #opera #scritturaDiRicerca #scrittureDiRicerca #spiegazione #tentativi #video
cornice, tentativi, opera (una spiegazione) / differx. 2025
#cornice #corniceTentativiOpera #dichiarazione #differx #opera #scritturaDiRicerca #scrittureDiRicerca #spiegazione #tentativi #video
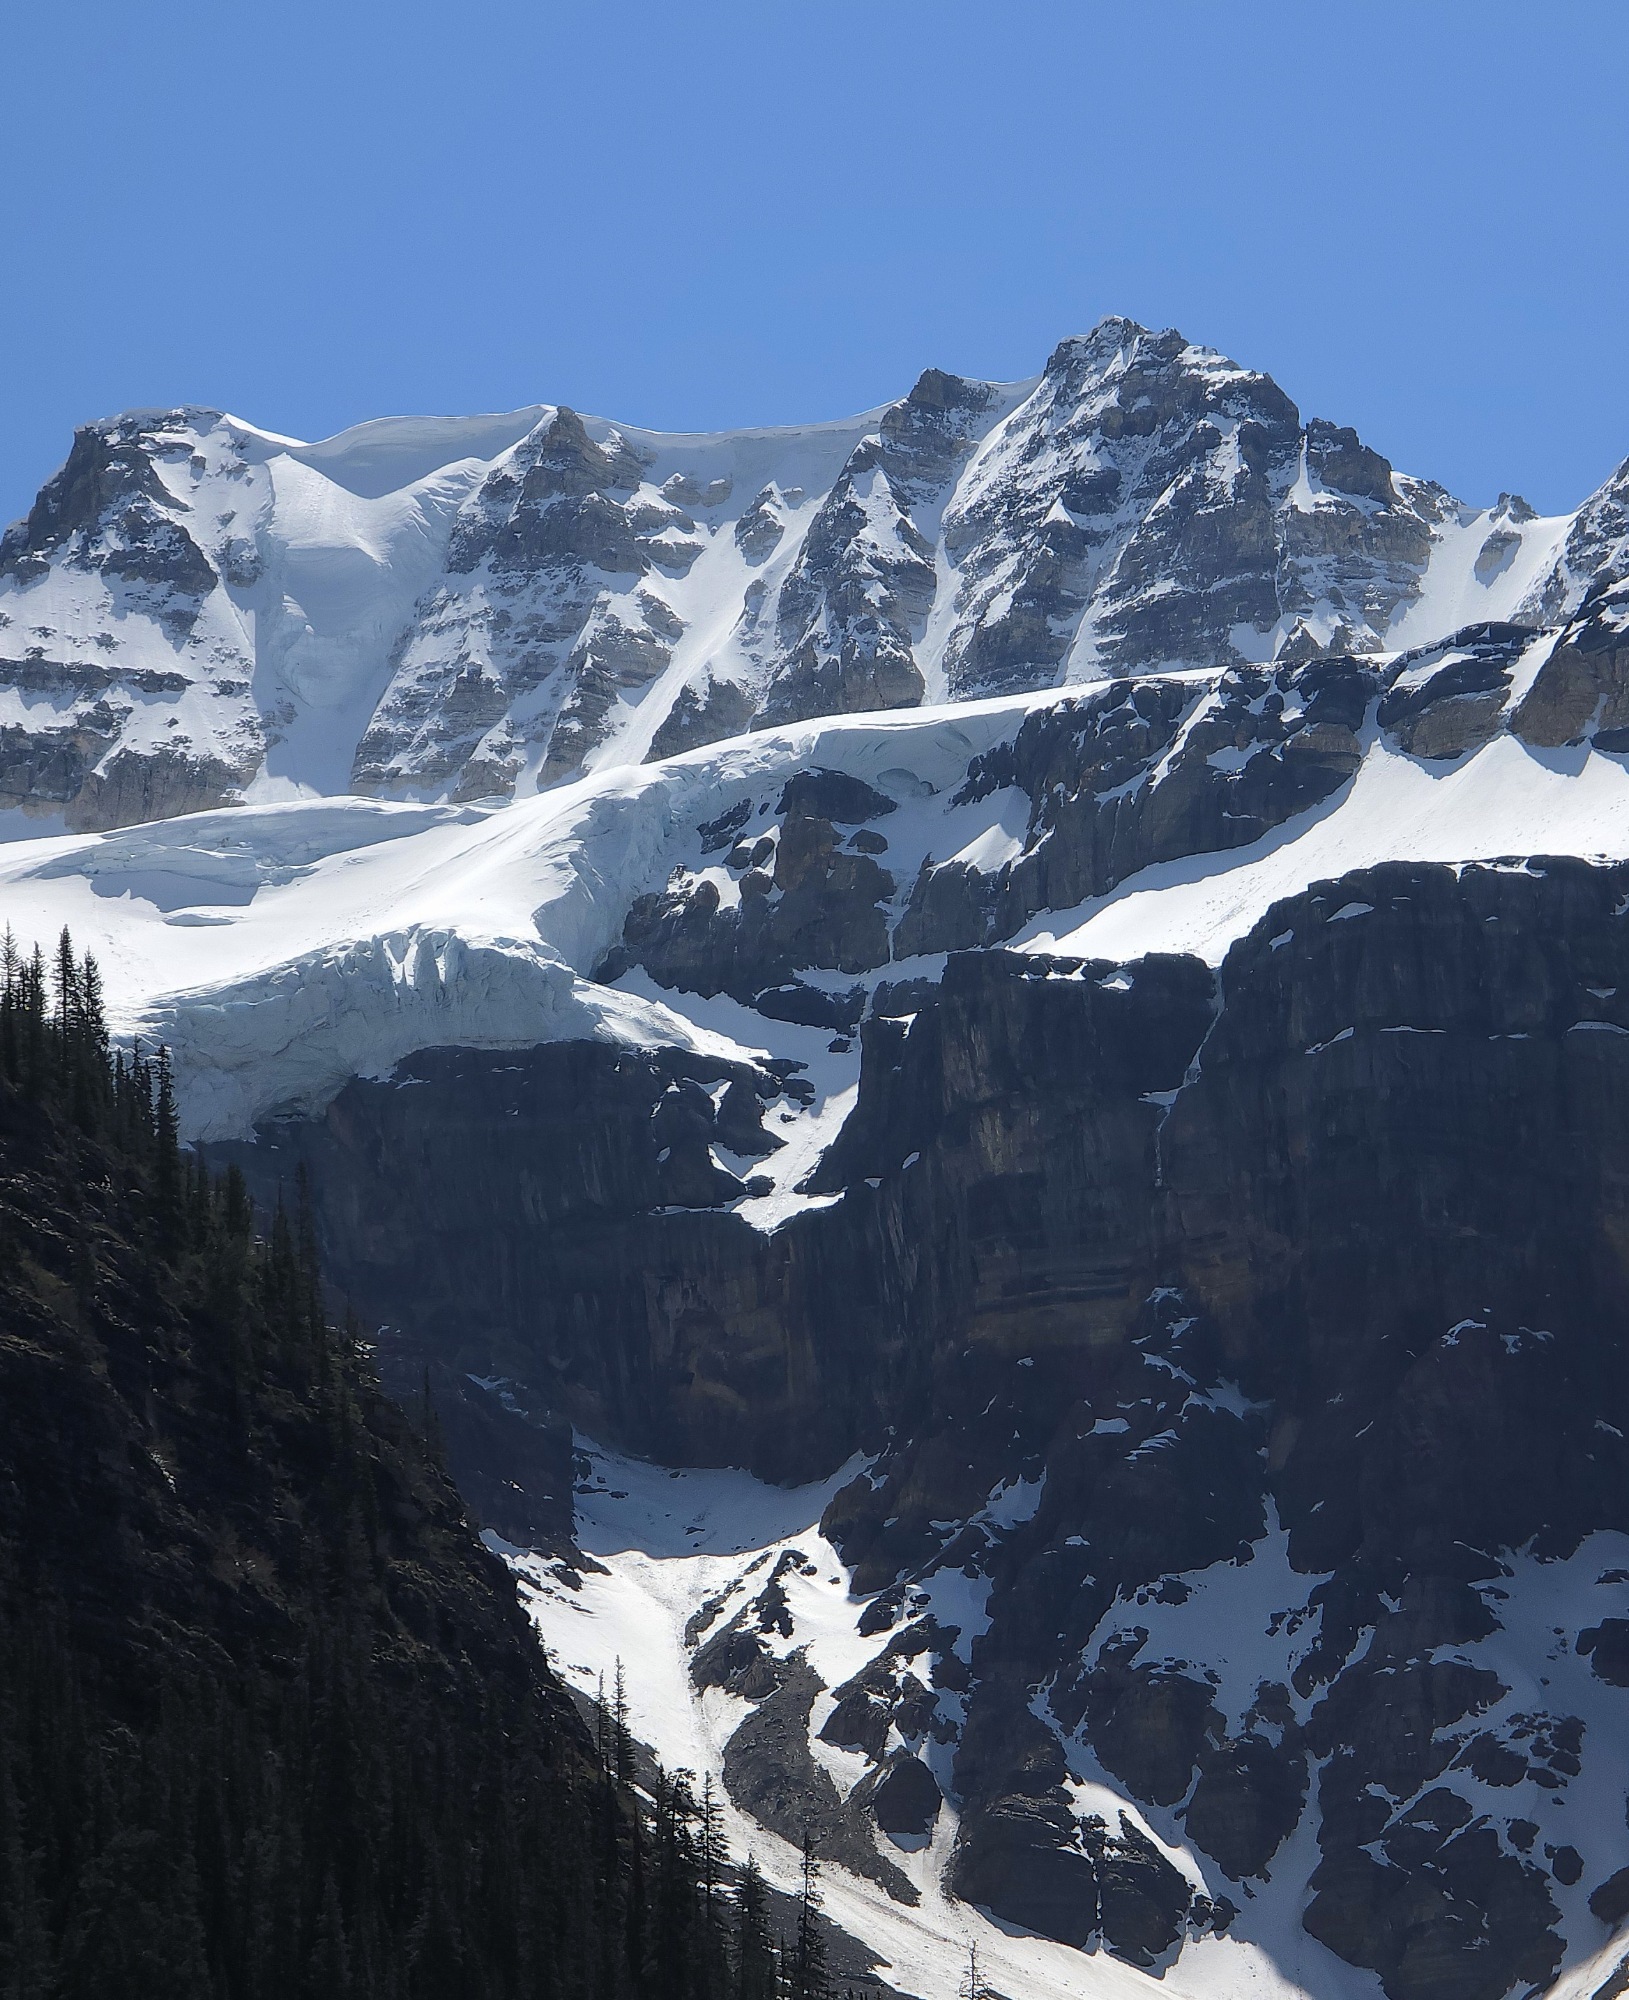
Nice cornice hanging off that ridge. June 2, 2025 #Banff #Alberta #glacier #cornice #MoraineLake #BlueUtah
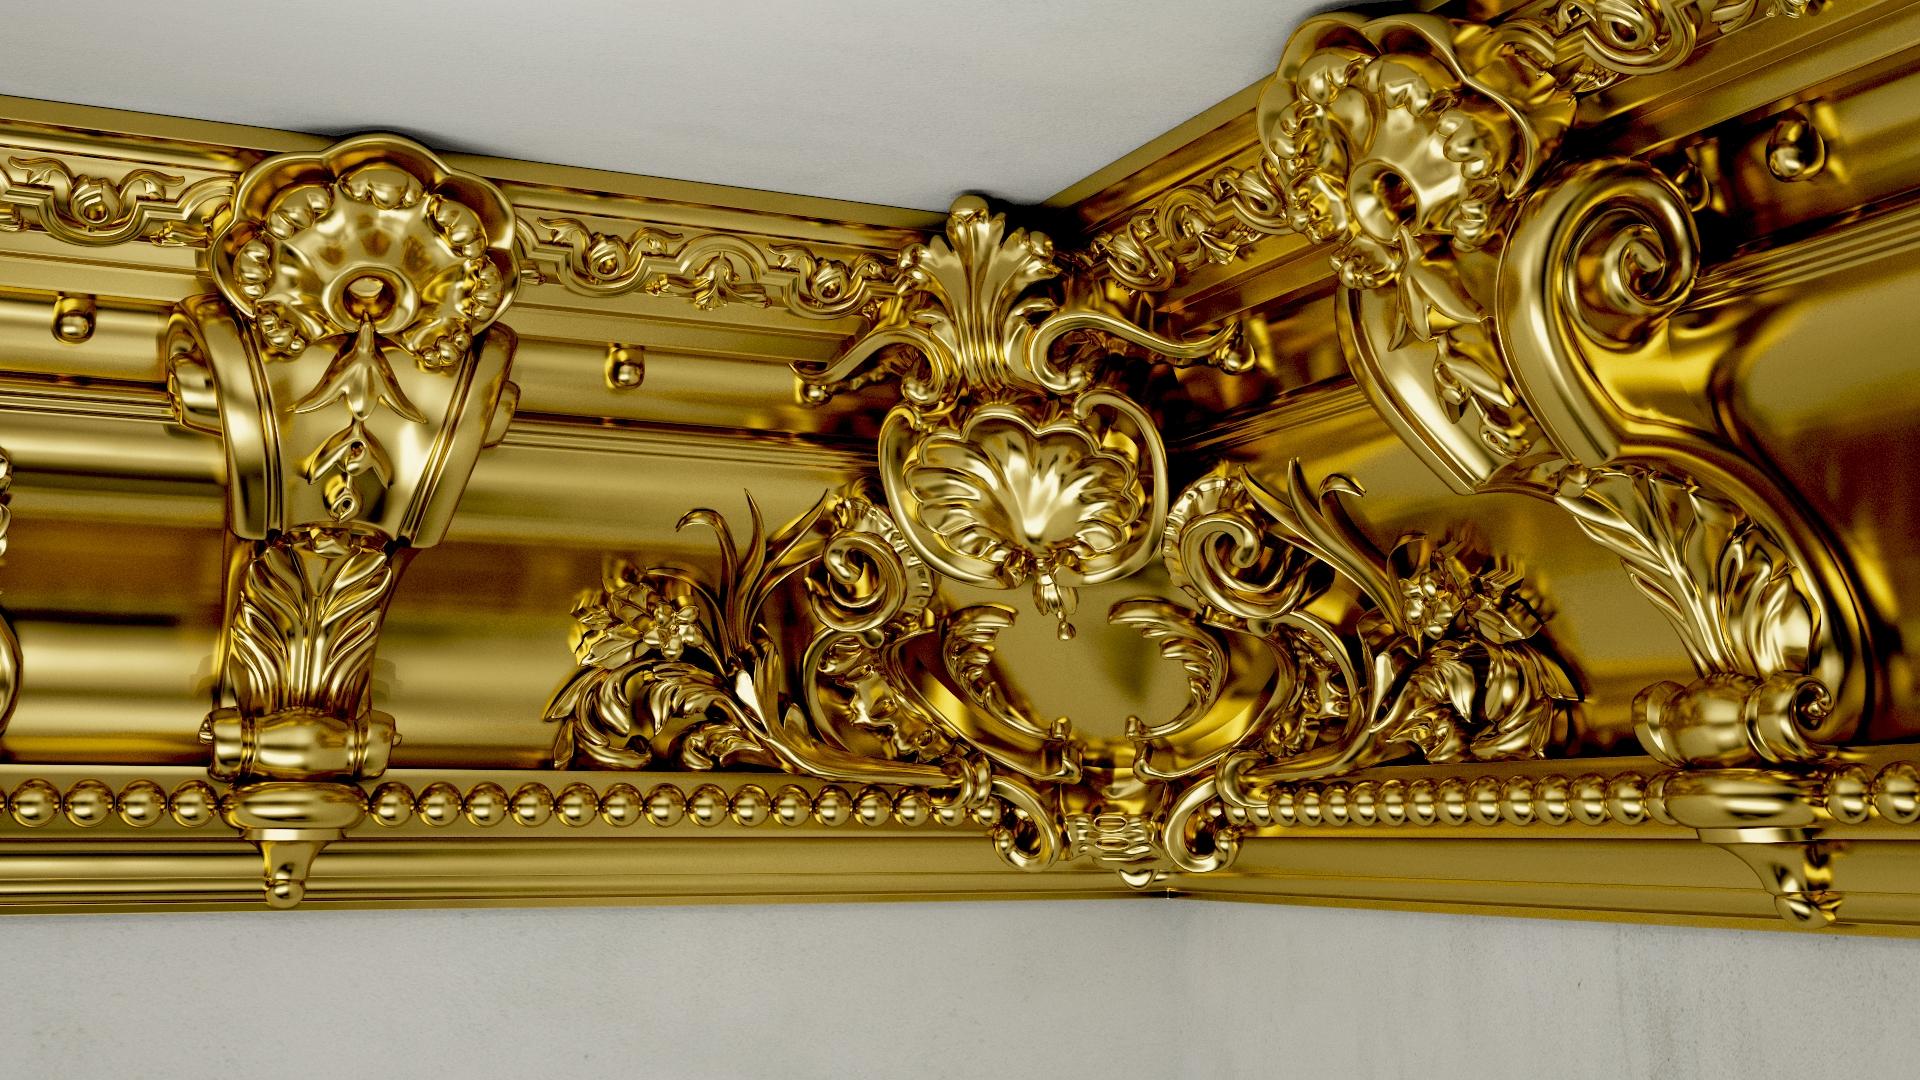
🪑 Large Victorian Cornice BAROQUE GYPSUM FOR CNC FABRICATION • STL and OBJ files
➡️ Download 3D print model: https://cults3d.com/:1713525
💡 Designed by @GazZzaN
@cults3d #3DPrinting #3DPrinter #Printable #STLfile #cnc #carving #cornice #classic #gypsum #baroque #stl #obj #victorian
⬆️ #CAD #3DModeling
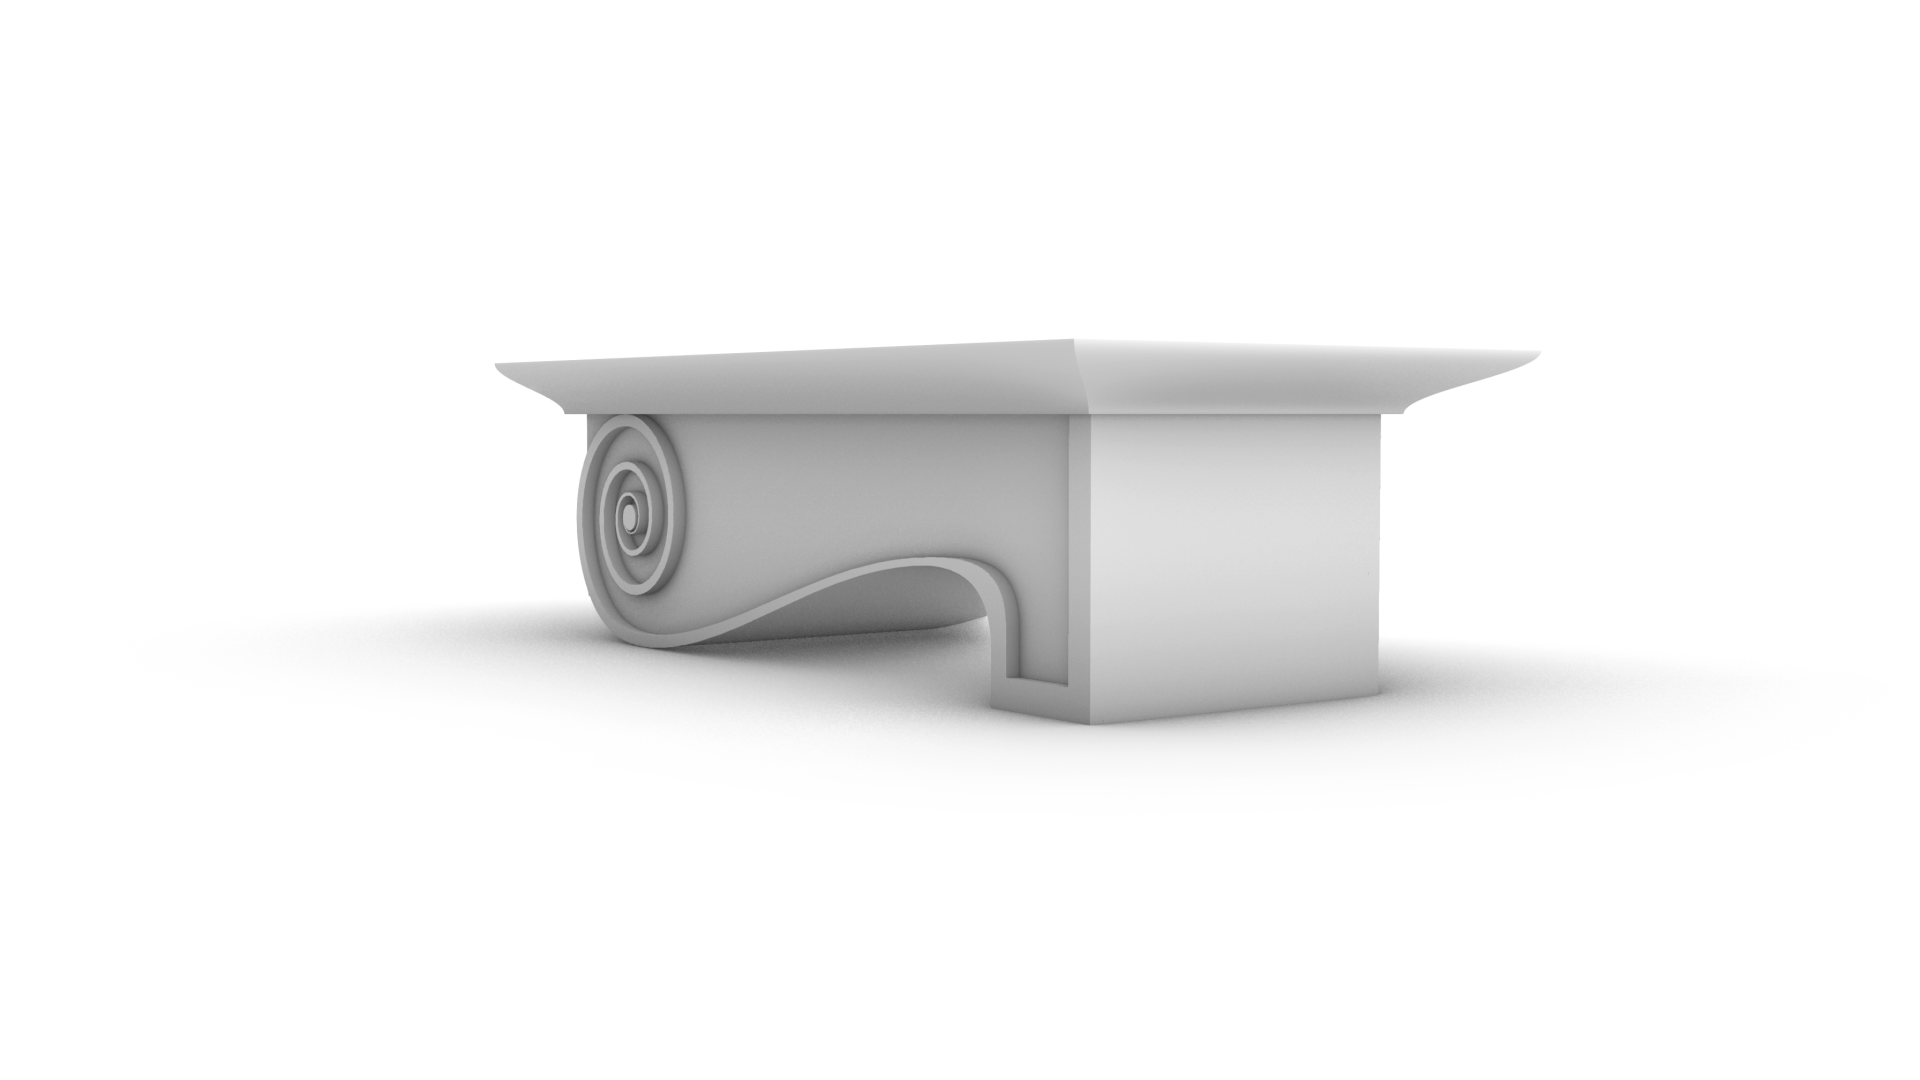
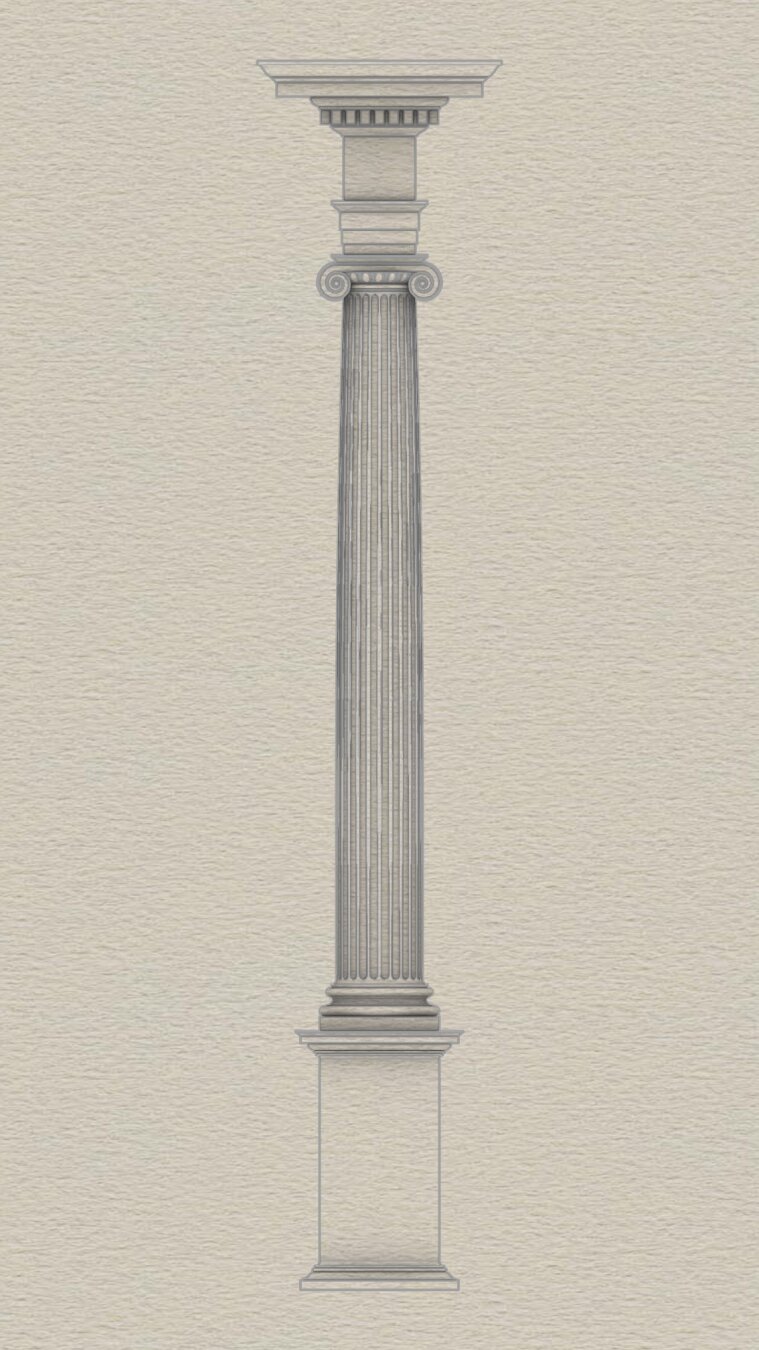
>> #IonicOrder is medium in complexity
There are 3 components in the #Ionic order. Starting at the bottom is the #pedestal (which is optional), the #column, and the #entablature.
Each of the 3 components has 3 subcomponents.
Pedestal has #basement, #dado, and #cap.
Column has #base, #shaft, and #capital.
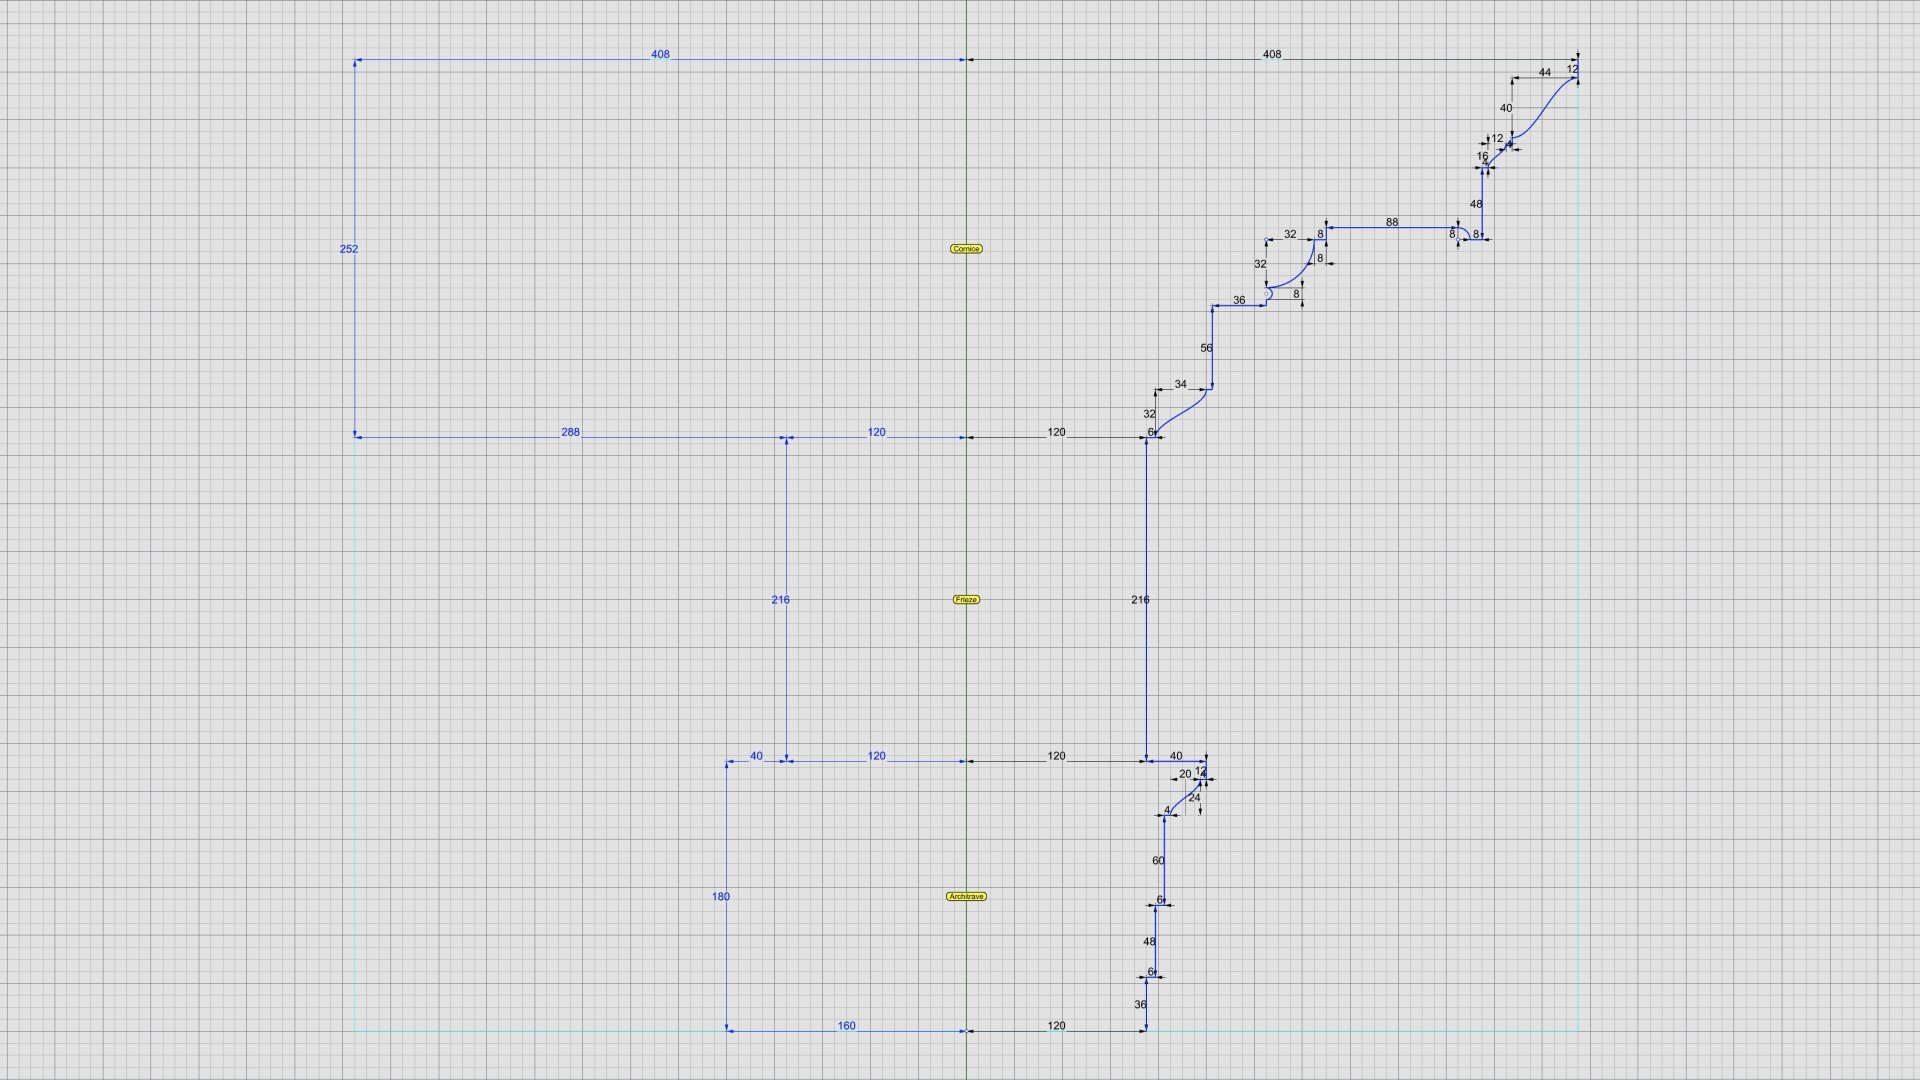
Entablature has #architrave, #frieze, and #cornice.
Components of Ionic column and entablature also have classic and modern variations.
Gunnersbury Park Museum
#ealing #london
🍀
#costume #heritage #gunnersburypark #gunnersbury #history #historic #interiordesign #educate #gunnersburyparkmuseum #museumphotography #display #education #museum #londonphotography #pattern #plasterwork #art #londonphotography #plaster #cornice #decoration #Ceiling
#nikon #z8 24-70S
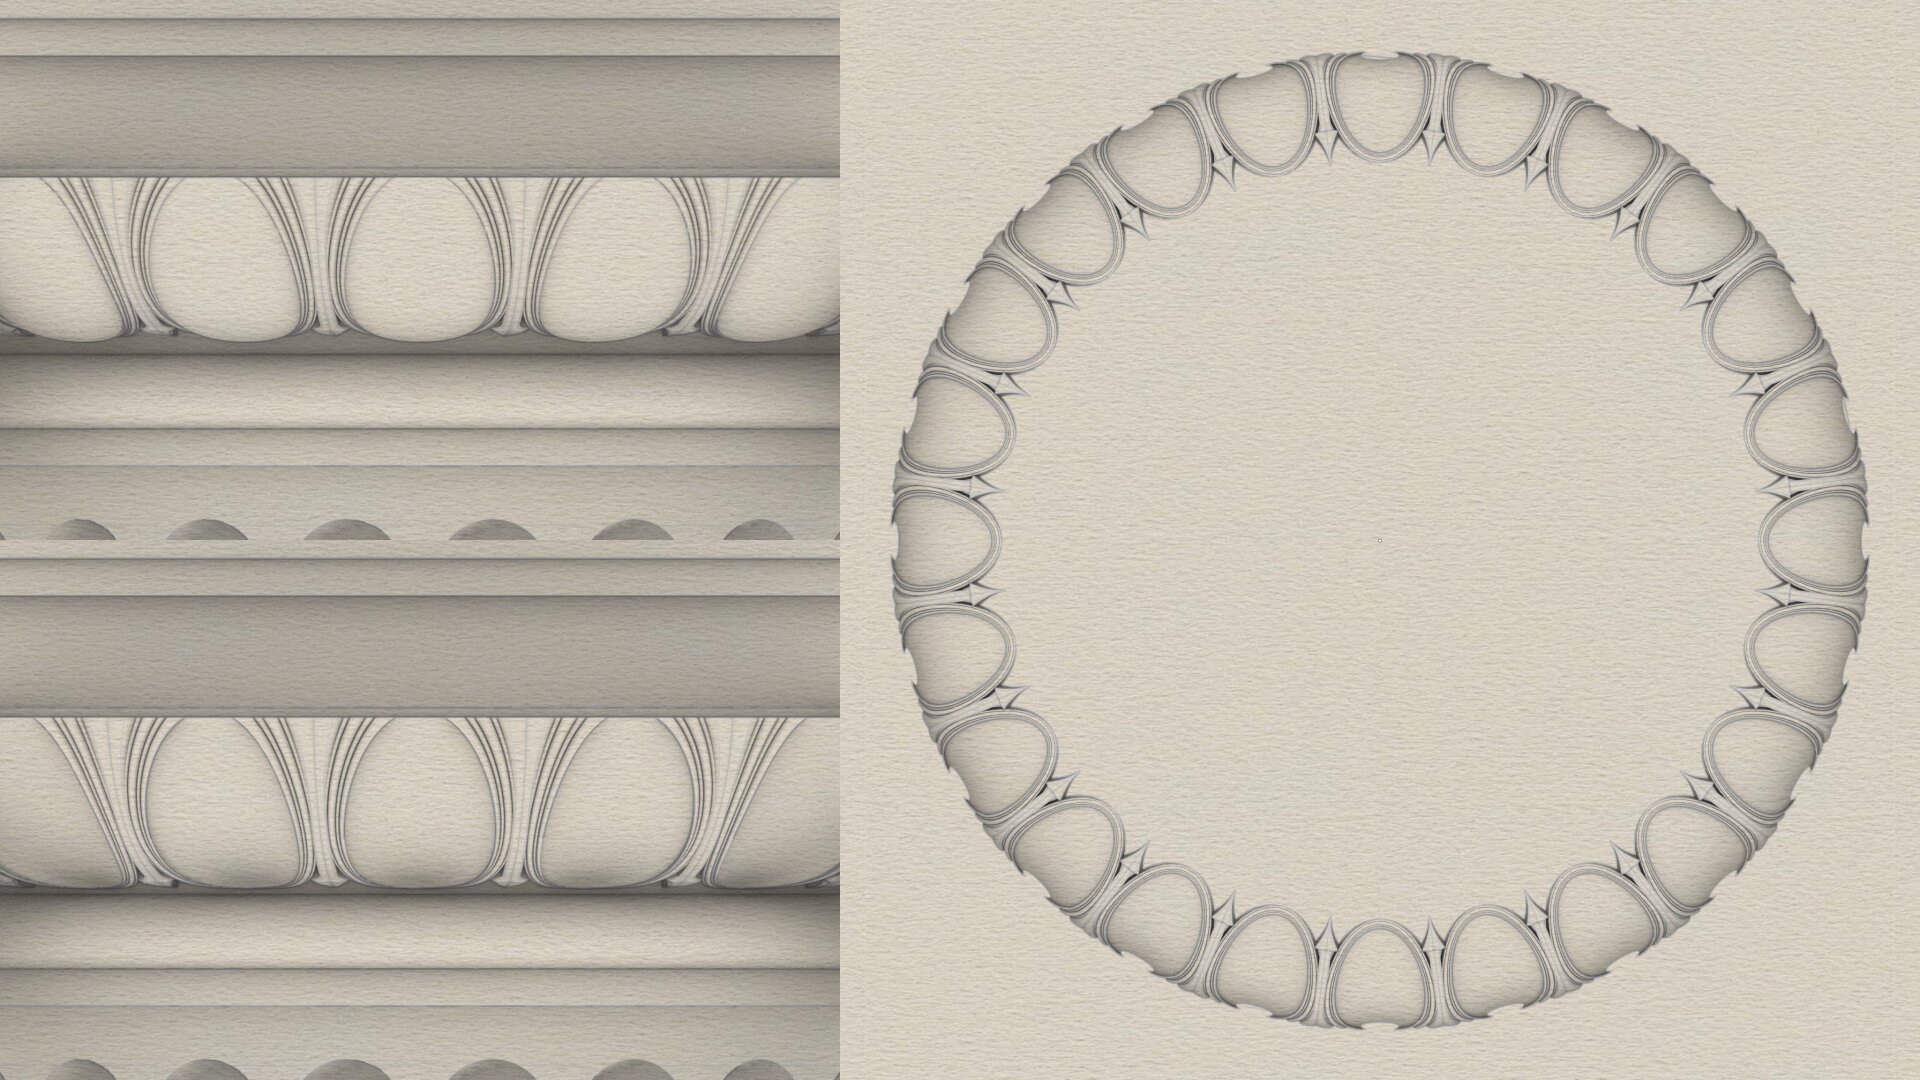
Stunning plasterwork cornice from the interior of Holmwood House in Glasgow featuring Alexander 'Greek' Thomson's signature palmette or anthemion motif.
#glasgow #alexandergreekthomson #holmwoodhouse #architecture #design #designdetail #cornice #glasgowarchitecture #anthemion #palmette
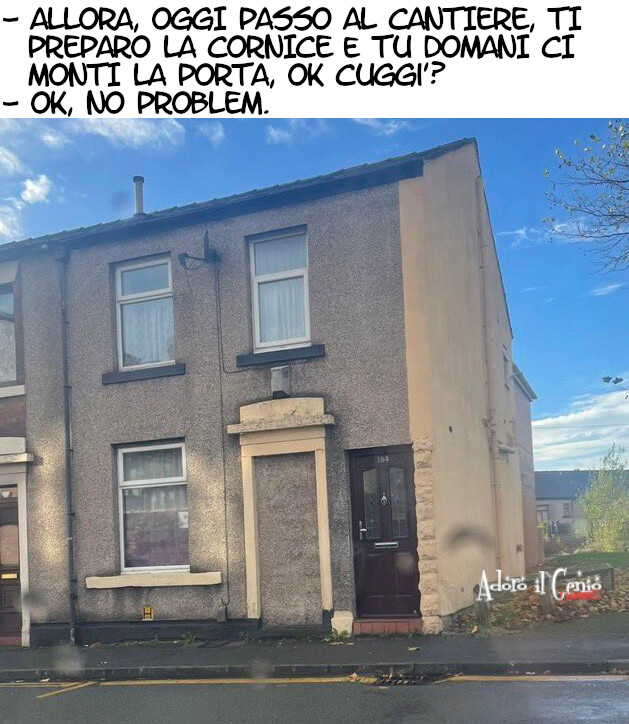
ADORO ILGENIO - MIOCUGGINO
Lo sapevate? Quel #genio di #miocuggino✌🏼️ adesso si occupa di infissi...
#adoroilgenio #13gennaio #case #costruzioni #porte #porta #infissi #ammiocuginostyle #OK #NoProblem #ttappost #cornice #cornici #cantieri #incantiere⚠
#WoodWorking #DIY #NoPowerTools
A very easy #picture #frame (easier than this there is just attaching you picture to the wall with sticky tape).
~~
Una #cornice molto facile da fare (più facile di così c'è solo l'attaccare la foto al muro con lo scotch).
A cornice of snow running along a ride on #WhistlersPeak at the top of the #JasperSkyTram in #JasperNationalPark. #alberta #rockies #mountains #landscalephotography #blackandwhitephotography #snow #stormy #cornice
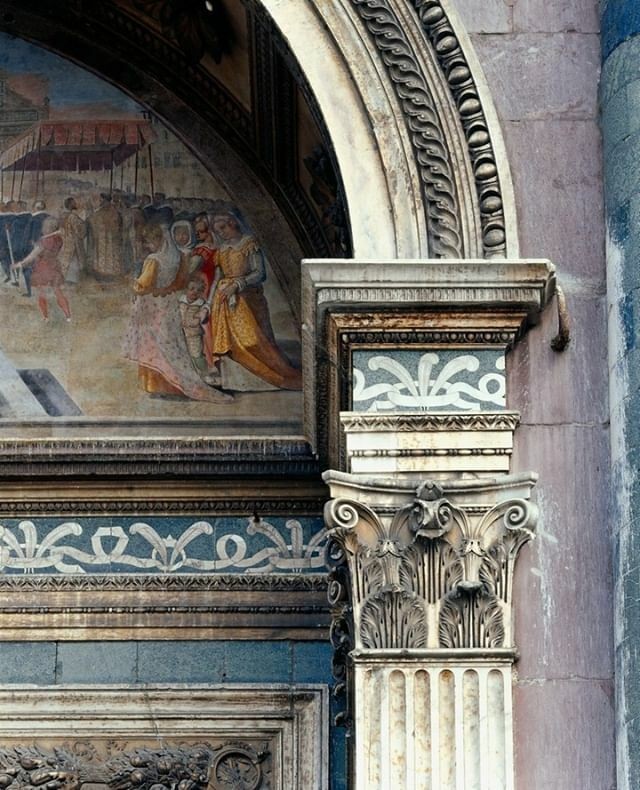
Details from the facade of Santa Maria Novella, designed by Leon Battista Alberti in Florence.
Check out our latest bonus episode on Alberti on our Patreon.
#Renaissance #Capital #Cornice #Classicism #Architecture https://ift.tt/35HIjLm