For all of you that hate #crimping: The SN-2549 is the ultimate crimping tool for #jst. It crimps both parts in one go and it's as easy as it can get.
10/10 would buy again.
Give it a shot if you prefer soldering over crimping.
This old but good DeWalt angle grinder starting cutting out while making that gate today.
Noticed it was whenever the cable moved, so it was just a broken wire. Easy fix.
Wire a bit shorter now, new ferrules crimped on and runs fine again. The brushes still have enough life left on them, too.

All the wires have been crimped! This was very tedious and repetitive. But after the first few done, it went relatively smoothly.
I only had to make two wires longer.
Connector list:
- ten six-pin JST
- three two-pin JST
- one four-pin JST
- one ten-pin DuPont
It looks very cramped, but it works!
The steps are ordered columns first, like this:
1 3 5 7 9
2 4 6 8 10
Else, I would have needed to make more wires longer.
#diysynth #sequencer #electronics #crimping #cables
Got #crimping to do? Here's a #mnemonic for you!
#electronics
#computers
#networking
#cat6 https://social.codeofamor.net/@codeofamor/113851714326576156
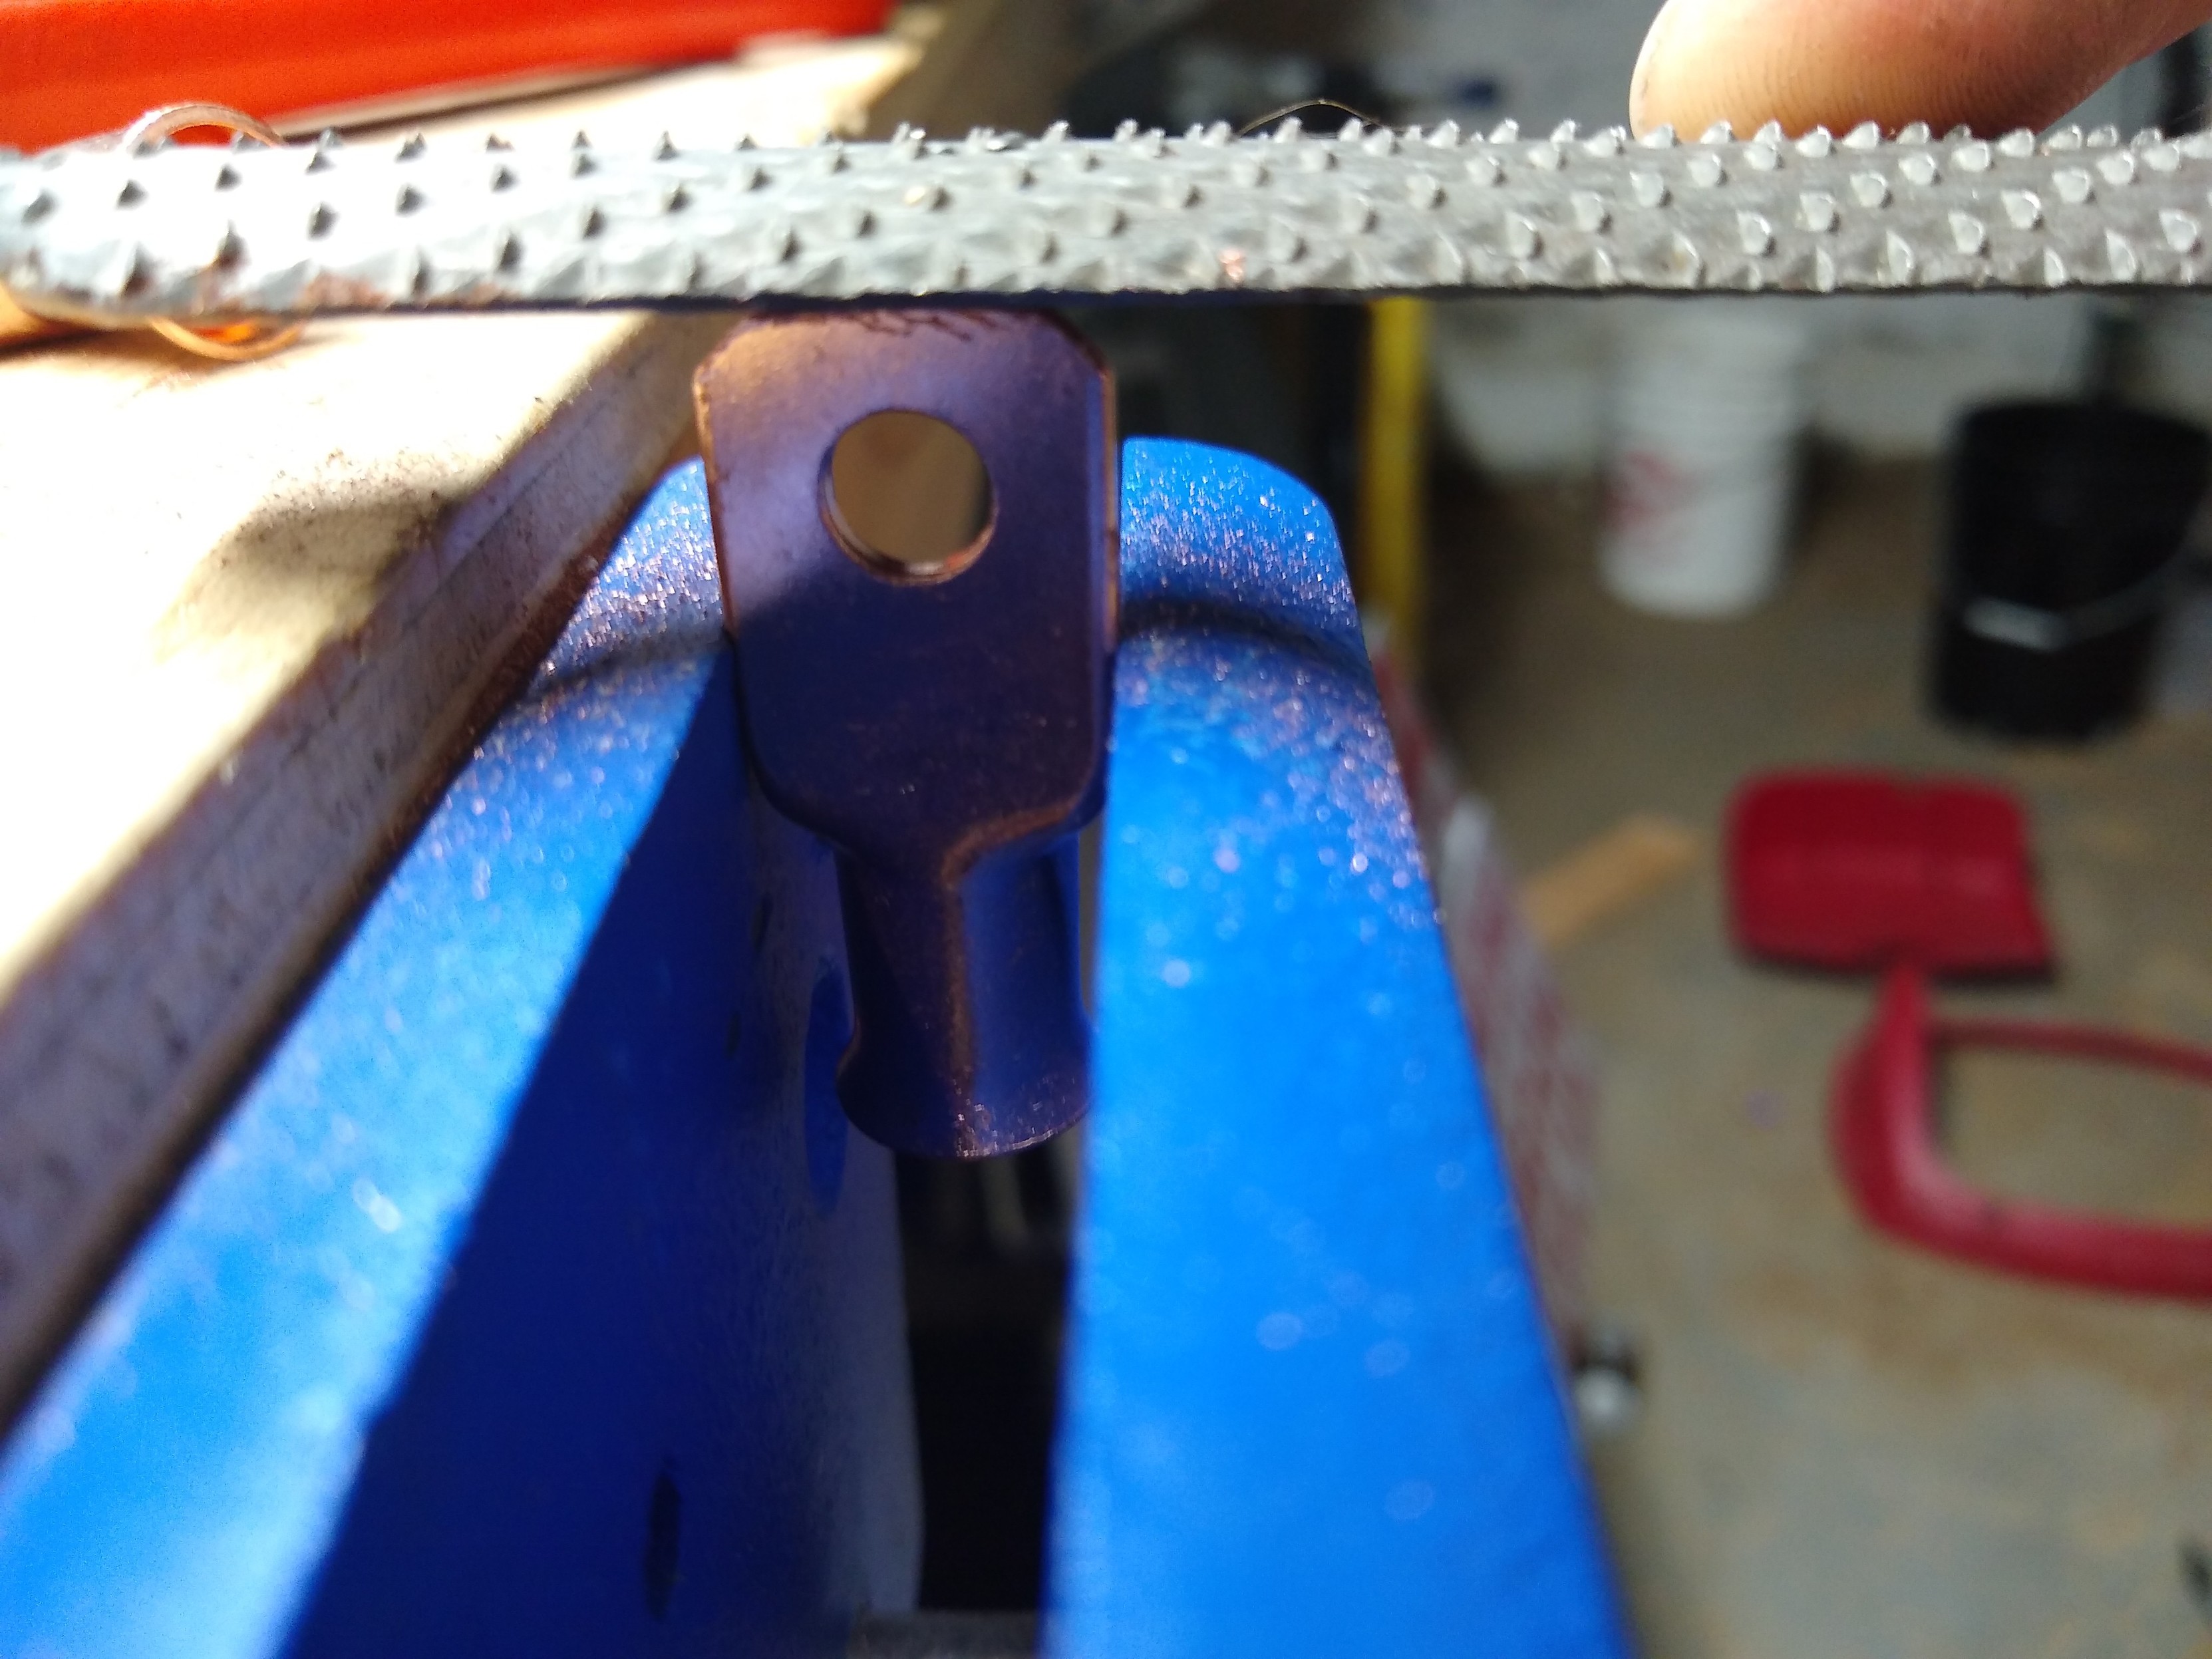
The 2AWG wire lugs had to be filed down so they would fit on the terminals of the cutoff switch. The terminals on the switch are separated by a plastic barrier, but they're still very close together. Makes me wonder if I didn't actually need 2AWG wire at all. But here we are. 🤷 #electronicsdiy #crimping
@slyecho but one doesn't solder such connections...
#VDE and other #ElectricalCodes demand #crimping to prevent "HotSpots" from forming which could escalate into a cable fire...
Le #tracé-matis, l' #ajourage ou le #sertissage : ces #techniques #ancestrales de #gravure sur les #métaux, inscrites tout récemment "au #patrimoine #immatériel" de l' #Unesco, sont "peu valorisées" au #Maghreb où les #artisans peinent à perpétuer leur savoir-faire.
https://fr.africanews.com/2023/12/26/peu-valorise-au-maghreb-la-gravure-sur-metaux-au-patrimoine-de-lunesco/
#tunisia #tunisie #تونس #africa #layout-matis #openwork #crimping #ancestral #techniques #engraving #metals #intangible #heritage #Unesco #Maghreb #artisans
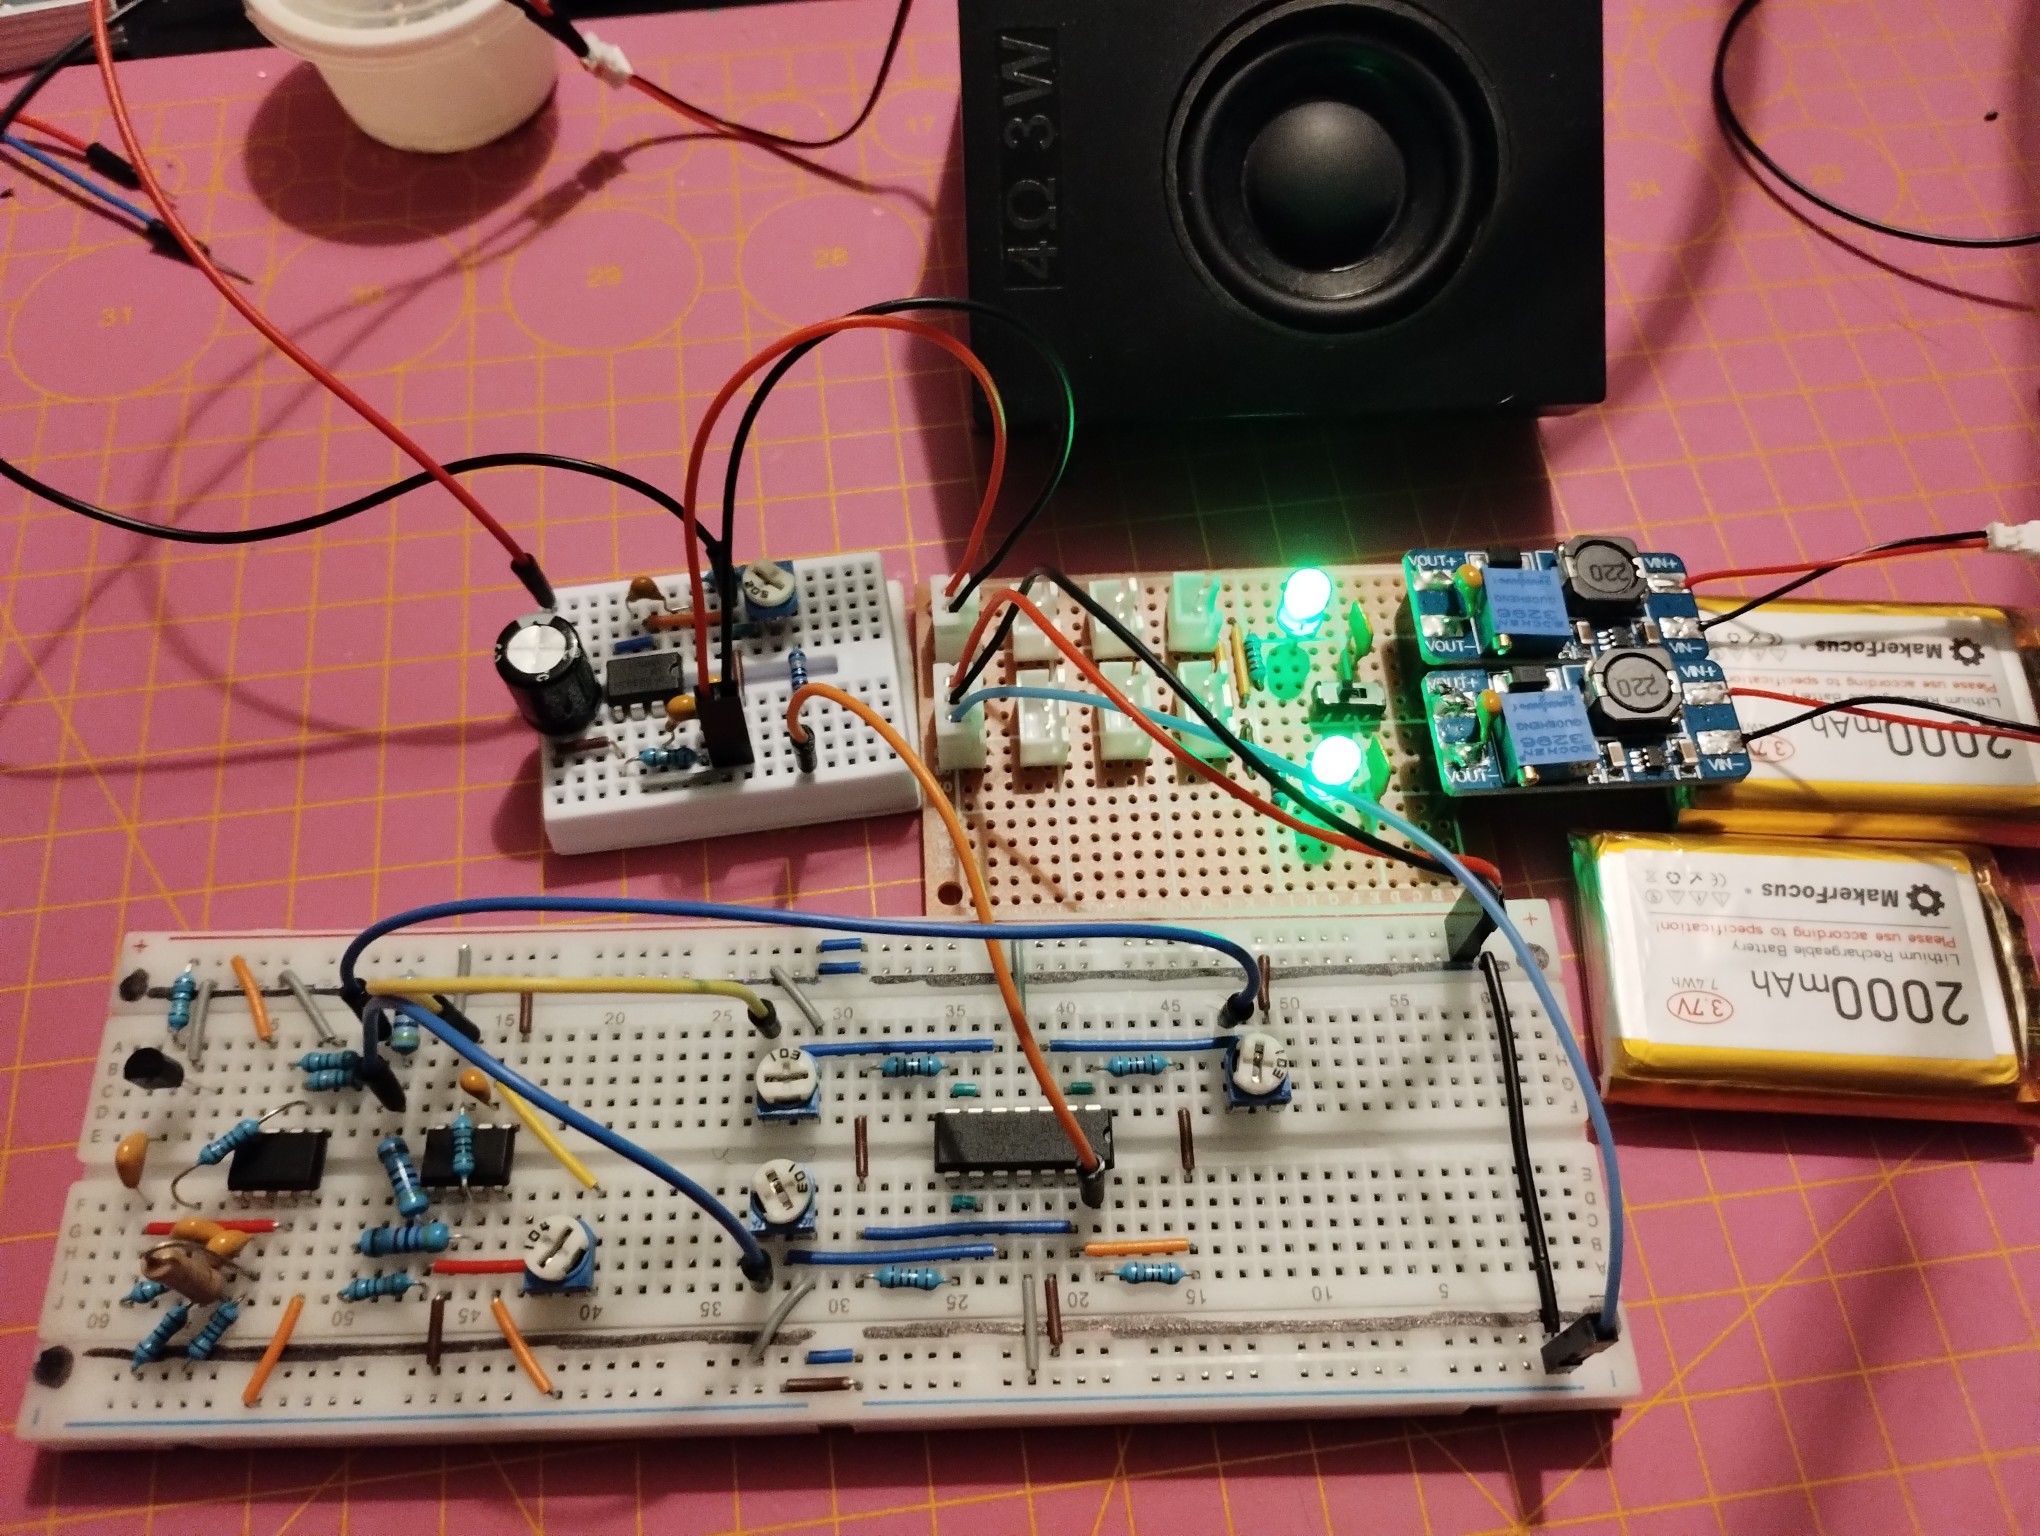
Here an action shot after #crimping some #JST to #DuPont wires.
#diysynth #breadboard #perfboard #powersupply
Just made some cables with two resistors in-line, they should divide the voltage across the red wire and black wire (on the left) by half (on the right), while only pulling a small current (but enough for the buck converter lm2596s’ enable pin to draw from). This will save me from having to use a separate relay for toggling my 5V fans. Though I will need to tinker with #marlin firmware to invert the signals. #diy #electronics #3DPrinting #soldering #crimping #wire
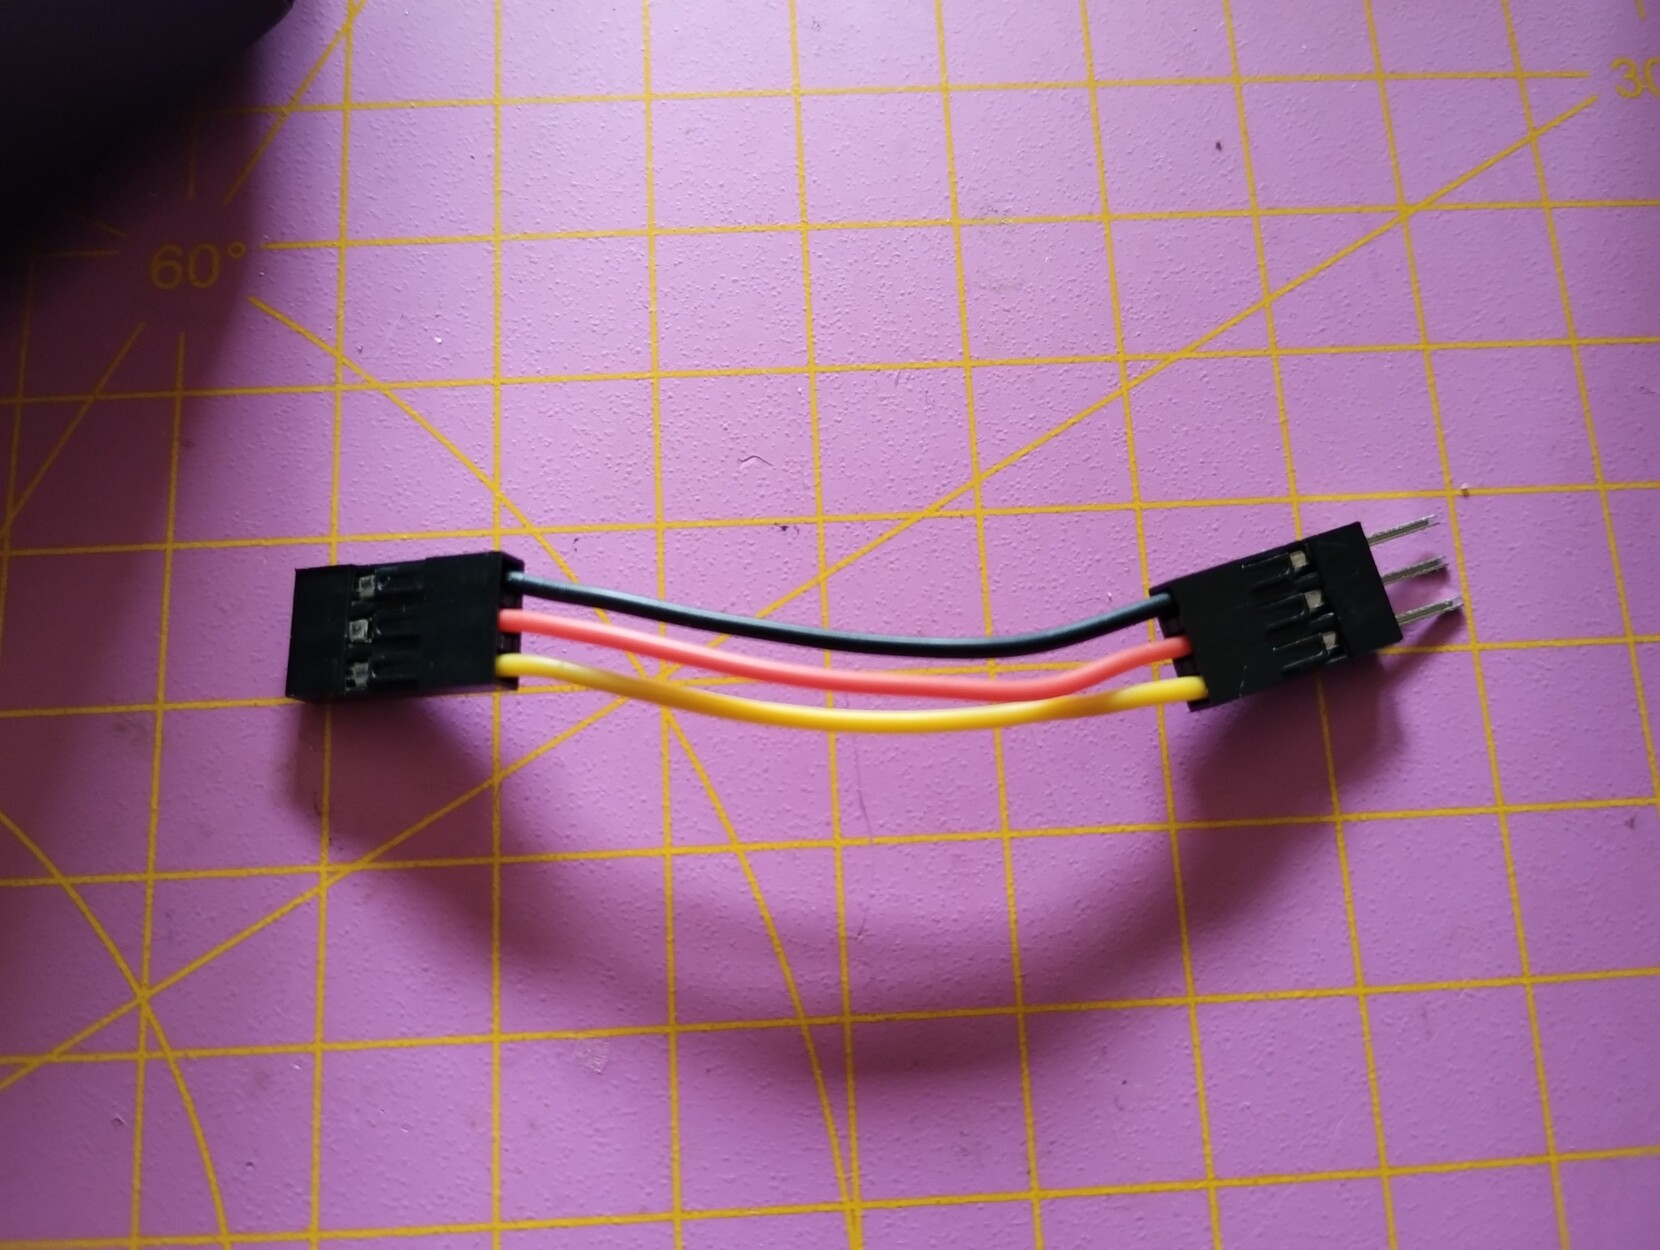
I crimped my first DuPont cable... the lengths of the wires don't match 100%, but it's good enough. It'll be used as extension to connect a servo with too short cable to my Arduino.
#crimping #electronics #dupont #cable #Arduino #servo
Crimped a cat5e cable a while back and got 100Mbps instead of the Gbps I had hoped for. Not a problem at the time as only had 24Mbps to the property.
Just got a better connection and the cable became a bottleneck. Tried recrimping 4 times but all I've managed is downgrading it to 10Mbps.
Back to Amazon for some new connectors and probably a new tool. Guess you get what you pay for.
Hi, my name is Dan and I'm a crimpoholic.
Honestly, I didn't know I was a serial abuser of crimping tools until this weekend. I've been working on a small solar power system, and on Saturday I found myself struggling to get the BMS installed on the battery. I bought a Bluetooth dongle to connect the BMS to a smartphone app for checking the individual cells of the battery. I assumed it would just plug right into the UART port on the BMS, but alas -- different connectors. So off I went to my bench, looking for a sensible way to make the connection.
My first thought was to simply log the connector off the dongle and solder the leads to the traces on the PCB right below the UART port. But then I saw that the pins in the port looked like 0.1″ pitch, so I rummaged through my stash to see what I could find. To my surprise, I had not only a kit of 0.1″ female crimps and housings, but I also had the crimping tool for them! I had no memory of making the purchase, but I thanked my lucky stars that I did, and got on with the job.
I Think I Have a Problem
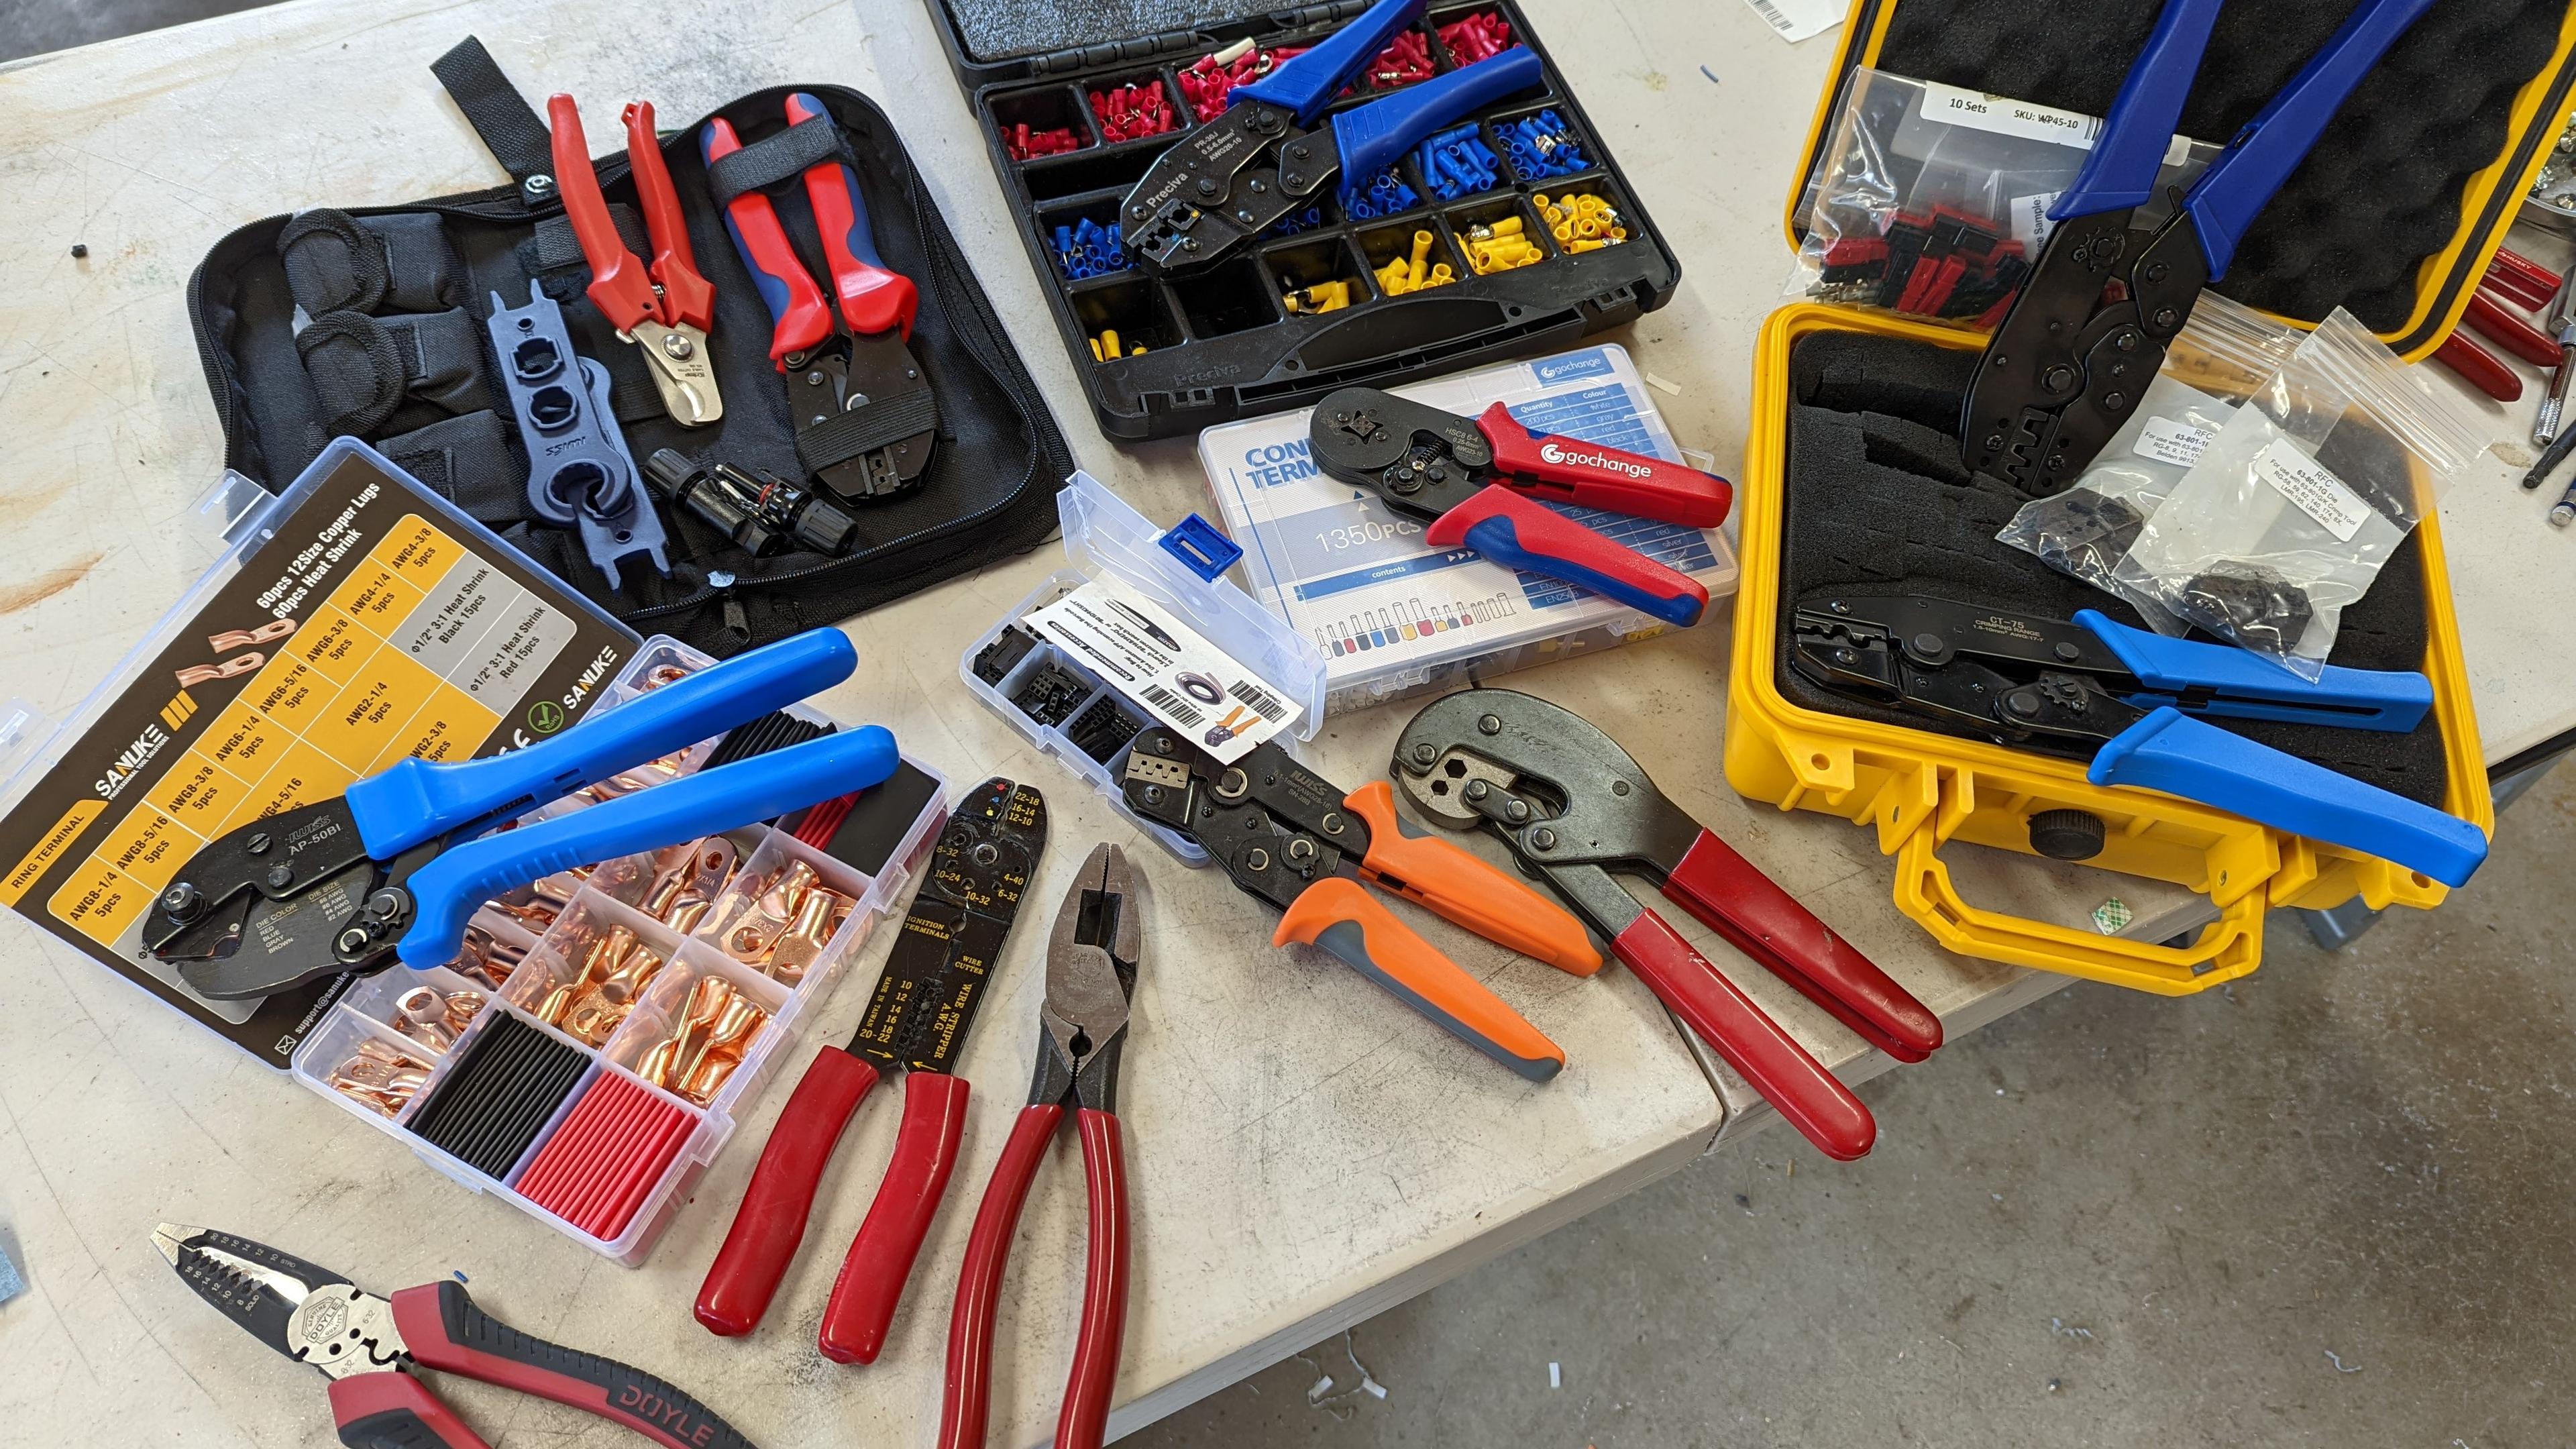
The story would end right there, if it weren't for the nagging feeling that my good fortune meant something more. As I worked on my project, I made a mental catalog of the specialty crimp tools I have. Then I wandered around my shop and my garage, collecting every crimping tool I could find. Rounding them all up and laying them out, I had the unavoidable thought: Man, you have a problem!
The full collection is shown here -- I think; something tells me there are more tools lying around that I've forgotten about. But even still, what I managed to find is a pretty impressive collection. I even threw in some "crimp-adjacent" tools, like the red-handled trio in the lower left, which includes the OG crimper-stripper-cutter-bolt cutter, a jack-of-all-trades tool that is equally bad at every one of those jobs. But it's where I started, and the tool had been with me for decades, so it's earned a place of honor.
What even is this one? I think it's for bigger Anderson PowerPole contacts, but I'm not really sure.
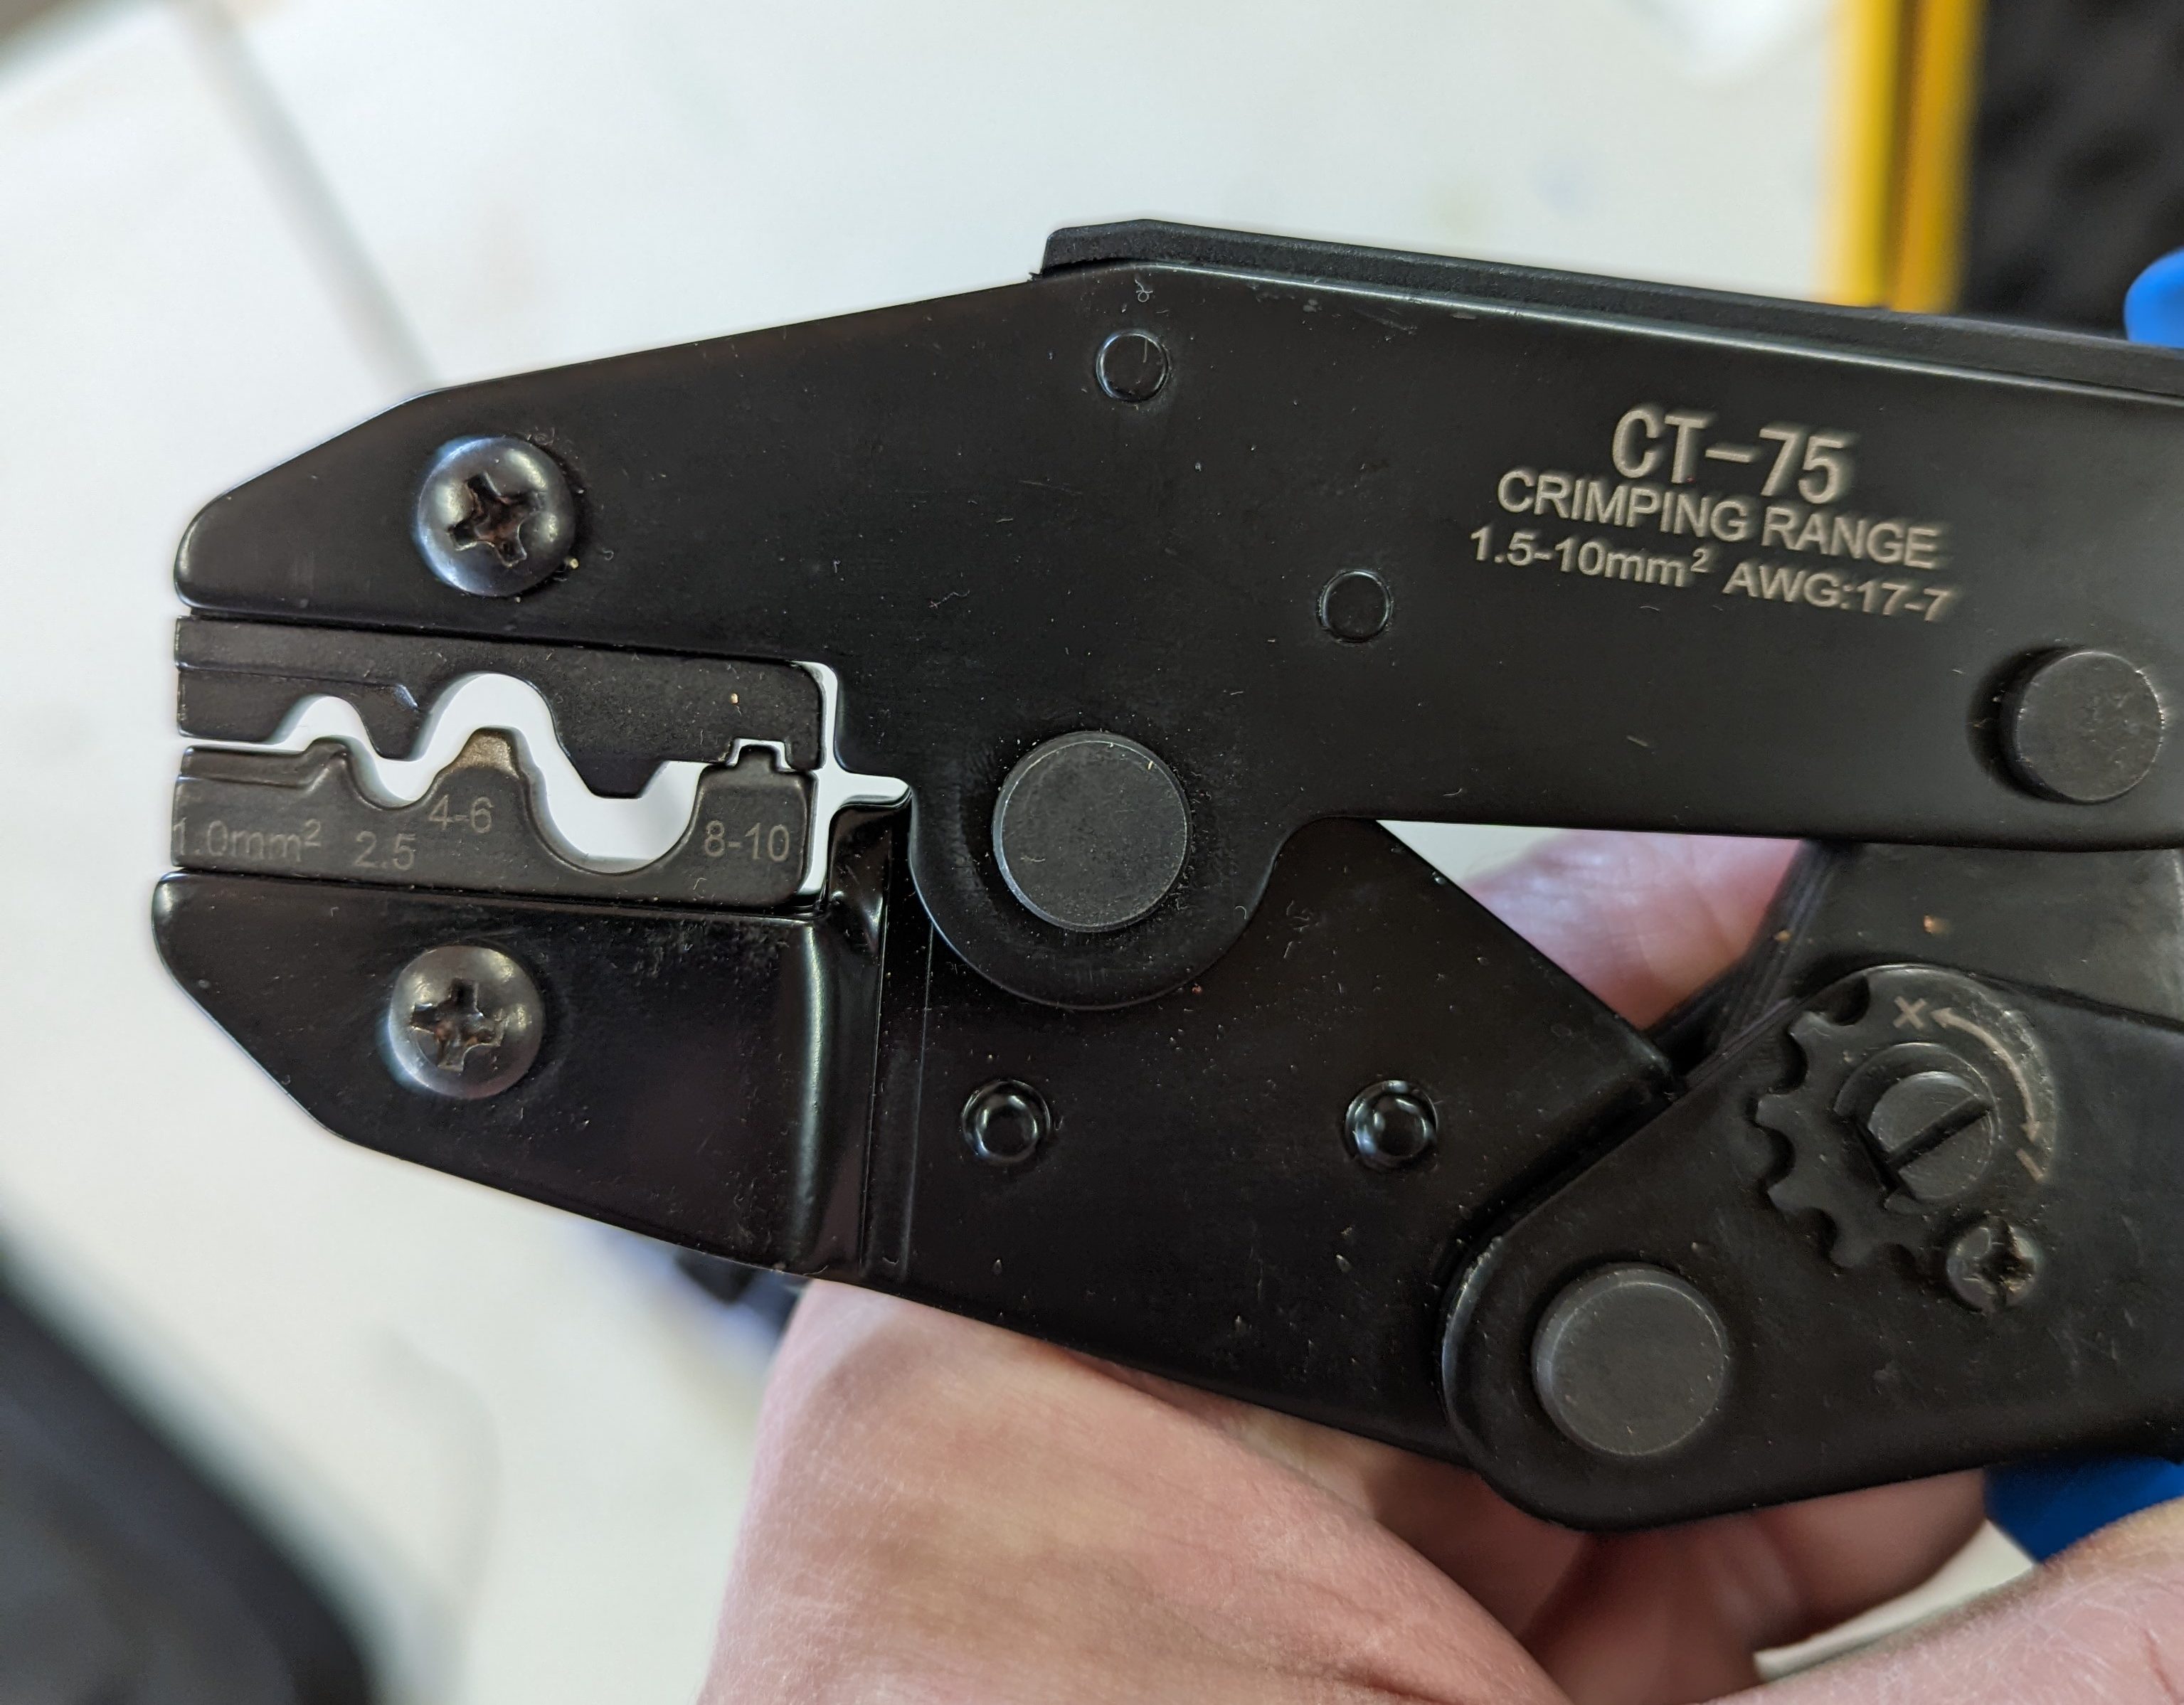
For the most part, though, I've moved on to ratchet-action crimp tools. I find these superior in every way to simple crimp tools, especially since they can't easily over-crimp a connector. The blue-handled tools in the black case are my go-to crimper these days, even if the crimp connectors included in the kit are a little on the crappy side. Right below them is a ferrule crimping set, which I purchased immediately after writing an article extolling the virtues of ferrules.
The yellow case is interesting. When I got started in ham radio, I figured I'd invest in the tooling needed for Anderson PowerPole connectors, the de-facto DC connector in the amateur radio world. The tool standing up vertically takes care of those crimps, but the other tool is -- a good question. Like most ratcheting crimp tools, it has interchangeable dies, and there are spare sets in the kit that are for PL259 connectors -- also handy for amateur radio -- but I don't think the die set in it is what it came with. I think it might be for crimping the really big Anderson connectors, which I needed when I wired an inverter into my car. But that's just a guess, so if you recognize the die, sound off in the comments below.
If the Tool Isn't Right…
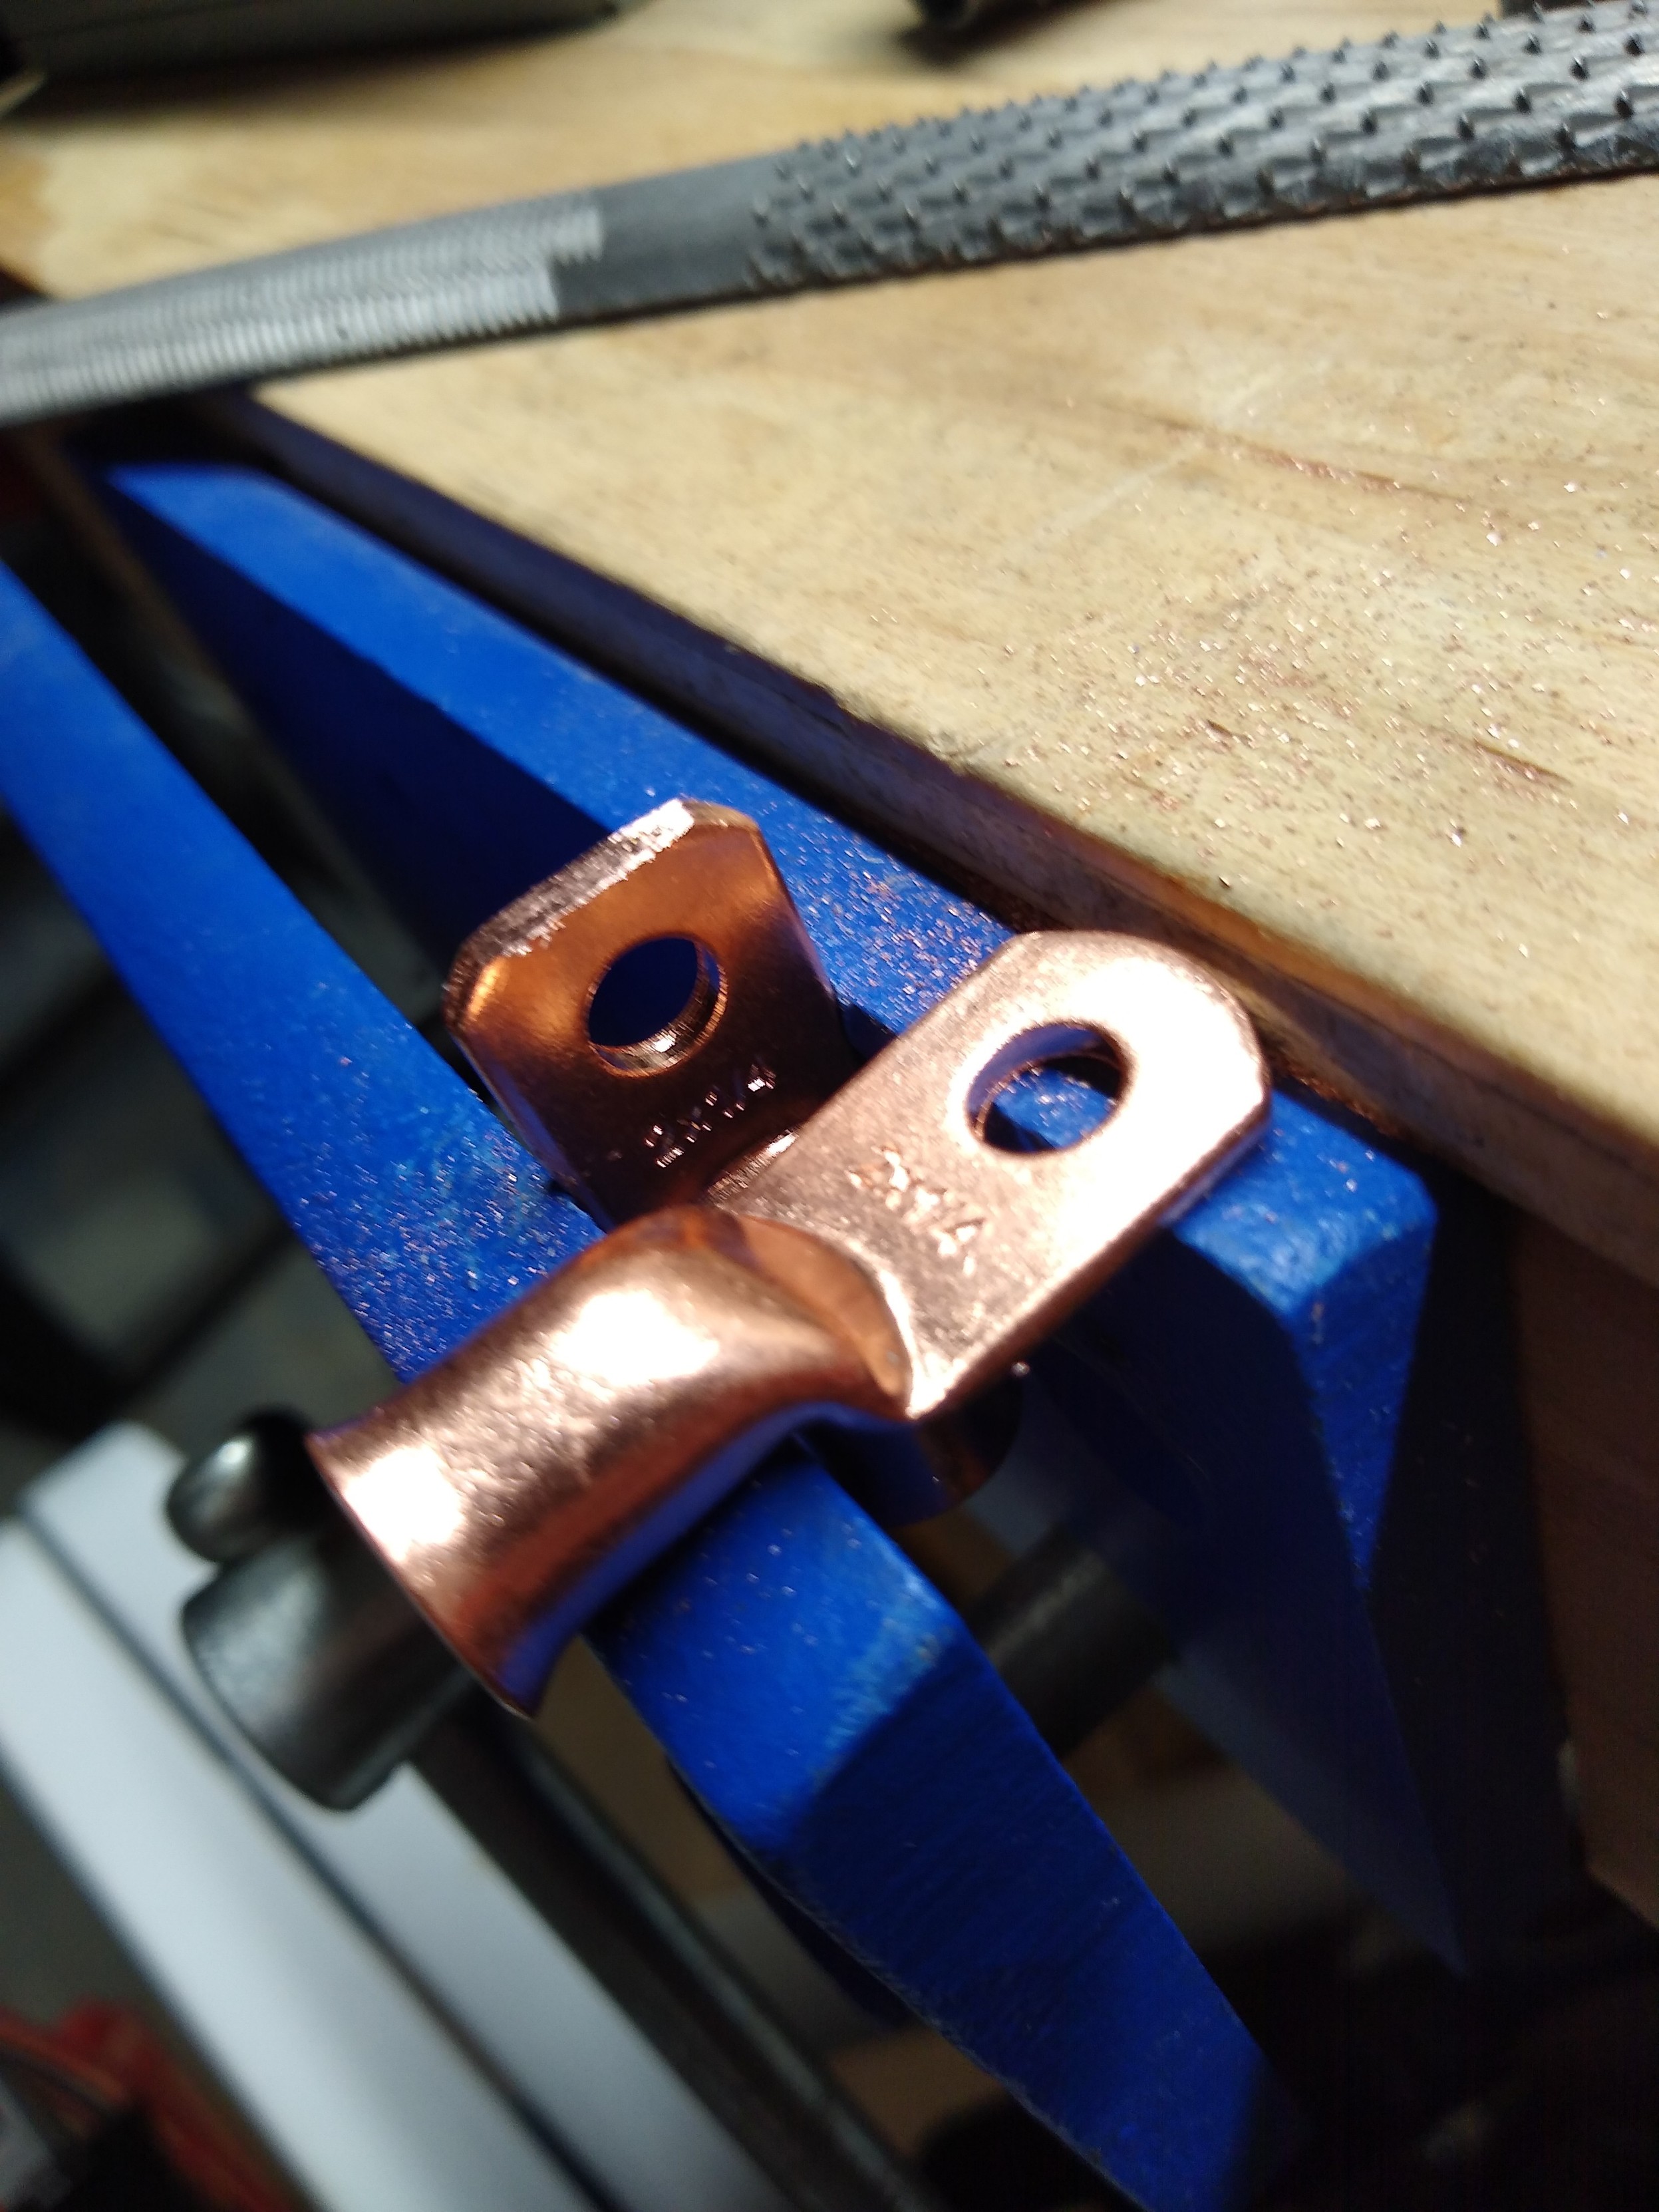
My most recent purchases are the two kits are the far left, both of which are specific to my solar power endeavors. The lower one is for crimping lugs onto battery cables from 8AWG to 2AWG, which is hard to do with anything other than a specialized tool. Just above that is a nice kit for making solar cables with MC4 connectors. I actually haven't even had a chance to use that one yet -- but it's nice to know I have it, in case I ever need it.
And I think that's the main lesson behind this somewhat extravagant collection of specialized tools. I really hate trying to make do, especially when it comes to critical connections. And when you're talking about connections that might carry upwards of 100 amps, you really shouldn't be fooling around. I can't count the number of "how-to" videos I've seen on YouTube that try to convince you not to waste money on specialized crimp tools -- just smack it with a hammer, squeeze it in a vise, or even just slobber it full of solder.
None of these seem like great ideas to me, especially after reading Maya's recent article on the dangers of substandard crimps. And so when it comes time to incorporate another type of connector into my projects, chances are I'm going to buy the right tooling to go along with it. After all, while most of these tools aren't exactly cheap, they aren't going to break the bank, especially when you consider the price of failure.
So maybe in the end, being a crimpoholic is more feature than bug.