How many people who were online in the 90s remember the LiveUpdate Crescendo MIDI player plugin? In case anyone wants it, I finally got around to sharing what I have, including the Windows Netscape variant of version 5 from one of my CD-Rs which seems to be missing from the Wayback Machine. → https://archive.org/details/liveupdate_crescendo
#MIDI
ROTO-CONTROL now comes with #bitwigstudio support. #midi #midicontroler https://www.melbourneinstruments.com/rotocontrol/
Not sure if the Roto-Setup App offers #linux support though.

QPWGraph makes managing #audio and #midi flow in #linux so much easier than trying to deal with command line tools.
https://gitlab.freedesktop.org/rncbc/qpwgraph

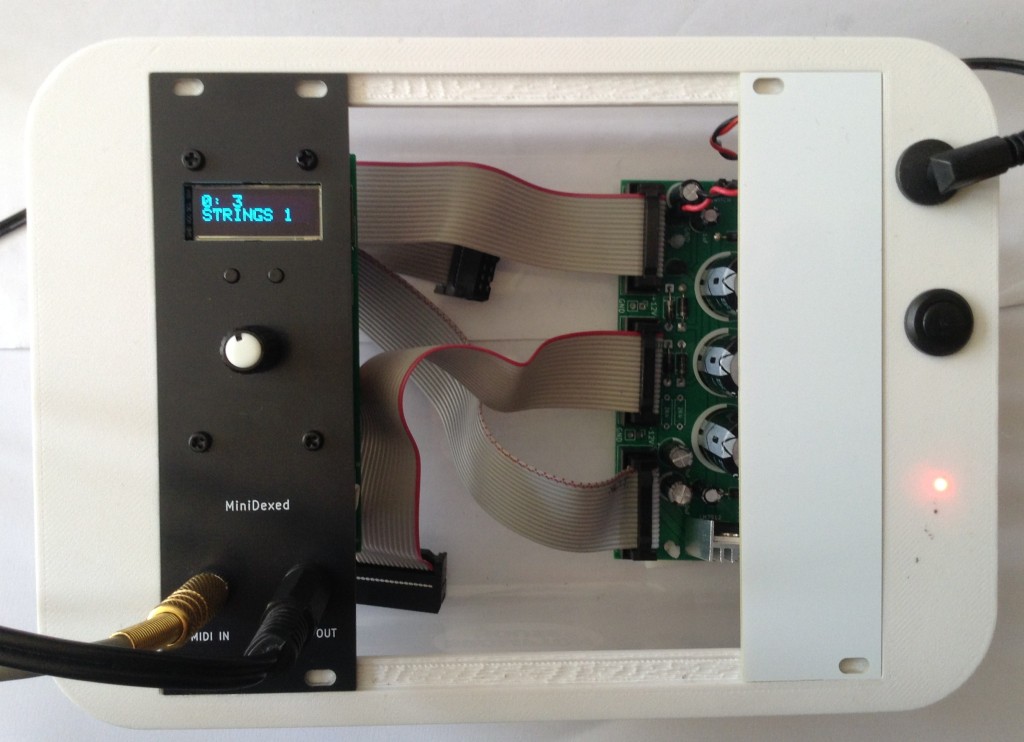
picoDexed + MiniDexed EuroRack
Since attempting my picoDexed + StackyPi + MiniDexed EuroRack build and failing, I’ve found another Pico-to-Zero board that is provided as open source, so I’ve had some made.
This post details how to get that running with my MiniDexed Zero Eurorack module.
Warning! I strongly recommend using old or second hand equipment for your experiments. I am not responsible for any damage to expensive instruments!
If you are new to microcontrollers and single board computers, see the Getting Started pages.
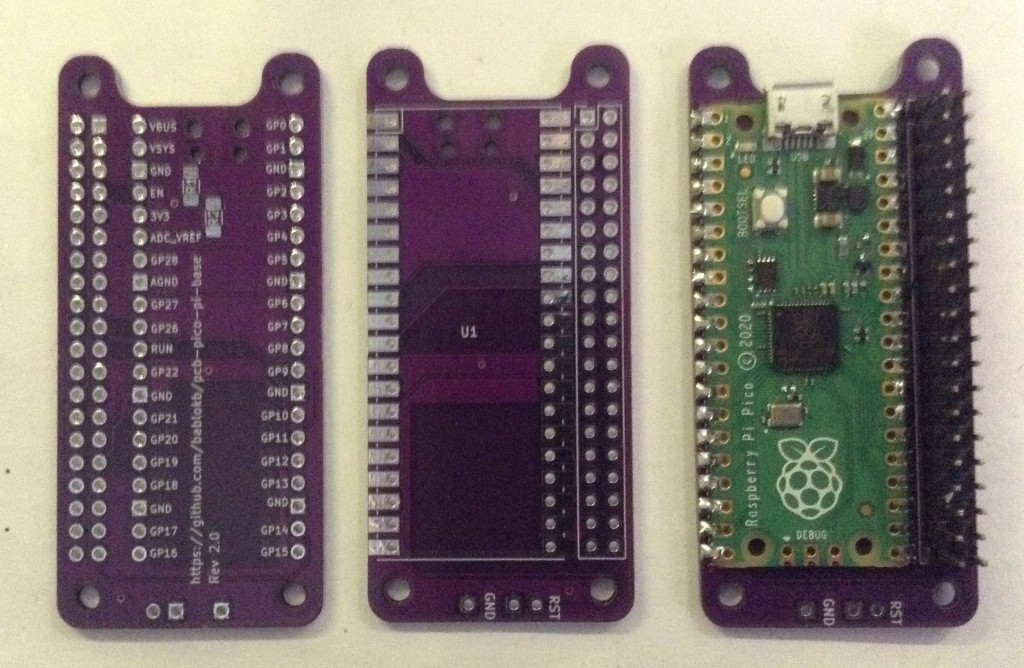
Pi Zero RP2040s
As mentioned last time I found a number of options for a RP2040 based dev board in a Raspberry Pi Zero form factor. But this post is about this one:
It is fairly simple to build. It just requires a Pico and GPIO header pins.
There is an option for pull-ups on the I2C bus, but I’ve not bothered with them here. There is also a breakout header for a reset switch if required (it will support two sizes of switch by the looks of things).
Mapping over to MiniDexed/RPi Zero
The pinout is slightly different to the Stacky-pi, so here is an updated table of the GPIO mappings and which are required to be used with my MiniDexed board.
RP2040UseRPiRpiUseRP20403V35VGP2LCD SDAGP2 SDA5VGP3LCD SCLGP3 SCLGNDGP4GP4GP14 TXDGP0GNDGP15 RXDMIDI INGP1GP5GP17GP18I2S BCLKGP18GP6GP27GNDGP7GP22GP23GP83V3GP24GP28GP11RE BGP10 MOSIGNDGP12RE AGP9 MISOGP25GP27GP10RE SWGP11 SCLKGP8GP9GNDGP7GP26ID_SDID_SCGP22SW BACKGP5GNDGP13SW HOMEGP6GP12GP21GP14GP13GNDGP19I2S LCLKGP19GP16GP20GP15GP26GP20GP17GNDGP21I2S DATAGP16The two key problem areas will be the I2S interface and encoder, which both require consecutive GPIO pins for the PIO code to do its magic.
The encoder should be fine – pins RE A and RE B map onto the Pico’s GP11 and 12.
The I2S interface might be ok – with a BCLK on GP18, it will be expecting LCLK on GP19. Data on GP21 should be ok.
Unlike the previous attempt, I’m hopeful I can just get this running ok with the correct pin mappings…
Changing I2C Bus and UARTs
Unlike the first attempt, I2C is mapped onto GP2 and GP3 which is what I was using in the original picoDexed. So that is all fine, multiplexed onto the I2C bus 1.
There is an issue with the UART however as picoDexed uses the following by default:
- UART 0 – GP 0,1 – Serial debug
- UART 1 – GP 4,5 – MIDI
I can swap these over so that UART0 (GP0,1) is MIDI, but that has to be matched with a change in the debug serial port too. But unfortunately, as far as I can see, that has to be configured in the master CMakeLists.txt file (as I talked about in Part 3).
New picoDexed GPIO Configuration
Given the above, the following new GPIO pins should be defined in config.h:
#define PWM_PIN         10

#define I2S_DATA_PIN    16
#define I2S_BCLK_PIN    18
#define I2S_LRCLK_PIN   19  // Implied by BCLK=12

#define MIDI_UART       0
#define MIDI_TX_PIN     0   // Not used
#define MIDI_RX_PIN     1

#define DEBUG_UART_TX_PIN  8
#define DEBUG_UART_RX_PIN  9

#define DISPLAY_I2C_BUS  1
#define DISPLAY_I2C_SDA  2
#define DISPLAY_I2C_SCL  3
#define DISPLAY_I2C_ADDR 0x3C
#define DISPLAY_W 128
#define DISPLAY_H 32

#define ENCODER_A_PIN  11
#define ENCODER_B_PIN  12 // Not used
#define ENCODER_SW_PIN 10 // Not used
In addition to this, to keep using the debug output requires the following lines adding to ‘target_compile_definitions’ in CMakeLists.txt.
    PICO_DEFAULT_UART=1
    PICO_DEFAULT_UART_TX_PIN=8
    PICO_DEFAULT_UART_RX_PIN=9
I’ve added a separate configuration file (config-ER.h) in the repository to allow this version to be built, but the CMakelists.txt change above has not been included.
I’ve also added a picodexed-v0.03-ER.uf2 file in the build area which can be downloaded and installed directly onto the Pico to provide the above configuration ready to go.
Bringing it all together…
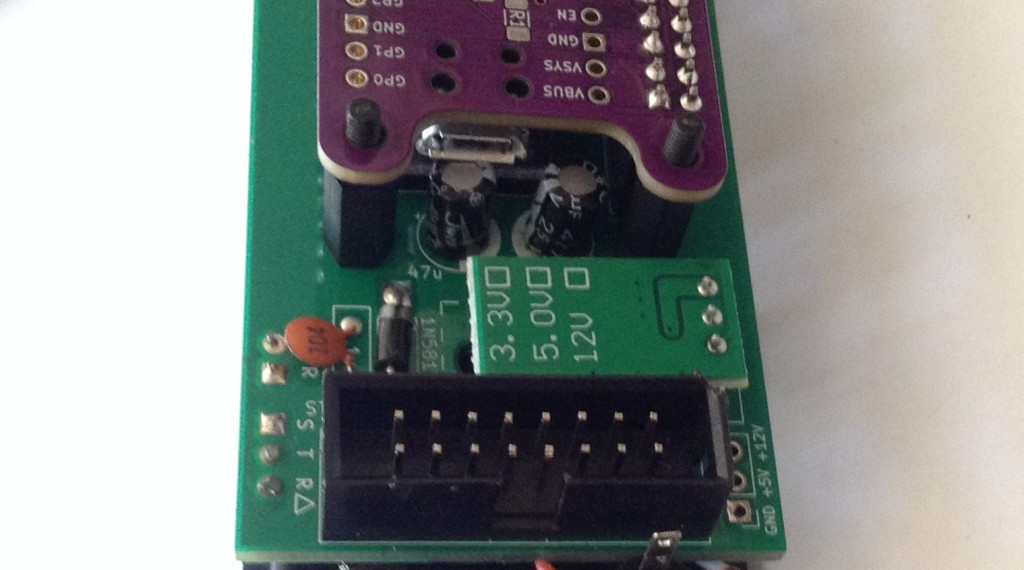
The nice thing about this PCB is that I can map everything nicely over to the pinouts used with my MiniDexed EuroRack PCB meaning that once the Pico has the custom firmware installed, it will just plug in and work and no hardware changes or patching is required at all!
I was slightly concerned that the USB port of the Pico might clash with the two installed electrolytic capacitors on the MiniDexed PCB, but in my case I can just about get away with it!
Here is the final assembled unit.
Closing Thoughts
I finally have my Eurorack picoDexed which is pretty neat. Big thanks to bablokb for putting that PCB up online. That saved me a job. And it was particularly nice that things like assuming consecutive pins for the I2S mapping was included as that made using the PIO I2S code a lot easier.
I’d like to see what the power usage is like now as I’m really after a lower power Dexed engine compared to the full Zero version.
Naturally at some point I might still make my own picoDexed Eurorack PCB, but this is a pretty good solution as far as I’m concerned, so that wouldn’t really add much for me now.
Kevin
I am actually incredibly excited to finish what I've just started tonight.
#godotengine #midi
🌕 Anukari 3D 物理合成器
➤ 探索聲音的全新維度
✤ https://anukari.com
Anukari 是一款創新的軟體合成器與效果器,它基於完全互動的 3D 物理模擬。使用者可以透過拖曳和放置物理元件(如質量和彈簧)來設計獨特的 3D 樂器或效果,並即時觀看和聆聽其成果。它支援 MPE,提供強大的調製選項,並利用 GPU 加速處理音訊,允許建立複雜且龐大的聲音系統。Anukari 適用於 Windows 和 MacOS,可作為 VST3、AU 或 AAX 插件,或獨立運行。
+ 這款軟體看起來非常酷炫!將物理模擬融入聲音設計的理念很吸引人,迫不及待想嘗試一下。
+ 能利用 GPU 處理音訊,這真是一個好消息,意味著即使是複雜的音色也能順暢運行,這對於聲音設計師來說非常重要。
#音樂科技 #軟體合成器 #3D 音效 #MIDI
Toontrack releases R&B Themes EZkeys MIDI pack https://rekkerd.org/toontrack-releases-rb-themes-ezkeys-midi-pack/
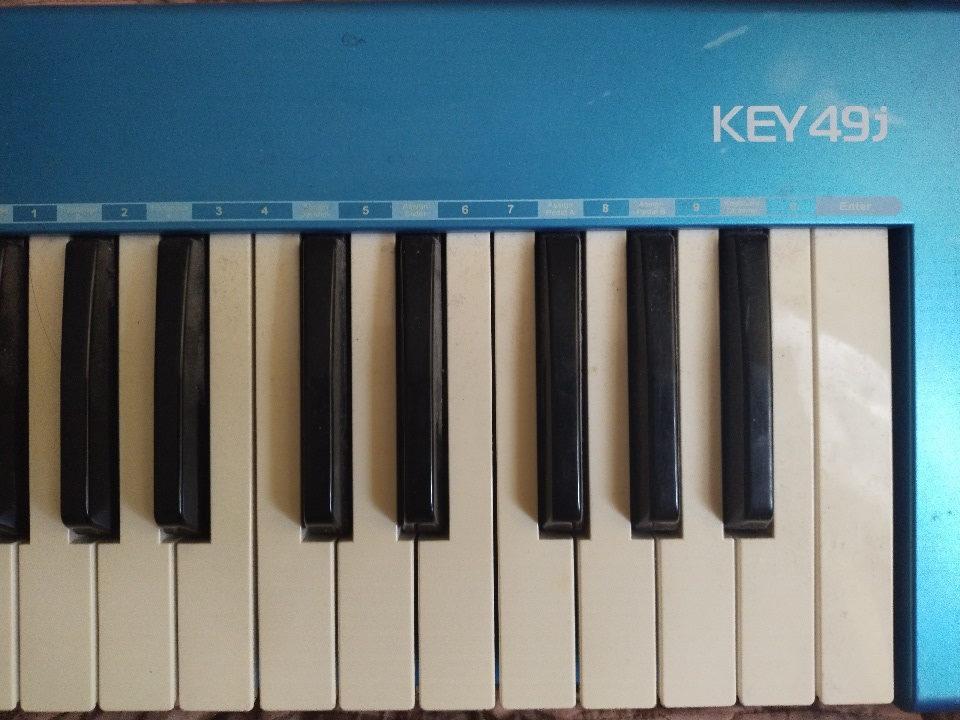
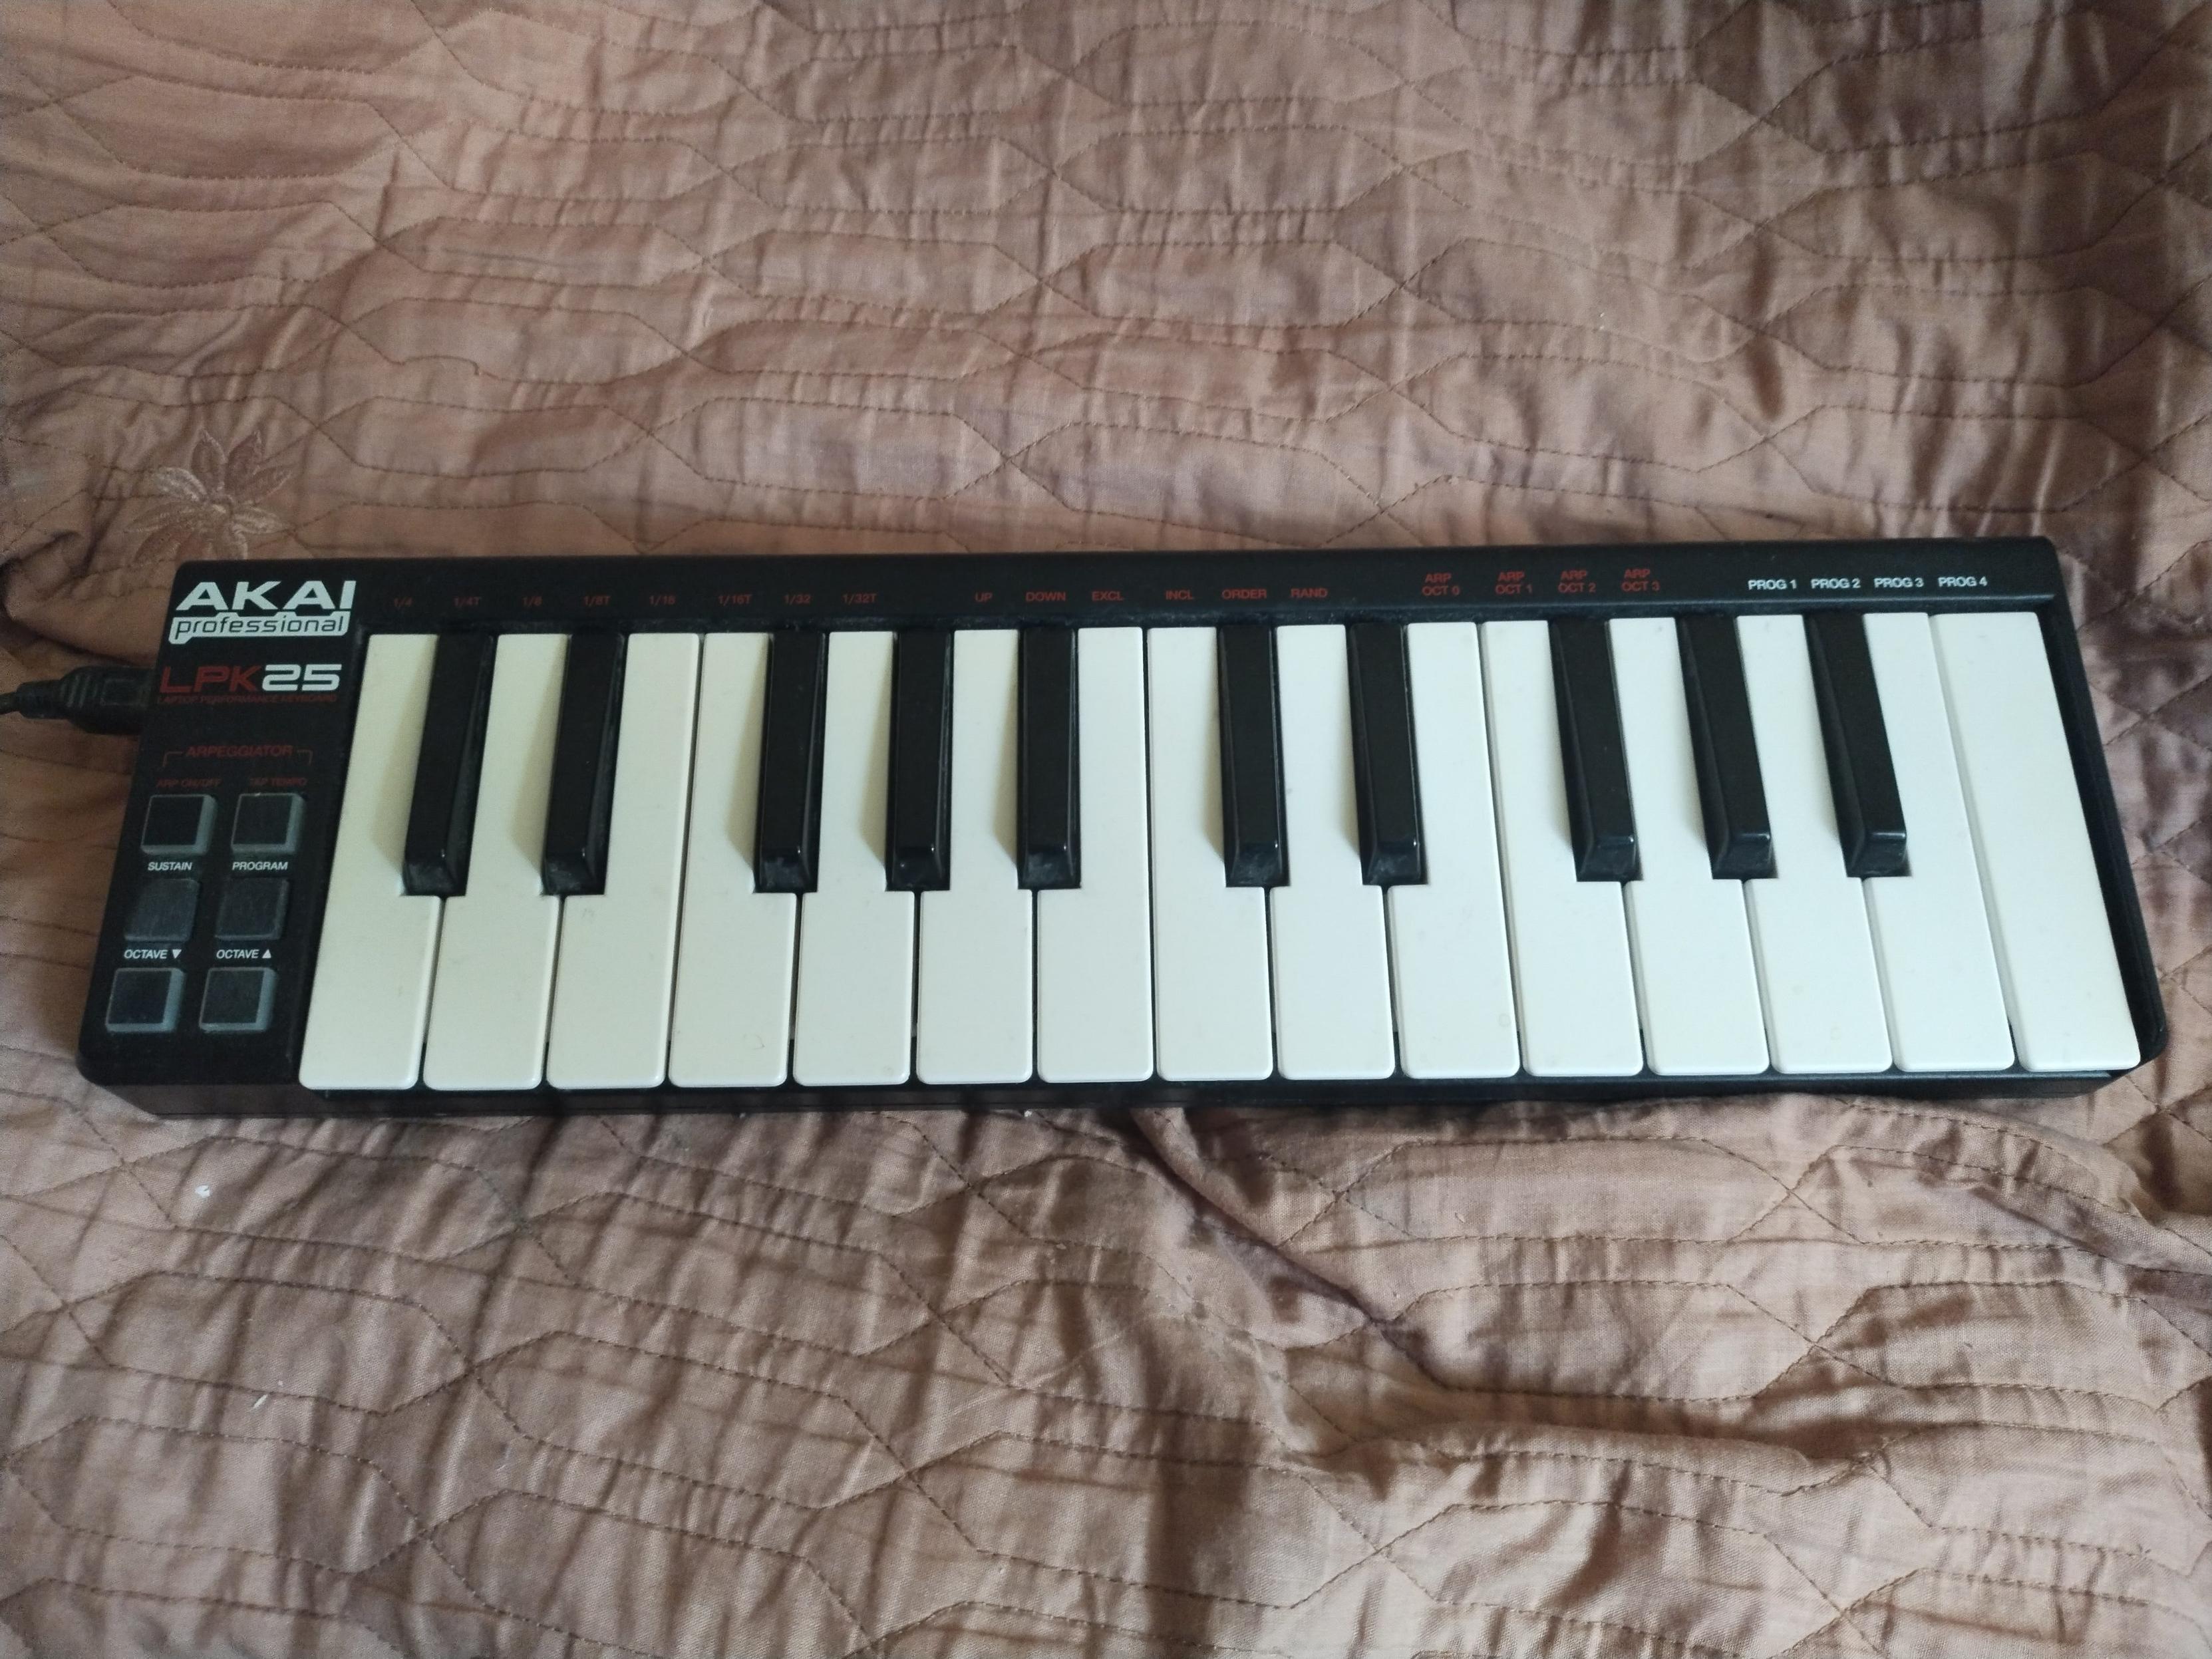
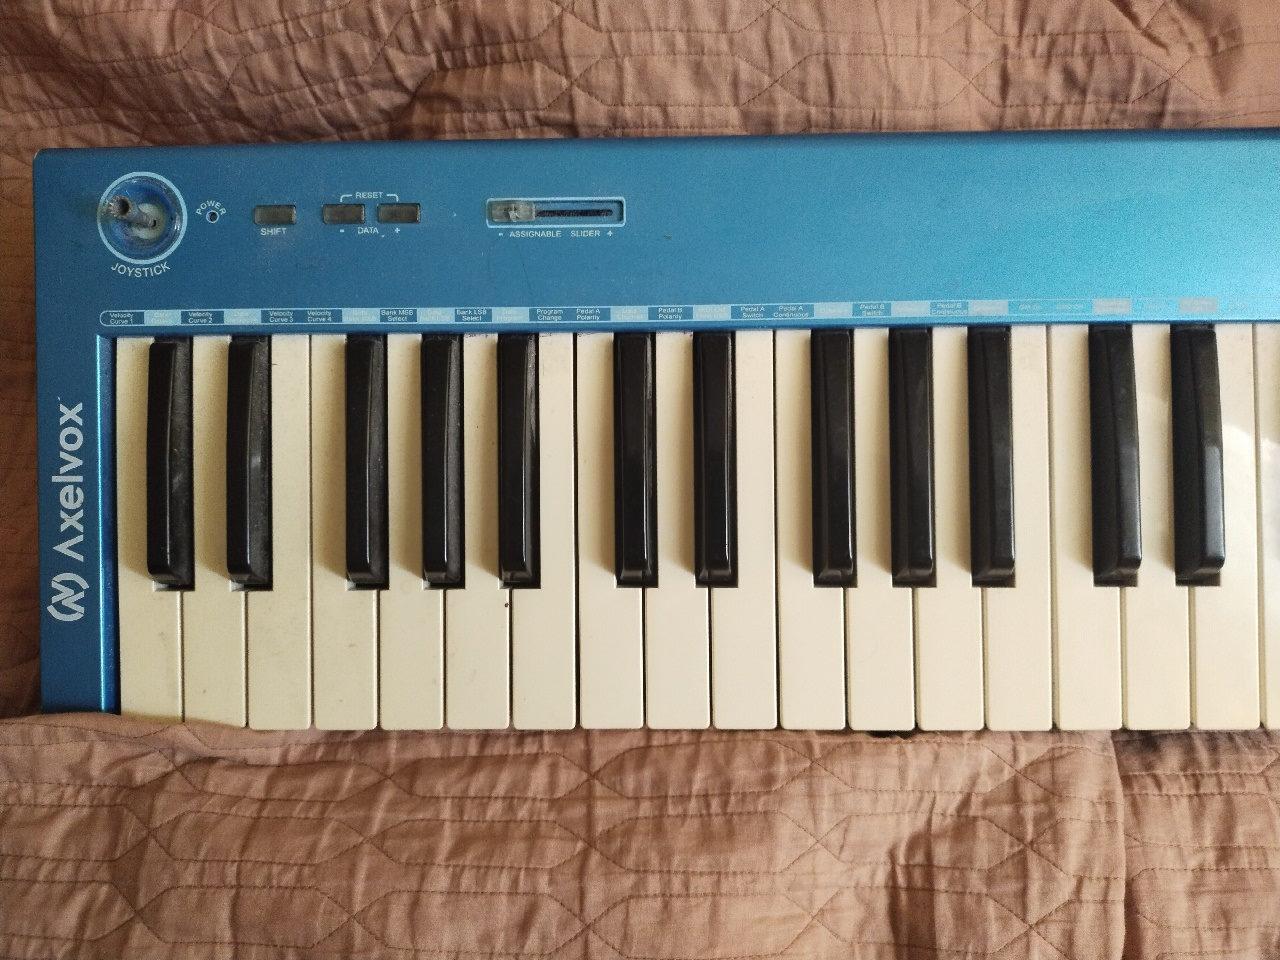
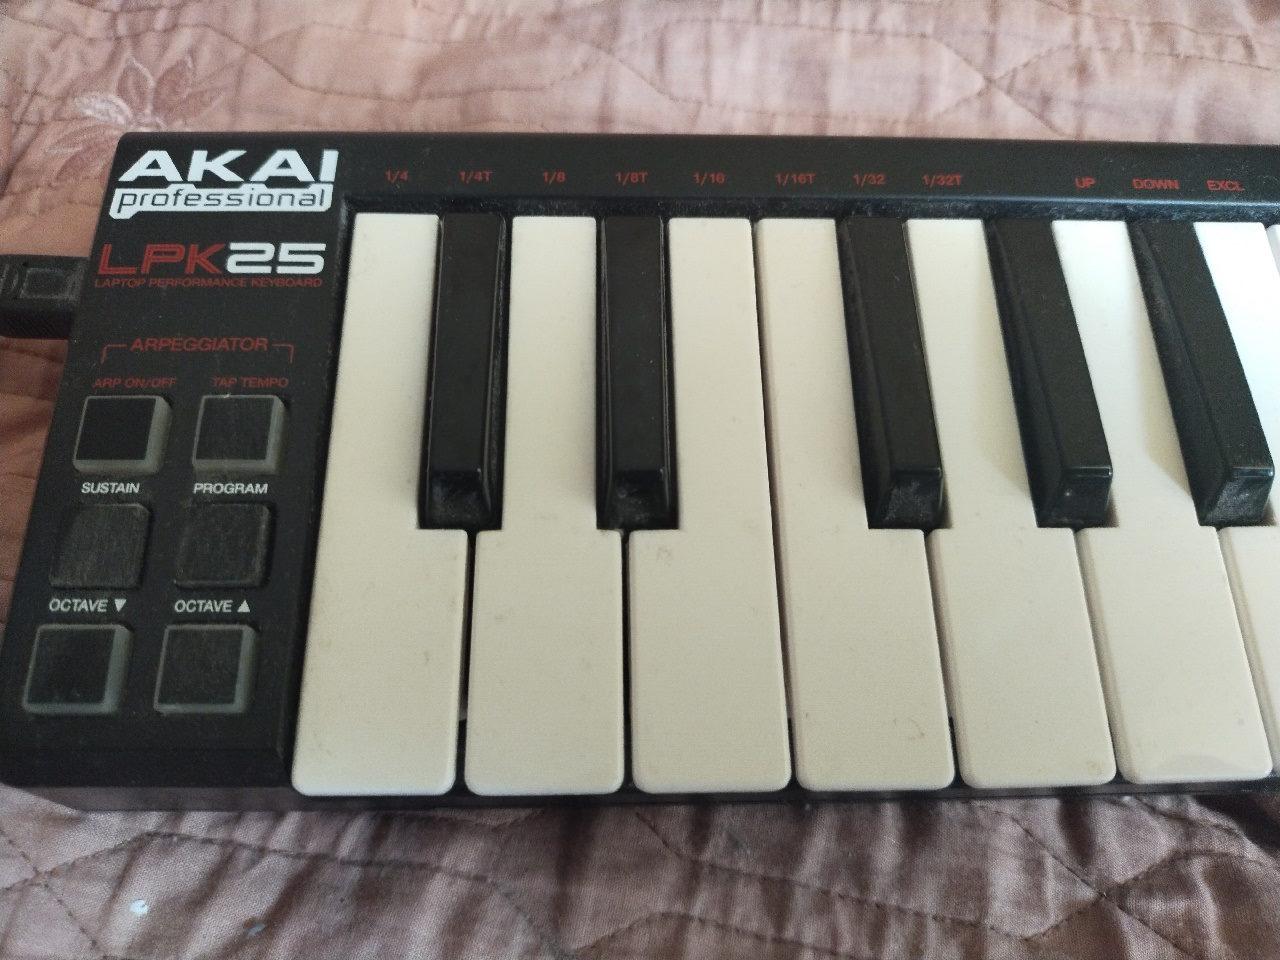
Synthesizer – as 60 minutes audiocassette
https://dimalinkeng.blogspot.com/2025/05/synthesizer-as-60-minutes-audiocassette.html
#synthwave #synth #synthesizer #midi #midikeyboard #axelvox49j #akaiprofessionallpk25 #learningmusic #Tomusicwithjoy #textbook #musicskills #digmusic #funnysongs #positive #smile #music #60min #rhythm #tempo #rhythmisbasic #aboutmusic #easymusic #trymusic #simplethings
mdvhimself – Doom 2
#Soundtrack #doom #midi #videogamesoundtrack
CC BY (#CreativeCommons Attribution) #ccmusic
https://mdvhimself.bandcamp.com/album/doom-2
Apparently Sierra's Space Quest 5 will reprogram your MT-32 (or CM-64) module to have a GM instrument map. While not true for other games using MT-32, Space Quest 5 might be among the only ones, that using a GM module might give you a better sound quality.
Also for some quite interesting reason, Octavia handles MT-32/CM-64 reprogramming SysEx instructions from LucasArt games just fine, but for Sierra games Octavia fails spectacularly with SQ5 as the single exception.
#MIDI #MT-32 #CM-64 #Roland #DTM #LucasArts #Sierra
https://www.gotorola.com/211563/ 主人公になろう! feat.鈴木愛理/オーイシマサヨシ【オルゴール】 (アニメ「空色ユーティリティ」OP) ##インスト #BGM #Entertainment #MIDI #R3MusicBox #アールスリーミュージックボックス #インストゥルメンタル #エンタメ #オルゴール #カバー #カラオケ #サウンド #ヒーリング #ミュージック #リミックス #演奏 #癒し #着メロ #睡眠 #鈴木愛理 #音楽
https://www.wacoca.com/anime/1811820/ 主人公になろう! feat.鈴木愛理/オーイシマサヨシ【オルゴール】 (アニメ「空色ユーティリティ」OP) #2025Winter #2025WinterAnime #2025年冬開始の新作アニメ #Anime #BGM #MIDI #R3MusicBox #アールスリーミュージックボックス #アニメ #インスト #インストゥルメンタル #オルゴール #カバー #カラオケ #サウンド #ヒーリング #ミュージック #リミックス #新作アニメ #演奏 #癒し #着メロ #睡眠 #空色ユーティリティ #音楽

The MIDI Collection by UNDRGRND Sounds on sale at 90% OFF https://rekkerd.org/undrgrnd-sounds-releases-the-midi-collection/

Now that I can write #MIDI controller programs, that can intercept any message, fold, spindle, mutilate and send them onto any MIDI output, I have rediscovered my MIDI-Rock joystick and am loving it.

Some cheap work lights with LED bulbs & home-made diffusers, my trusty Logitech C925e webcam and Blue Yeti X mic, a KORG nanoKONTROL2 MIDI controller for per-app audio levels & playback controls, plus a KORG FC6 MIDI foot controller (via M-Audio Uno USB MIDI interface) with KORG PS-2 pedals and some custom scripts abusing #OpenBSD's #sndio #MIDI support. The foot pedals provide system-wide push-to-talk for my mic, plus I have the foot controller configured to switch between virtual desktops. 3/n
i certainly wouldn't object if someone would port #tek it to #lmn3 or any other standalone #linuxaudio platform 👍
rn i'm trying to add support for some #cots #midi controllers by #novation (#launchpad) and #korg (#nanokey studio/#nanokontrol studio)
Client Info
Server: https://mastodon.social
Version: 2025.04
Repository: https://github.com/cyevgeniy/lmst