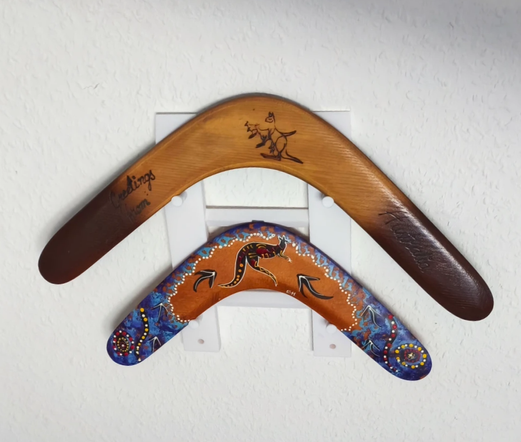
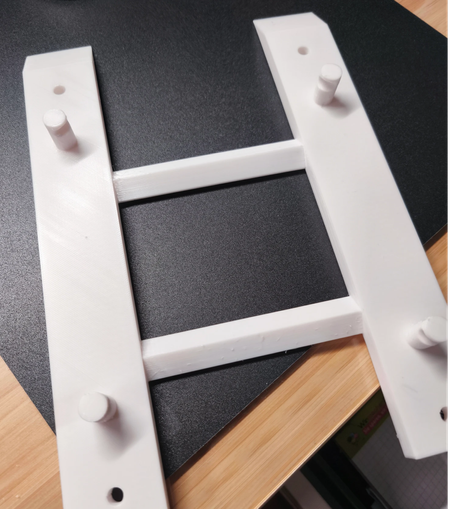
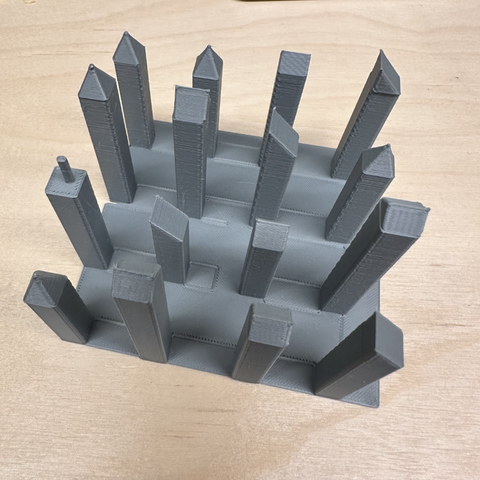
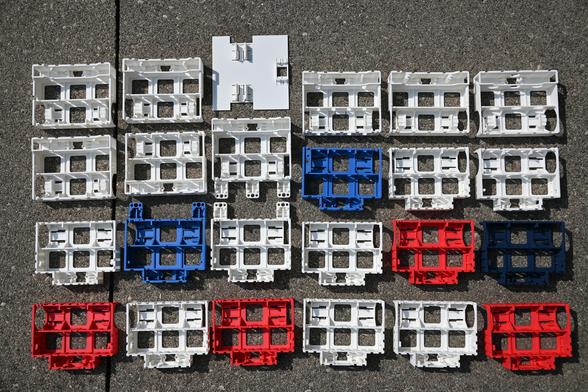
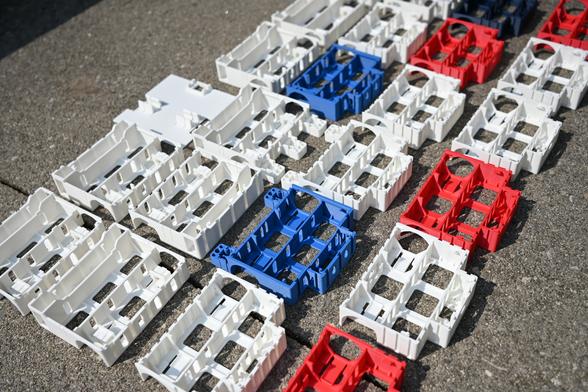
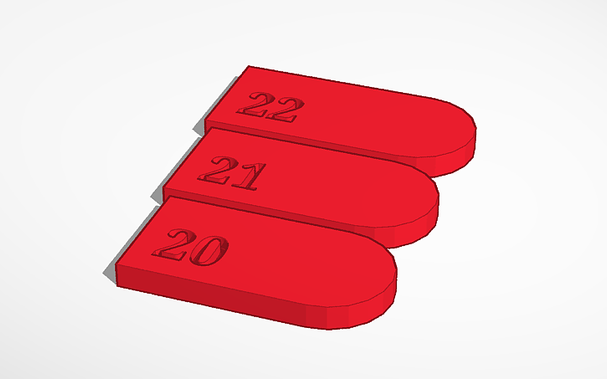
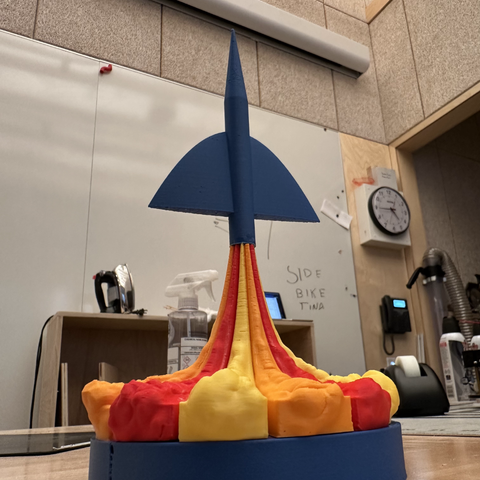
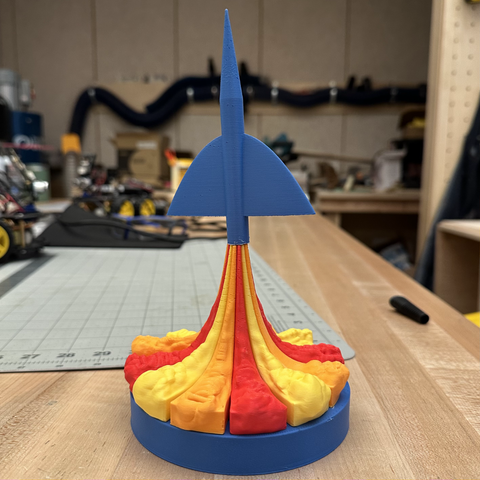
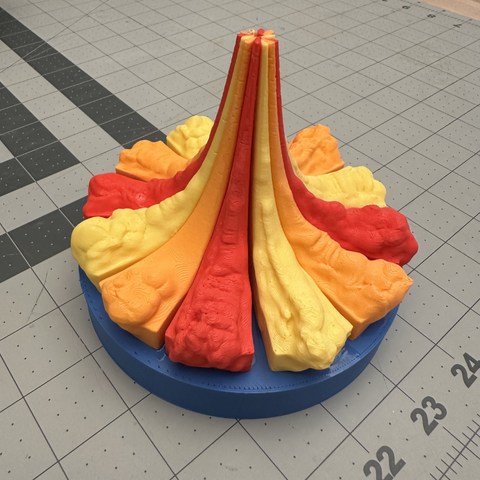
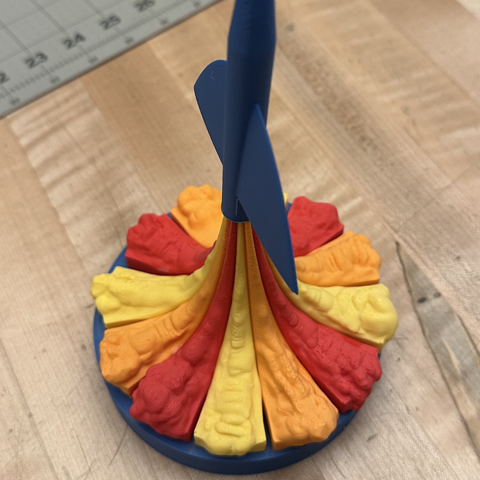
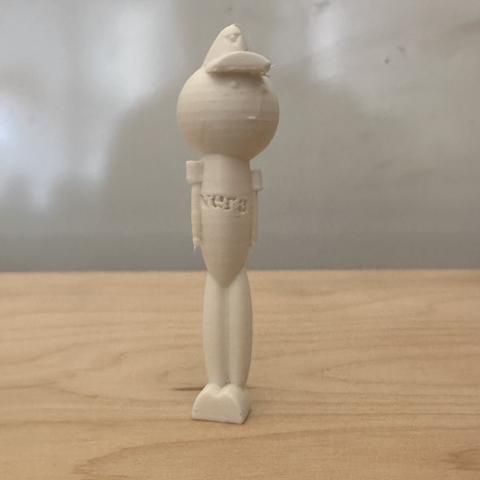
Gar nicht mal sooo schlecht für den Prototyp geworden.
Ich müsste eventuell noch die Nuppsis ein bisschen länger gestalten, damit auch dir großen Boomerang an die Wand anlehnen.
Vielleicht lade ich das Modell dann auch bei #printables hoch. :blobcatbox:
#tinkercad #boomerang #3druck #3dprinting #prototyp #elegoo
RE: https://punk.cyber77.de/notes/a912p77l53oo000o
#Tinkercad
Ich bin gerade damit beschäftigt eine Boomerang-Halterung bei Tinkercad zu entwerfen... Bin gespannt, was am Ende bei raus kommt und ob das funktioniert.
#tinkercad #3ddruck #prokrastination
**Transition from TinkerCad to FreeCad, first steps**
Read it on my blog, it has a nicer image/text layout (than on fedi).
For the last 2 years (since I bought 3D printer) I was using TinkerCad to design everday objects. Only one time (2 years ago) I used FreeCad. Forgot almost all of it.
I’m using 3D printer mostly as a tool to fix things around the house: hose connectors, filter frames, handles, adapters, small drawers, tools etc. TinkerCad is easy to use and somehow almost enough for this type of designs. I would say that it satisfies 90% of my needs. Most importantly, I can design simple 3D object very quickly.
There are 3 things that bother me in TinkerCad:
1. Poly-look of round objects, for example spheres and cylinders. Even if I set number of edges to 128, polygons are visible when printed.
2. Fillets and chamfers. I learned how to design something similar to fillets in TinkerCad (using subtraction), but only on straight edges. On complex edges it’s more difficult or impossible to make a fillet. Here’s approximation of inner fillet (not perfect though):
3. Parametric design. While I love TinkerCad philosophy ‘do everything with a mouse’, sometimes I miss a parametric design (e. g. to move things around for exact number of units). Snapping helps, but that’s not it.
Nevertheless, I decided to learn to use FreeCad better.
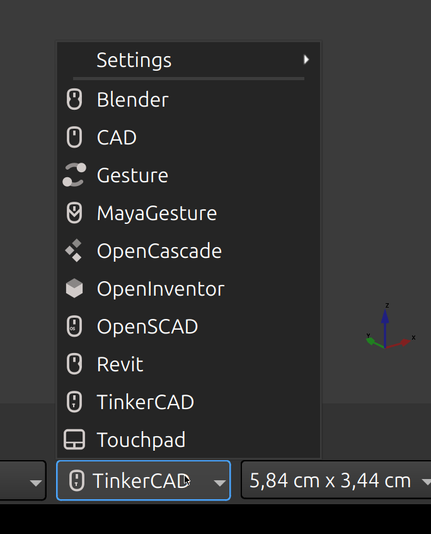
After installing it (on Linux/Mint), the first thing I set is the navigation style. Luckily there is an option to set mouse navigation to ‘TinkerCad’ style. Last time I used it there was no such option.
That’s good, I don’t need to learn new navigation style, I can reuse my muscle memory.
Then I (re)learned very basic things I need to design my kind of 3D objects:
- how to make 3d object
- how to move it around
- how to add and subtract 3D objects
- how to make a hole
- how to make a fillet and chamfer
- how to make 3D object from 2D shape
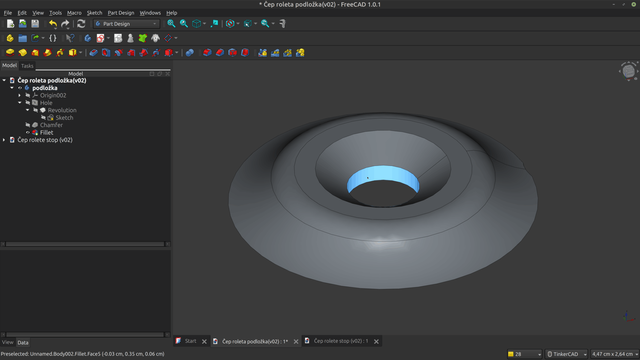
With these operations, I can design anything I can design in TinkerCad and more. Here is an example of a washer, that I created from a 2D shape and rotated it around Z axis, added hole, fillet and chamfer:
Firstly, I added Part design/Create Body to a new file.
Then I added (2D) Sketch to a new body:
Then I rotated 2D shape around Z axis (Revolution tool), selected the upper surface and then used a Hole tool.
(Note: TinkerCad allows only extrusion to make 3D objects from 2D shapes).
Now I have a nice washer with a hole for a screw. But I want smooth outer edge and angled hole for a screw head.
Then I selected the outer hole edge and used Chamfer tool:
Great to fit a screw head.
Lastly, I selected outer top washer edge and used Fillet tool:
Done.
I could design very similar object in TinkerCad, but that’s not the point.
Instead of 3 minutes in TinkerCad I spend 3 hours in FreeCad. Crazy? Maybe, for the first time. Next time it will be quicker. And if I forget (I surely will), I will read this post.
Most importantly, now I ‘own’ the source file. I can move it around, make a copy, send it to someone, archive it, export it to .stl for printing etc. I’m not tied to TinkerCad webapp.
Will I ditch TinkerCad for FreeCad?
When I have enough mental energy, I will use and learn FreeCad.
But when I’m impatient and I need a ‘good enough’ design for quick 3D print, then no (at least for now).
https://blog.rozman.info/transition-from-tinkercad-to-freecad-first-steps/
#Modular #Stencil System For 3.5"x5.5" #PocketNotebooks (#FieldNotes, #Moleskine, & Others)
This is an extension to my full-sized stencils for 3.5x5.5-inch #pocketJournals. This lets you add regular/wide #ruledLines, #dots, #grids, #tables, etc as you like in blank notebooks.
#Thingiverse #3Dprinter Downloads: https://www.thingiverse.com/thing:7060429
Also on #TinkerCAD: https://www.tinkercad.com/users/gEfJm2CRHZS
These 3.5x5.5 #journal / #notebook stencils are also on #TinkerCAD, where you can tinker them into things that fit your needs:
#3dprinting #tinkercad
#sacc2024_25
The features of BEAPER Bot I'm most proud of are the parts I left out – traditional fasteners! Every part of the robot snaps, slides, or clips together. 👀
And it's bi-directional. And, you can modify all of its parts on #Tinkercad (search for BEAPER). 😊
https://youtu.be/n6QVIH5ZEzs
https://techhub.social/@mirobotech/114619714275534029
Cleaning my workspace and exposing my many mistakes to the harsh light of day! 😂
These are all of my prototype BEAPER Bot robot chassis iterations... I'm happy with the final results!
Design files are on #Tinkercad, print files are on #Makerworld: https://makerworld.com/en/collections/5661034-beaper-bot-robot
I thought designing a simple 3D model would be easy, but I ended up failing quite a lot.
Browning BL22 – Test plates to check the bolt closure (misfires)
The misfires in the Browning BL-22 were caused by a locking plate that was no longer within the correct dimensions. This issue is well documented on this website. At one point, I 3D printed a few test plates, which made it easy to measure and determine the proper dimensions needed to eliminate the excess…
---
https://3xn.nl/projects/2025/05/30/browning-bl22-test-plates-to-check-the-bolt-closure-misfires/
---
#Bl22 #bl22 #bolt #browning #misfire #repair #tinkercad
#3dprinting #onshape #sculptgl #tinkercad #sacc2024_25
It's freebie Friday!!
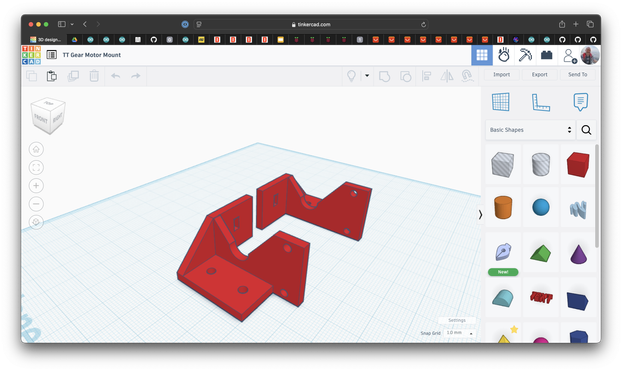
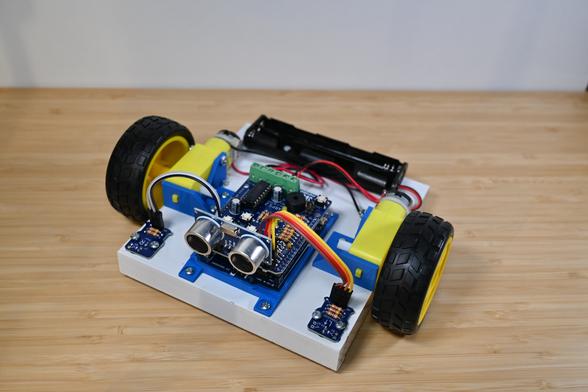
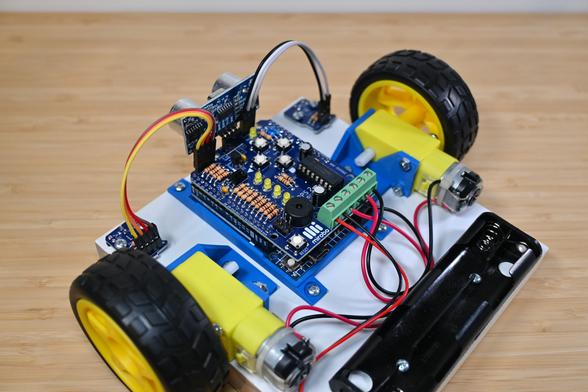
Are you looking for a way to mount these inexpensive, yellow TT gear motors on your next #robot project? Use or modify our simple mounts designed in #Tinkercad: https://www.tinkercad.com/things/avvN77l4yc1-tt-gear-motor-mount
After using TinkerCAD for a short while I can definitely recommend it for light 3D modeling work. That said I need to work on my tolerances, oww my finger.
Custom Commodore 128 Plexi Case Blends Retro Hardware with Practical Upgrades
#Commodore128 #C128 #Plexicase #RetroComputing #3DPrinting #C64OS #Tinkercad #JiffyDOS
https://theoasisbbs.com/custom-commodore-128-plexi-case-blends-retro-hardware-with-practical-upgrades/?feed_id=3260&_unique_id=6821f60c45874
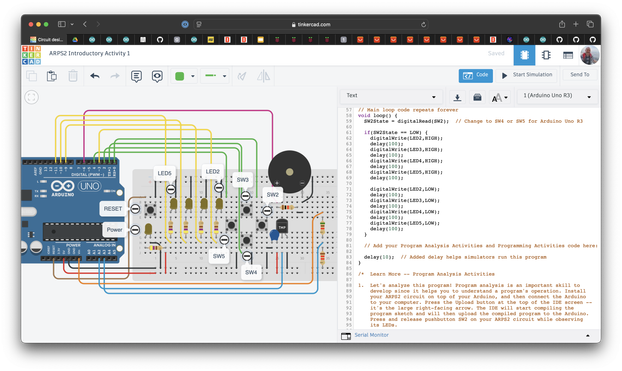
The circuit modelled in the #Tinkercad activities is our ARPS-2 shield for #Arduino UNO.
Use ARPS-2 to learn beginner programming and build a simple #robot! Find out more: https://mirobo.tech/arps
It's freebie Friday!!
Learn #Arduino programming with our introductory activities shared on #Tinkercad! Here's the first one: https://www.tinkercad.com/things/0A7EIOHHtCo-arps2-introductory-activity-1
