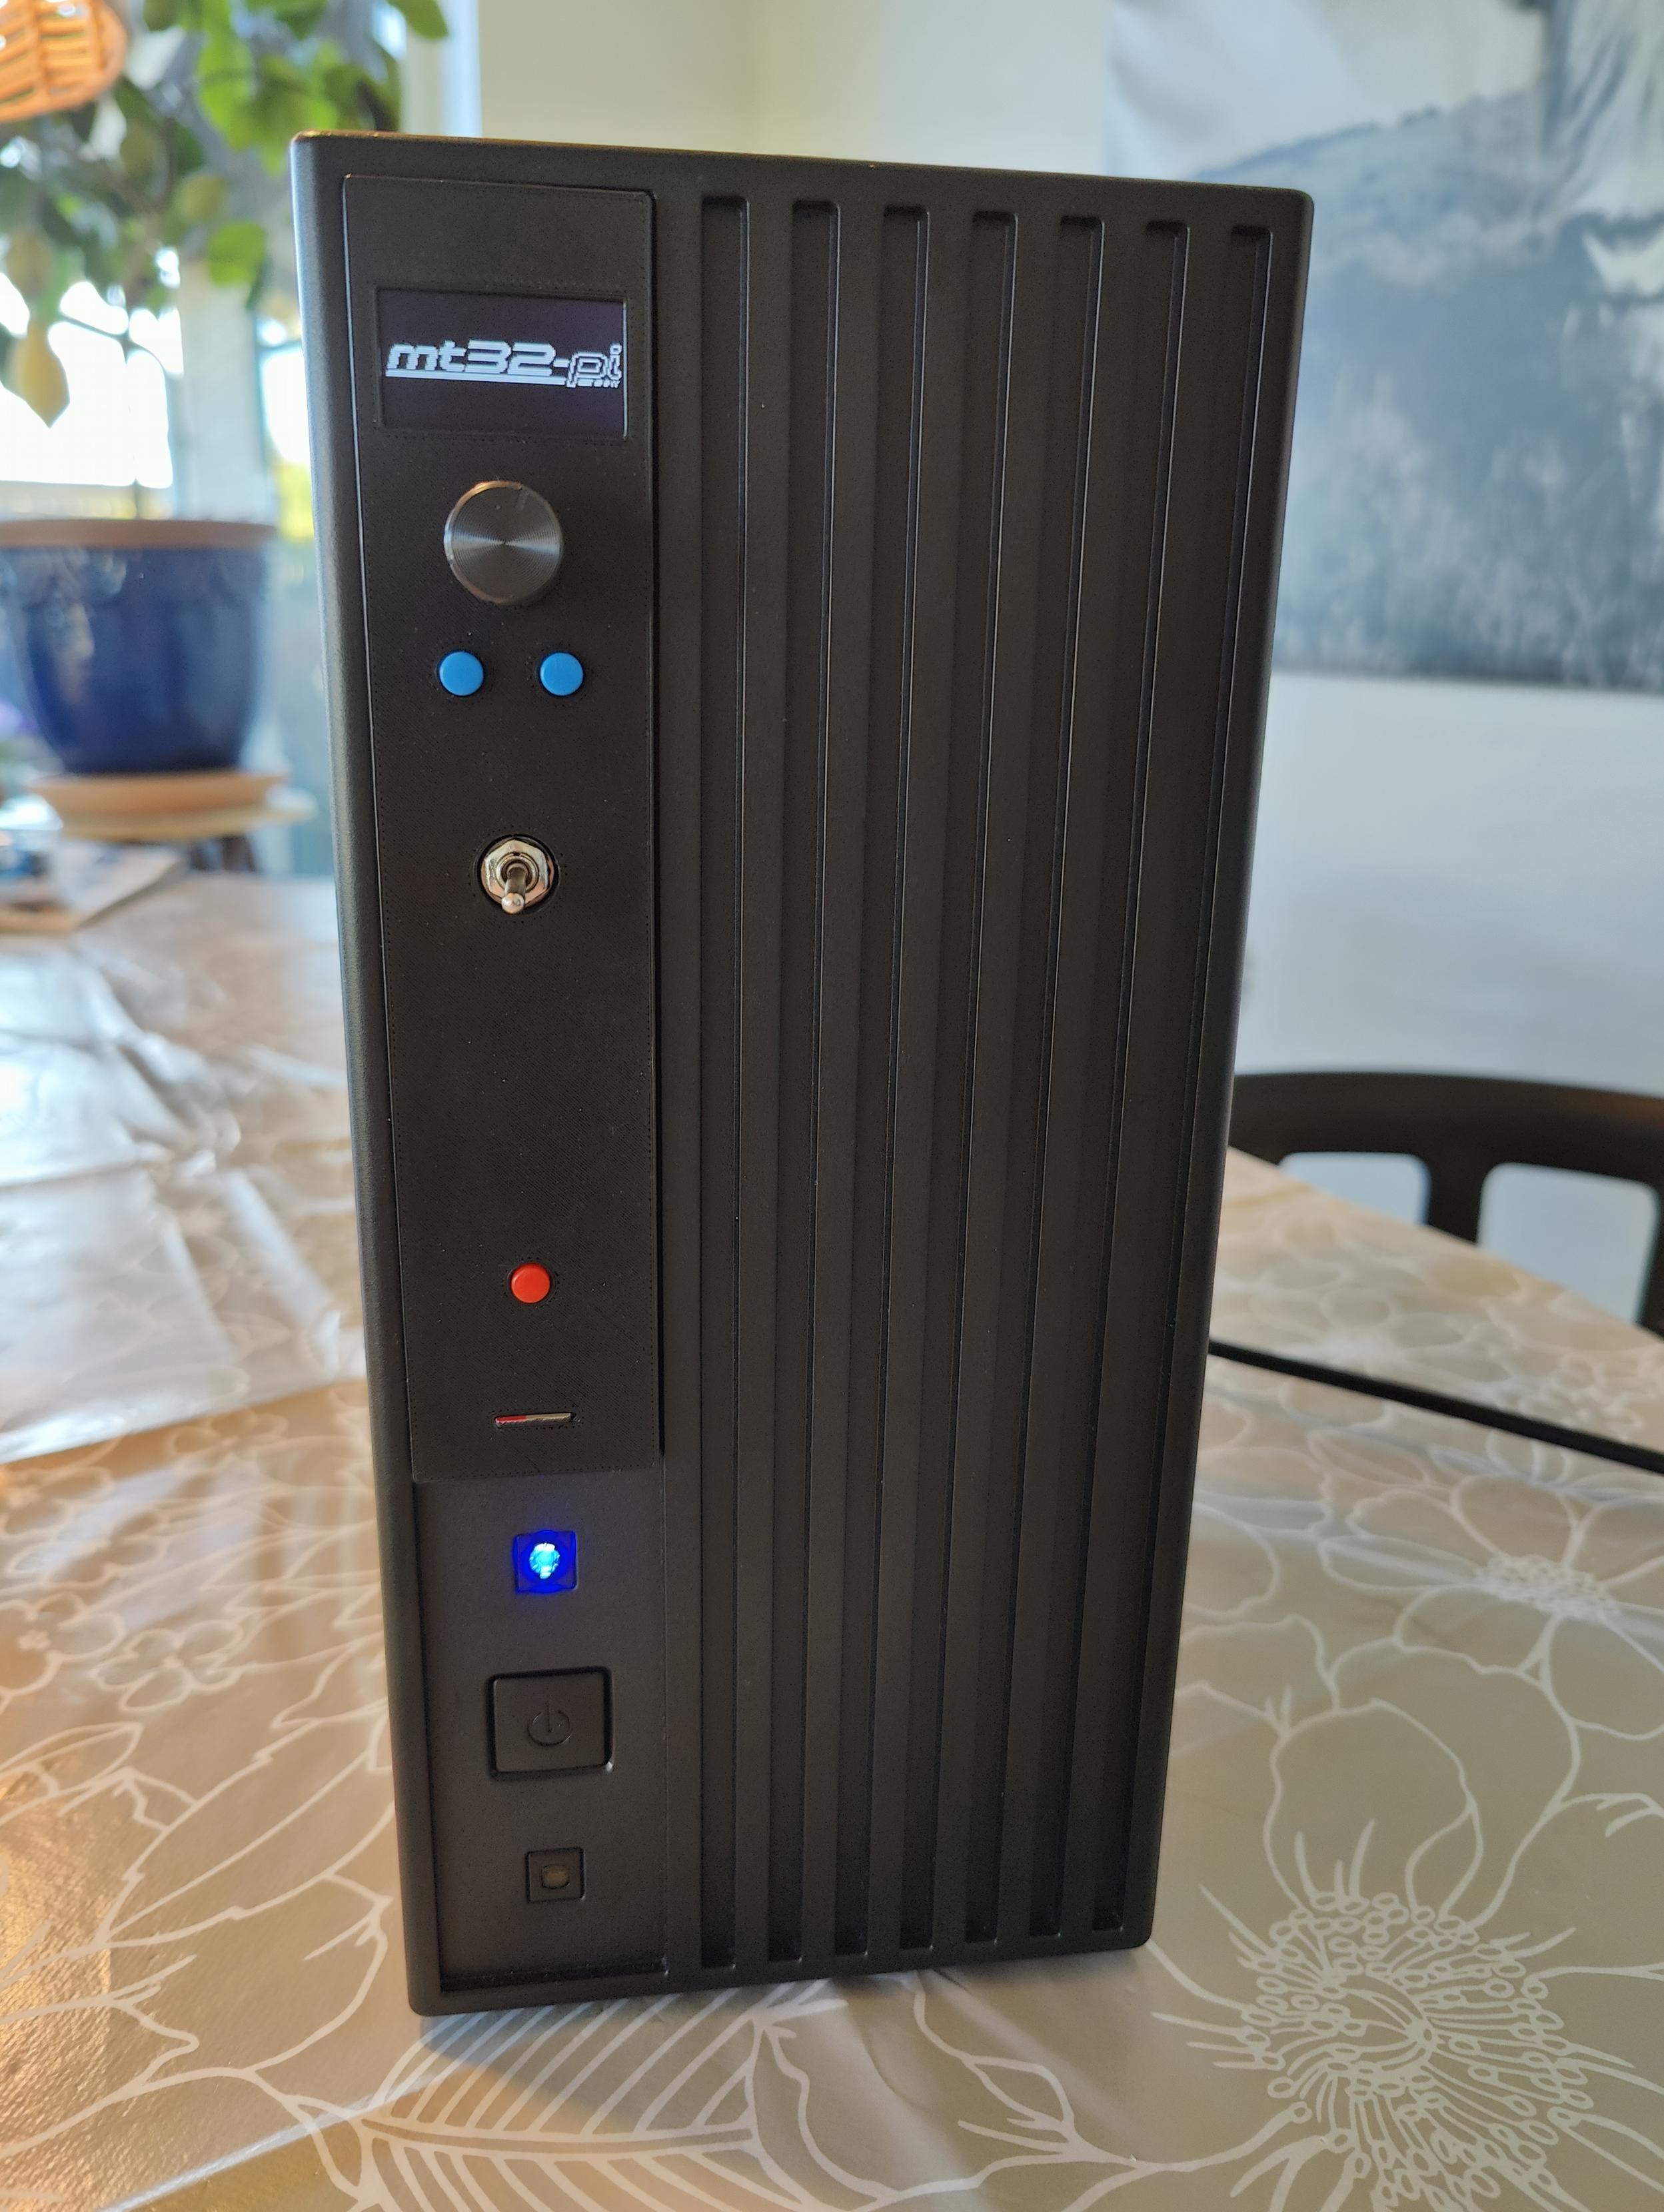
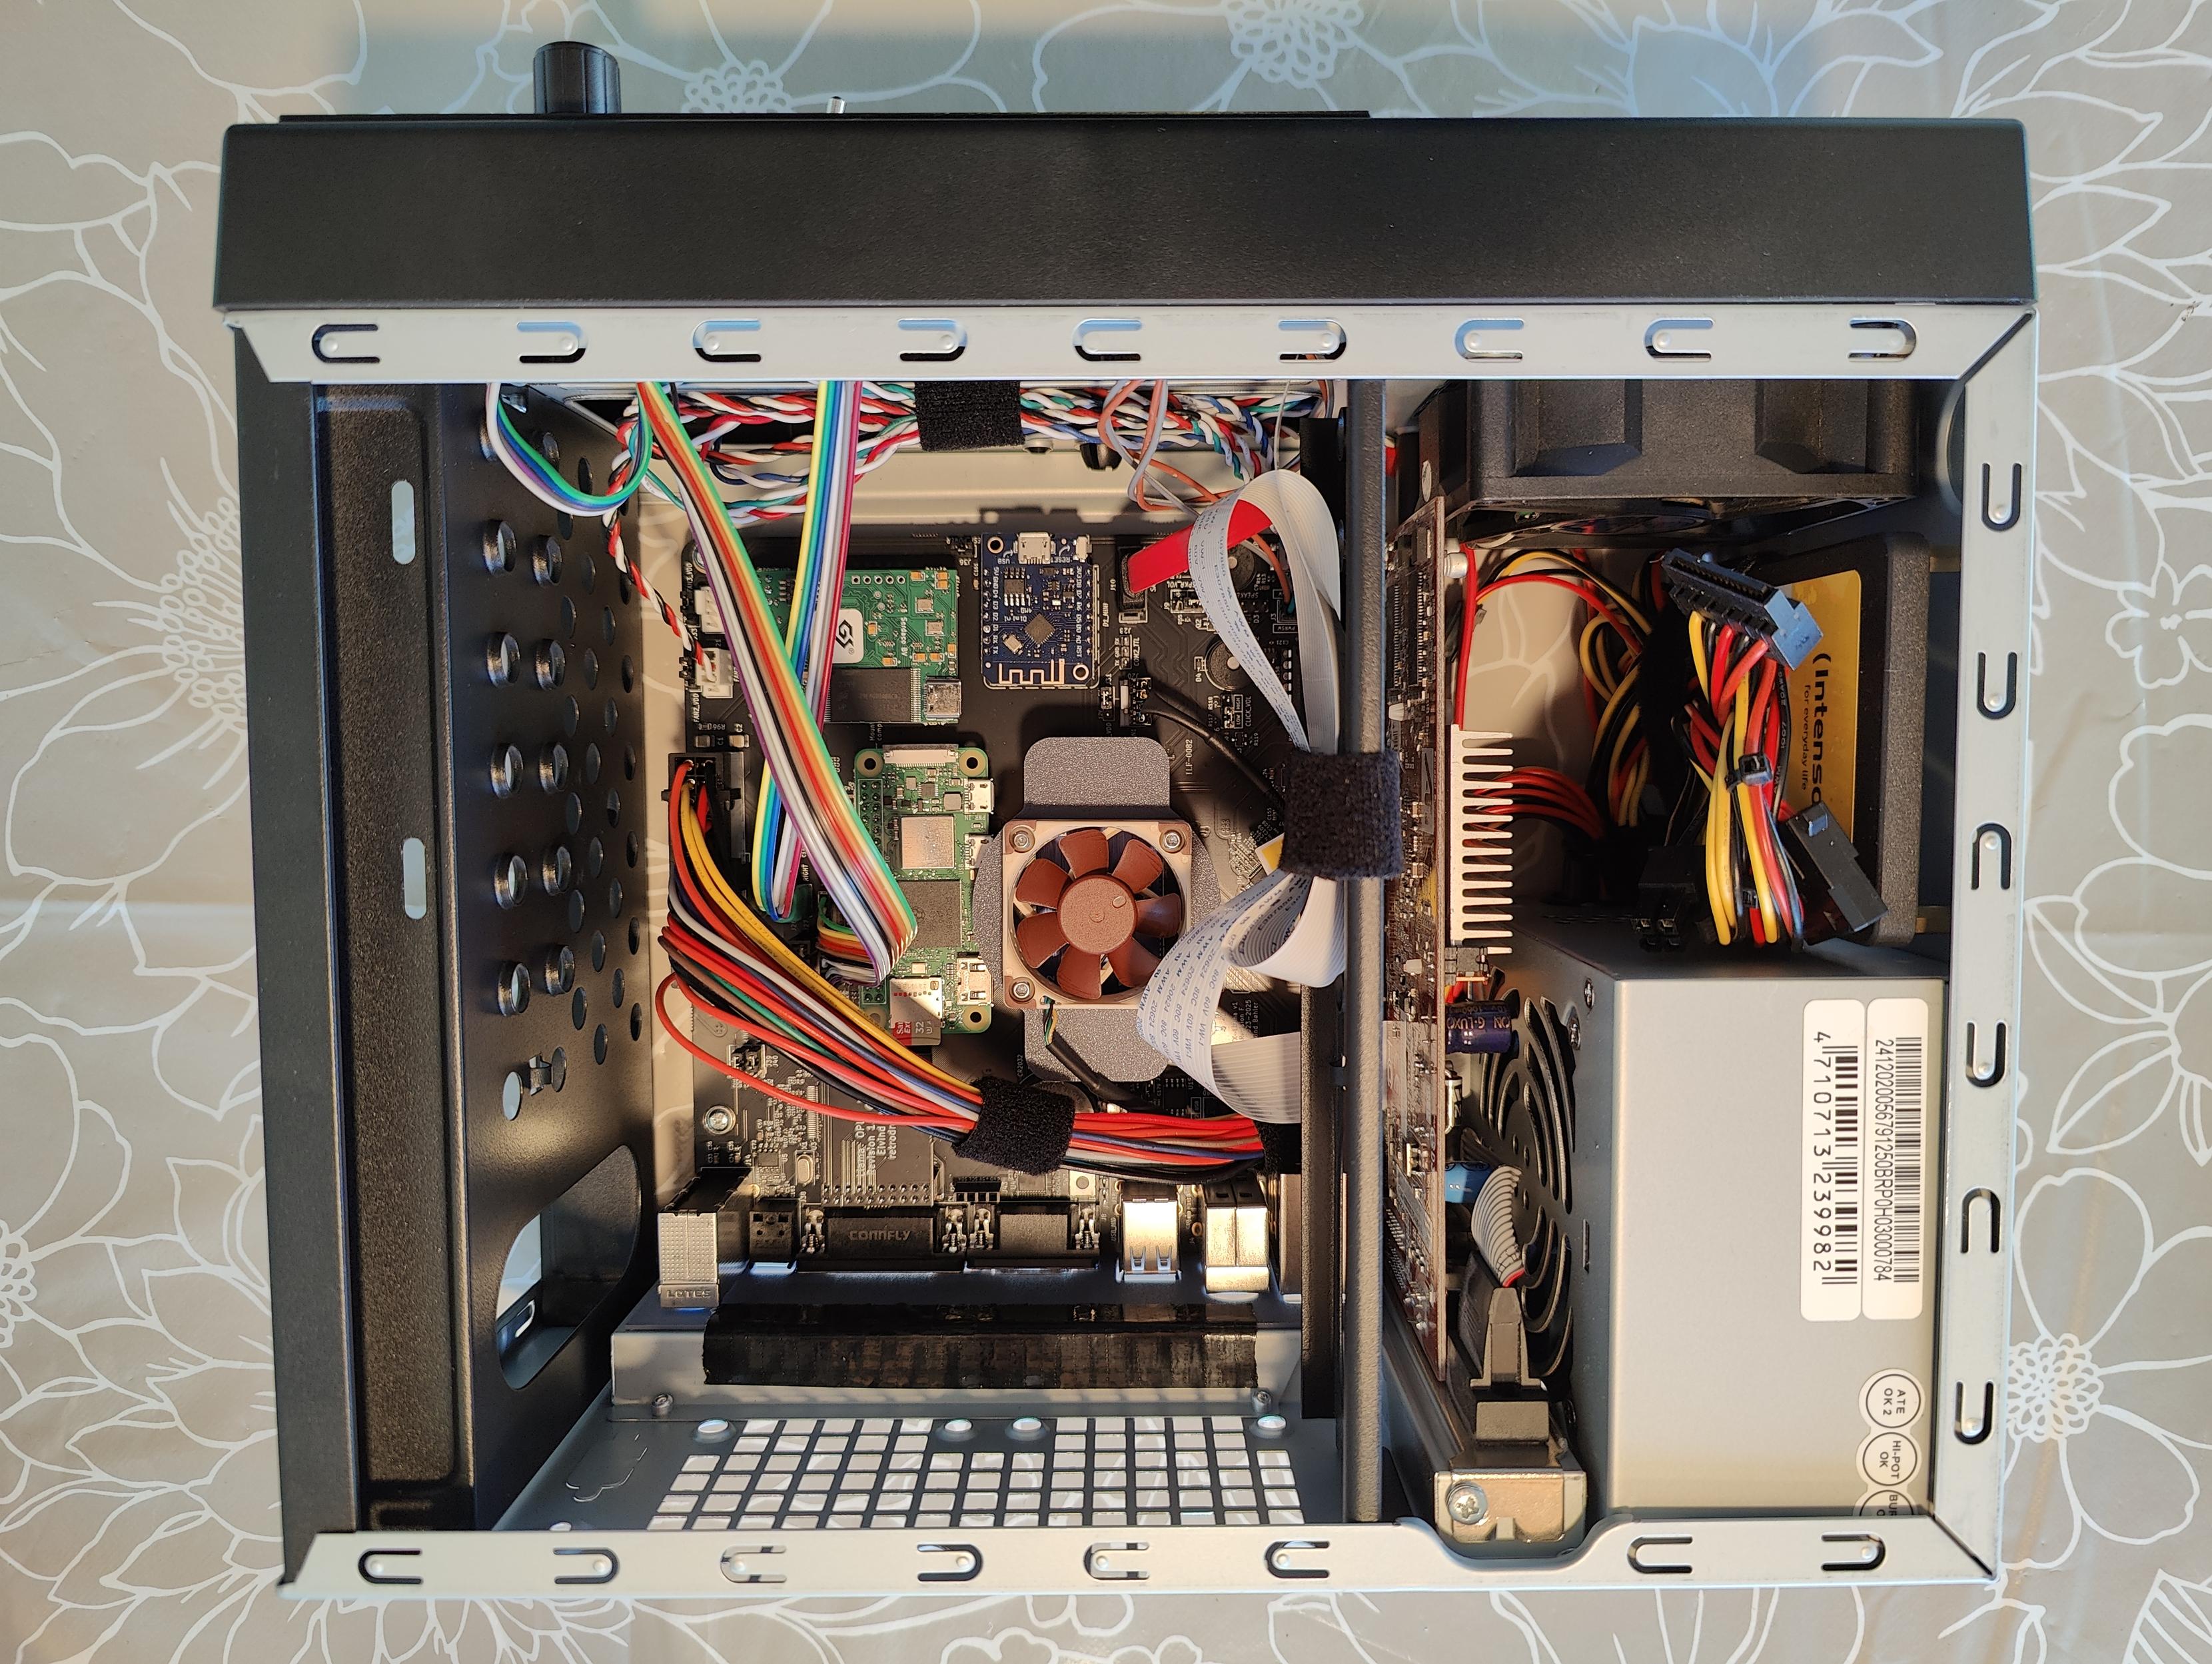
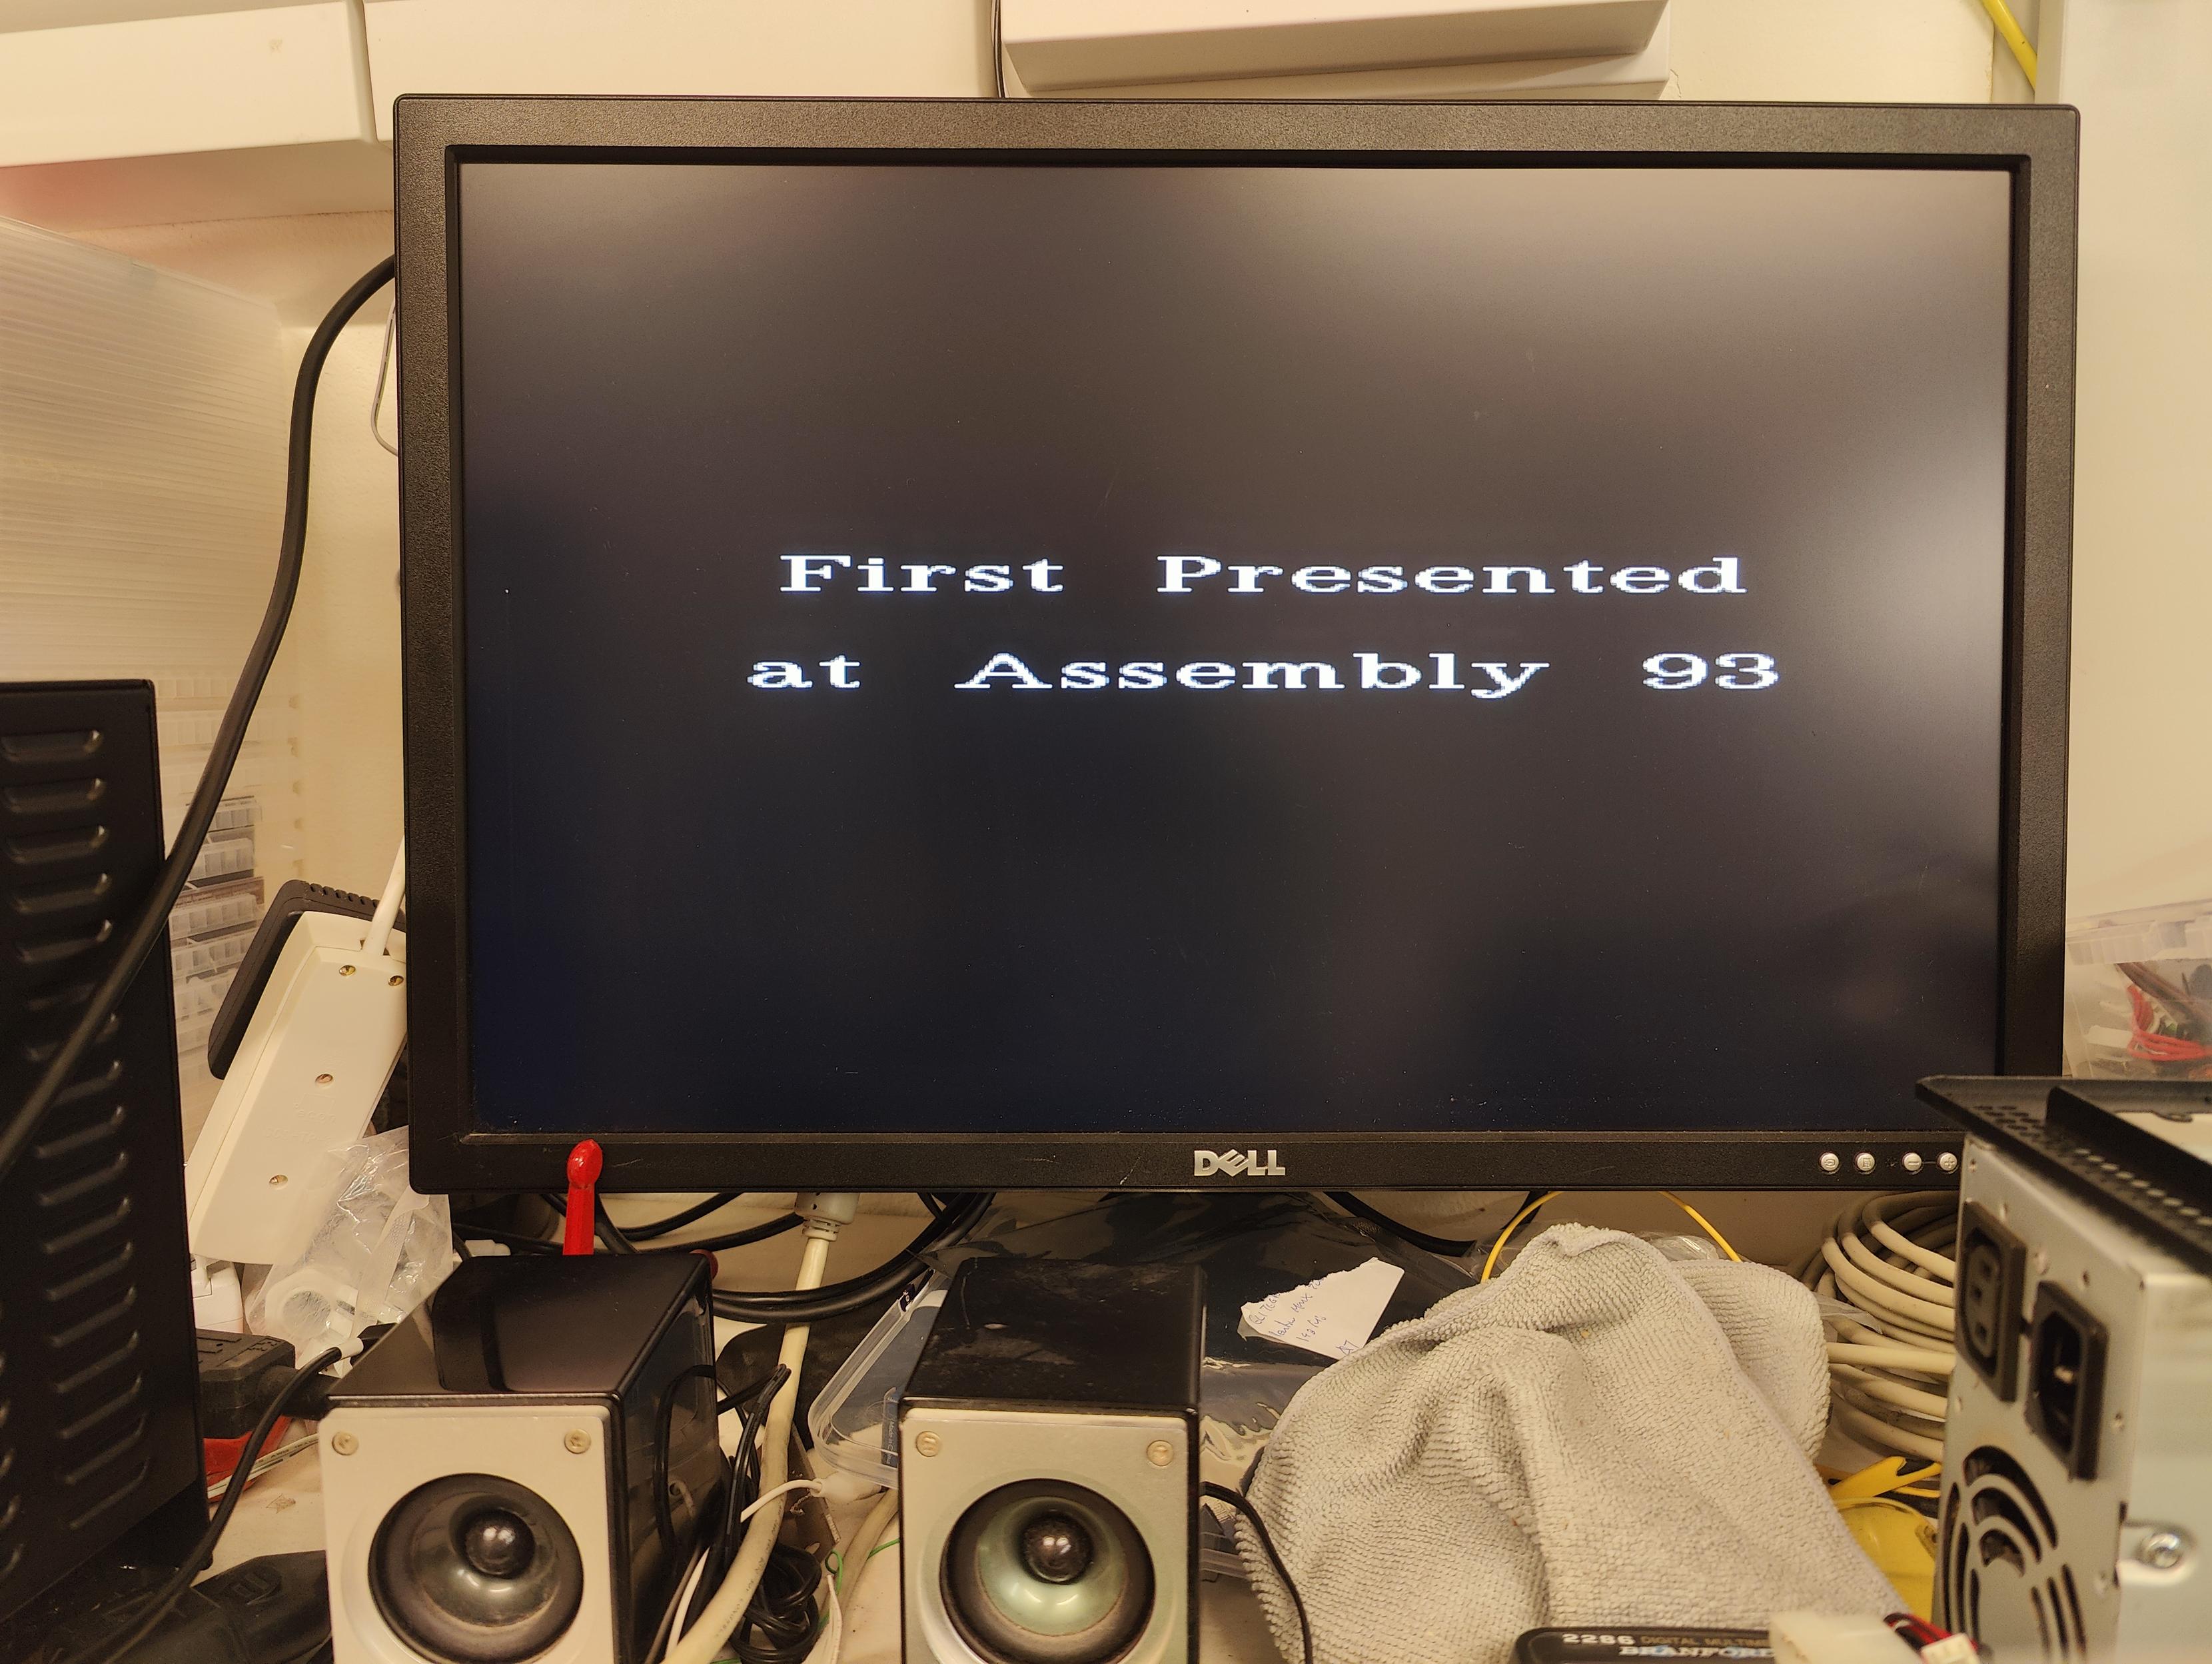
Finished my #ITXLlama builds today. Built around the #Chieftec BT-02 case, it features the ITX Llama motherboard, a #Radeon 9250 and a #3dprinted front control panel I designed with #OLED display, rotary encoder and buttons for the #MT32Pi. Also a much needed reset button, a switch to select either the MT32-pi or GS WaveTable audio and an SD slot. The software needs a bit of tweaking, but this could be an awesome and brand new box for playing #90s era #MSDOS and #Windows98 games. So far it plays #DukeNukem3D flawlessly with #GeneralMIDI sound.
#mt32Pi
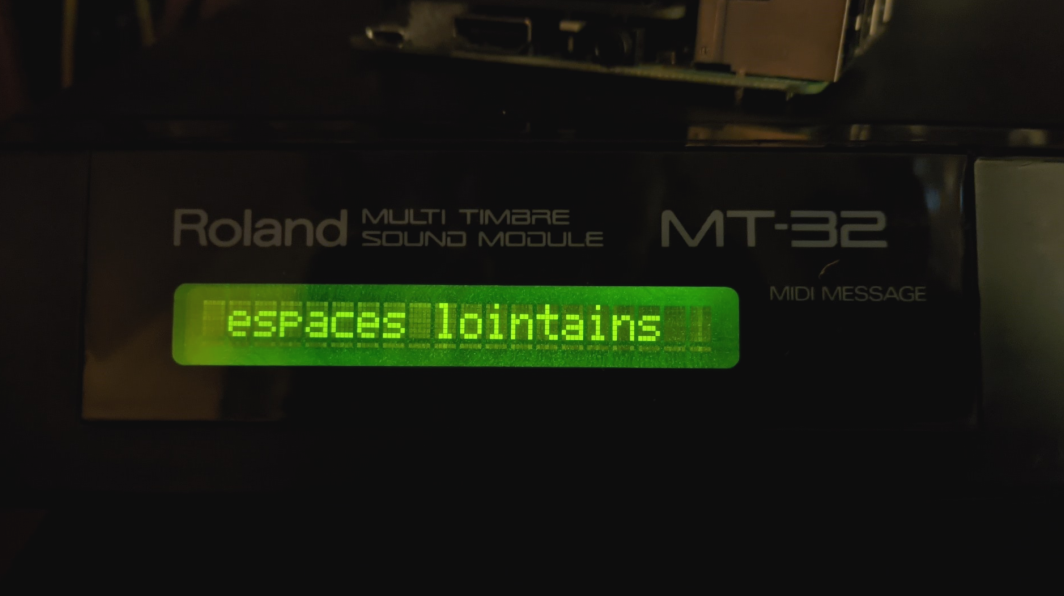
Garvalf has released a new #synthpop Roland #MT32 album 🎵
Composed on #atarist with Cubase, #mt32pi and on Linux with #musesequencer
Get it:
🎹=> on Bandcamp: https://garvalf.bandcamp.com/album/mt-32-espaces-lointains
🎹=> on spotify: https://open.spotify.com/intl-fr/album/3wKMtu0vl8XHFPkHhyf3Xs
These tracks were composed between 2019 and 2025 and are dedicated to the 90's musics from old TV series...
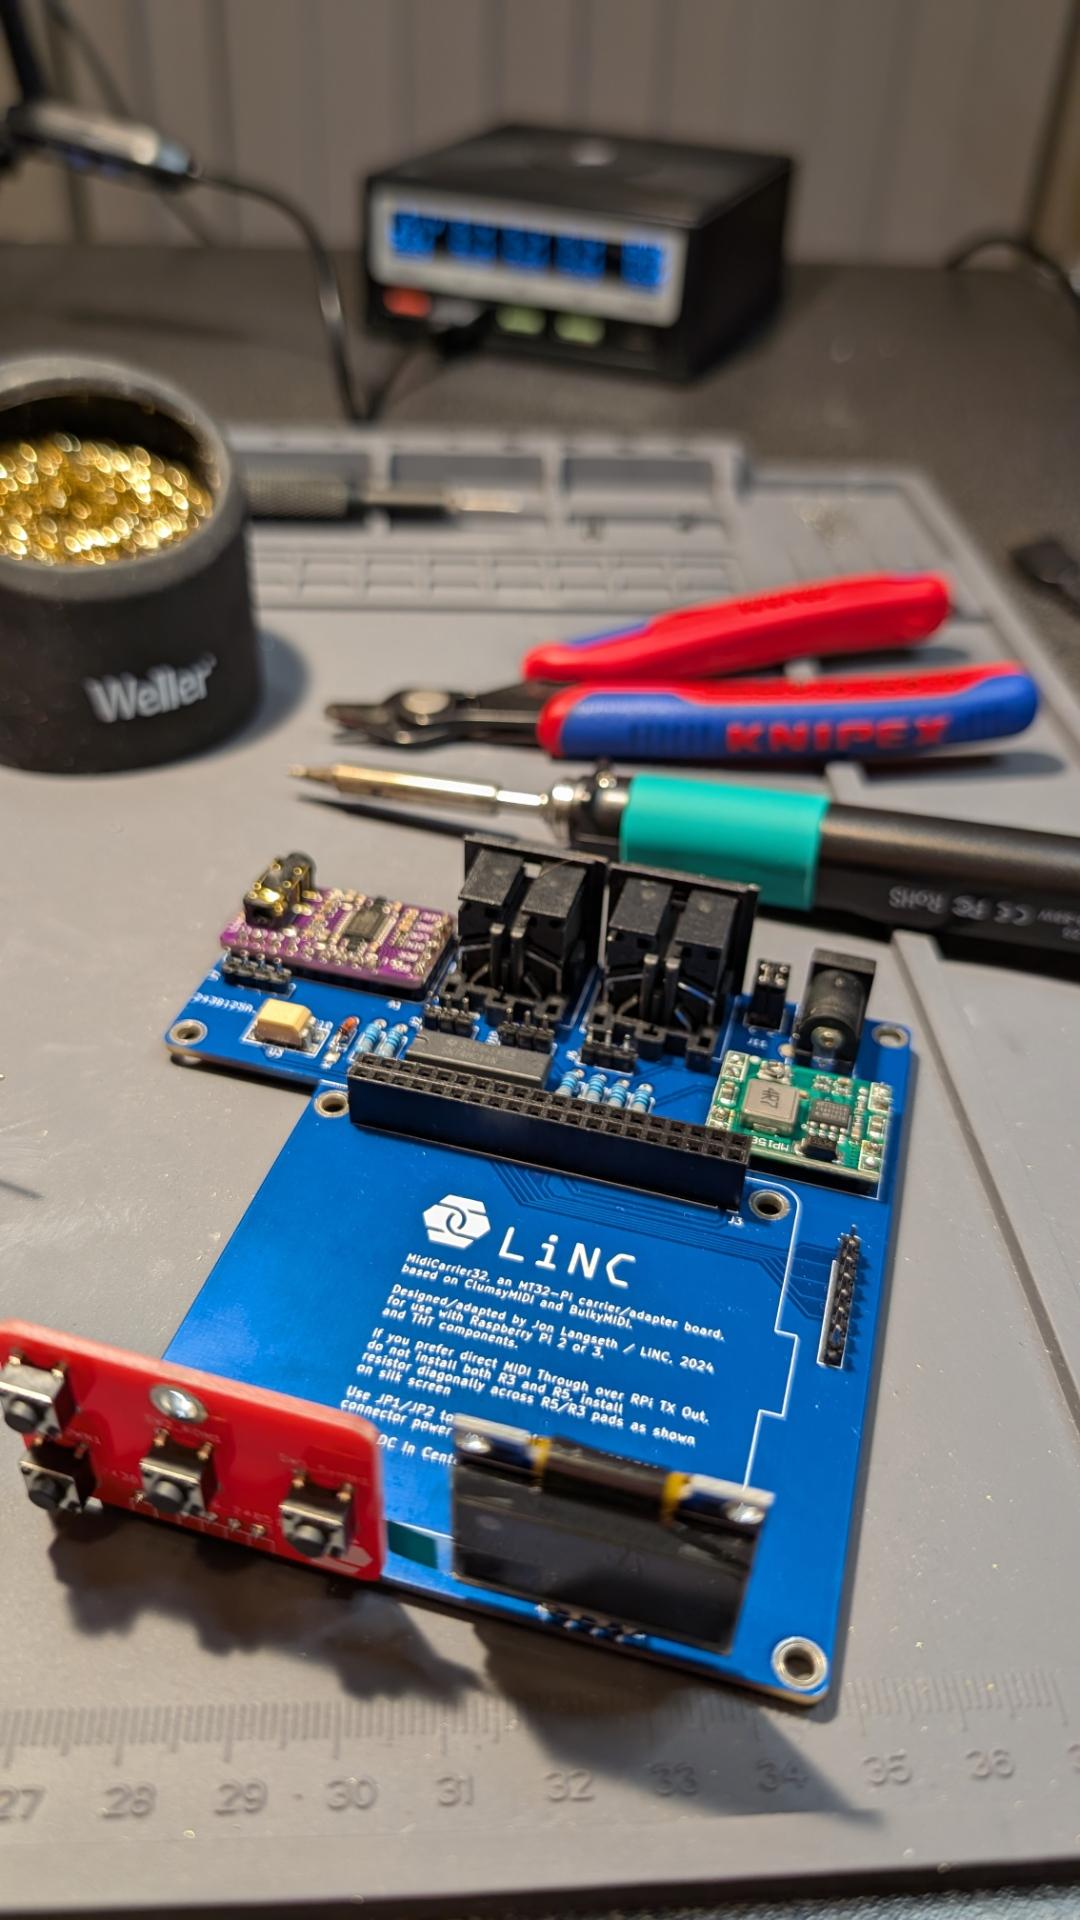
@rpimag And whilst on the topic of EuroRack and RPi I've also had a contribution from a reader of my blog showing how to use my Zero-based MiniDexed PCB to run MT32-Pi which I've just written up today.
Massive thanks to Michel who not only posed the question "can my MiniDexed EuroRack PCB also run MT32-Pi" but then proceeded to figure out how and to send me the instructions :)
Now all written up here: https://diyelectromusic.com/2025/04/07/mt32-pi-on-my-eurorack-minidexed-pcb/
MT32-Pi Soundfont Demo on my MiniDexed EuroRack PCB
MT32-Pi on my EuroRack MiniDexed PCB
This is great. I was asked by Michel (mragutlich) if I knew how to build MT32-Pi to configure it for my MiniDexed EuroRack PCB but I don’t and there isn’t a lot of information apparently on how to build it from source.
So I offered my Rebuilding my Ability to Build MiniDexed post which talks about getting to the point of being able to build MiniDexed and as both synths run on circle, figured that would be a pretty good starting point.
And then Michel came back to me with a complete set of instructions for Ubuntu and I’ve just run through them – and they work great.
So massive thanks to Michel, this is how you could get MT32-Pi running on my MiniDexed EuroRack PCB.
https://makertube.net/w/2xzd8b4RPDPX1YJL3CpA57
Warning! I strongly recommend using old or second hand equipment for your experiments. I am not responsible for any damage to expensive instruments!
Previous posts on MT32-Pi:
If you are new to microcontrollers and single board computers, see the Getting Started pages.
Parts list
- Raspberry Pi Zero 2.
- Micro SD card.
- MiniDexed EuroRack PCB and panel.
- Power, leads, additional connectors and so on.
Building MT32-Pi on Ubuntu
Here are Michel’s instructions that worked for me.
Setup a Ubuntu 20.4 LTS system.

sudo apt-get update
sudo apt-get upgrade
sudo apt-get install build-essential
sudo apt-get install gcc-arm-none-eabi
sudo apt-get install git
sudo apt-get install curl
sudo apt-get install dialog
sudo apt-get install cmake
sudo apt-get install pkg-config
sudo apt-get install glib-2.0 Now clone the mt32-pi github repo

git clone –recursive https://github.com/dwhinham/mt32-pi.git

cd mt32-pi

nano src/control/simpleencoder.cpp In nano change the following lines

constexpr u8 GPIOPinButton1 = 5;
constexpr u8 GPIOPinButton2 = 6;

constexpr u8 GPIOPinEncoderButton = 11;
constexpr u8 GPIOPinEncoderCLK = 10;
constexpr u8 GPIOPinEncoderDAT = 9;

ctrl-X and say ‘Y’

make all

If everything goes well you will have a kernel8.img file in your directory.

Now hook up a microSD cardreader to your Linux environment and insert a blank microSD card

Goto the ~/scripts dir and start mt32pi_installer.sh , this will install all the needed bare metal files

sudo ./mt32pi_installer.sh

When ready copy the kernel8.img file to the SD card

Change in the mt32-pi.cfg file the line ‘encoder_reversed = off’ to 'on', now the volume knob will increase when turned clockwise

Copy the MT32 roms to to the rom dir

Copy some Sf2 soundfont files tot the soundfont dir

Thats it…unmount the sd card , put it in your Zero 2 W…and boot it.. the MT32pi logo should appear on the oled screen and the buttons and rotary encoder should work properly

The first button switches between m32 and soundfont mode.

The second button will switch to the next rom or soundfont file

The rotary encoder will change the master volume.

The encoder switch only displays a message that the button is pressed
There were a couple of tweaks I needed. First of, the mt32_inistaller.sh script has to be run as root. This will go through and ask you to choose the SD card to format and install and so on.
At some point you will need some MT32 ROMs. There are details of how to do that on the original MT32-Pi project here: https://github.com/dwhinham/mt32-pi?tab=readme-ov-file#-quick-start-guide
In addition to the aforementioned “encoder_reversed” setting in the mt32-pi.cfg file there are a couple of other options I find used (many of these were already set up by the installer):
[system]
default_synth = mt32 or soundfount


output_device = i2s

[control]
scheme = simple_encoder
encoder_reversed = on
mister = off

[mt32emu]
midi_channels = alternate

[lcd]
type = ssd1306_i2c
width = 128
height = 32
i2c_lcd_address = 3c
I think those were the major changes.
I installed a single “new” ROM and a PCM ROM. The default soundfont is already installed. And that was essentially that.
The first time I tried it, I’d forgotten to copy over the kernel8.img file, so that took a moment to figure out! But apart from that it was all pretty straight forward for me. Many of the packages to install at the start were already there and up to date, so that didn’t take too long and the build itself was again fairly straight forward.
Closing Thoughts
A big thanks to Michel for asking the question, then figuring out the answer, and most importantly sending me the instructions and permission to post them here.
This is a great additional option for my PCB 🙂
The video shows the MT32-Pi in Soundfont mode playing a MIDI file of Khachaturian’s Masquerade Waltz.
It is great to have a full General MIDI Soundfont device in EuroRack format.
Kevin
Boy, that #escalated quickly. I'm sure I'm everything wrong, but I've had a fun day messing around with my 3D-model for the #MT32pi controller.
Taking my first helpless steps in #3DModelling with #OpenSCAD. This is the simplified and reduced size prototype, but it will end up being a 5.25" bay controlpanel for the #MT32pi with an 128x32 OLED display, two buttons and a rotary encoder on a PCB. Doing #3D as #code is pretty cool.
Why OpenSCAD? I'm a programmer and automation freak by trade, so this approach seemed saner than clicking away in a GUI.
Another two-part piece for today's Lo-Fi Orchestra #MusicAdventCalendar
This is the first half of part 1 of Mike Oldfield's Tubular Bells.
Featuring MT32-Pi once again on Tubular Bells.
https://makertube.net/w/1FqWLroqwaT4sTpf8LWcHz
#LoFiOrchestra #LoFiTubularBells #MIDI #Arduino #RaspberryPi #MT32Pi
#mister #mt32pi , abilitando le varie rom o i vari #soundfont , le colonne sonore #midi , hanno tutt’altra sonorità. Molti titoli #lucas e non solo quelli acquistano una qualità audio incredibili . Molto bello sperimentare con diversi tipi di soundfont . Provato su core #486
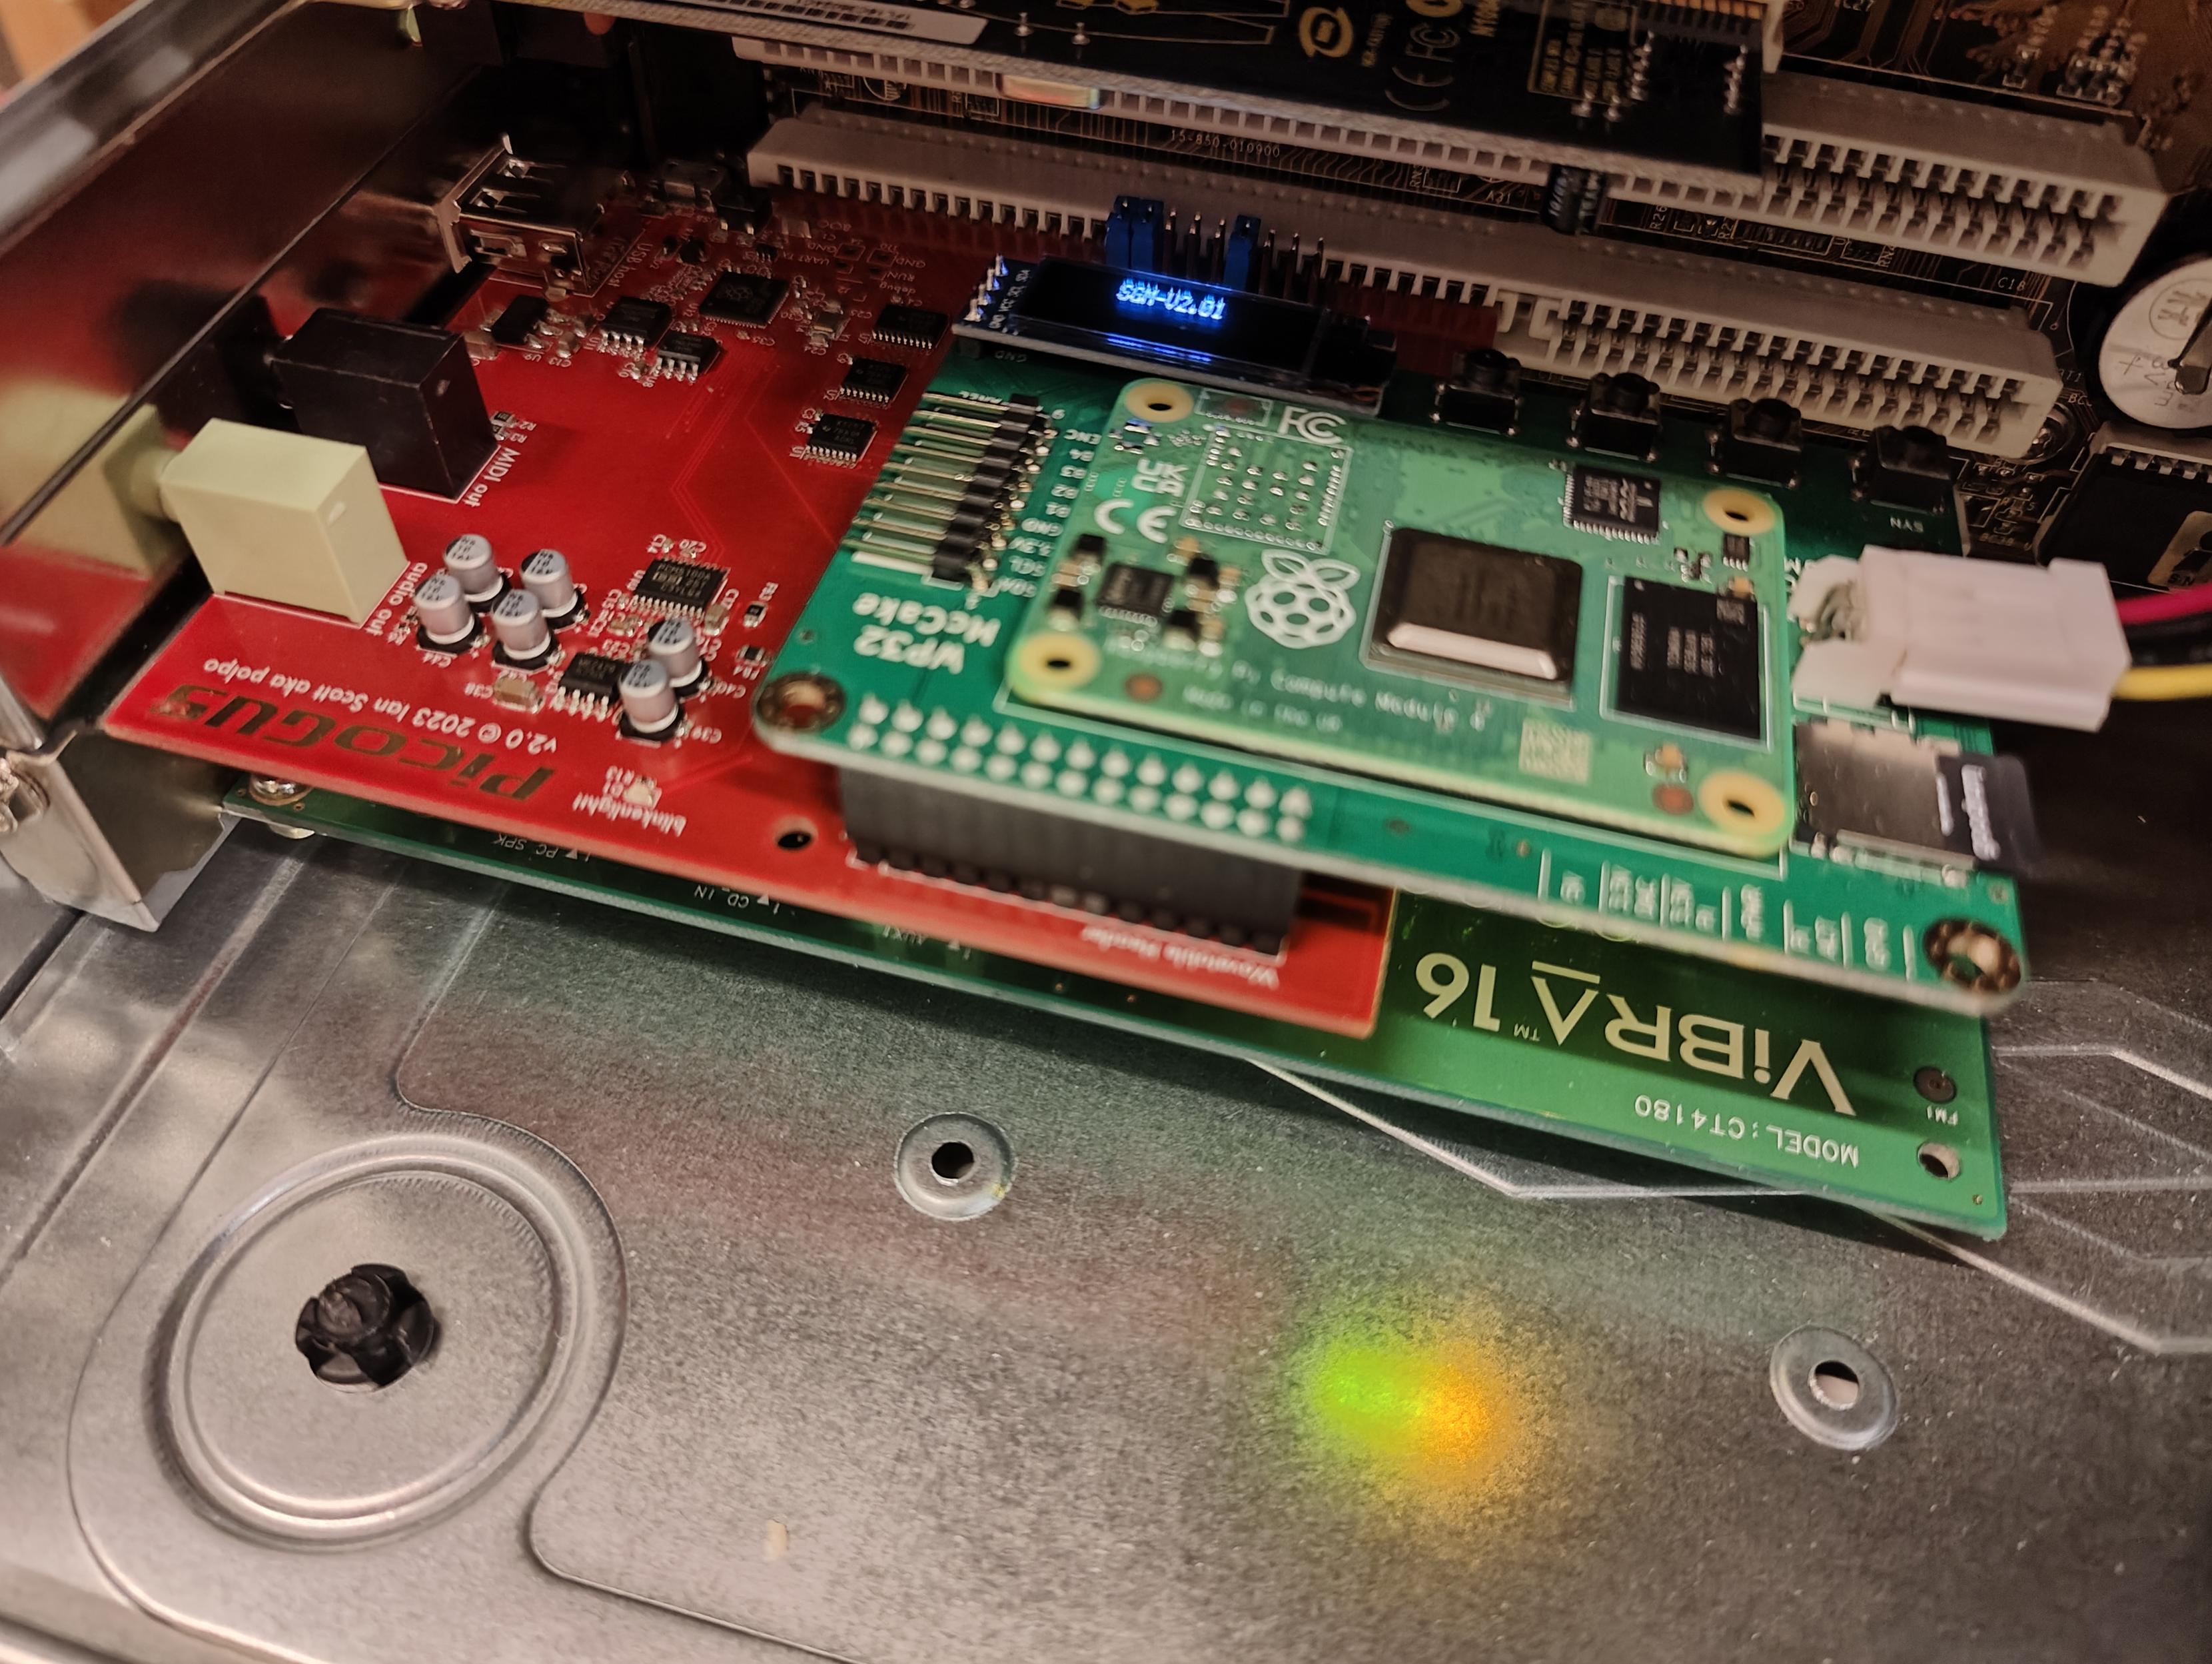
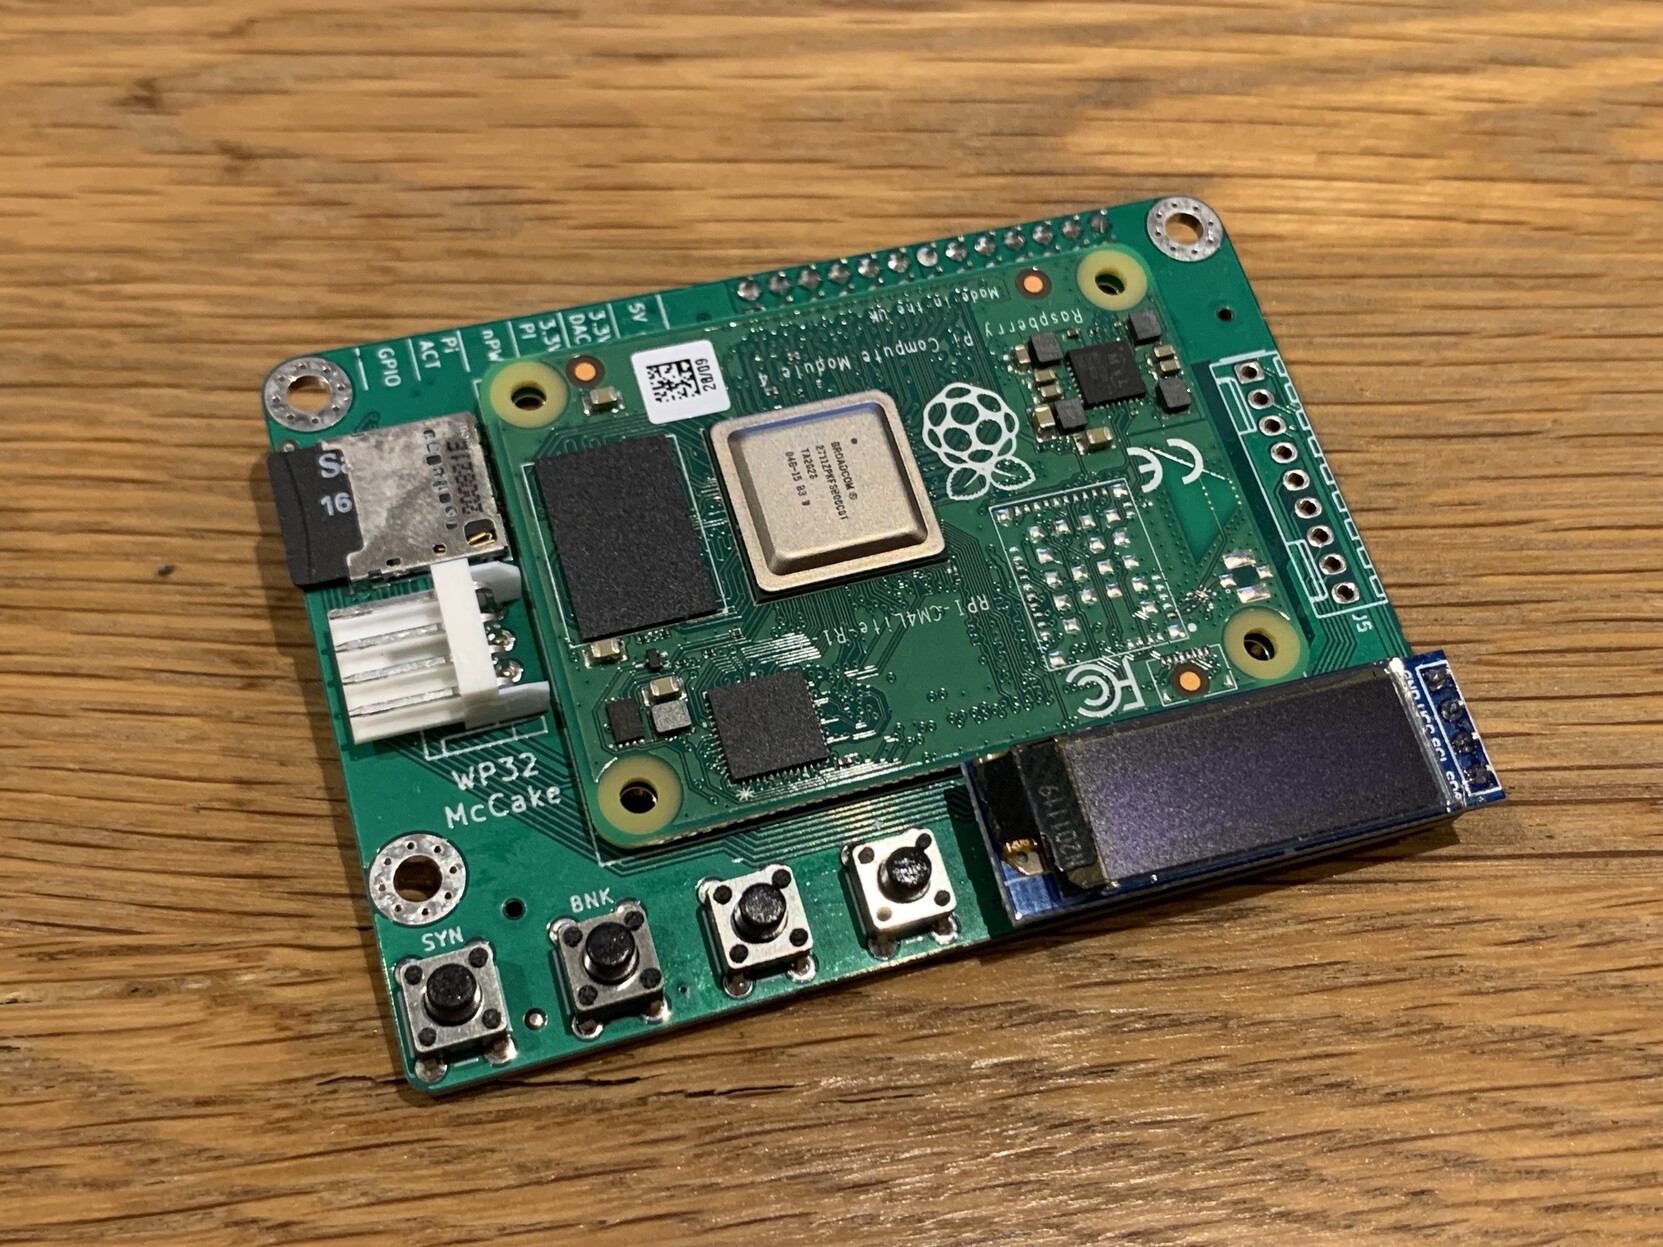
#vintagecomputing #MSDOS build progressing. #Pentium 200 with #TsengLabs #ET6000 graphics, CF for storage, #Gotek for floppies and a #PicoGUS with the #McCake #WP32 #MT32Pi wave table add on. Output looped into a #SoundBlaster Vibra 16C for full Gravis Ultrasound, Sound Blaster, Roland and General Midi support. Excellent for all things DOS. Aiming for early to mid 90s games and demos, including point and click adventures from #Sierra and Lucas as well as some of the excellent demos from that time. I'm talking #MonkeyIsland, #LeisureSuitLarry and #FutureCrew and their #SecondReality demo. Tested the latter and got something in my eye. Oh the feels.

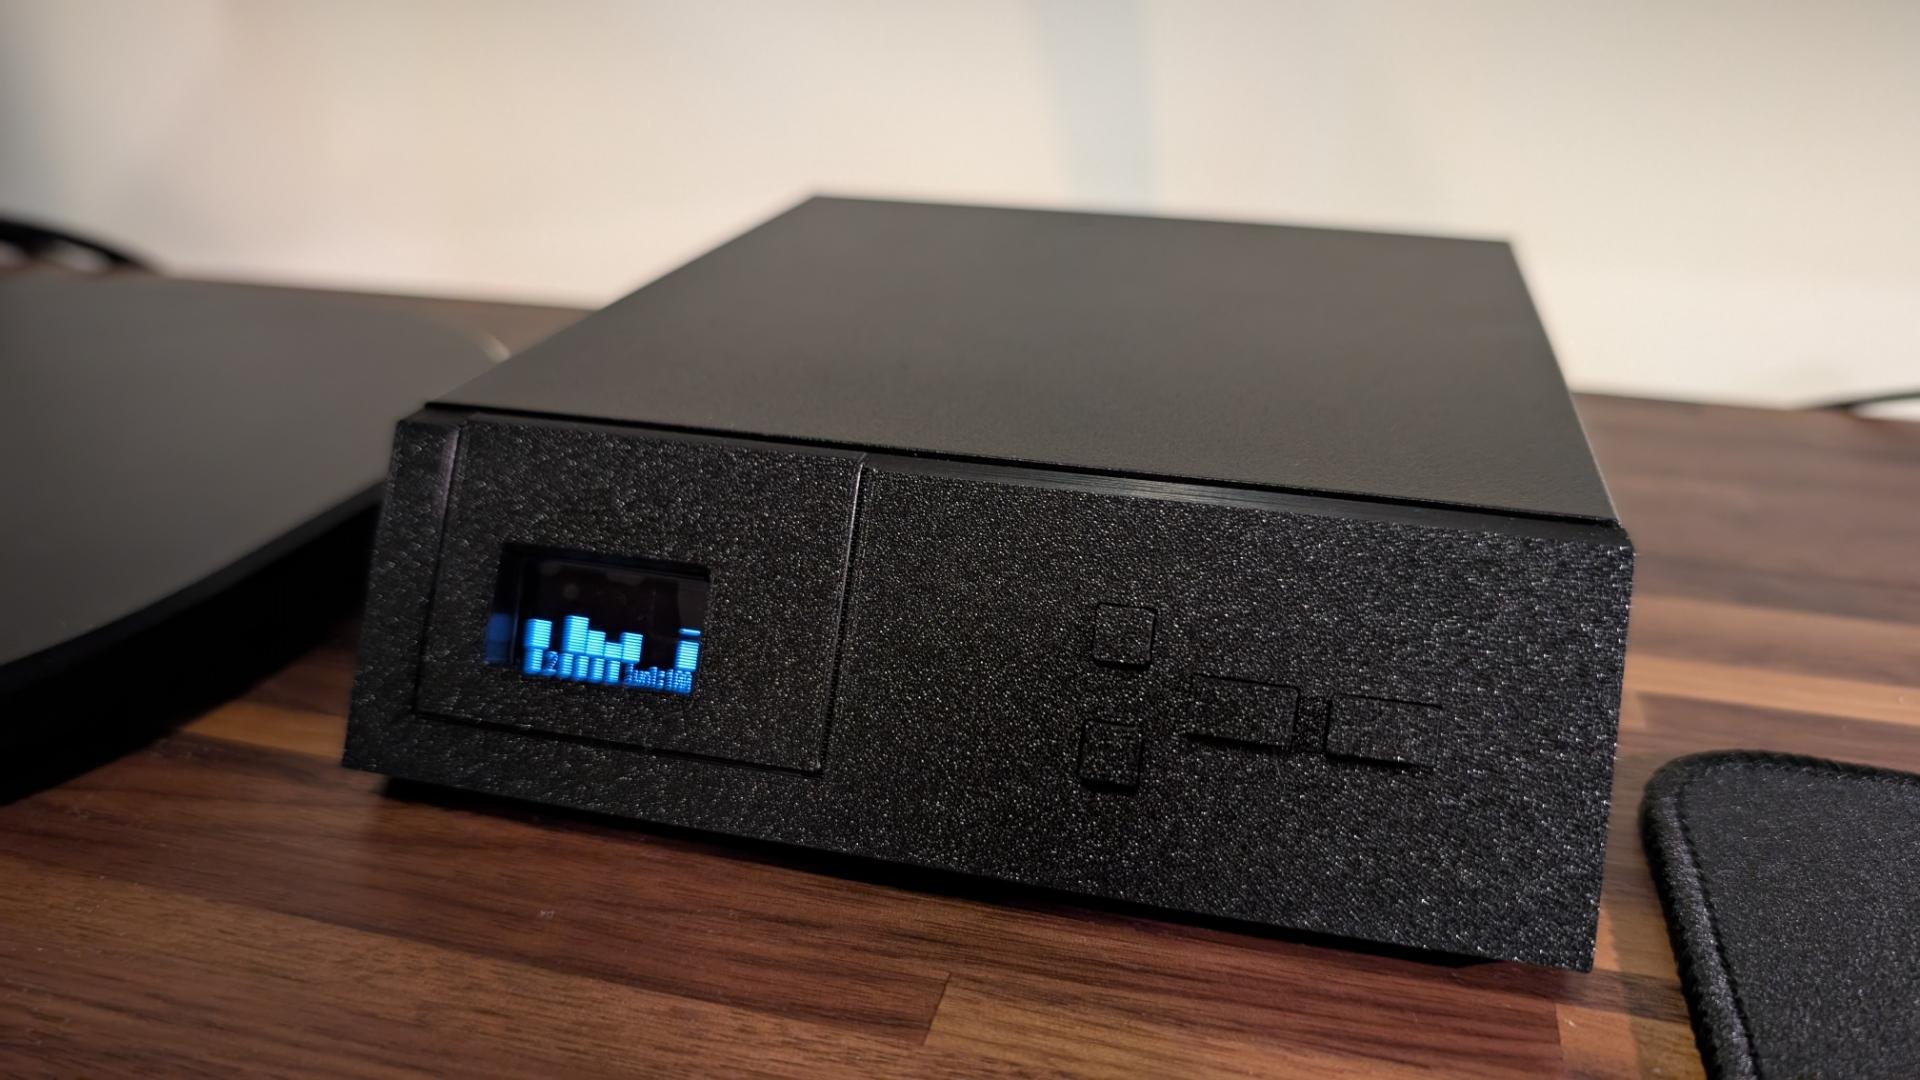
Jeg sa «mer eller mindre ferdig» i går, for jeg hadde noen tweaks som gjensto, og jeg hadde lyst til å få til logo. I dag fikk jeg lagt en siste hånd på verket, og kan nå si meg fornøyd med fronten. Baksiden trenger litt mer jobb, og jeg venter på noen deler ...
#mt32pi #norsktut #3dprinting #freecad
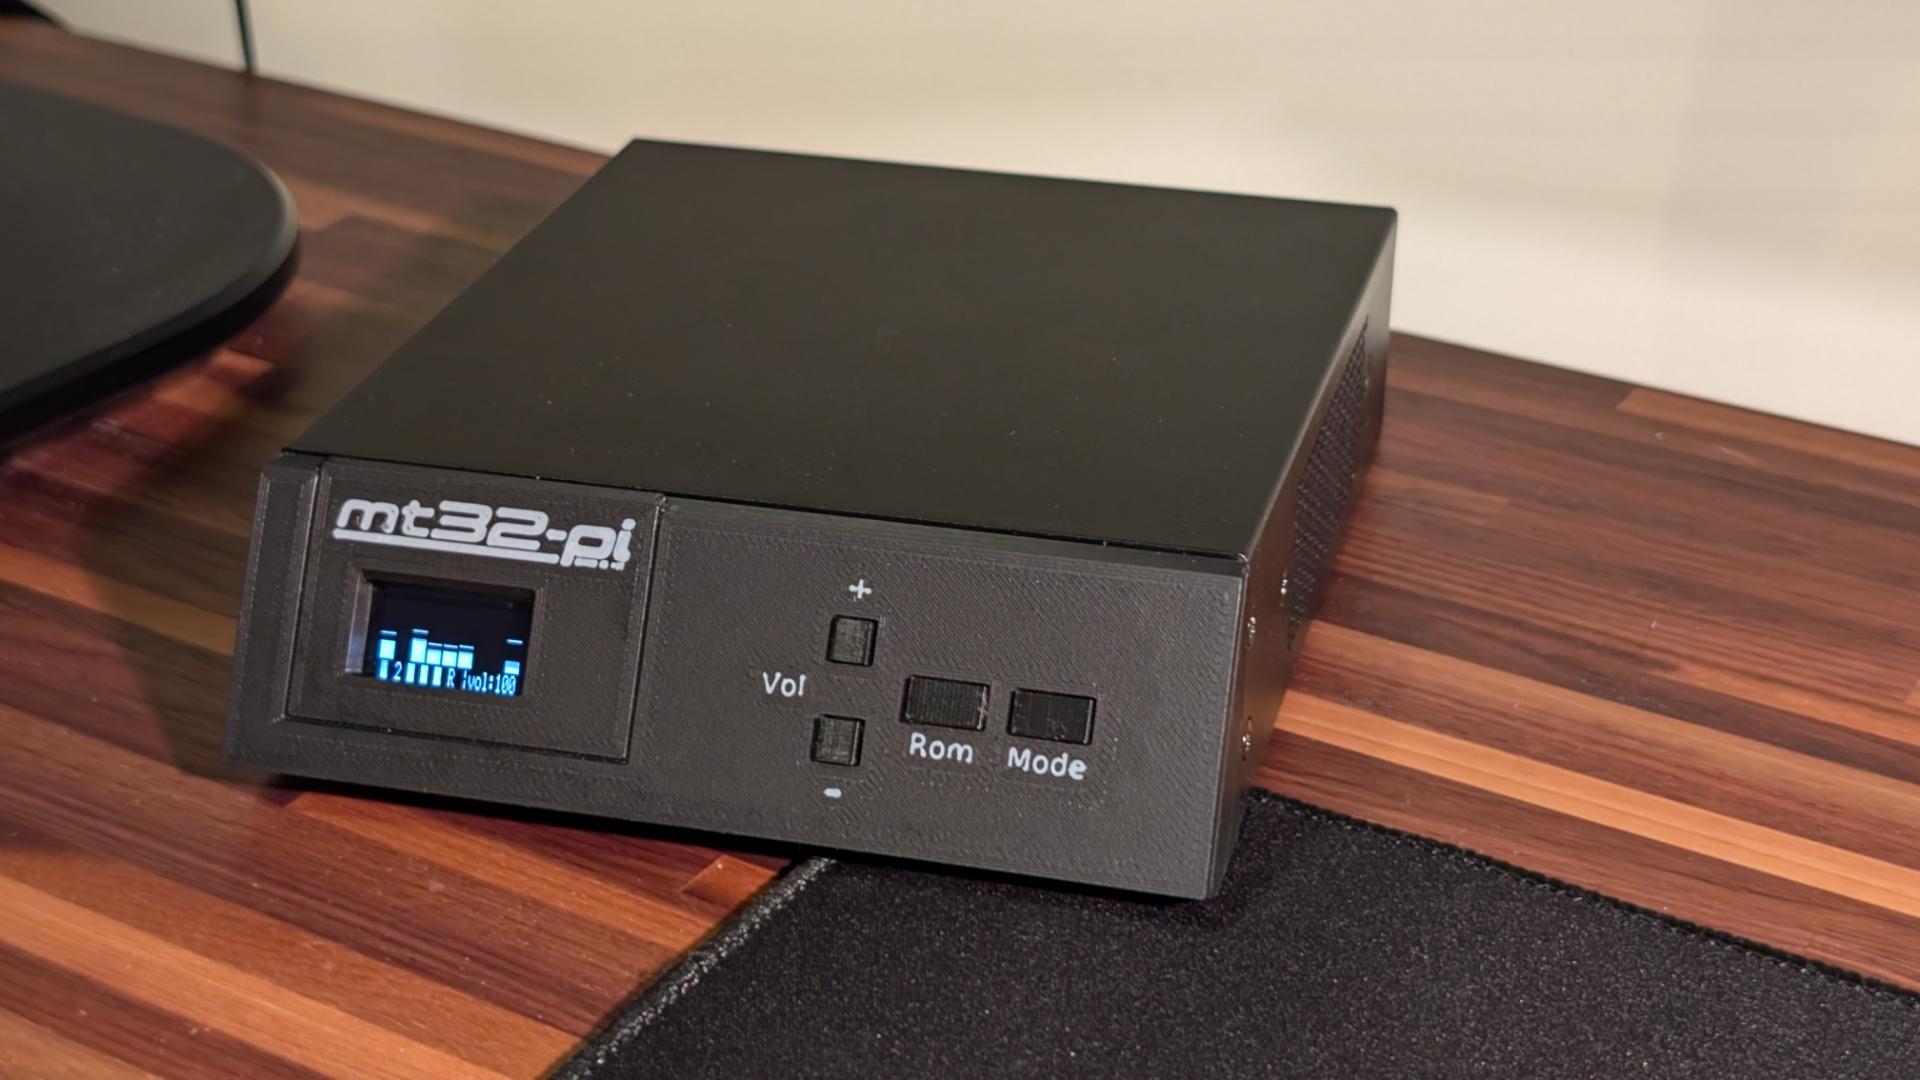
Endelig er kabinettet mer eller mindre ferdig. Jeg kommer nok til å printe en revidert versjon etter hvert, for å fikse et par ting som ikke fungerte helt optimalt, men det er mest usynlige endringer. Topplokket er av metall og er resirkulert fra en defekt AV-boks fra jobb. Jeg innså at den hadde perfekt størrelse for dette prosjektet og modellerte rundt det. #mt32pi #retro #freecad #3dprinting #prosjekt #norsktut
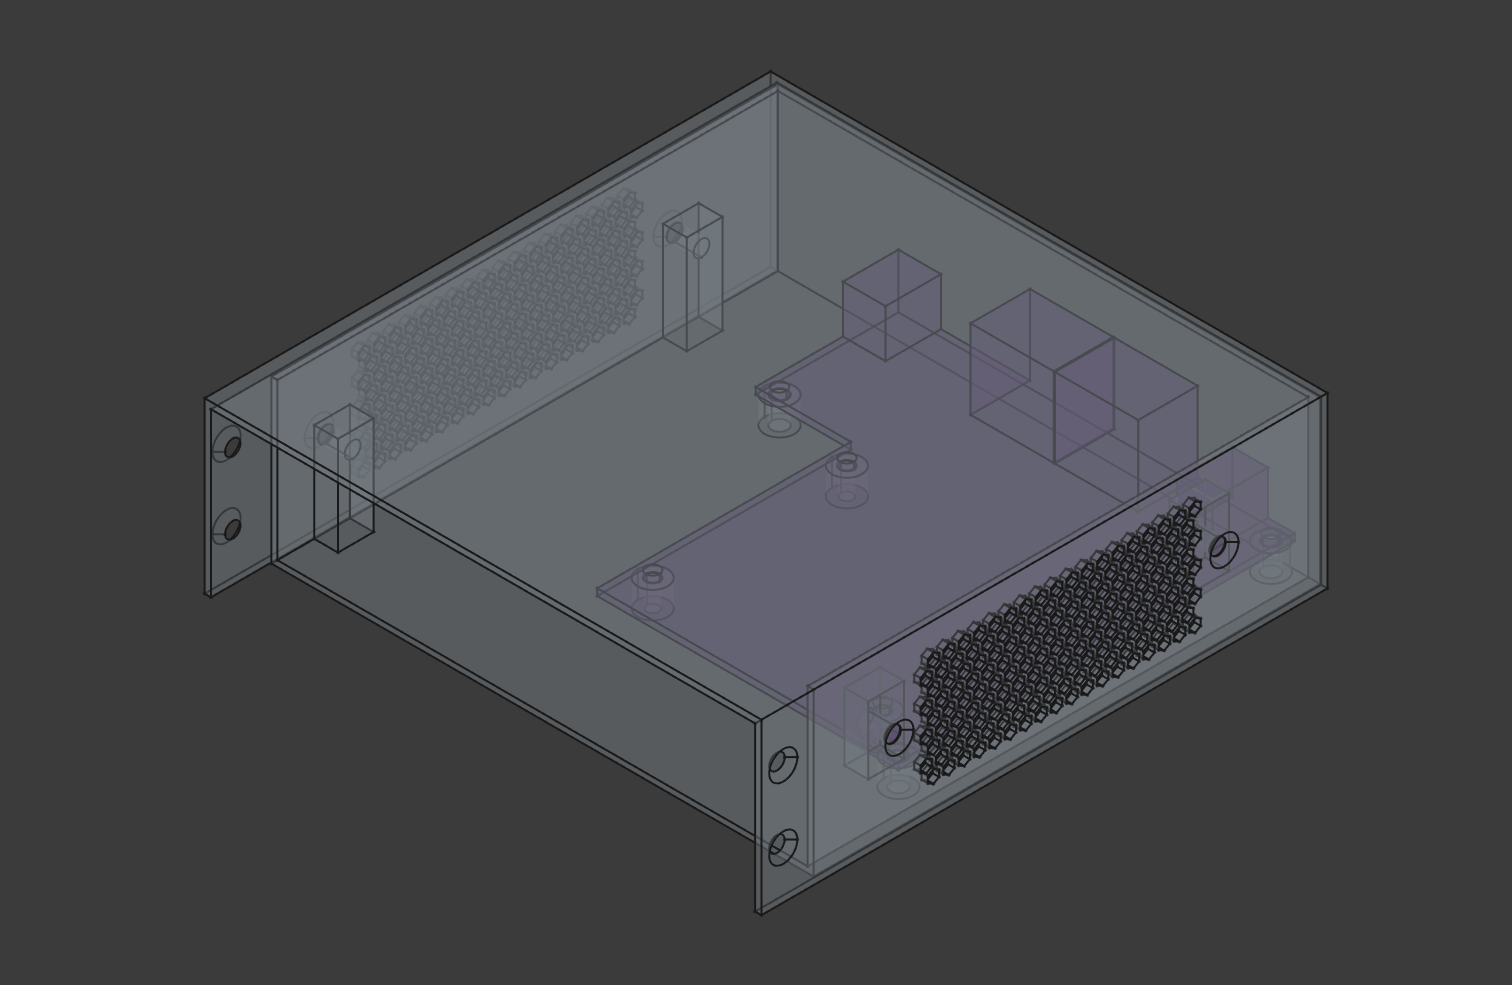
Prosjektet er ikke helt ferdig, de siste par kveldene har jeg syslet med FreeCAD og designet et kabinett til MT32-pi-en. Her er en liten sniktitt #freecad #mt32pi #norskttut #prosjekt
Nå tror jeg at jeg er ferdig med loddingen. Neste steg er å gjøre klar et image med #mt32pi og se hva som skjer når jeg setter på strømmen
New synthpop track for the #MT32 on #battleofthebits
https://battleofthebits.com/arena/Entry/Roads_+wet+roads/67541/
Recorded on a fresh new #mt32pi I've assembled.
So, we've been having the plumbing installed at @leigh_hackspace and that's given me a bit of spare time to work on a small side project. This is a Pentium III laptop running Windows 98SE. It's a rather nice machine with one foot in all worlds. CD-ROM, Floppy, USB 1, Serial, 98SE and a good (late) DOS mode.
I've done some work on it's DOS side and it's now a nice little playing machine for later games that aren't too CPU picky.
I've also added my MT32-Pi using a RS232-USB cable and a nice pair of Altec Lansing speakers. SoftMPU over serial works great where it's supported. Monkey Island and Frontier work, First Encounters does not, but First Encounters works fine on plain Sound Blaster.
This is now a nice little toy for downtime. 🙂
Another sound card—or rather sound module—is the WP32 McCake. It is a variant of the #mt32pi based on the Raspberry Pi CM4 and the MUNT emulator. It emulates the iconic Roland MT-32 sound module, which was supported by many games. The McCake is actually a Waveblaster compatible module, so you plug it onto a sound card such as the SoundBlaster 16. It can also be used as a General MIDI synth, supporting soundfonts.
#retrogaming #retrocomputing #RolandMt32
✨#mt32pi v0.13.1 has been released!
This is a small patch release with a superior rotary encoder reading routine, and a couple of bug fixes.
🚨🚨 NOTICE 🚨🚨
If you are using the updater script, you must manually re-download it. The self-update URL was broken - sorry!
✨ 🆕 #mt32pi v0.13.0 has been released!
A long-overdue maintenance release with a few fixes and improvements.
Highlights: improved compatibility with some USB MIDI controllers (keyboards), press-and-hold volume adjustment (for 4-button hardware) and the usual synth version bumps.
Changelog and download: 👇👇👇
https://github.com/dwhinham/mt32-pi/releases/tag/v0.13.0
Client Info
Server: https://mastodon.social
Version: 2025.04
Repository: https://github.com/cyevgeniy/lmst