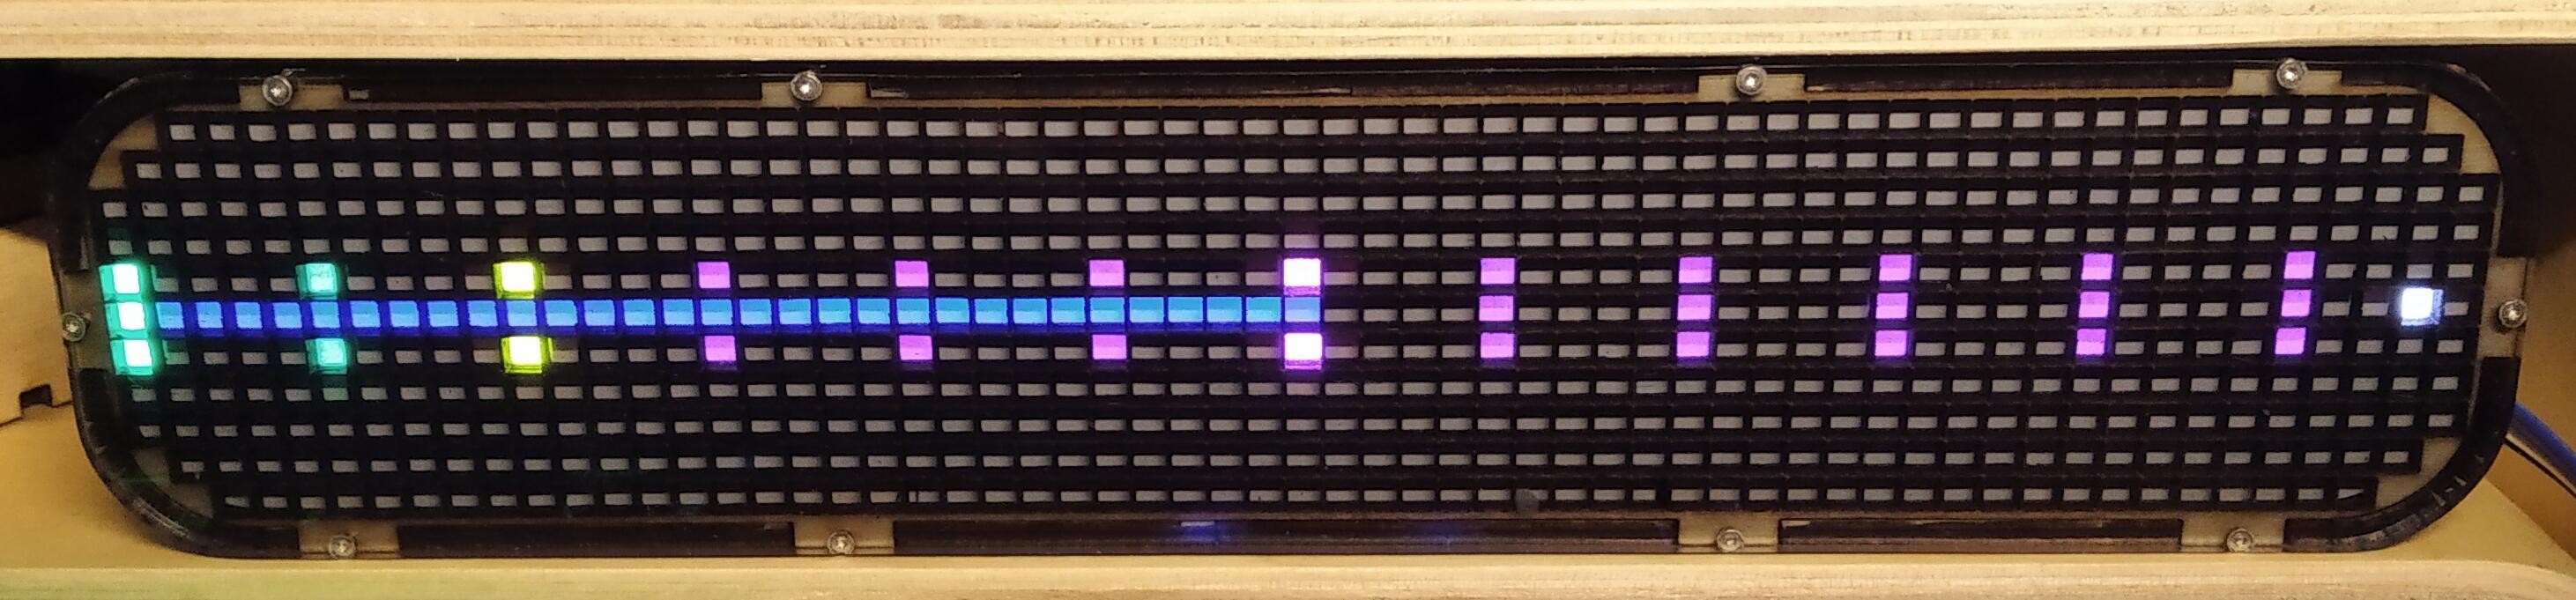
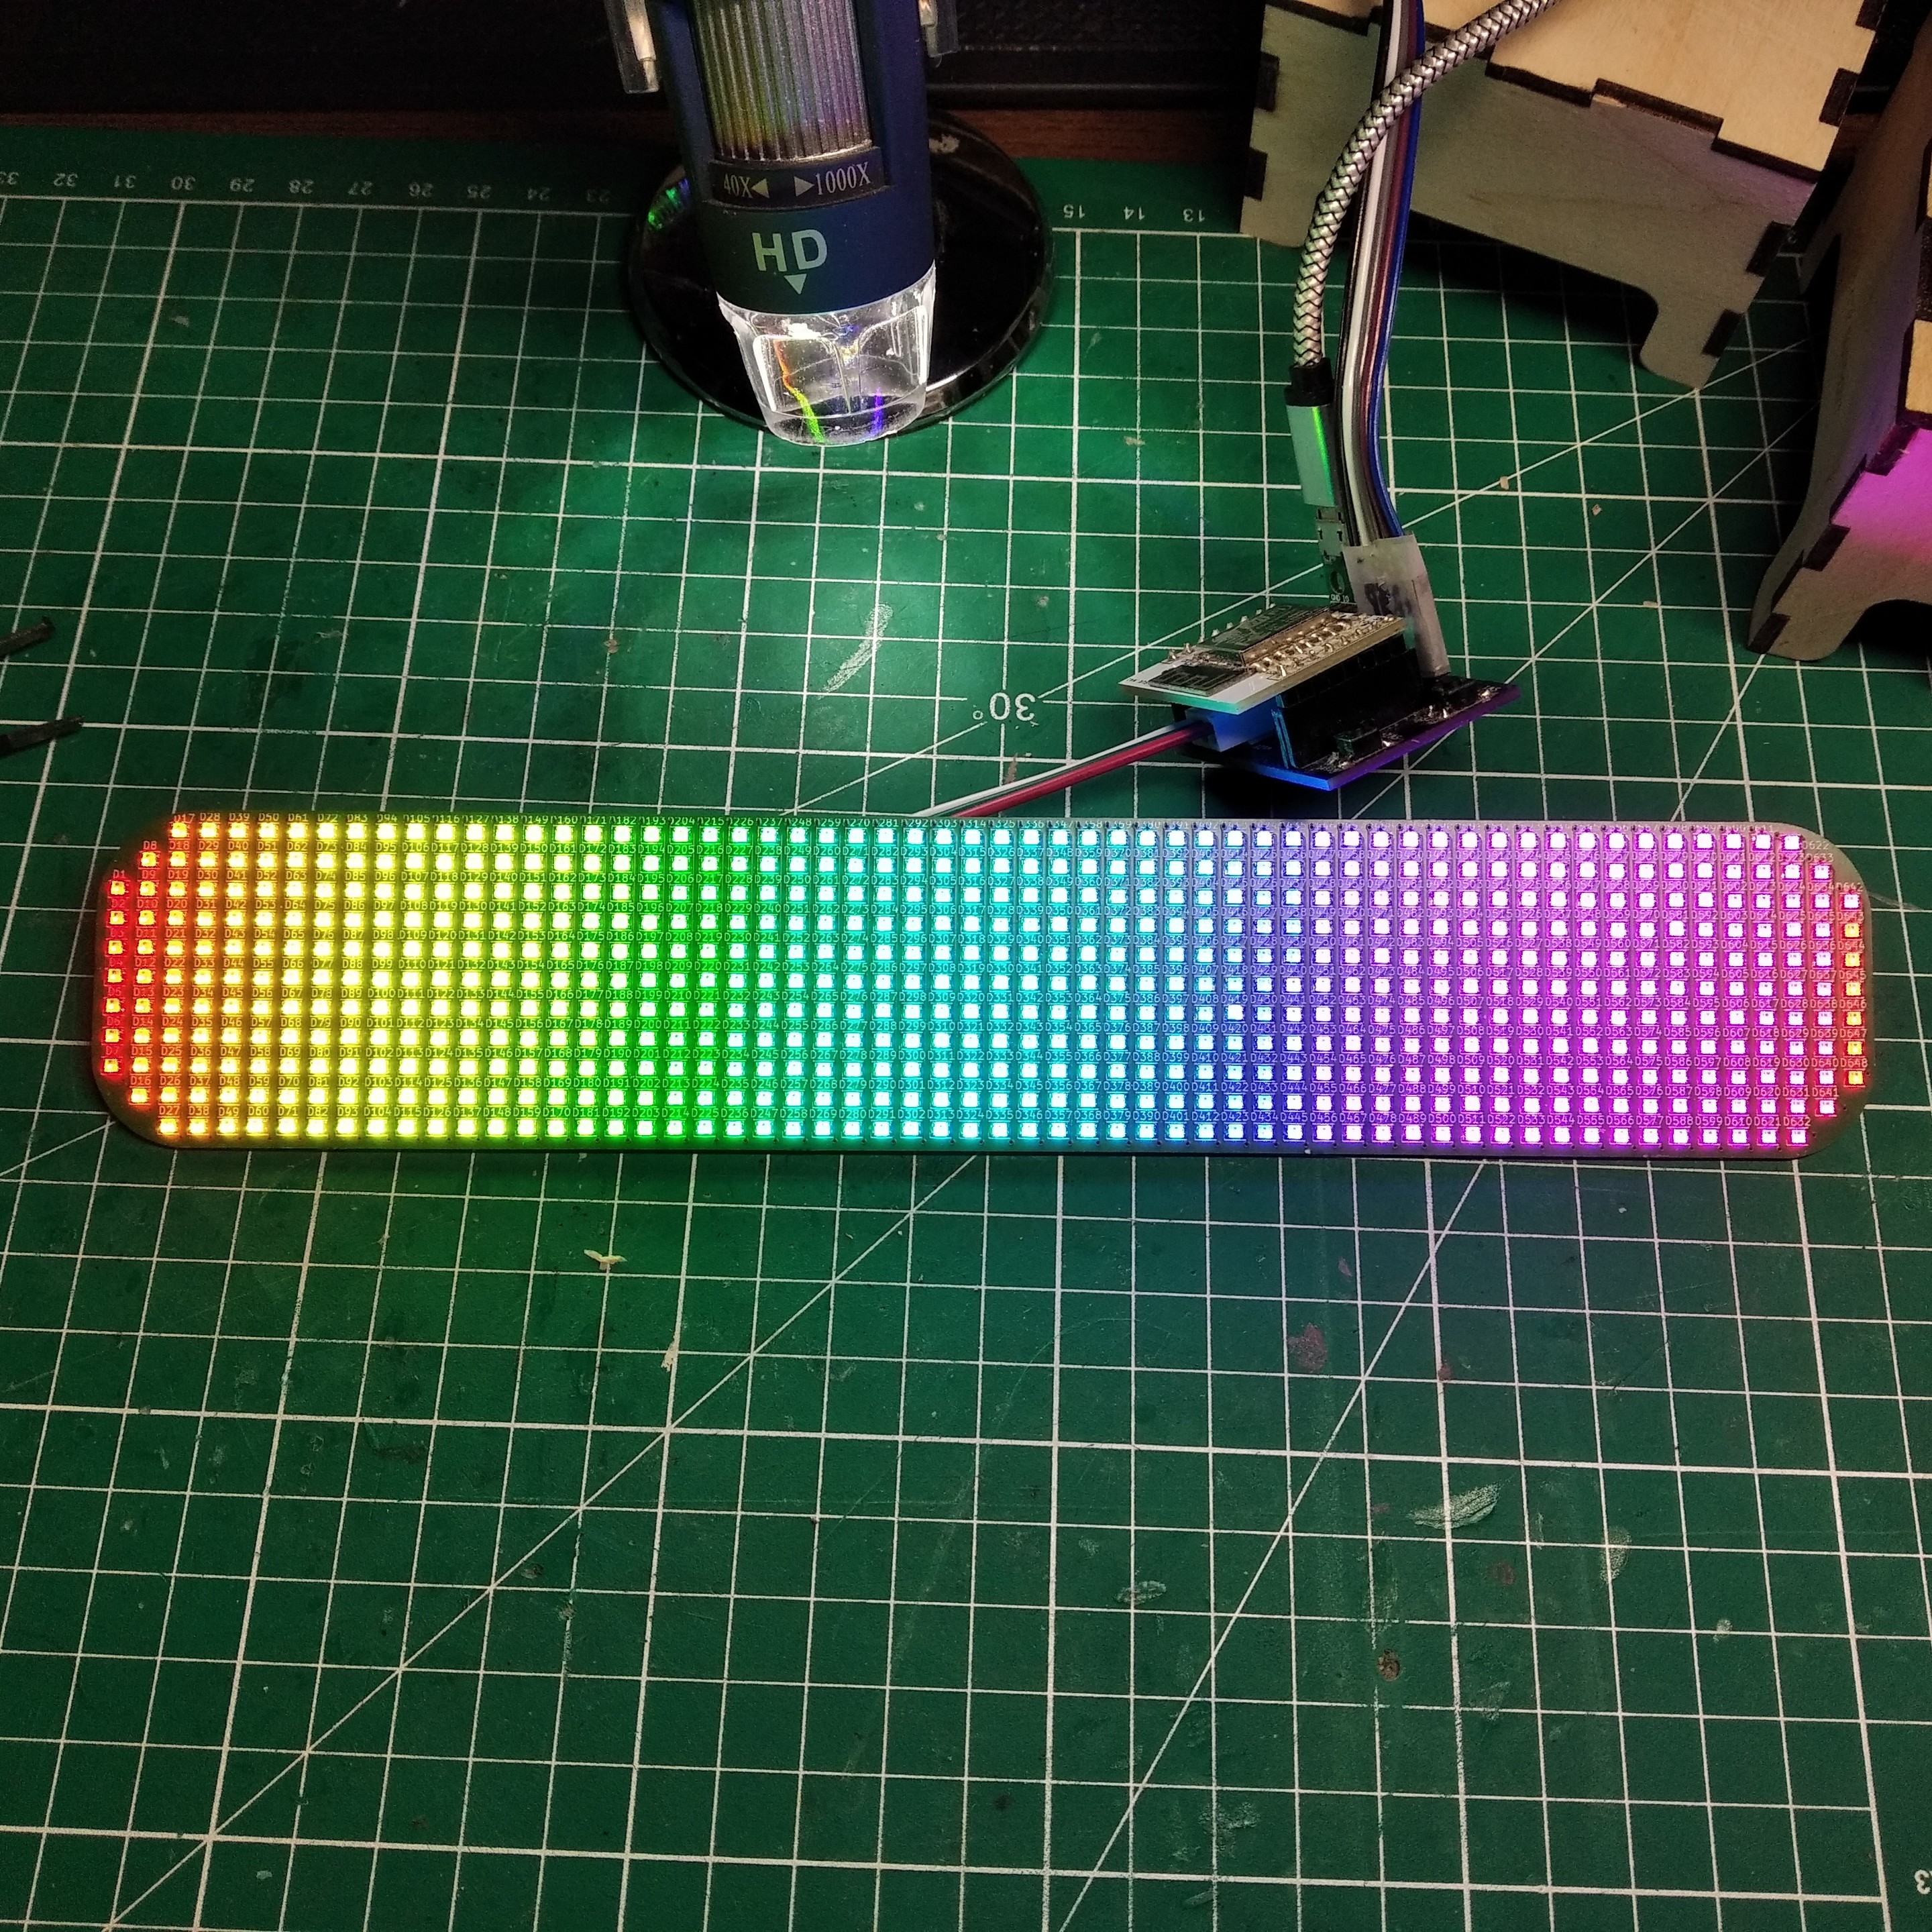
Good thing, matrix has 60 columns so I can make some test.
And I like it :)
Definitely needs a 61 columns to get a symmetry.
#LedMatrix
A short story about a #DIY project crunched out on a weekend
#hackerspace #makerspace #crunch #InteractiveArt #LED #LedMatrix
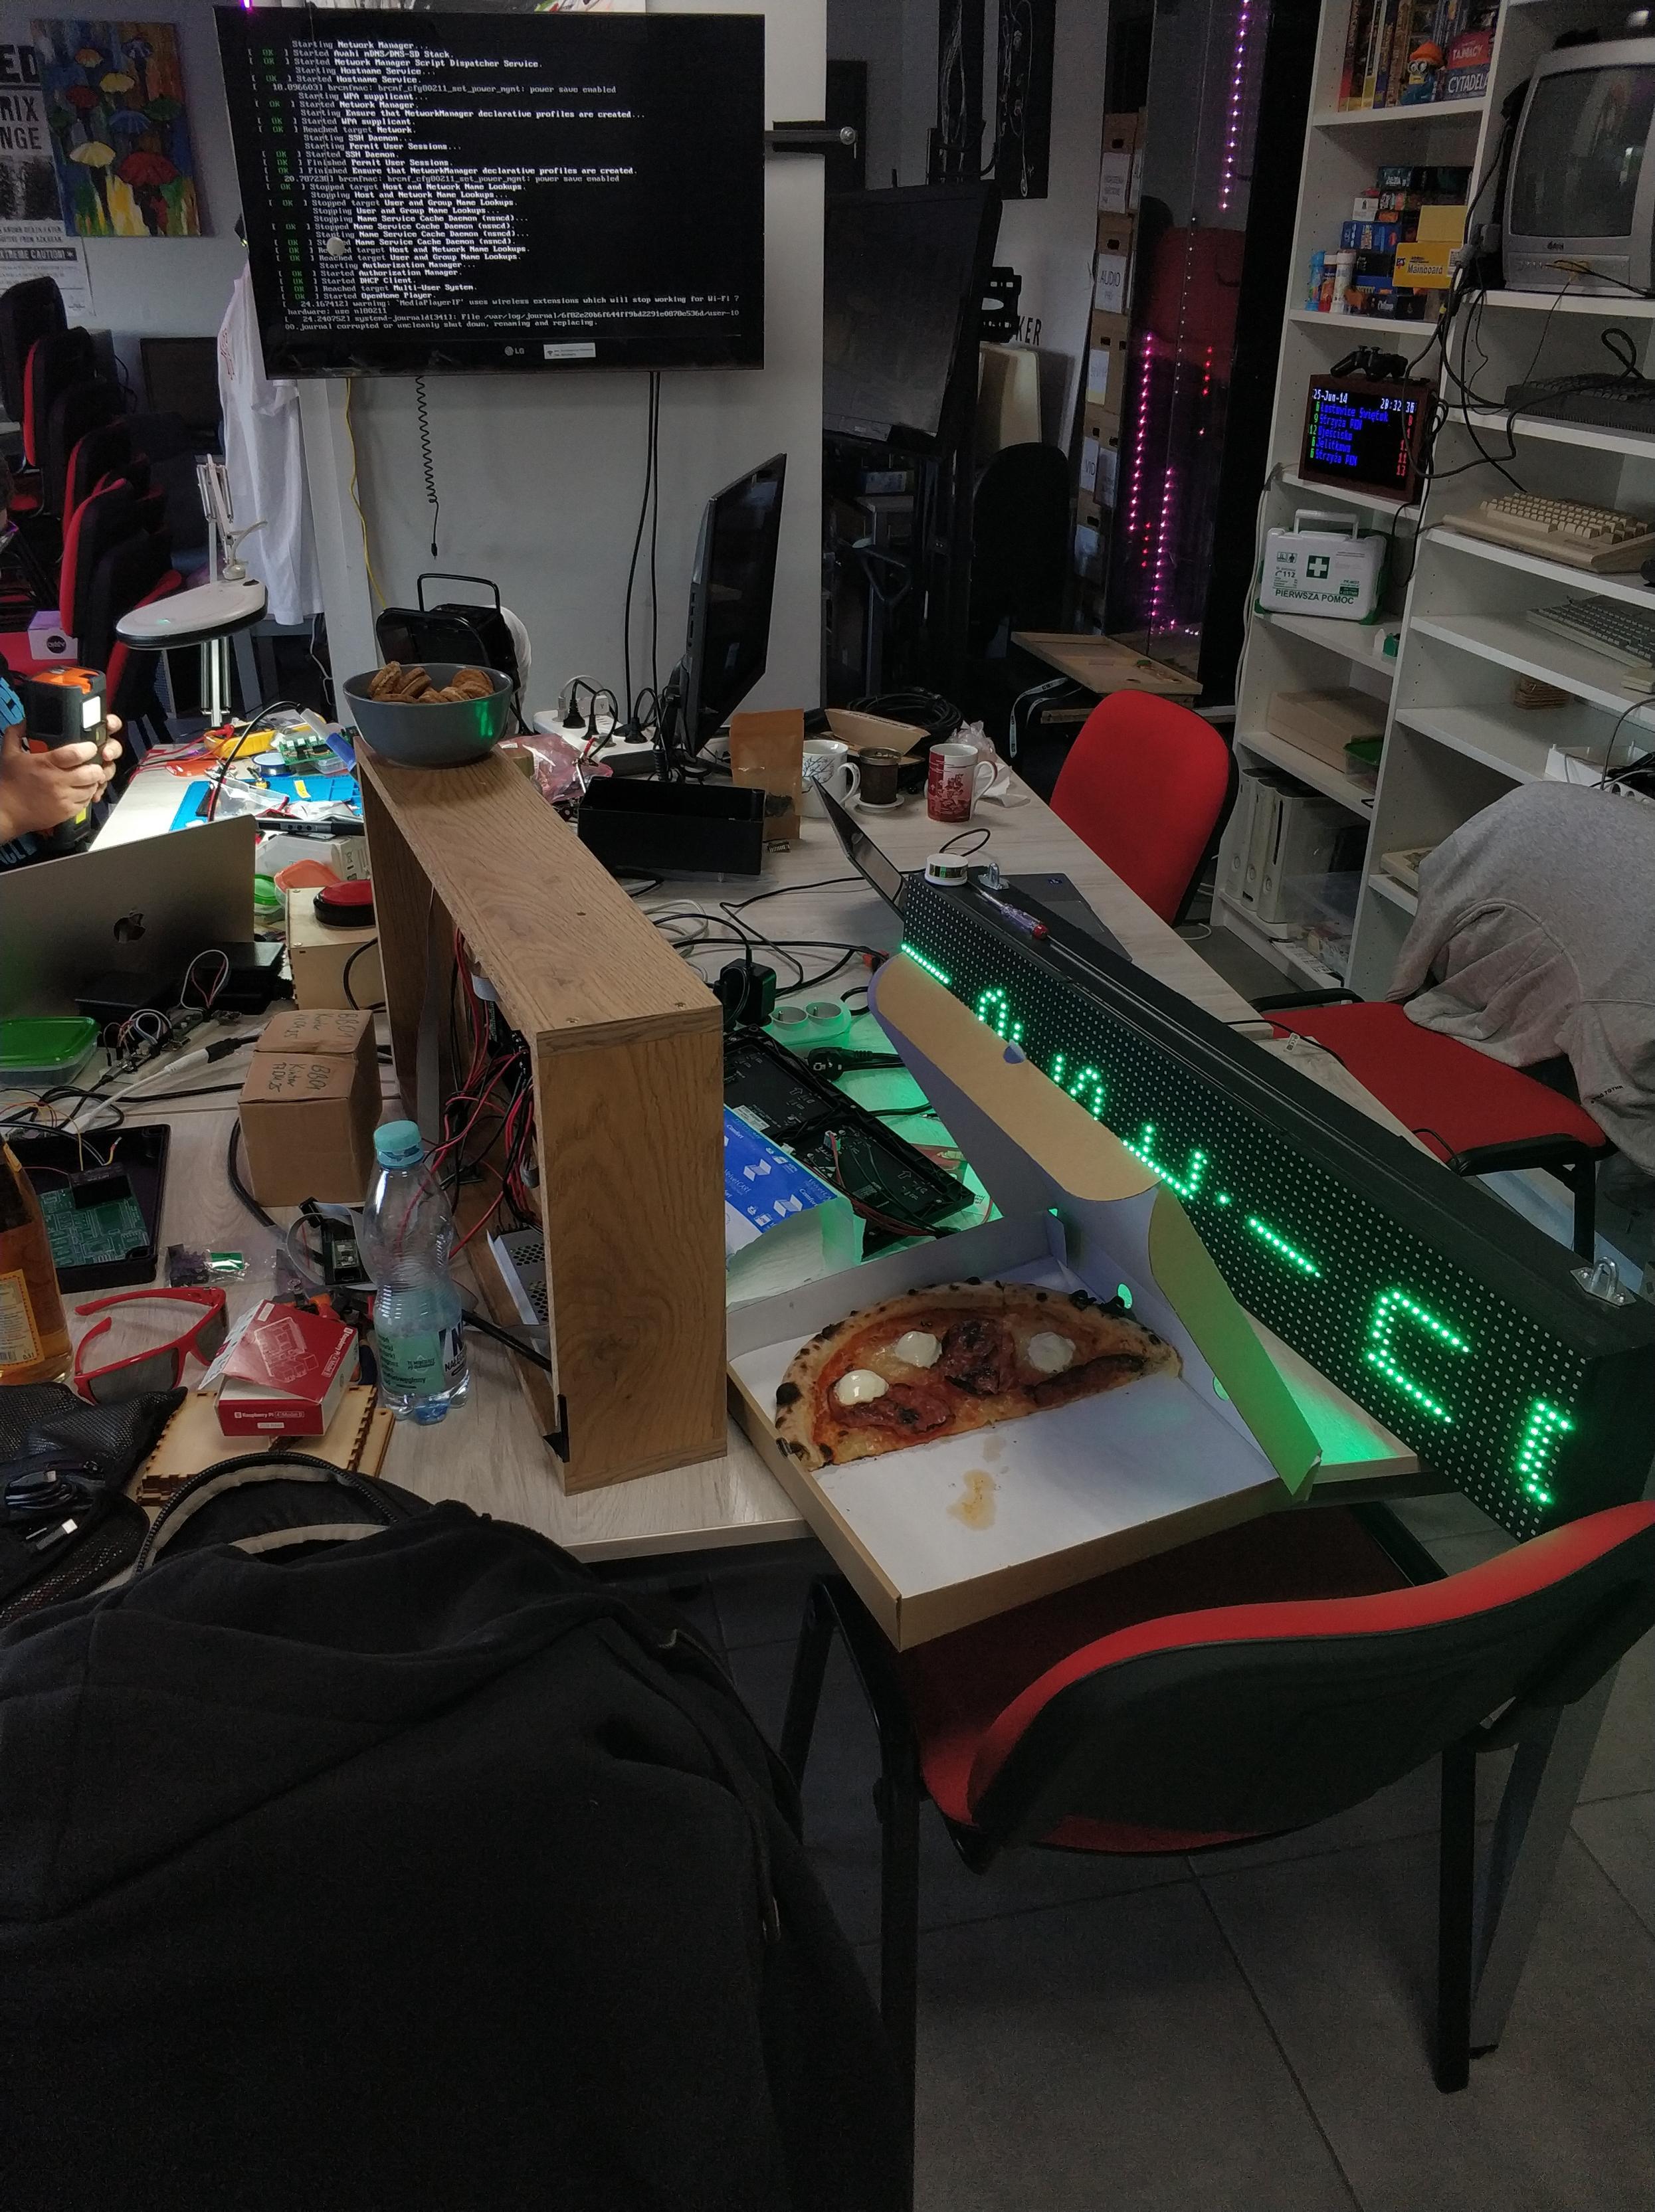
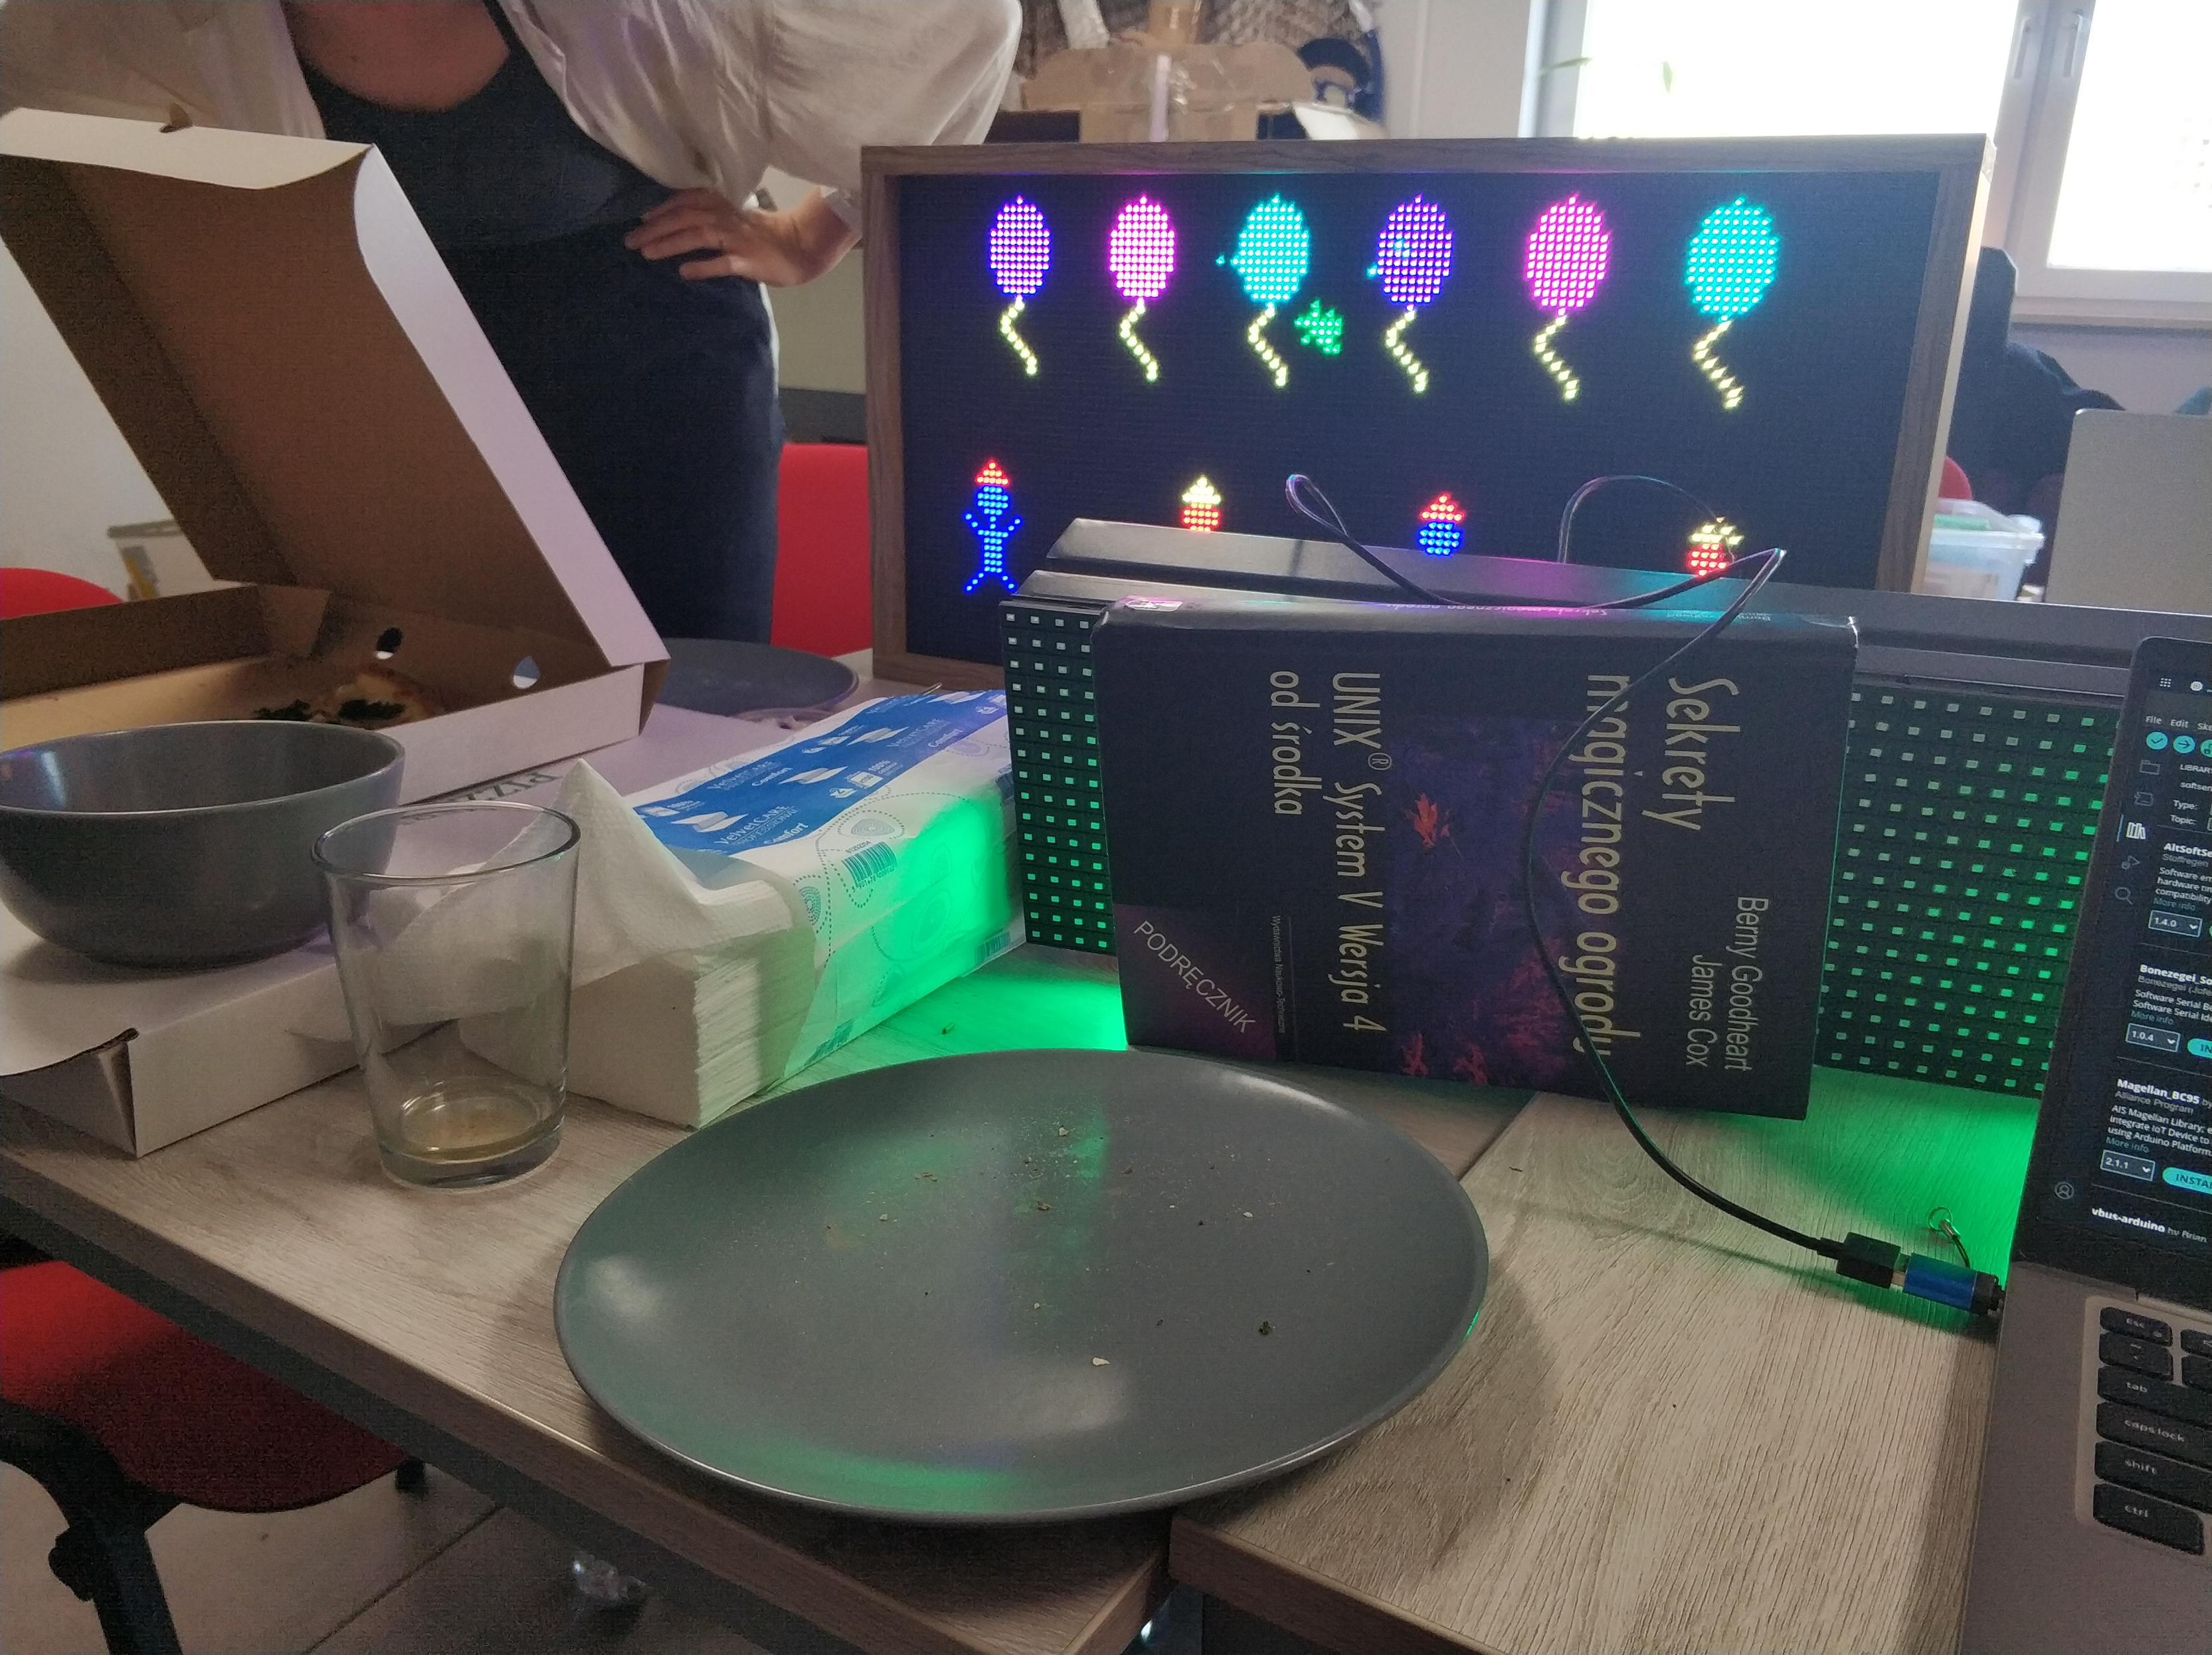
Wow! That small idea worked out way more flashy than expected :awesome: pimped up our artist's workshop a little last night... #theGoodHood #art #led #wled #ledmatrix
🎨🤓 "Look, Ma! No EDA Tools!" proclaimed the brave hero as they reinvented the wheel with a code-fueled LED matrix 🤔💡. Because who needs practicality when you can write an entire novel in code to do what software already does effortlessly? ⚙️📚
https://docs.tscircuit.com/tutorials/building-led-matrix #LEDmatrix #coding #innovation #HackerNews #DIY #HackerNews #ngated
I Designed My LED Matrix PCB with Code Instead of Traditional EDA Tools
https://docs.tscircuit.com/tutorials/building-led-matrix
#HackerNews #LEDMatrix #PCB #EDA #Tools #Design #Coding #Innovation
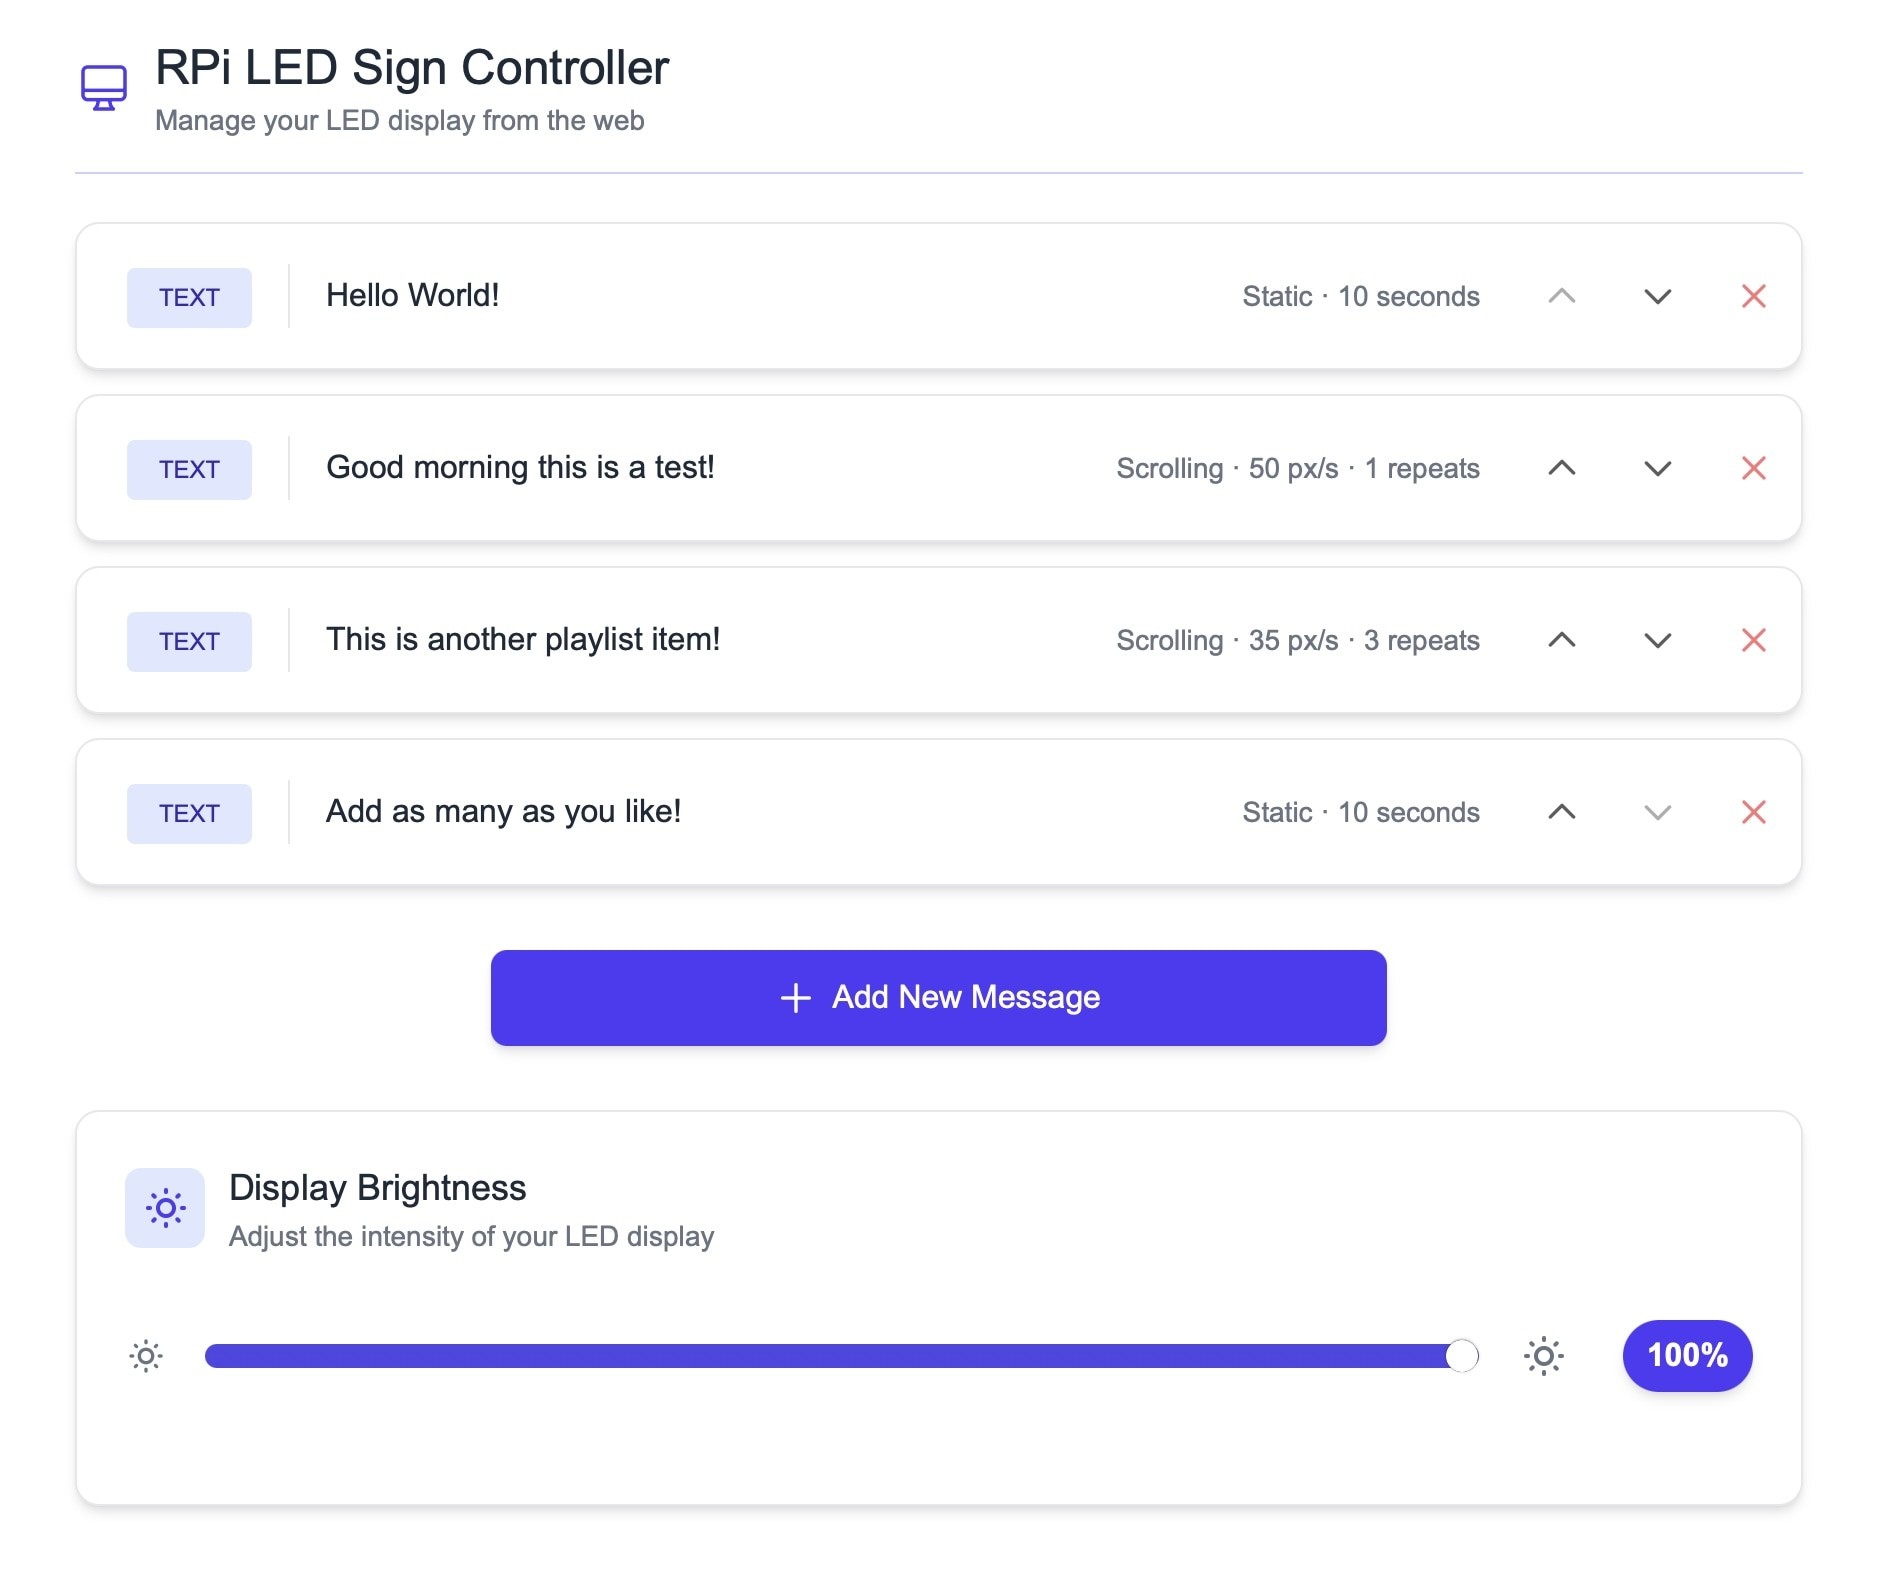
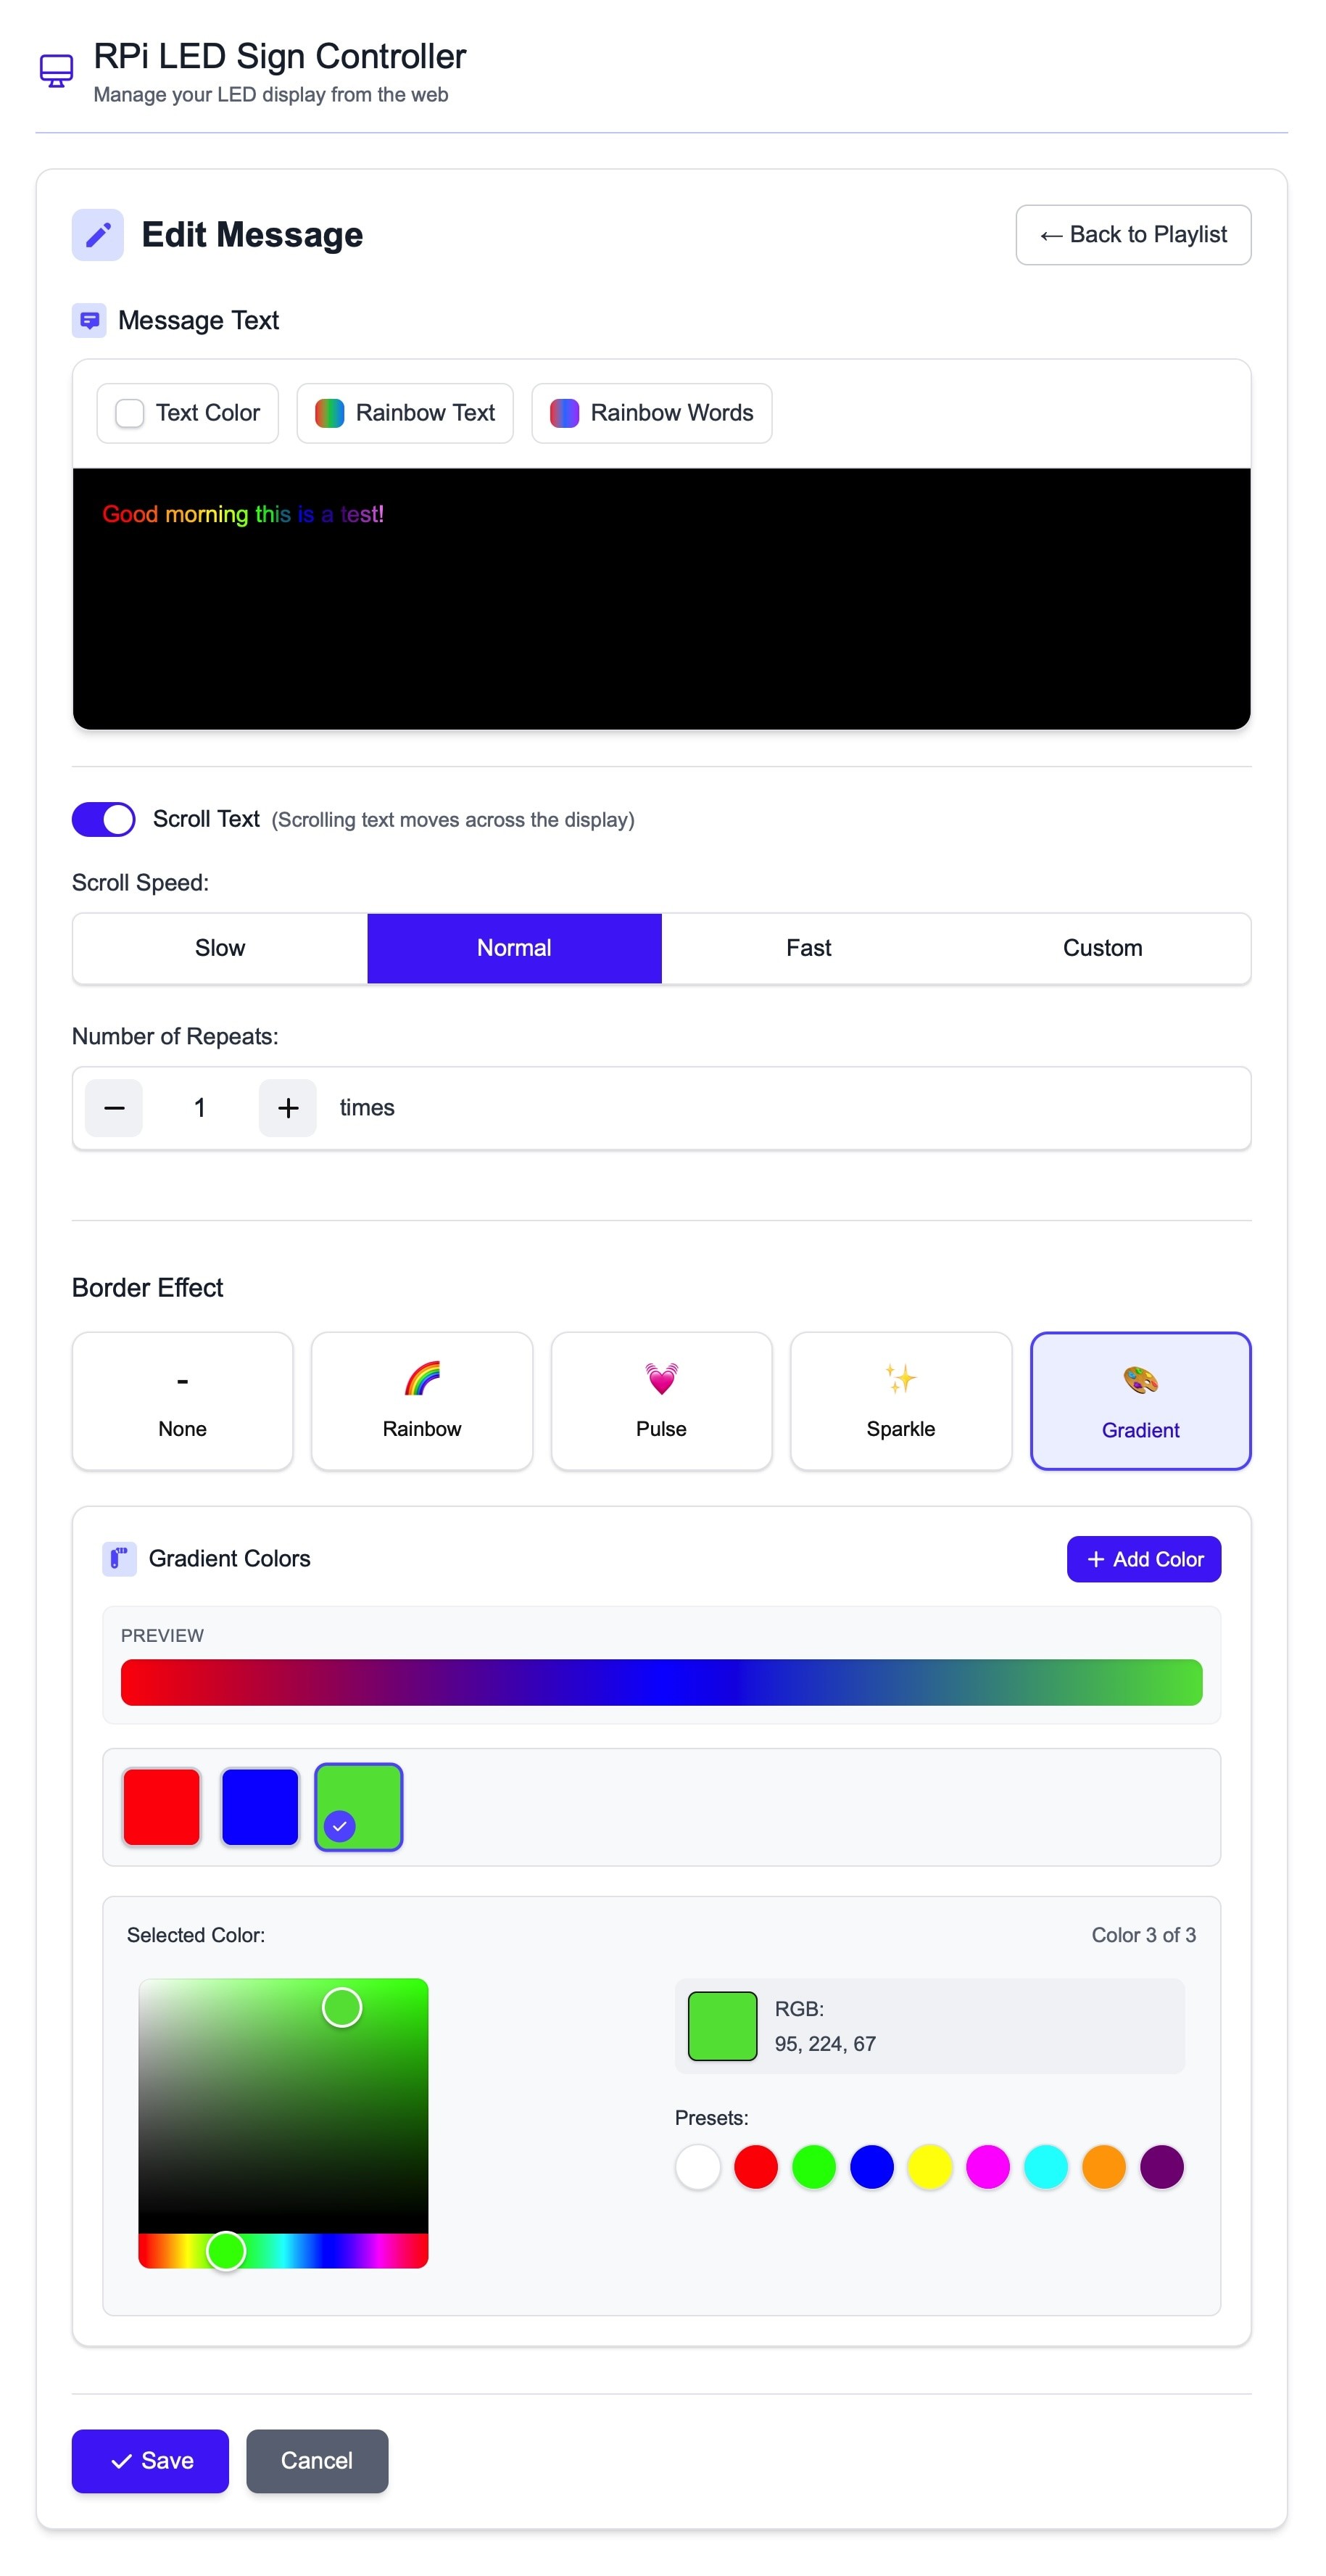
Rebuild the frontend today looks a lot nicer now and is less horrible code wise. https://github.com/paviro/RPi-LED-Sign-Controller #ledmatrix #led #lights #rust #nextjs #node
https://whisper.tf/@paul/114195460553220826
What started off as trash in the street, then became disused trash in a friend's garden after they ran out of space for it, has become a shiny new 2D LED Matrix wall in Birkenhack after a good cleanup in the sink. There are five ingredients to this LED Matrix wall:
1. Plastic Bottles
2. Standard British Milk Crates
3. Tinfoil
4. LEDs
5. Esp32 running #WLED software
#weeknotes #ledmatrix #upcycling #hackspace #birkenhack #birkenheadisthenewberlin

Cheap Fiber Optic Wand Toy Becomes Tiny Weird Display
![<div><img alt="" class="attachment-large size-large wp-post-image" height="450" src="https://hackaday.com/wp-content/uploads/2025/02/The-Fibrovisor-4-46-screenshot.png?w=800" style="margin: 0 auto; margin-bottom: 15px;" width="800" /></div><p>If you’ve ever seen those cheap LED fiber optic wands at the dollar store, you’ve probably just thought of them as a simple novelty. However, as [Ancient] shows us, <a href="https://www.youtube.com/watch?v=zz59e1wWyVc" target="_blank">you can turn them into a surprisingly nifty little display</a> if you’re so inclined.</p>
<p>The build starts by removing the fiber optic bundle from the wand. One end is left as a round bundle. At the other end, the strands are then fed into plastic frames to separate them out individually. After plenty of tedious sorting, the fibers are glued in place in a larger rectangular 3D-printed frame, which holds the fibers in place over a matrix of LEDs. The individual LEDs of the matrix light individual fibers, which carry the light to the round end of the bundle. The result is a tiny little round display driven by a much larger one at the other end.</p>
<p>[Ancient] had hoped to use the set up for a volumetric display build, but found it too fragile to be fit for purpose. Still, it’s interesting to look at nonetheless, and a good demonstration of how fiber optics work in practice. As this display shows, you can have two glass fibers carrying completely different wavelengths of light righ](https://files.mastodon.social/cache/media_attachments/files/114/086/203/182/719/169/original/a5b420d7b702663d.png)
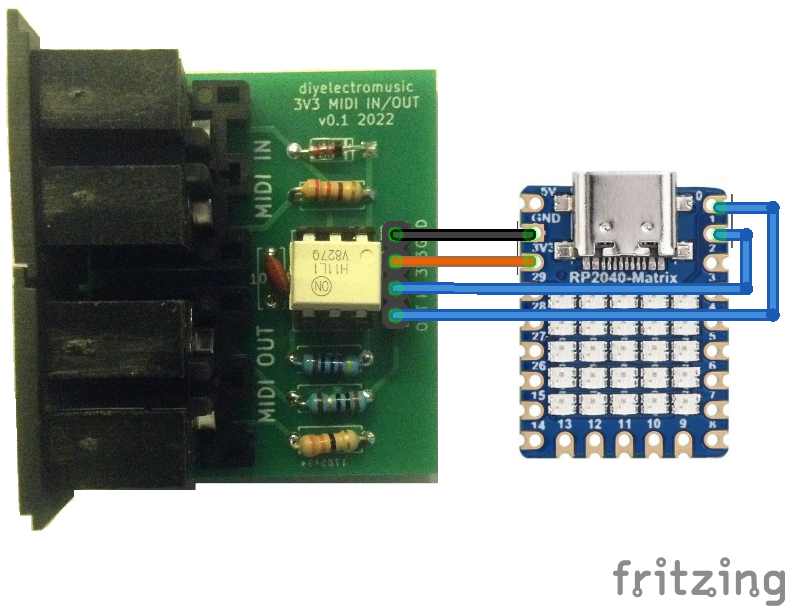
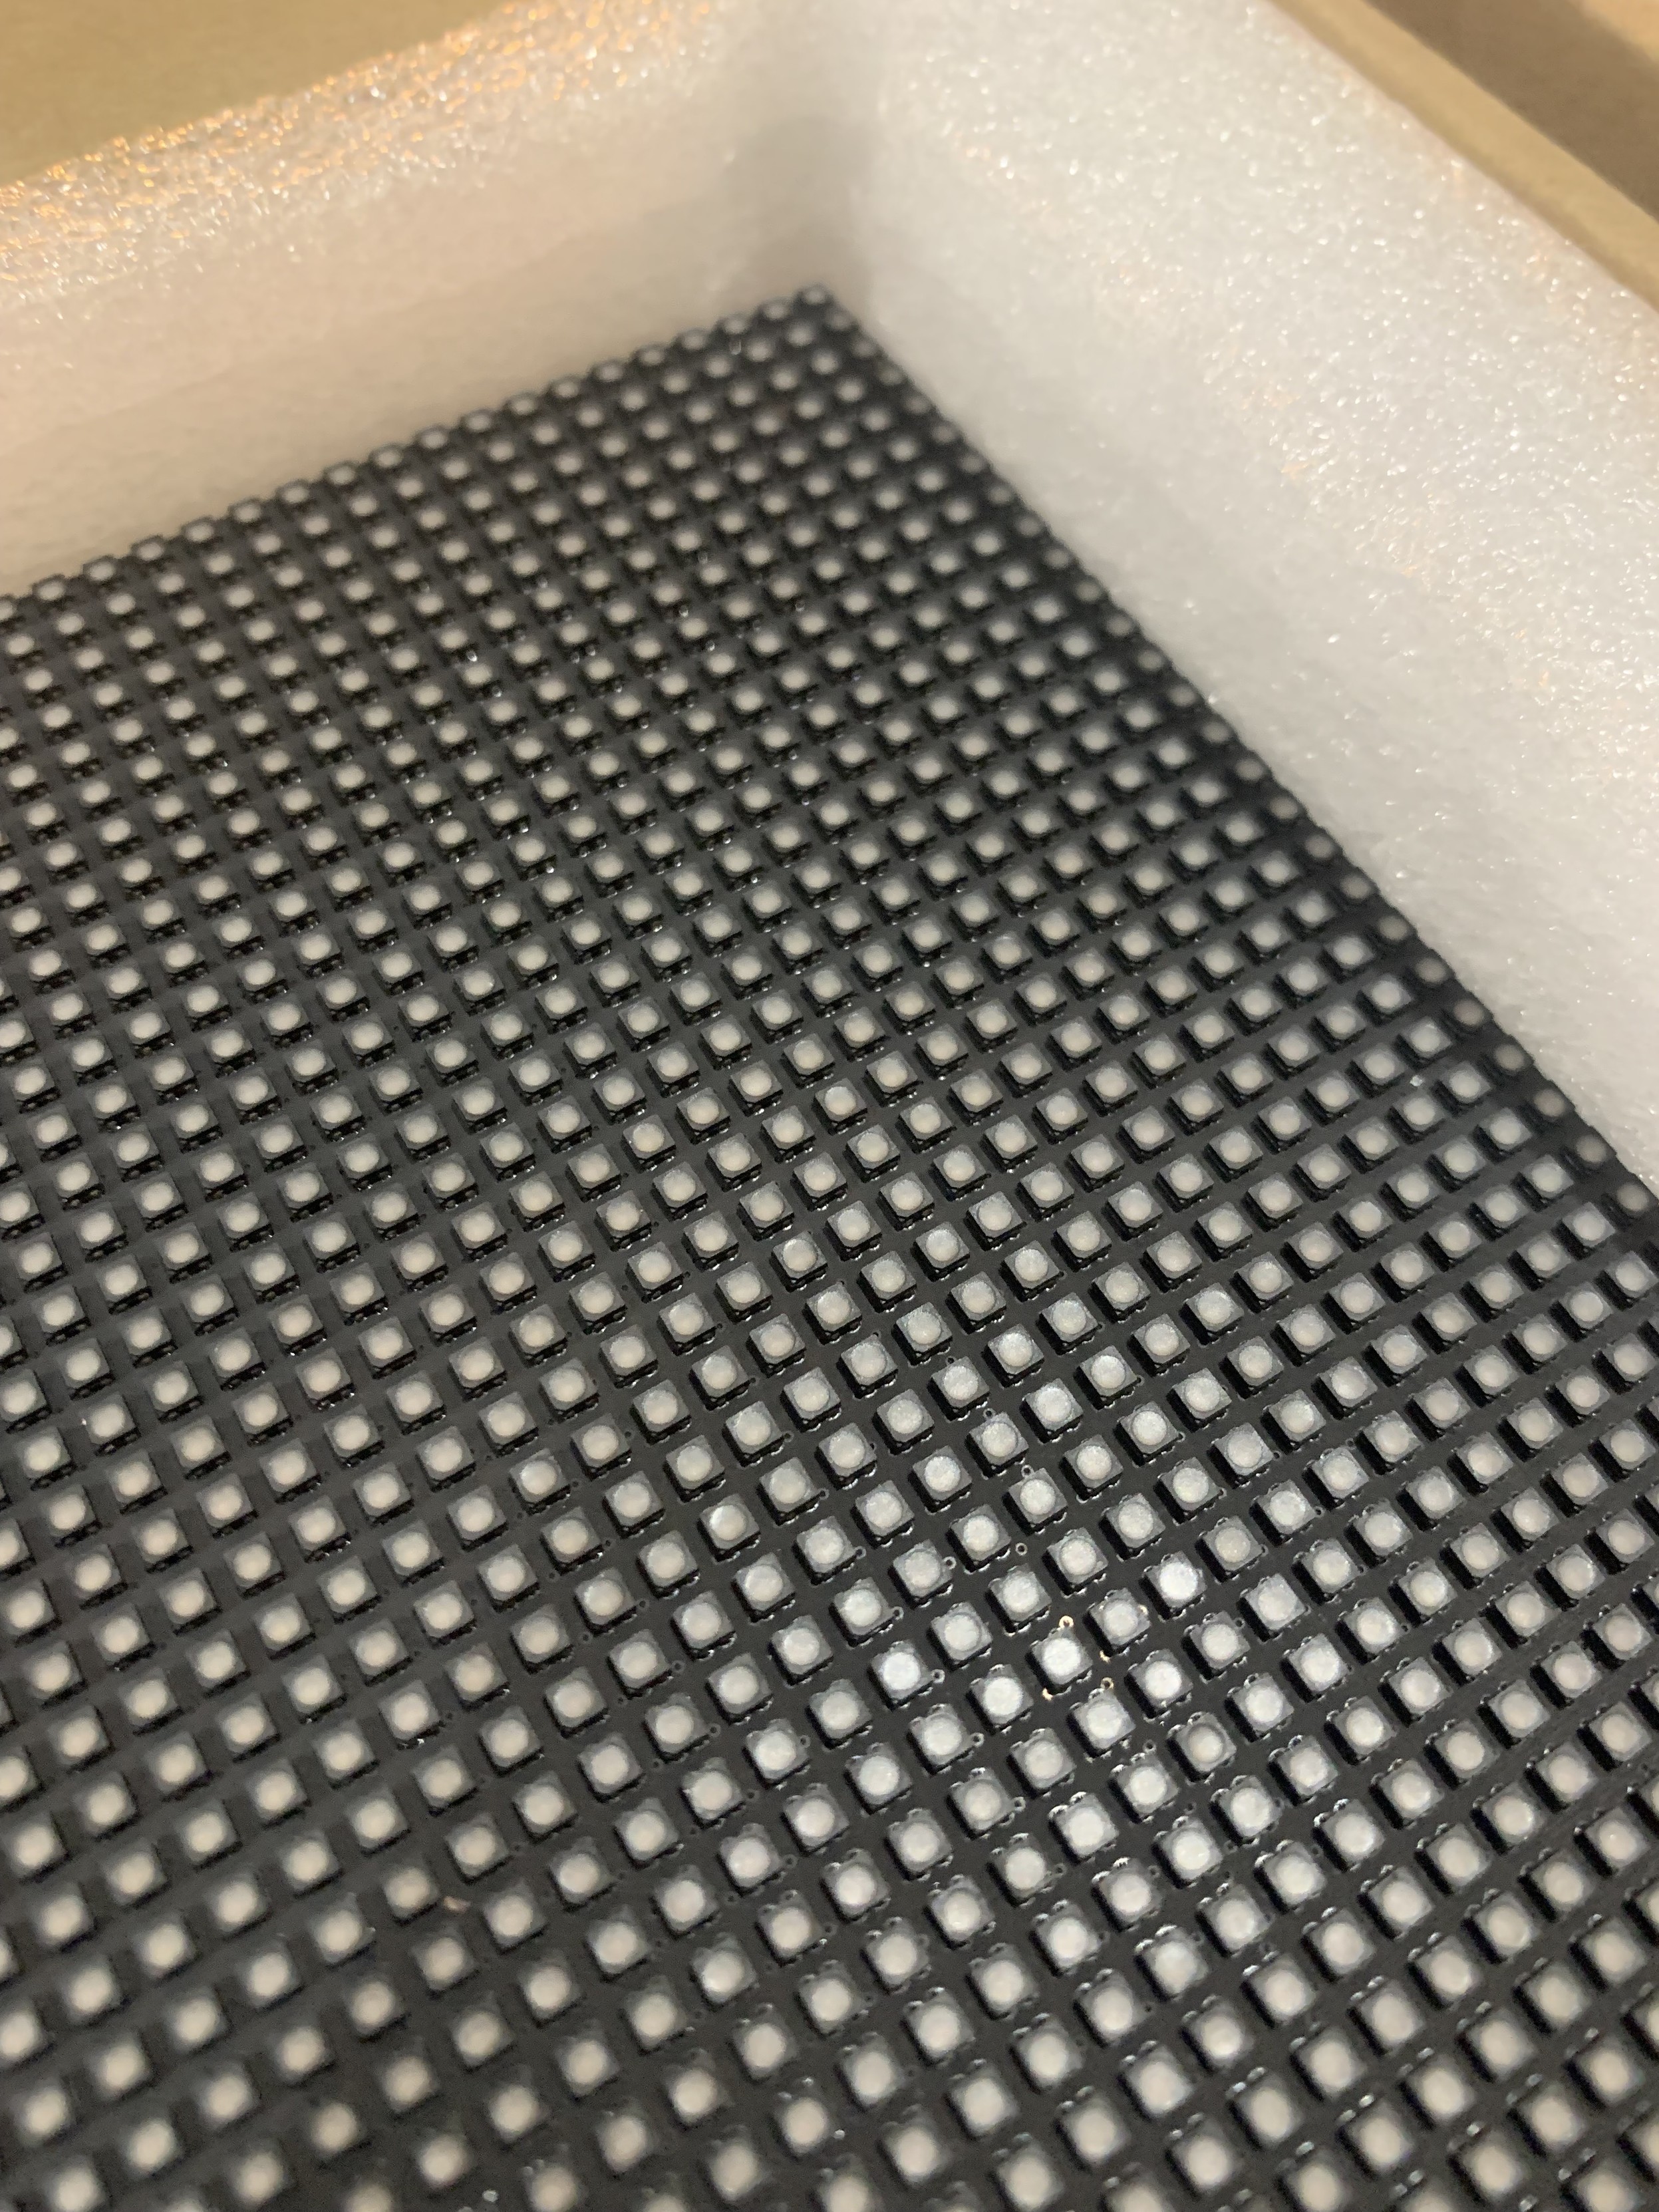
Waveshare RP2040 Matrix MIDI Monitor
Following on from my ESP32C3 OLED Mini MIDI Montor and Waveshare Zero, Pimoroni Tiny, and Neopixels this project uses a Waveshare RP2040 mini Matrix display. This is largely the same pinout as the other Waveshare boards, but includes a 5×5 programmable LED (i.e. neopixel-like) matrix.
https://makertube.net/w/cdxAJJvsqsPKrzVg6xWodD
Warning! I strongly recommend using old or second hand equipment for your experiments. I am not responsible for any damage to expensive instruments!
If you are new to microconrtollers, see the Getting Started pages.
Parts list
- Waveshare RP2040 Matrix
- Optional: MIDI interface
- Optional: Breadboard and jumper wires
The Circuit
If used with USB MIDI, then all that is required is to plug the RP2040 Matrix into a computer and it will be able to come up as a USB MIDI device called “CircuitPython Audio”.
If serial MIDI is required, then a Ready-Made MIDI Module supporting 3V3 operation is needed and can be connected to TX/RX on GPIO 0 and GPIO 1 as well as 3V3 and GND.
The Code
I’m using Circuitpython for this one. It uses the same version of Circuitpython as the Waveshare RP2040 Zero – details here. It requires the following libraries to be installed:
- /lib/adafruit_midi/*
- /lib/neopixel
- /lib/adafruit_pixelbuf
The string of Neopixels is hooked up to GPIO16, so can be initialised as follows:
pixel_pin = board.GP16
num_pixels = 25

pixels = neopixel.NeoPixel(pixel_pin, num_pixels, brightness=0.1, auto_write=False, pixel_order=neopixel.RGB)
I’m using the Adafruit MIDI library to pull out NoteOn and NoteOff events and using those to set certain LEDs.
The code can run off USB MIDI or serial MIDI:
# Serial MIDI
uart = busio.UART(tx=board.TX, rx=board.RX, baudrate=31250, timeout=0.001)
midi = adafruit_midi.MIDI(midi_in=uart)

--------

# USB MIDI
midi = adafruit_midi.MIDI(midi_in=usb_midi.ports[0])
As there are only 25 LEDs I set a range of MIDI notes to respond to at the start.
MIN_NOTE=48       # MIDI Note C3
MAX_NOTE=(48+25-1)  # MIDI Note C#5
The main loop just cycles around checking for MIDI events and updating the LEDs.
while True:
    msg = midi.receive()
    if (msg is not None):
        if (isinstance(msg, NoteOn)):
            if (msg.note >= MIN_NOTE and msg.note <= MAX_NOTE):
                pixels[midi2pix(msg.note)] = GREEN;

        if (isinstance(msg, NoteOff)):
            if (msg.note >= MIN_NOTE and msg.note <= MAX_NOTE):
                pixels[midi2pix(msg.note)] = OFF;

    pixels.show()
The Neopixel strip is scanned and MIDI is checked every time through the loop, but the display only changes if a NoteOn or NoteOff is received.
In terms of mapping notes to the LEDs, I’m keeping it simple and just using the LEDS in the string order they are already arranged.
This does however mean one compromise – I either go top-left to bottom-right; or bottom-right to top-left. That is because of the ordering of the matrix. There is more here: https://thepihut.com/blogs/raspberry-pi-tutorials/coding-the-waveshare-rp2040-matrix
Ideally, I’d go bottom-left to top-right, but that would mean some fancier mapping of position to note that I’m not bothered about doing at this stage.
Closing Thoughts
At some point I’ll be able to resist a neat, small display, but today is not that day. And it is doubly hard when it is a small LED matrix.
This is a fun little board and I’m chewing over a few other ideas now I’ve got the basics out of the way.
Kevin

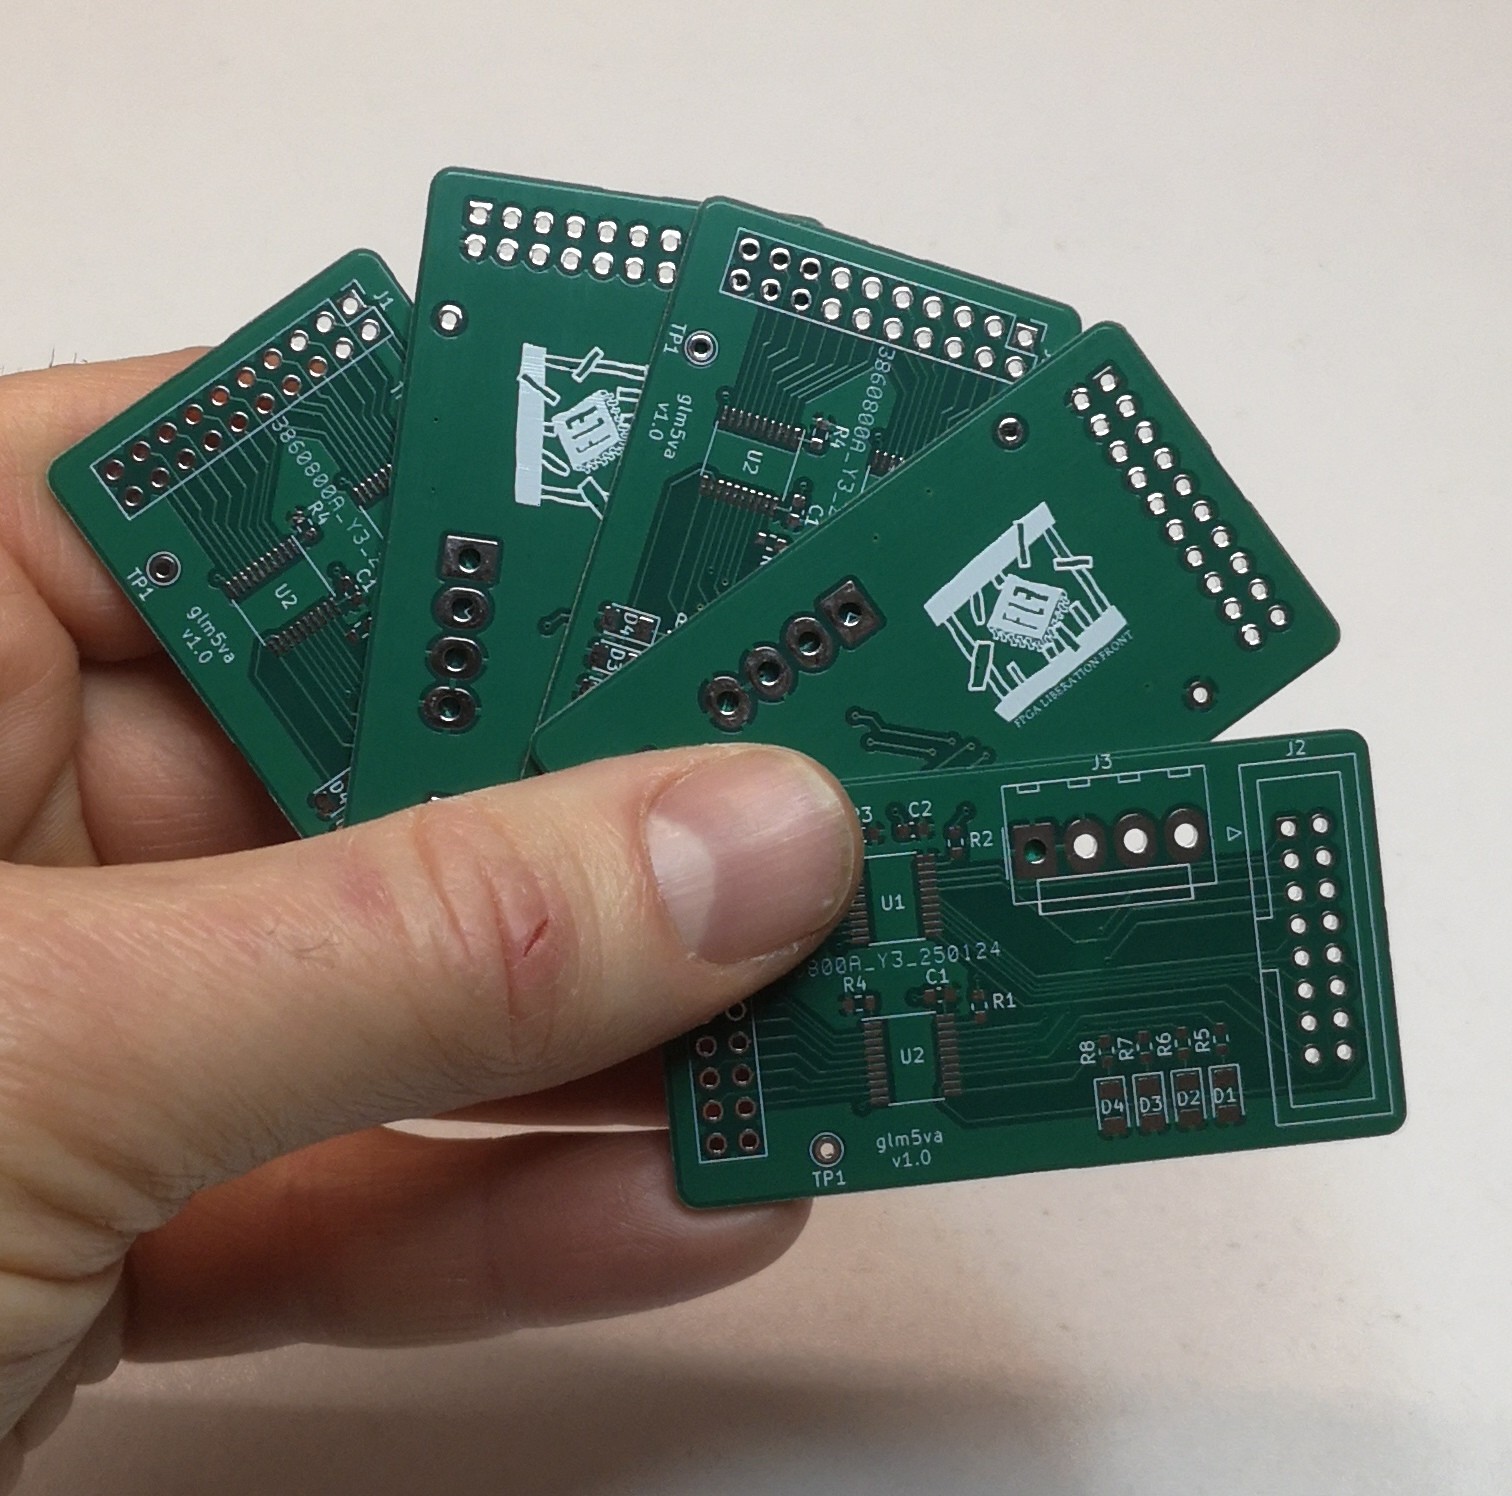
Famille :)
https://github.com/Martoni/Martoni_Pcb_collection/tree/main/glm5va
#pcb #jlcpcb #kicad #flf #fpga #gatemate #colognechip #olimex #led #ledmatrix #glm5va
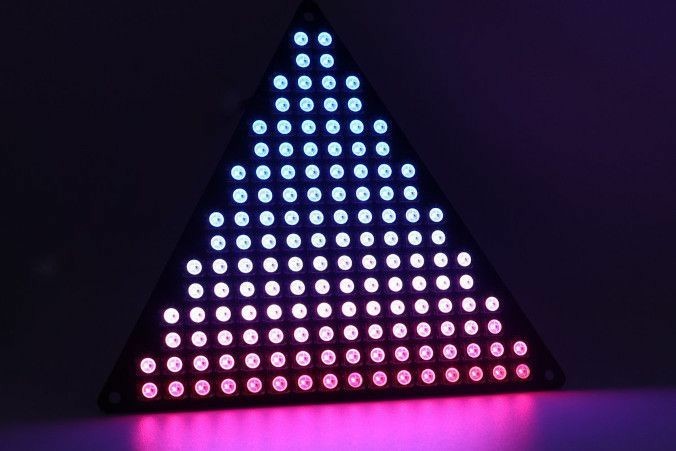
Why Not Triangles? #TindieBlog #LEDMatrix #Triangles #RGBW #WS2812BW
https://blog.tindie.com/2025/01/why-not-triangles/
So we have about a million of these LEDs at @xHain_hackspace and I'm thinking of using an HT16K33 board I still have flying around to control a 16x8 LED matrix.
Wondering how I should arrange them, vertically or horizontally - anyone any opinions? I want to make some digits for a clock or text ticker.
#ledmatrix #pcbdesign
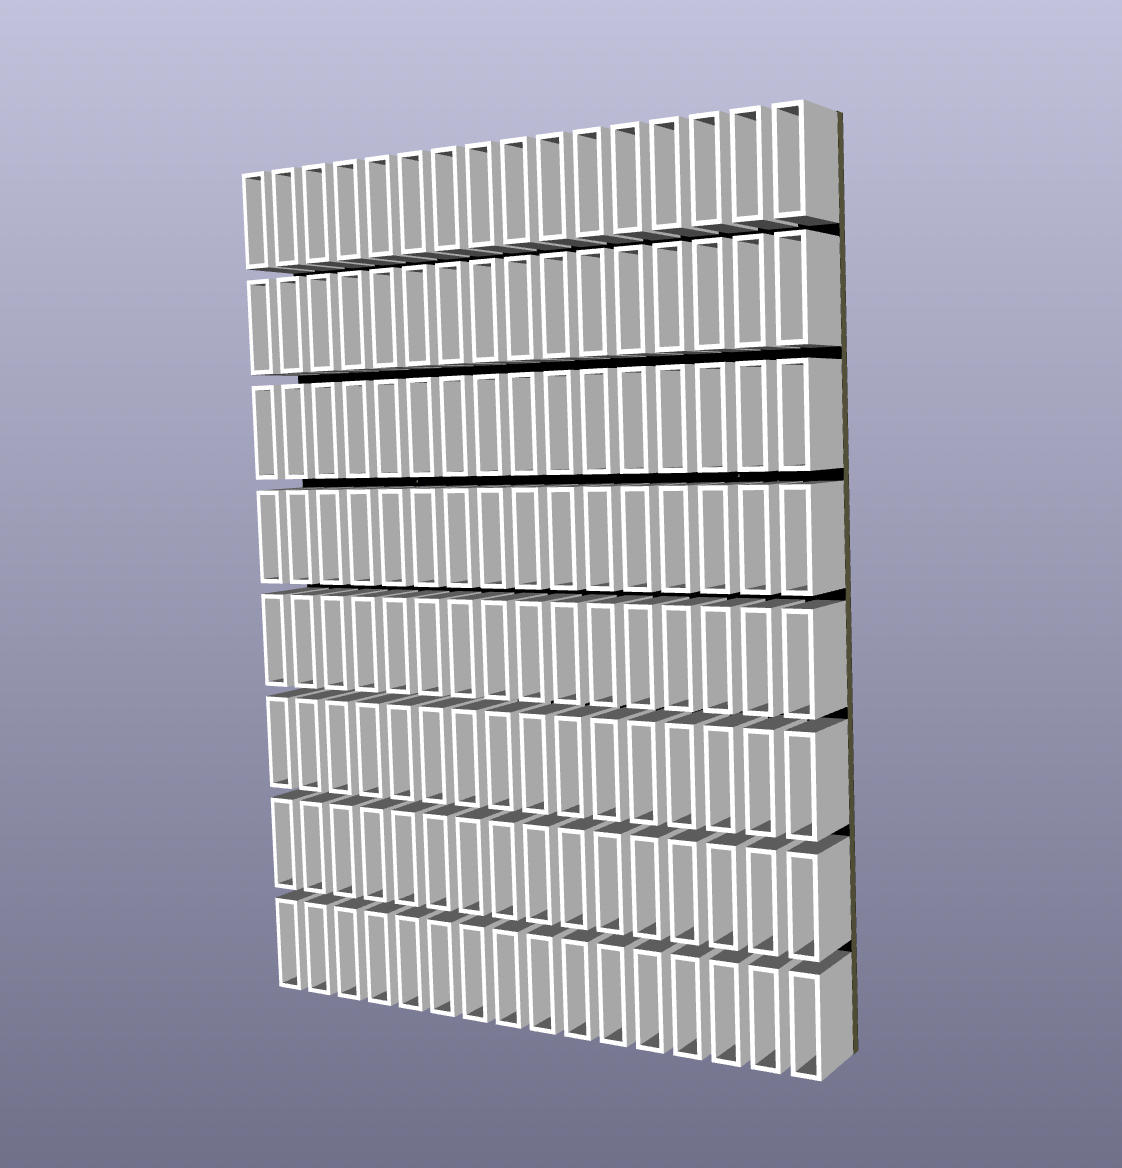
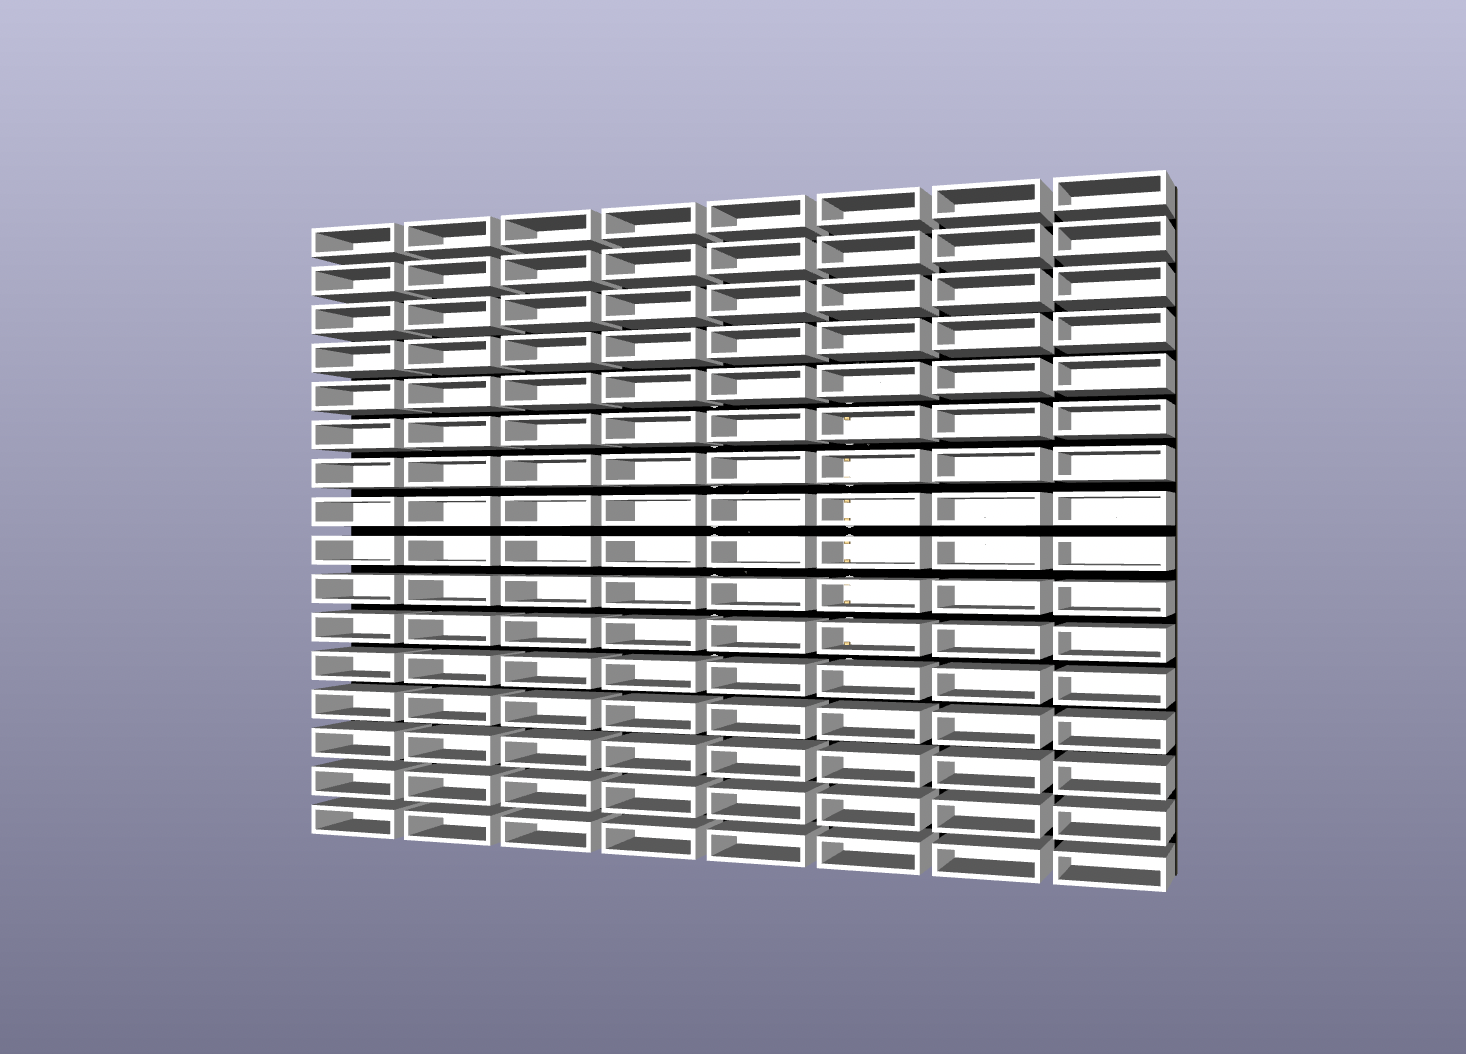
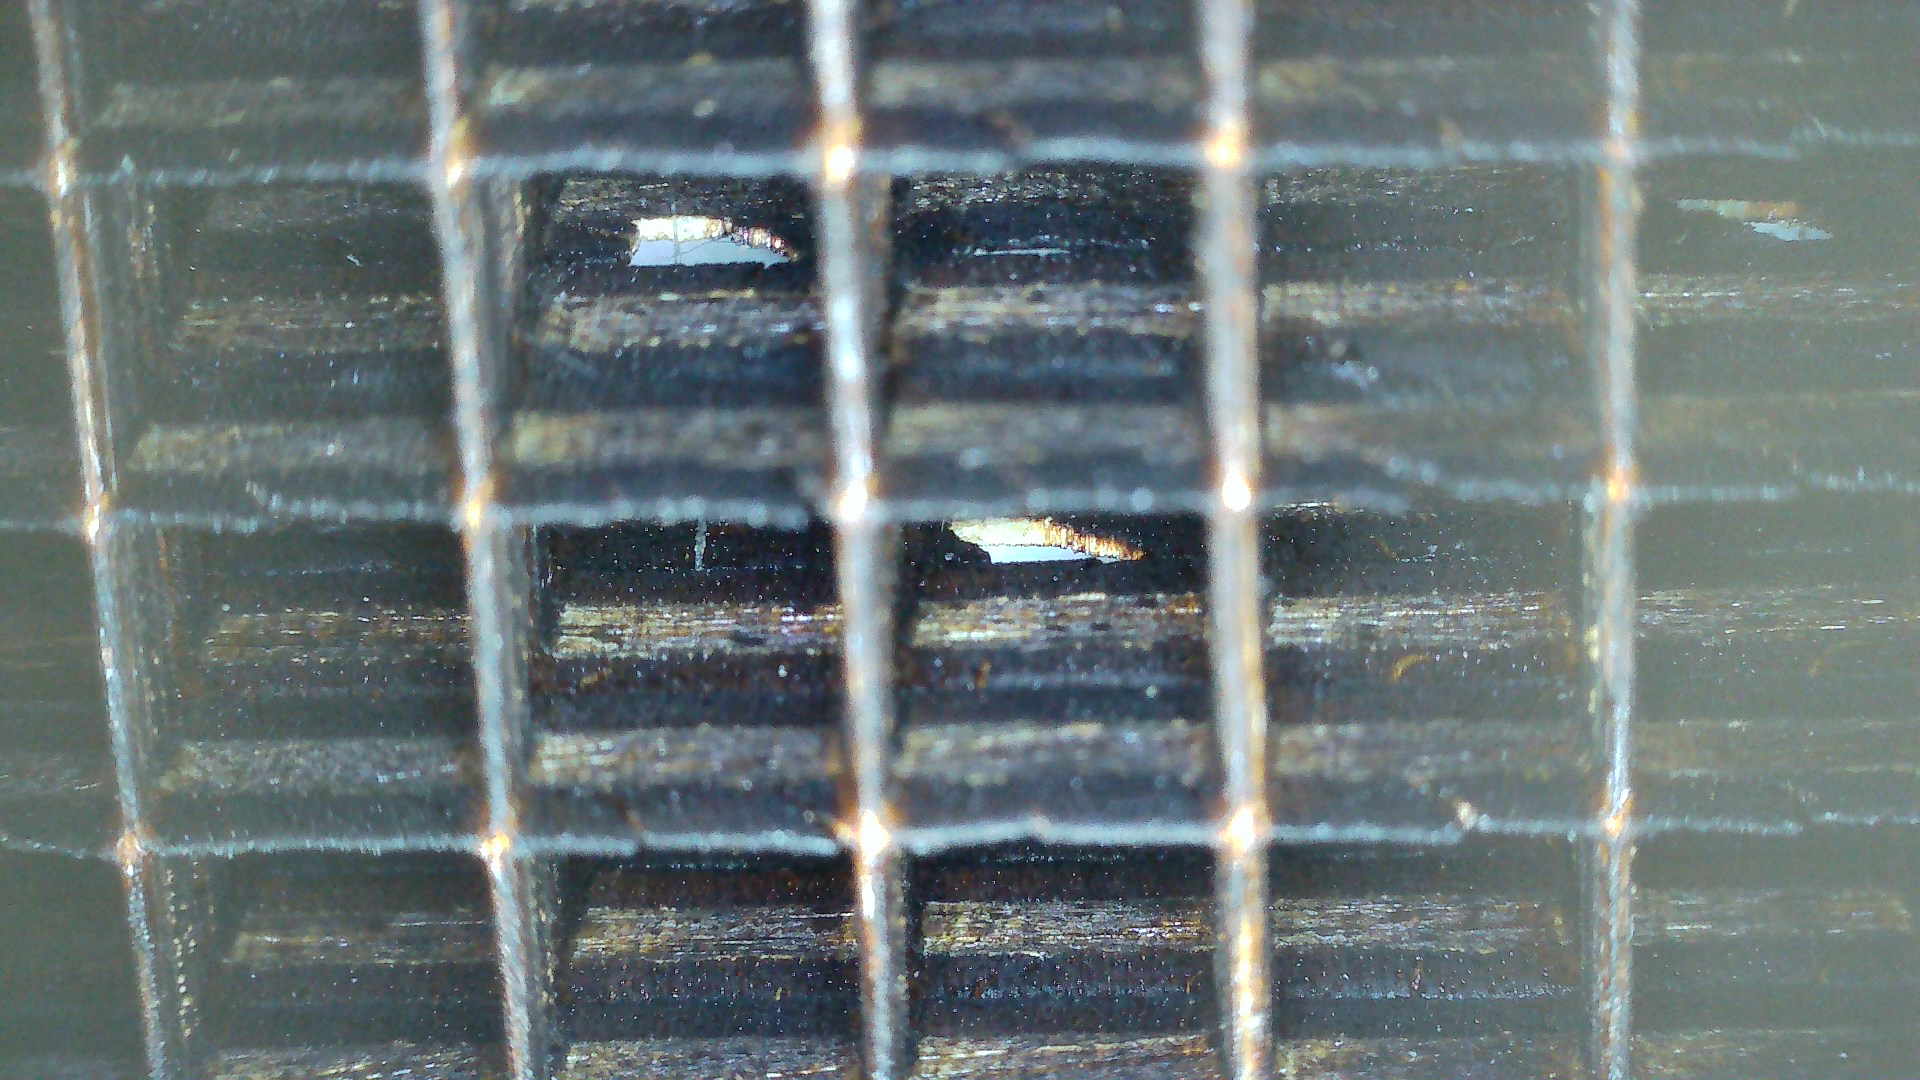
I cut another grid on a better plywood and no more visible leaks \o/
There is still one, but in a place I'm not really using, so that's ok (for now).
I'll have to find a better way to make those kind of grid. Maybe 3d printing?
Sadly, the plywood of the grid is falling apart causing some cells to 'leak'.
Maybe I've been to optimistic in how thin I could go with the grid :)
Or went too strong with the laser.
Also, it's not a very good plywood. I think I have some of better quality left.
I guess I'll have some test to do.

A case, and a piece of paper as a diffuser and looks so much better :)
I love it!
I still have some finishing touch, some features to code and a lot of cleaning :)
I designed the case, but it's too late to start the laser cutter. It'll wait tomorrow.
Instead, I quickly adapted the code I wrote for the prototype :)
So I added a connector, plugged it to a controller and nothing happened.
I had a moment of doubt, maybe the whole thing was faulty.
Then I look closely at the first led of the chain, and one of the pin wasn't correctly soldered.
I fixed it, plugged it again, and boom ! \o/
Only an hour to finish the placing of the leds.
I'm getting better :)
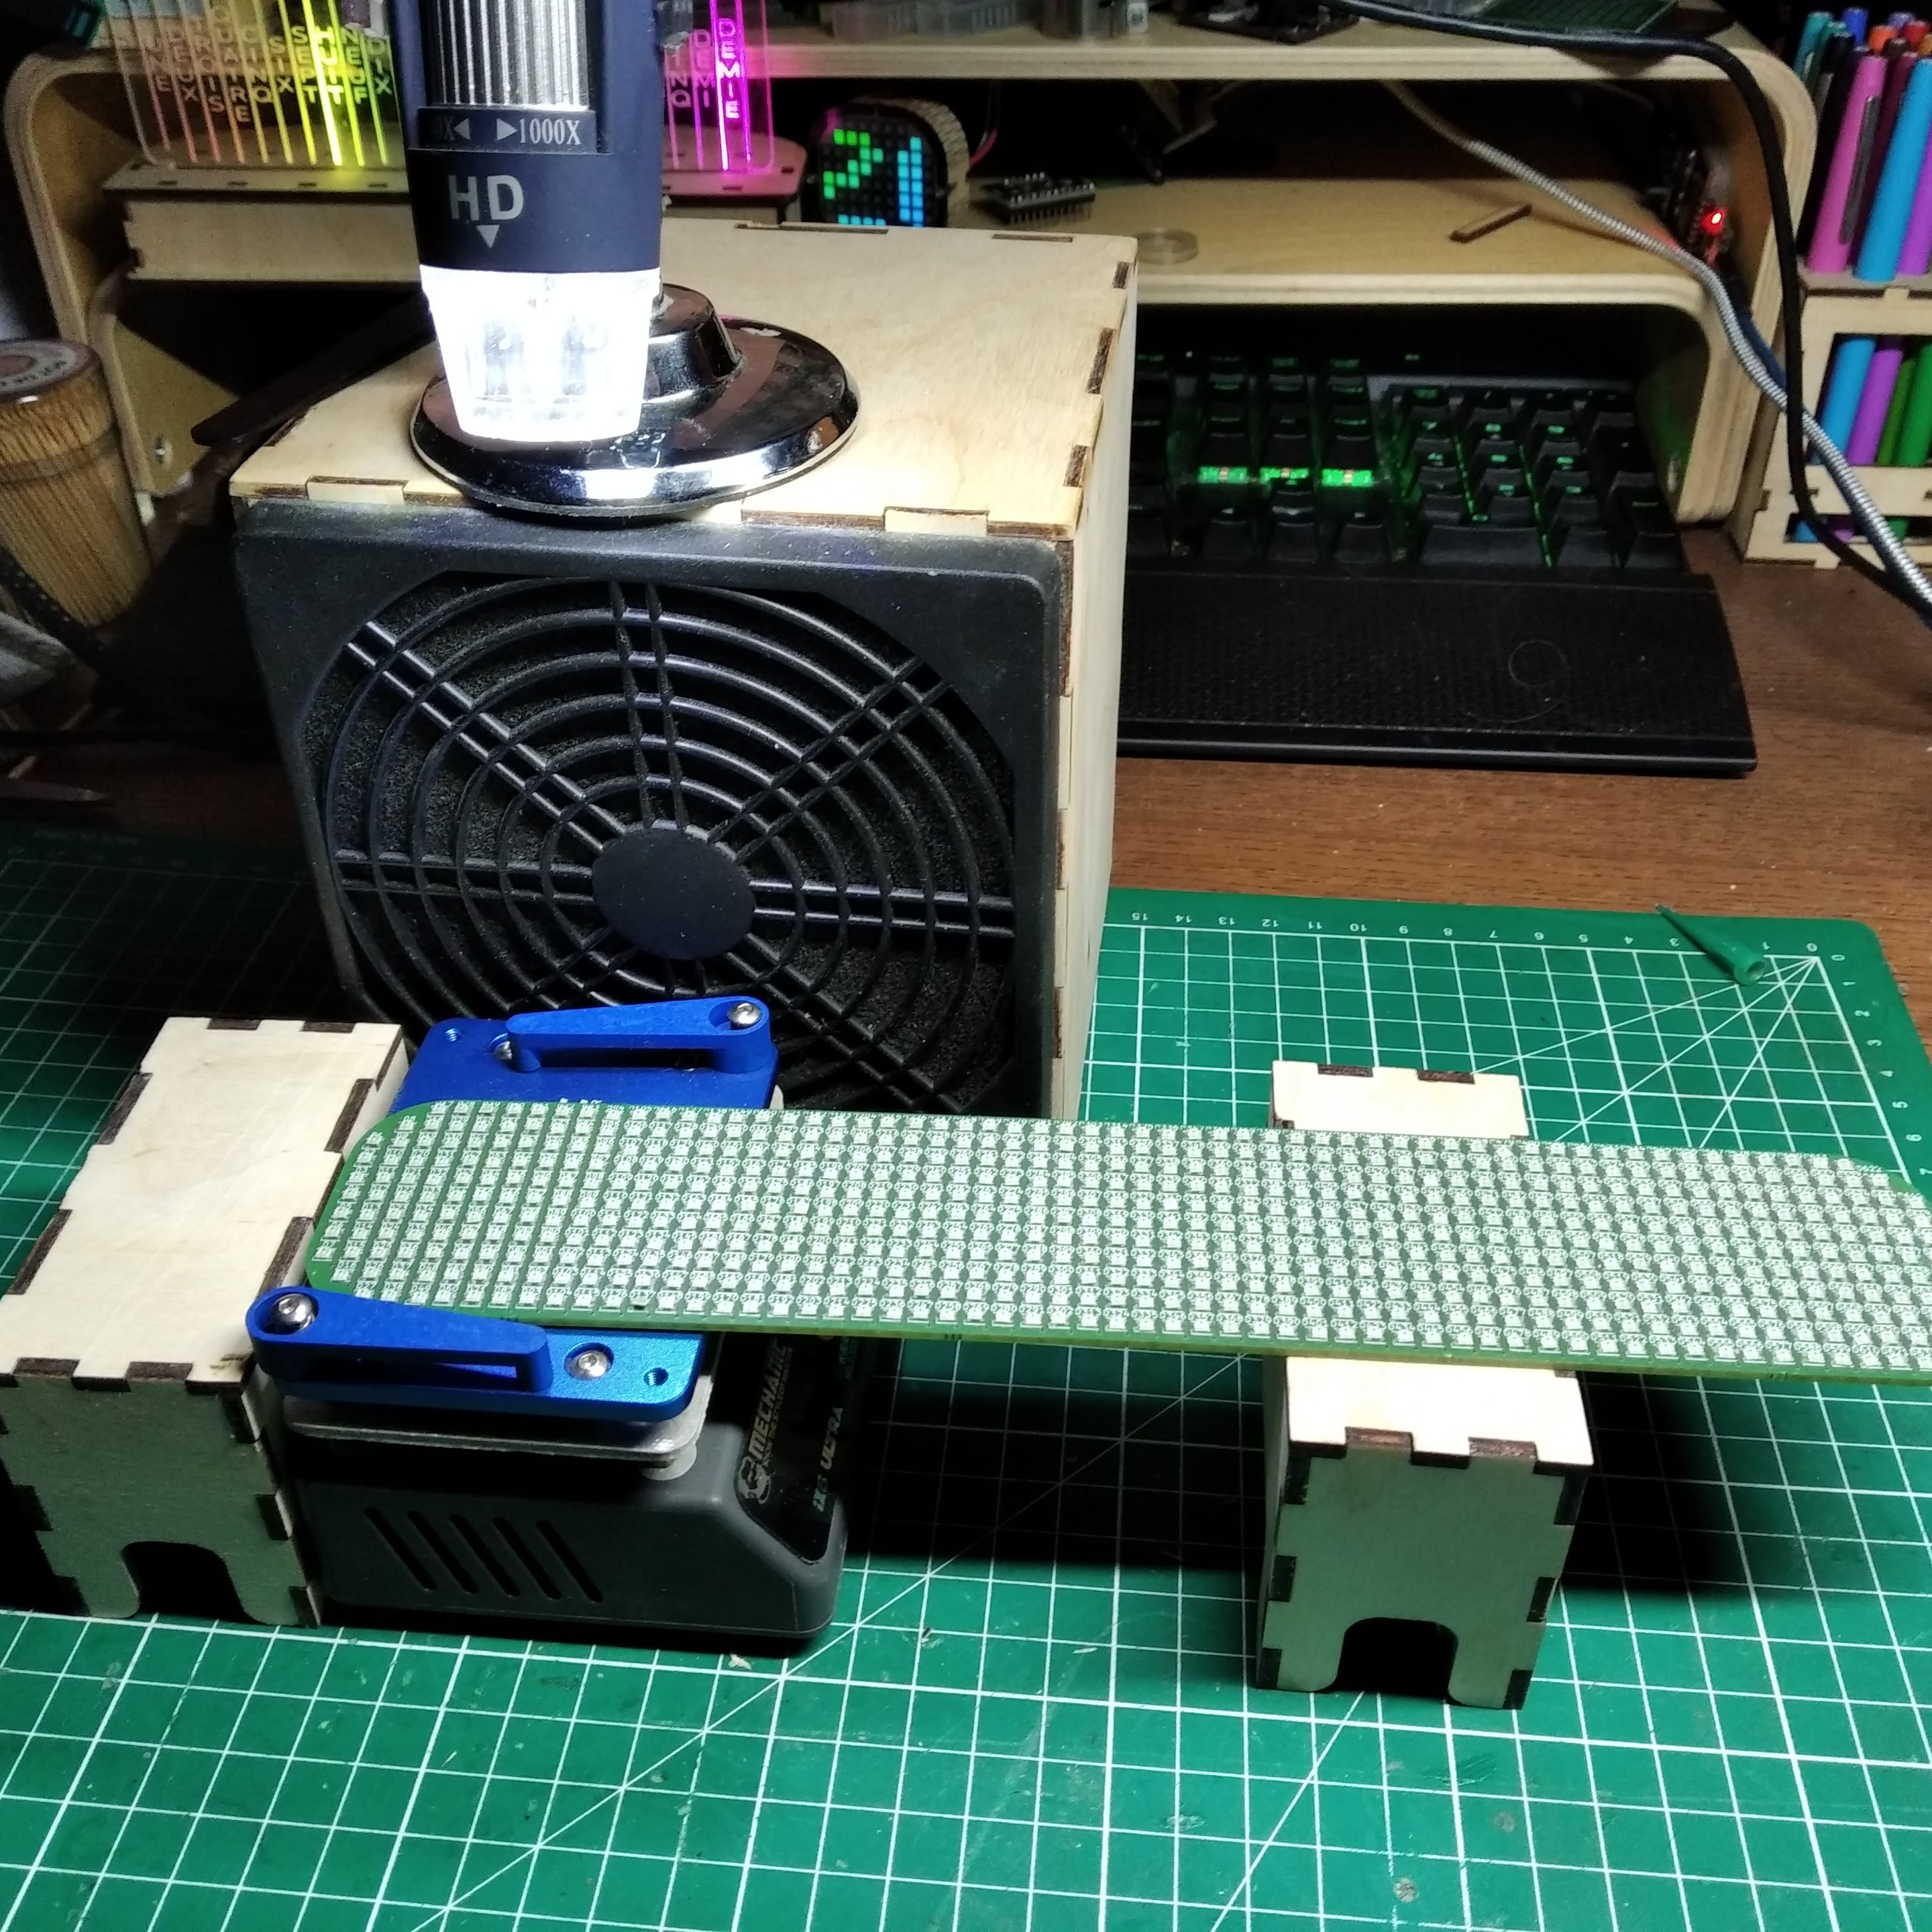
It's ready for the soldering on the hot plate.
Client Info
Server: https://mastodon.social
Version: 2025.04
Repository: https://github.com/cyevgeniy/lmst